

Y’all are so supportive! I luvvitt !!! ❤ I thank God for each and every one of you! You are truly a blessing to me. XOXOXO
Mercia in South Africa was so kind as to say, “Thanx for sharing beautiful things with us![]() 💜
💜![]() 💜
💜![]() 💜⚘”
💜⚘”
Rose in New Mexico remarked about my DIY Bohemian Facebook page: “My scarf collection is fabulously out of control, and this is an awesome page!![]() ” She has also liked/ loved my posts and is now my FB friend. Luvya Rose!
” She has also liked/ loved my posts and is now my FB friend. Luvya Rose!
…Daphne in Illinois declared, “Very fun!! Looking forward to seeing more of what you do!” She also pointed out to readers, “If you have some basic sewing skills and a good imagination….you can totally do this! Just dig in and try! I have been making Upcycled clothing for years! Love It!!!”

I value your comments, and so appreciate your shares, likes and loves.

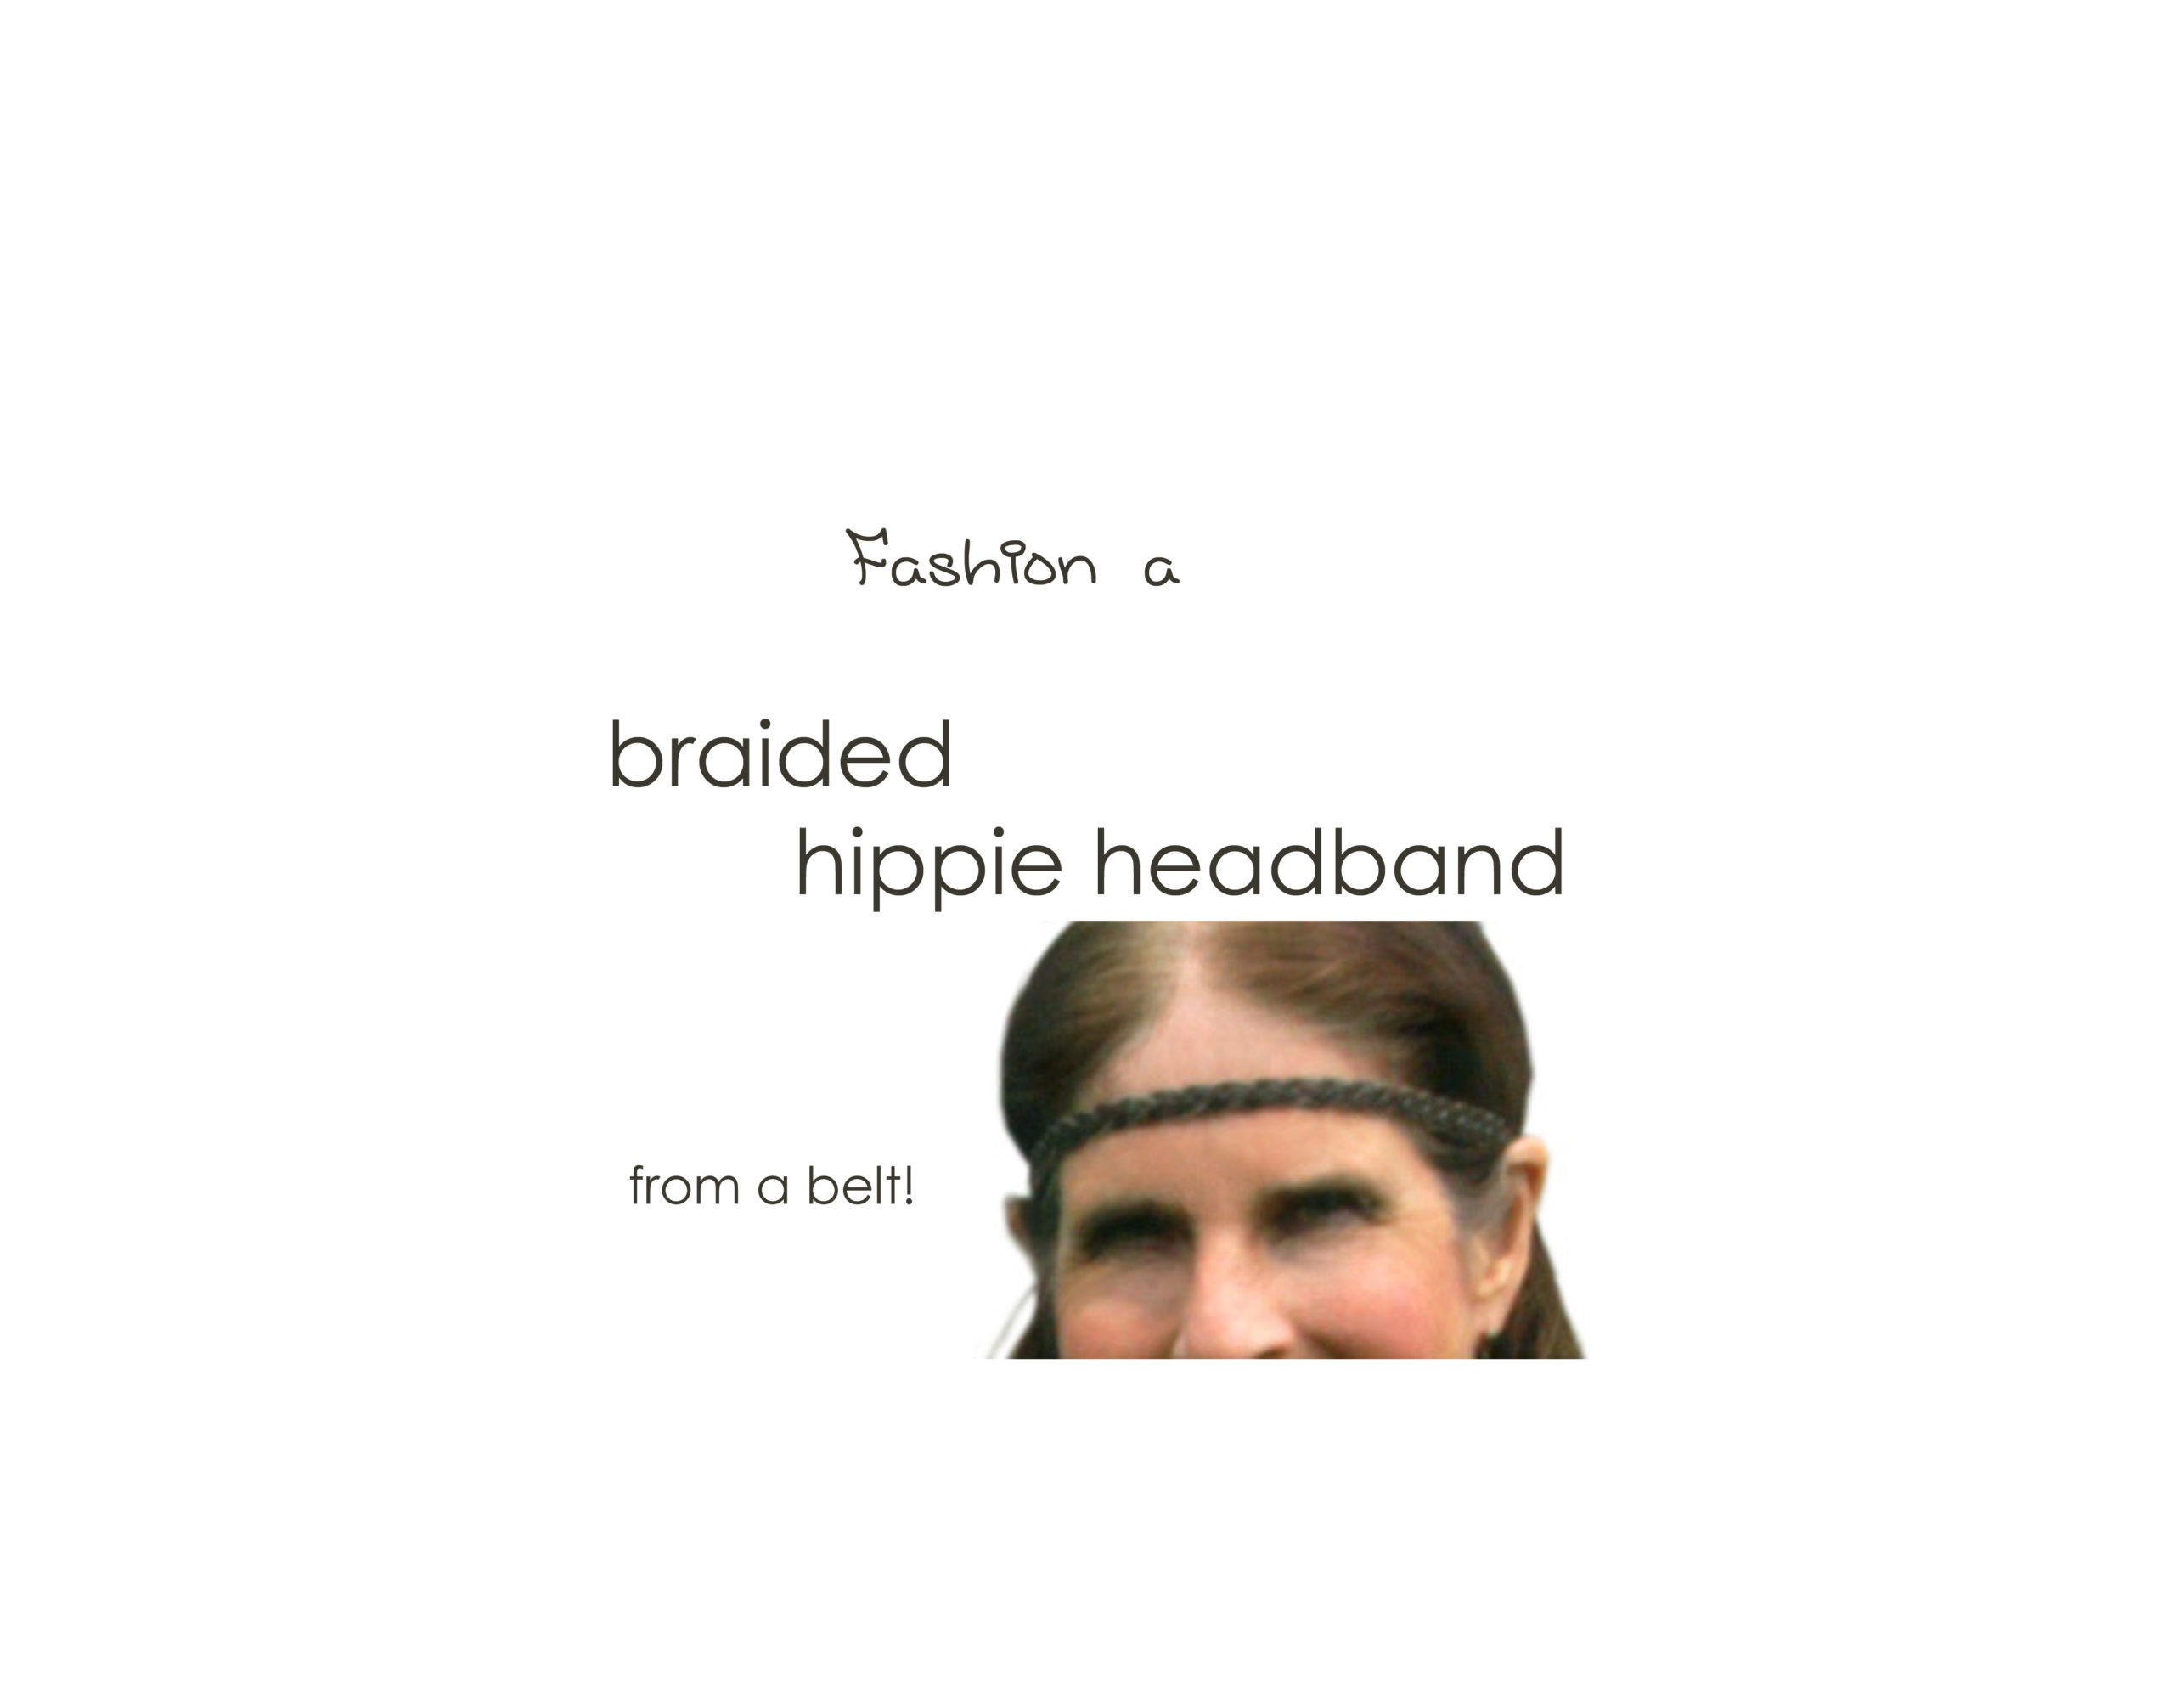
This tutorial is really simple, but perhaps you haven’t thought of it.
One day, I was looking through my hats and couldn’t find one that really went with my outfit. And, I thought, hmmm… a headband would be cute…
I looked through my two bags of belts in my closet and found a narrow, braided leather one. Well, I couldn’t use it that day, but made a project of it later…

- Decide on your belt.
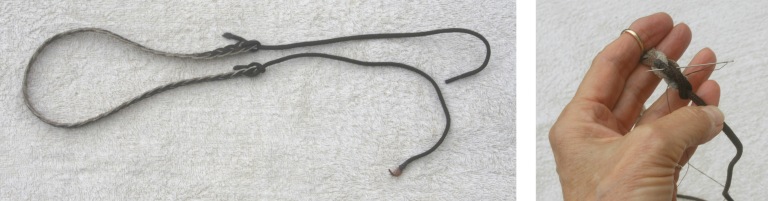
- Since my belt was braided, brown leather, and I would have to cut off the ends (the braided part went only mostly around my head), I thought shoestrings would be the ticket for this. I got round shoestrings. They were long, so, I cut them to the length I wanted: 12 inches—long enough, once attached to the braid, to tie behind my head. I put some glue (E6000 permanent bond cement glue) on the fraying ends and twisted the ends with my fingers to make the ends hold. (The glue easily rubs off your skin while it’s still moist. If it dries on your hands, don’t worry: It eventually comes off. I’ve handled this glue many times.)
- Next: Because I didn’t want to chance my braid coming undone… before I cut the ends off the belt, I dotted some glue on the back of the belt to hold the braid in place. After it dried, I cut off the unwanted ends.
- Insert the end of a shoestring piece through the front of the braid near the end of the braid and tie a half knot over the end of the braid. The tail of the shoestring will be on the back. Use needle and brown thread to make several stitches to hold the knot and secure the tail. You may want to dot a little glue just to hold the knot in place. Same, on the other end.
 That’s it!

……………………………………………………..
Please “like” and “share” on Facebook, Twitter, Pinterest (under “more”), etc. using the buttons below.
I’d love to hear your comments!!! Lemme know whatcha think!