Color it up!
Bohemianism means living life in living color!
Color indicates LIFE!
 Have you ever really looked at the “normal” way the average person dresses?
It seems nobody wants to stand out too much, as each wears neutral colors that blend in with everybody else… It’s just a flowing river of tans and grays, black-n-white, khaki and browns, dulls and drabs. Even many of the so-called “colors” are muted, subdued, pastel and weakened hues.
BORING!!
Where’s the individuality?
Break out of those dismal, dull “drabzies!”
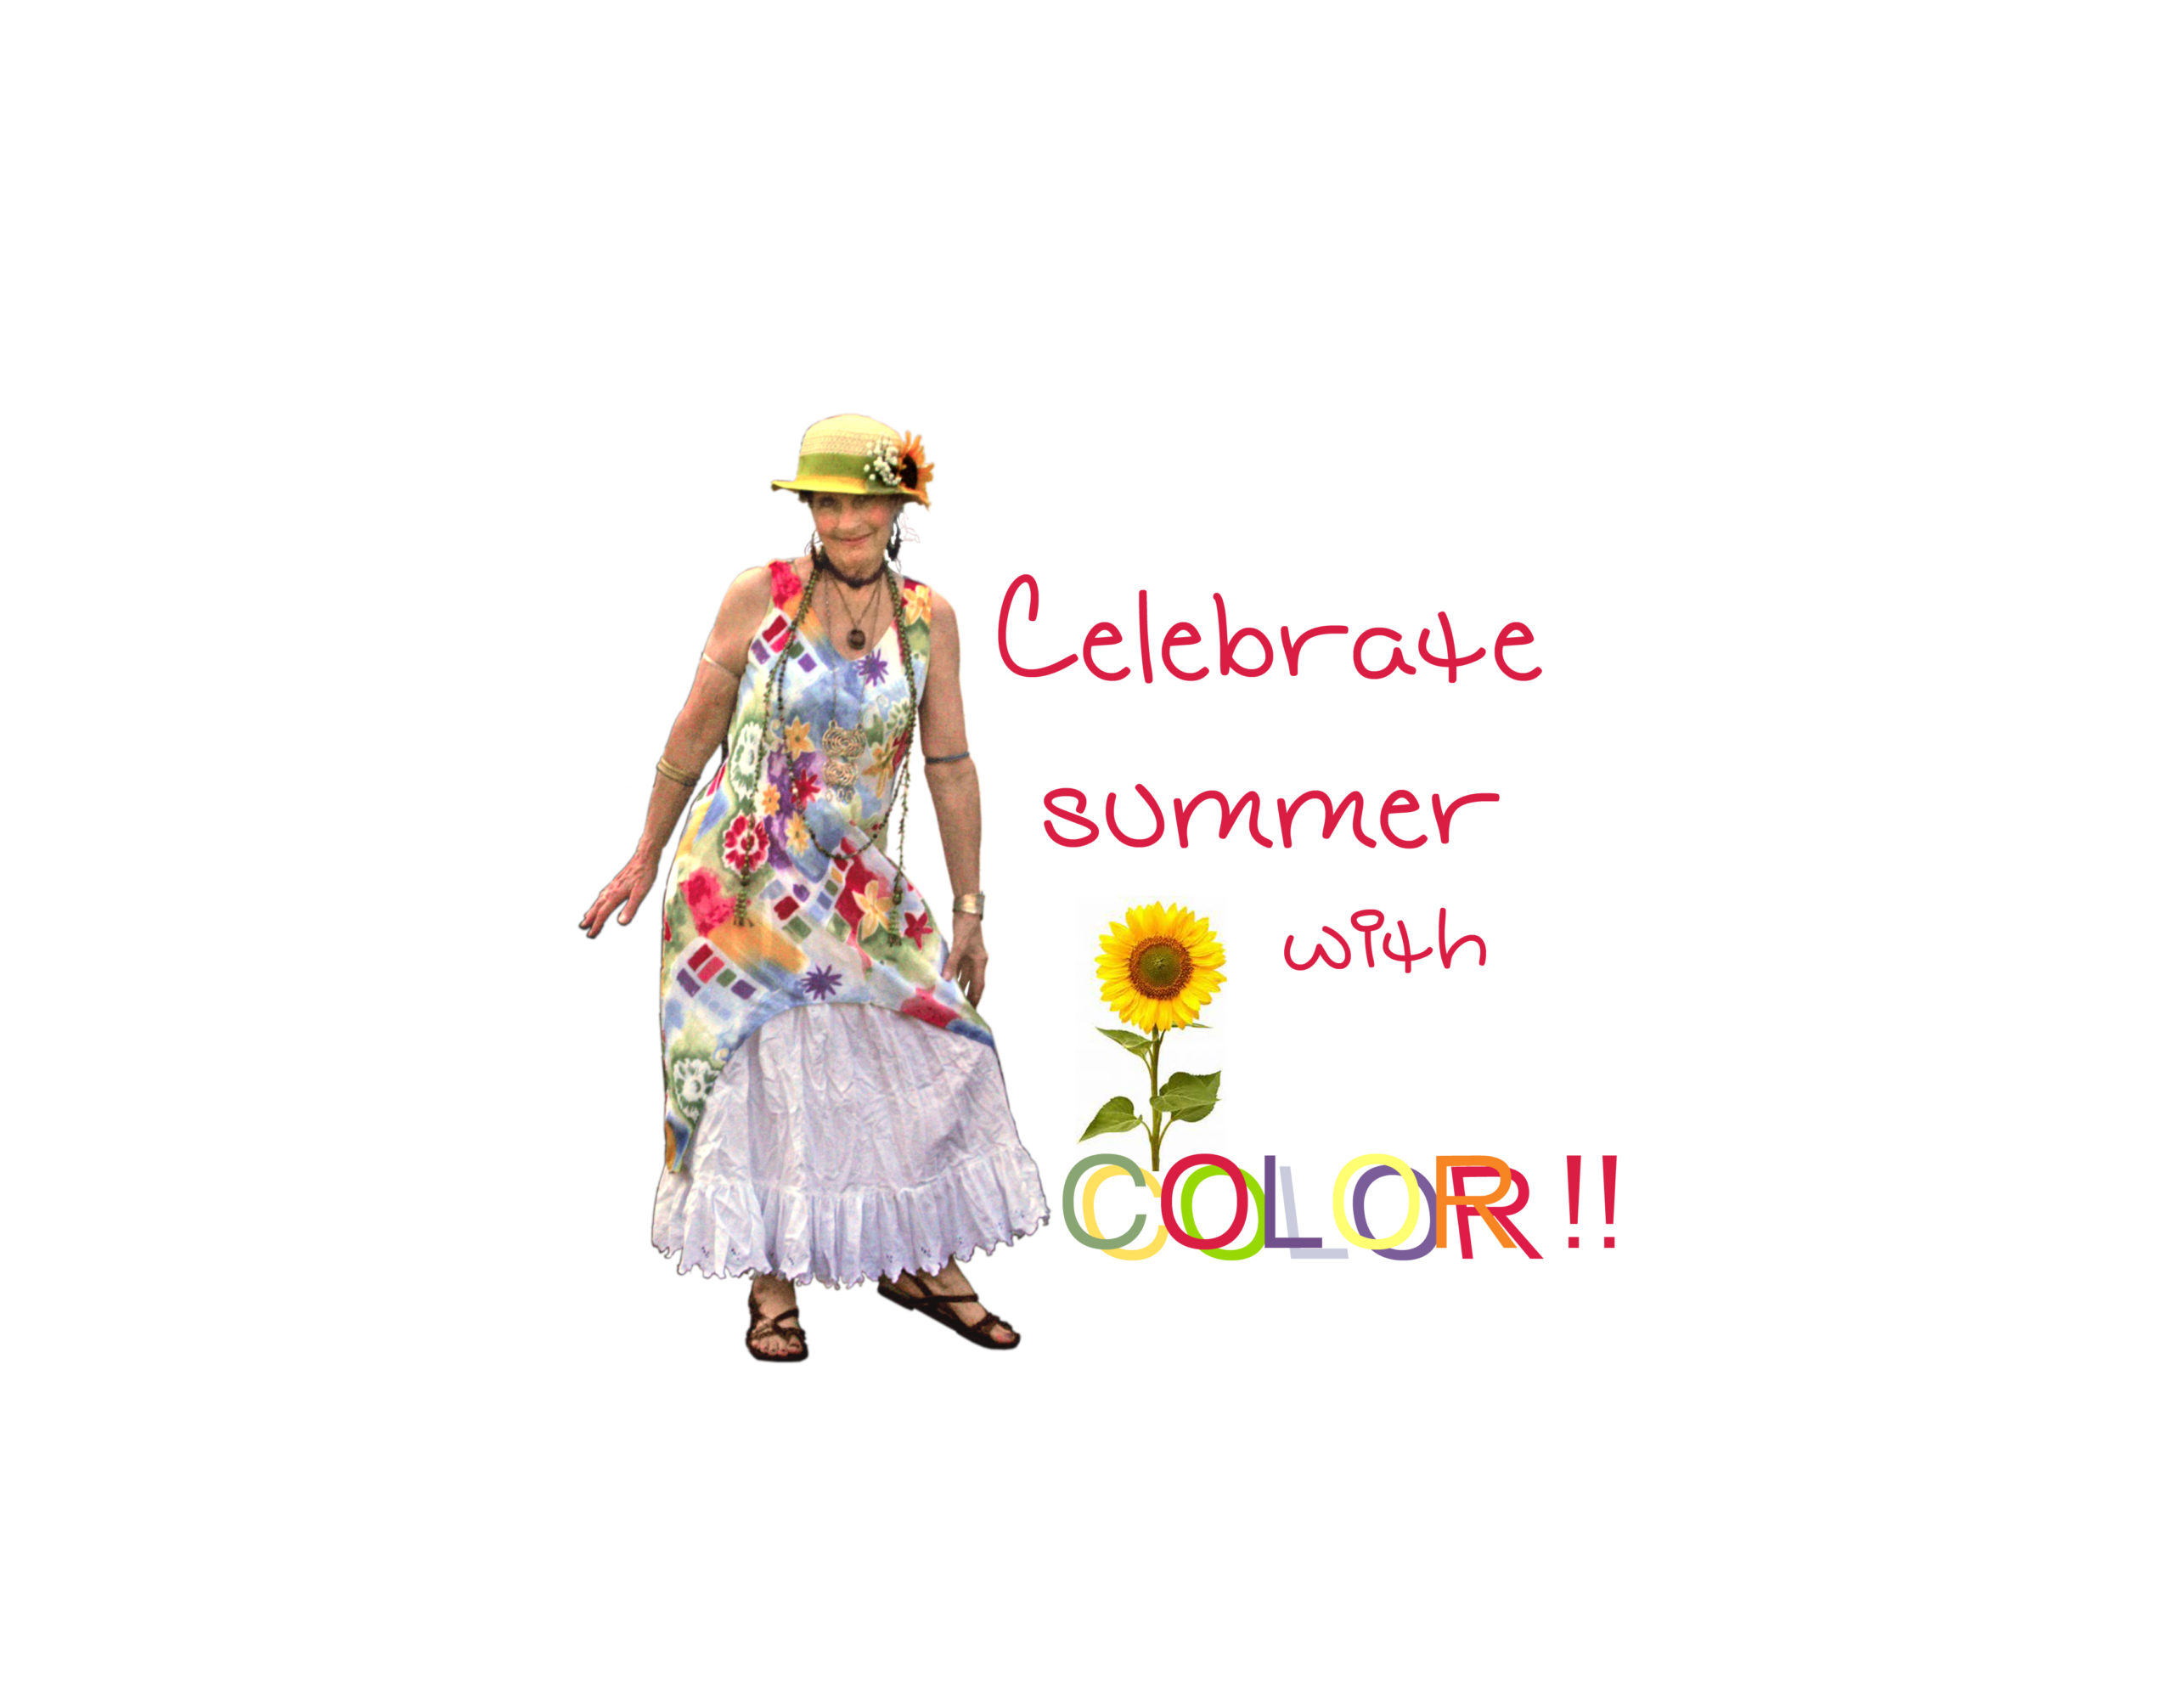
Summer is a season of COLOR!
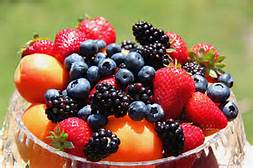
 She wears colors that energize! A vivacious spirit comes through in her flowers and in her fruits;

even the greens of grass and tree portray her love of color.
Why not emulate her?
My husband Jerry and I have been thoroughly enjoying the fruits of the season: fresh pineapple, nectarines, grapes, blueberries, strawberries, cantaloupe, watermelon… Not only are they luscious, they are very nutritious, too! The more color, the more nutrients they hold.
Just as colorful produce nourishes the body, think of color also nourishing the soul—your mind, your will and your emotions. Consider how cheery colors brighten your mood!
………………………………………………………………………..
Now, think: How inspiring is bright-n-cheery x 2 ?
This tutorial is a summer special!
 A double dip!
A twin spin!
A dynamic duo!
Two for the price of one!
Buy one, get one free!
Two! Two! Two tuts in one!! 😀
………………………………………………………………………..
# 1
To start, here’s a great idea for your “bottom line.”
Rejoice in the beauty of the curve; joy in its appealing fluidity.
I think one of the most fun aspects of the Bohemian look is its uneven hemlines. Straight-across hems are just so plain.
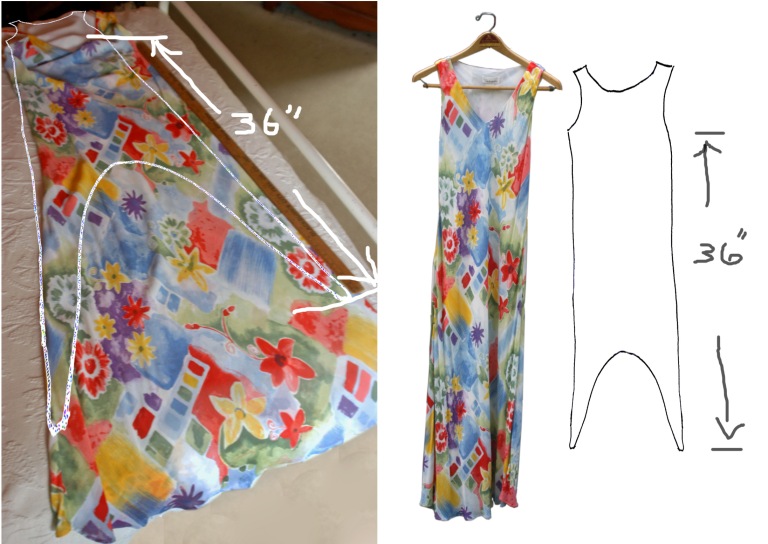
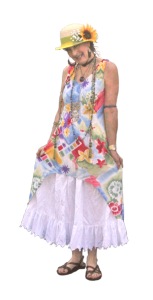
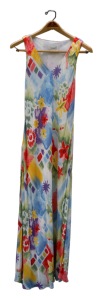 When I saw this wonderfully colorful dress, I knew I wanted to modify her “bottom line.” She told me she wanted a delightful change.
As any of you know who have read my other posts on “bottom lines,” I love to change up a dress— give it diversity, so it may be worn as a tunic with a skirt or pants, or still be worn alone as a dress.
First off, as a height-impaired woman (but, I like my 5’2” stature!), this long dress was l-o-n-g—intended for a tall person, so I would have needed to shorten her anyway.
After figuring, I laid her out and measured a yard-stick length, from the arm pits down, for my longest point. Then, pinned a graceful curved line between the two long points—and cut, following the pins—and hemmed, turning it up twice to enclose the raw edge.
………………………………………………………………………..
#2
Now, for the “crowning” touch!
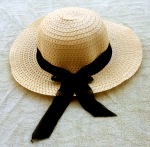 This original plain hat came from the Dollar Tree!

I love my Pinterest and often refer to it (and constantly add new pins) to stir my creative juices. I don’t really try to copy stuff, but many of the images give me ideas of how I might create something of my own.
So…I was inspired by some of the hats I have collected on my hats board. I liked the narrow-brim idea. Hmmm…
A picture began to form in my mind’s eye: I wanted it to go with my newly transformed tunic, above, that I decided (for the debut of my original outfit) I’d wear with a gathered white maxi skirt for a crisp, fresh summer look. I also had seen some cute sunflowers in Wal-Mart, recently, when I was foraging for other flowers-n-such, for my Victorian Rose hat.
The image that came to me was: bright yellow brim; crown remaining natural; wide, leaf-green ribbon to match the sunflower leaves; one or two sunflowers, with tiny white or blue florets to complement.
To follow this tutorial:
…1. Trim away half of the width of the brim.
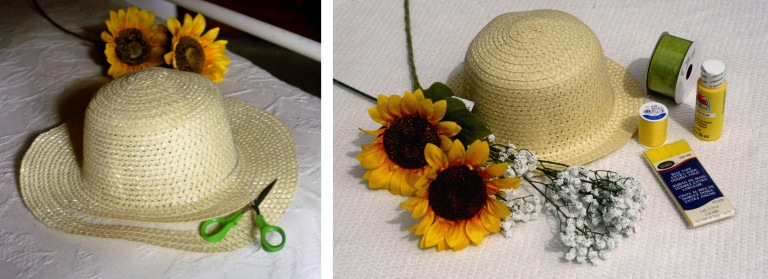
…2. Paint the brim with craft paint, outside and inside, up a little onto the base of the crown, so the color wouldn’t break below the ribbon, when attached.
 …3. Pin the bias tape all around to finish the edge, then stitch it down on your machine. Start the end of the tape just past the back center, overlap the ending, folding the end in to make a cleaner finish.
…4. Encircle the base of the crown, just above the brim, with a length of your green ribbon, and pin. Tack it down lightly with tiny hand-sewn stitches every 1/2 inch or so along the bottom of the ribbon all around. Make a bow. Attach the bow to the back of the hat, using tiny stitches in several places, i.e. on the knot, top and bottom, and lightly on each “wing” of the bow to keep it from flopping down.
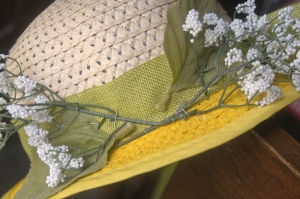 …5. Begin hand sewing your stems of florets and a couple of the sunflower leaves (pulled off the stem) onto the hat, leaving room for the main event—the sunflower—between the complementing flowers and leaves: Make many stitches across the stems for a length, to hold them securely in place; lightly tack down the leaves in inconspicuous places with tiny stitches. They don’t need to be “sewn down”…they can be free on most of each leaf.
…6. Add the sunflower: Hold it in place with your one hand as you make a few stitches on the petals near the big center of the sunflower—at least 3 or 4 places around the circumference of the big, brown center.
…7. Enjoy your unique hat!

- Original hat: $1, Dollar Tree
- Stem of two sunflowers: $2, Wal-Mart
- Stem of white gypsophilia: $2, Wal-Mart
- 2 oz. bright yellow craft paint: 50 cents, Wal-Mart
- Yellow bias tape: $2.67, Wal-Mart
- 1 1/2-inch by 9 feet green ribbon: $1.97, Wal-Mart
- yellow thread: $2.97, Wal-Mart
………………………………………………………………………..
- dress: free
 …………………………………………………………………….
Please “like” and “share” on Facebook, Twitter, Pinterest, etc. using the buttons below.
I’d love to hear your comments!!! Lemme know whatcha think!
