


Re-fashioning is a fun way to give new life to things you still like but that need a make-over!
Hey Creative Bohemians!
Let’s face it: Sometimes choosing to re-fashion is a last-ditch effort to save something you still like, but in it’s original state, is just not really wearable anymore!
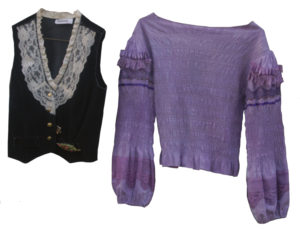
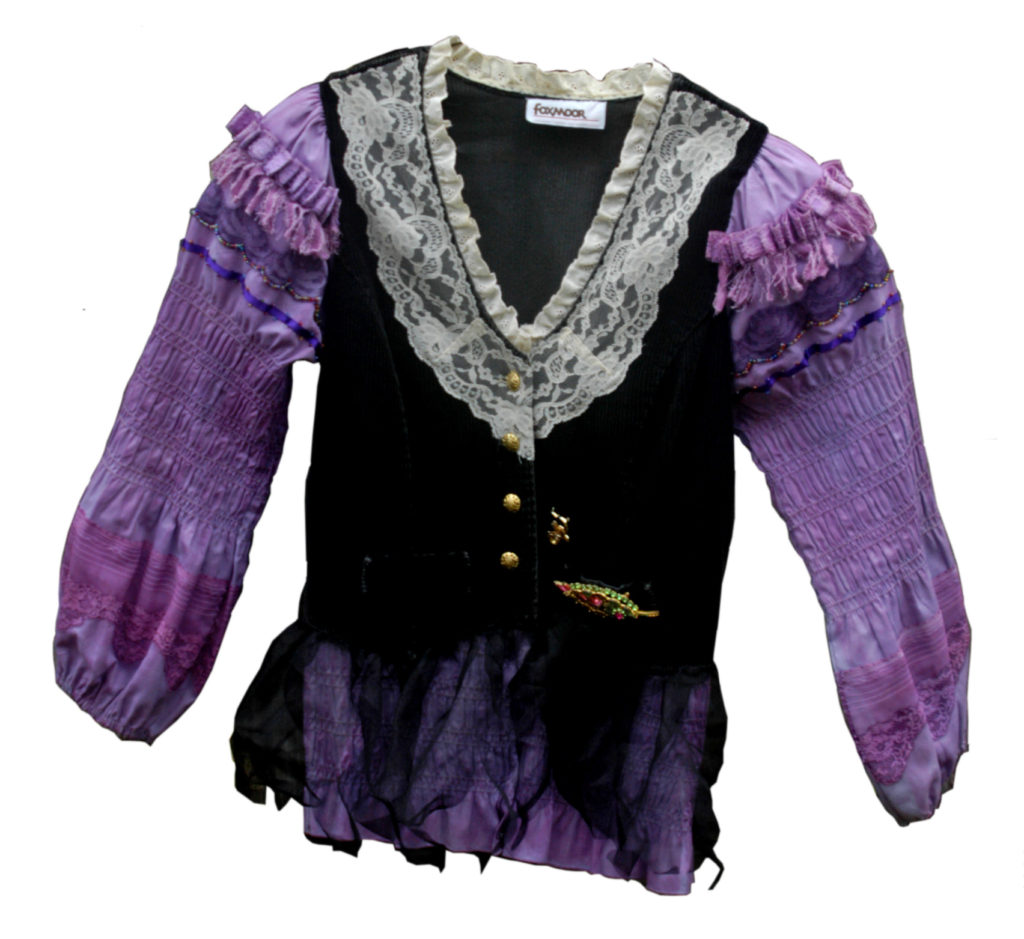
I’ve had both the blouse and the vest for a while and enjoyed them both. However, the blouse—being smocked with skinny elastic—stretched out over time.
I had already done a lot to this blouse to make it my own:
It was originally a light blue and I painted it lavender—yep, I painted it…with water-diluted craft paint! (Be sure to heat set it after it dries—either with an iron or in the dryer.)
Then, I painted some lace—also, some strips of cloth for the fluted part on the upper sleeves…and decorated it! 😀
Then, finally, I added beading (seed beads).
Yeh! Lol. In that period of my life, I had a lot of time on my hands!
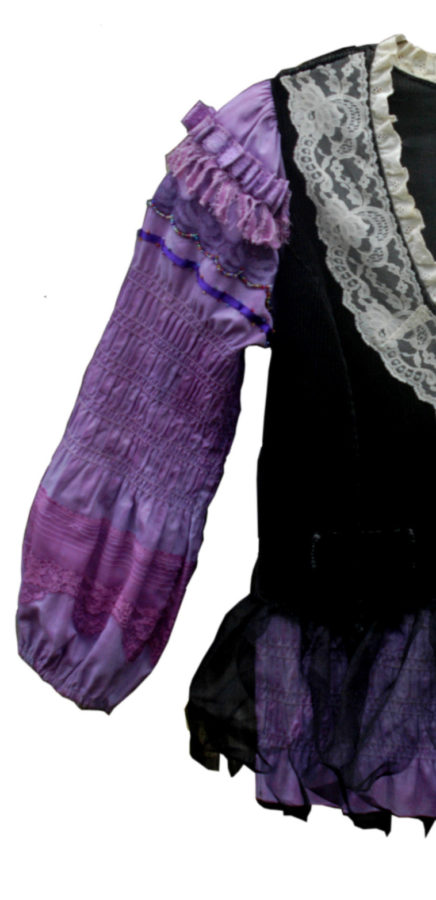
On the vest, I added the lace and put on new gold buttons. Vintage pins add an extra touch.
……………………………………………………………………………………………………..
Now, for this tut:
Cut off the sleeves from the blouse. Instead of ripping out seams, I did it the easy way: Just cut above the shoulder seams, leaving enough room for the seam allowance. Not only is it easier, this way, you won’t have to worry about the gathering if it’s a puffed sleeve. 🙂
My vest is a little out of the usual, as its arm holes are smaller than the average vest’s arm holes. They were just the right size to connect sleeves!
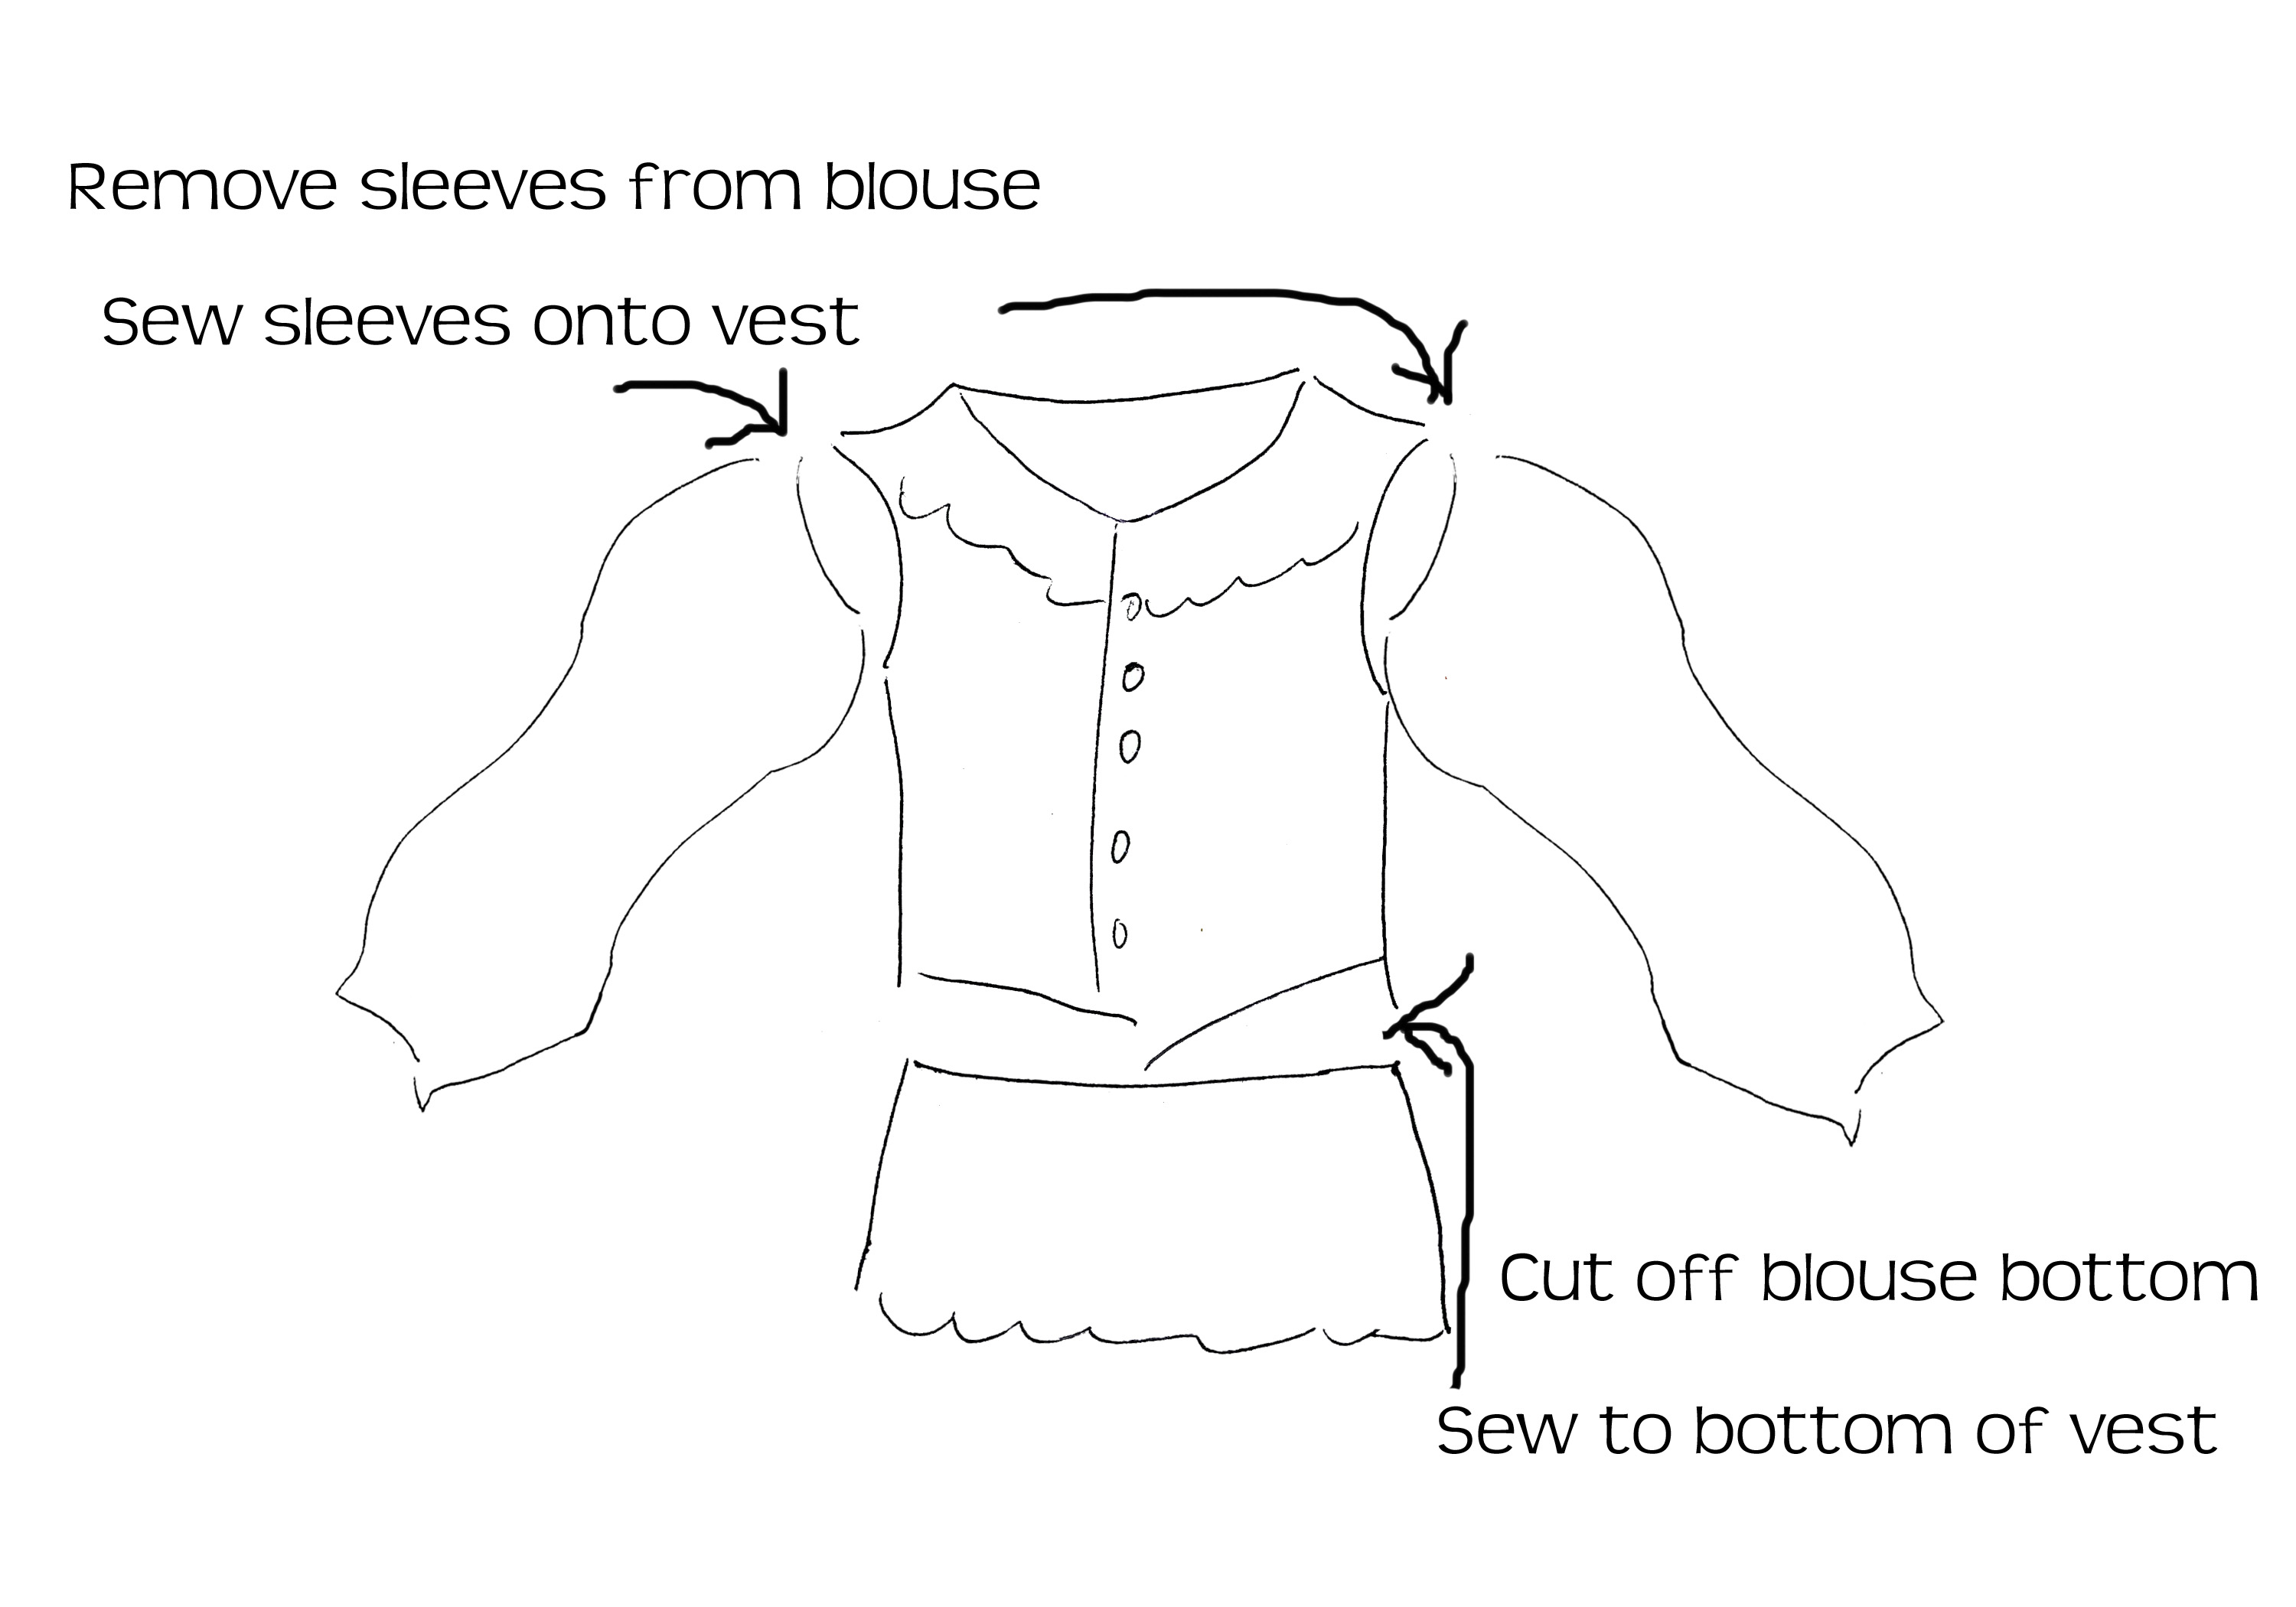 Sew the sleeves to the vest, inside the arm holes, with right sides of each, together, so that when your new garment is right-side out, the right sides of each will be out.
Cut off the bottom of your original blouse, the length of which depends on how much of it you want to go below your vest.
If your blouse has no opening, as mine didn’t, you’ll need to cut it down the front, fold the raw edge under 1/8 inch, twice (so the raw edge is inside the second fold over)—for the seam, and sew it down.
Sew the bottom portion of your blouse to the bottom of the vest. As you sew it on, it will be overlapped in the front along with the vest that is overlapped for the buttons.
Sew on snaps ( I used five) to hold the bottom of the blouse closed. Snaps are not my faves! I had to re-do a few of them. Make sure both sides of each snap match, so it falls smoothly and doesn’t bunch up.
Lastly, measure out the width around the bottom of the vest—all the way around the vest, including the “V” in the front, allowing also for the overlap—and double that measurement.
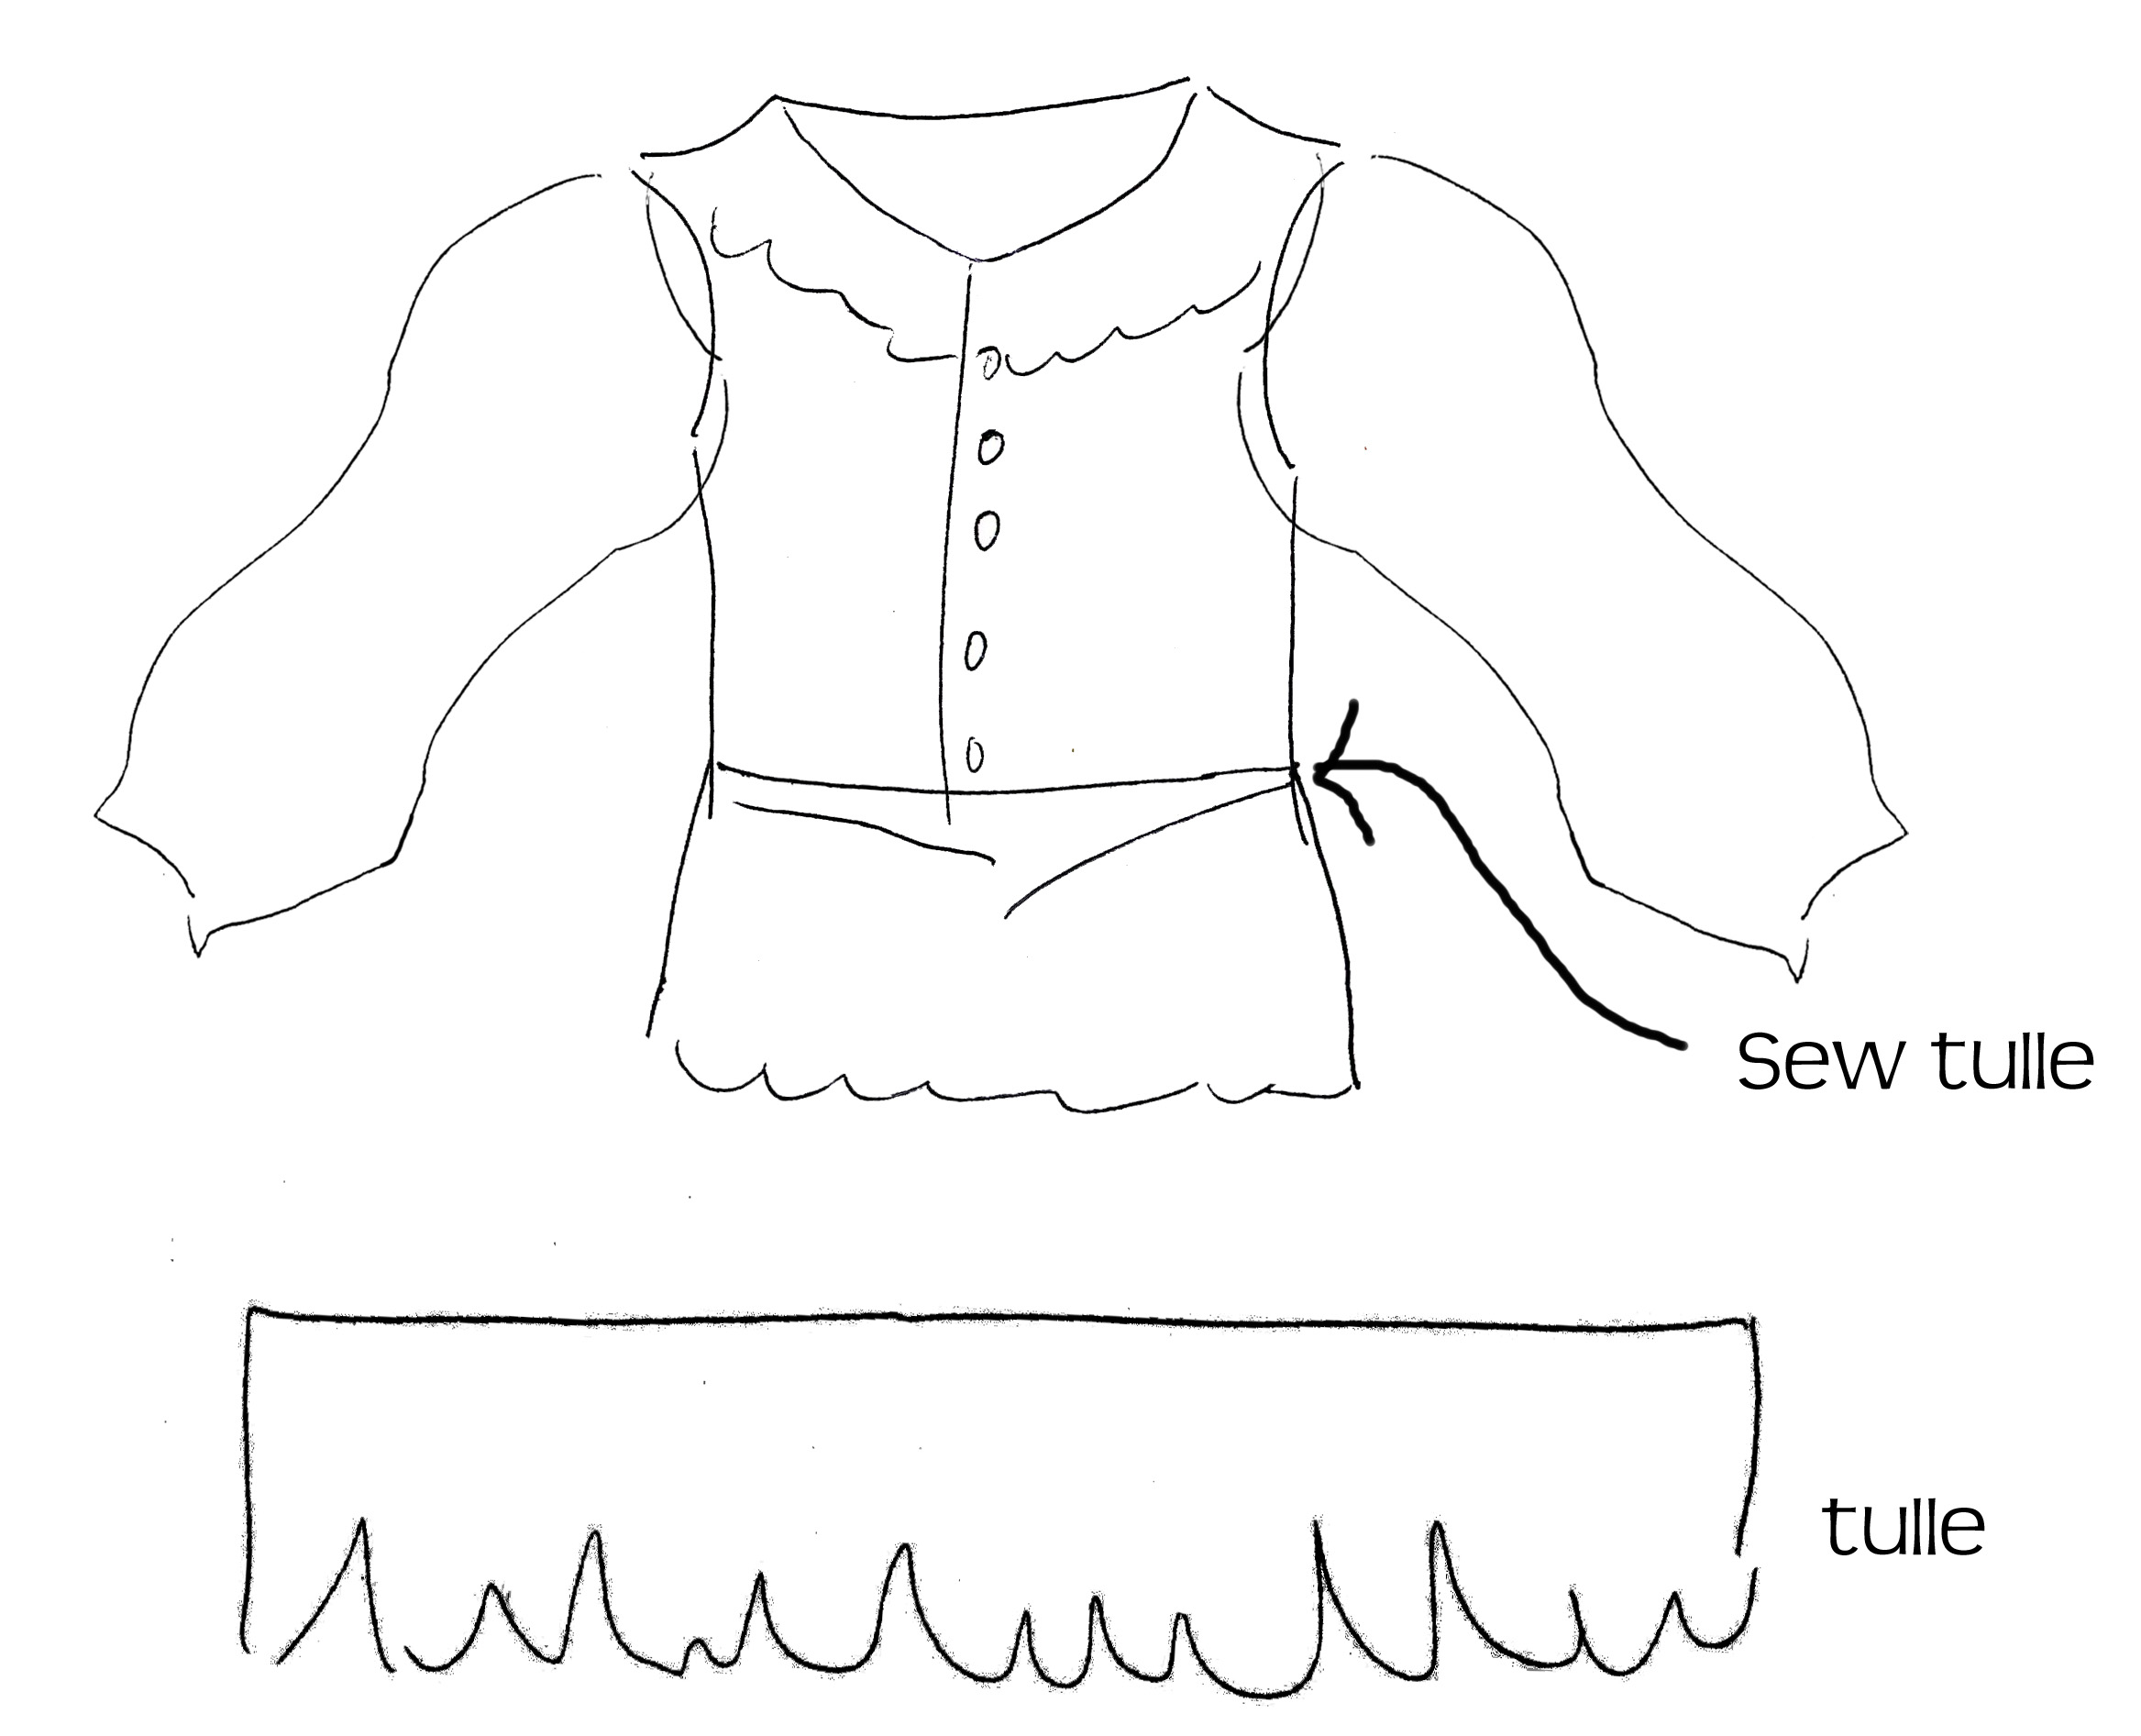 Cut out that length of tulle (mine was two yards long x 8 inches wide). In the tulle, cut out points along the bottom—so, the bottom is an uneven, random zig-zag.
Sew the tulle to the bottom of the vest in front of the blouse part. Pin it at intervals and sew, gathering between the pins as you sew, until you get it attached all the way around.
 That’s it!
Return to Tutorials for Tops
Don’t miss any fun tutorials.
Click on SUBSCRIBE! to get DIY Bohemian tutorials delivered right to your email inbox!

………………………………………………………………………………………………………..
Please “like” and “share” on Facebook, Twitter, Pinterest, etc. using the buttons below.