Hey crafty bohemians!
Lol. I seem to like making bags! I like variety, so I can enhance each outfit with a complementary bag instead of just the same ol’ bag all the time. A bag is an accessory, after all!
Hey crafty bohemians!
Lol. I seem to like making bags! I like variety, so I can enhance each outfit with a complementary bag instead of just the same ol’ bag all the time. A bag is an accessory, after all!
A while back, I went to a church rummage sale, which was running a stuff-a-bag clothing deal.
I looked around, first, to see if anything looked enticing. I’m not interested in volume for the sake of volume.
First, I found a couple of outstanding uncommon pieces. Then, I thought about what I might do to the more common items. I picked out some very colorfully printed, shiny, very large women’s tops for the fabric, thinking in terms of bag linings. I also liked some cute toddler-sized jeans for making bags. Lol.
I like to use sturdy fabric for bags.
I’ve seen tutorials for bags made from upcycled t-shirts. Well, it doesn’t seem as though a light-weight knit would last very long! Your pens and comb, and any other thing with sharp points on it, would stick right out of it and start a hole with the first use!
Whereas, upholstery fabric and denim are ideal.
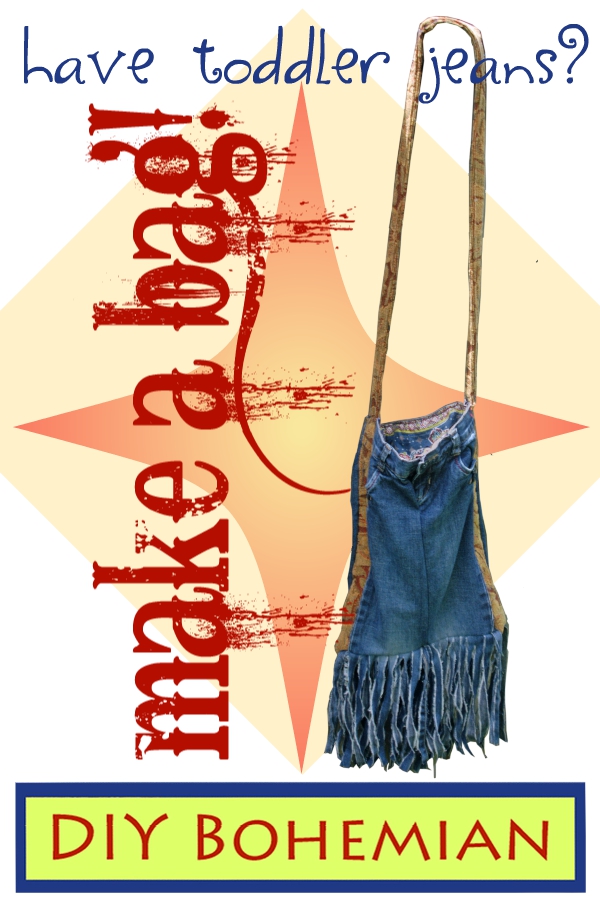
I just made this little bag out of kids’ jeans, plus fabric from a couch cushion. I’m not quite finished: I still need to make the liner. I plan to add patch pockets inside the liner.

Any jeans or other denim pants would work well for a bag, and many have made bags from them.
To be different, I chose a pair of jeans that looked as though they were made for, maybe, a two-year-old.

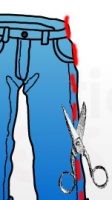
- Cut along the inner leg seams up and around the crotch.
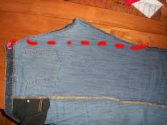
- Turn it inside out and fold it so the curve of the crotch sticks out. Stitch a straight line, both front and back, removing the curve for the crotch.
- Now, cut along the outside leg seams. Also, trim off the hem on the bottom of the legs.
- Measure from the waist, down 15 inches, across the width, and up the other 15-inch side.

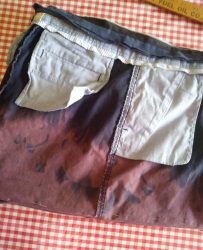
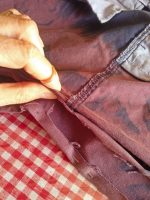
5.Cut a strip of upholstery cloth—or, denim, long enough for both 15-inch sides plus the width, allowing for a fold-over, so you can finish it nicely on the ends. Make the strip about two to three inches wide—your pref. This will make the bag roomier.
6.Turn it inside out, and tuck up the lower eight inches inside and pin it in place along the fold all the way around the “circle,” at 15 inches from the top of the waist. The eight inches you folded inside will become the fringe on the bottom of the bag.
8. With the right sides of each material facing each other, begin stitching the long strip to the side of the front panel of the jeans, starting at the top, going across the bottom and up the other side.
9. Do the same with the back panel of the jeans.
Now, you have a bag with no strap.
10. Turn your bag right side out.
Cut a strip of upholstery or denim cloth for the strap. I had to attach two strips, end to end. Make it wide enough to fold over the length-wise edges and then fold over in half, length-wise. Sew along the length.
Pin the ends inside the sides of the bag, at least six inches down into the bag, for strength. Sew the strap securely to the sides of the bag, up and down the six inches and
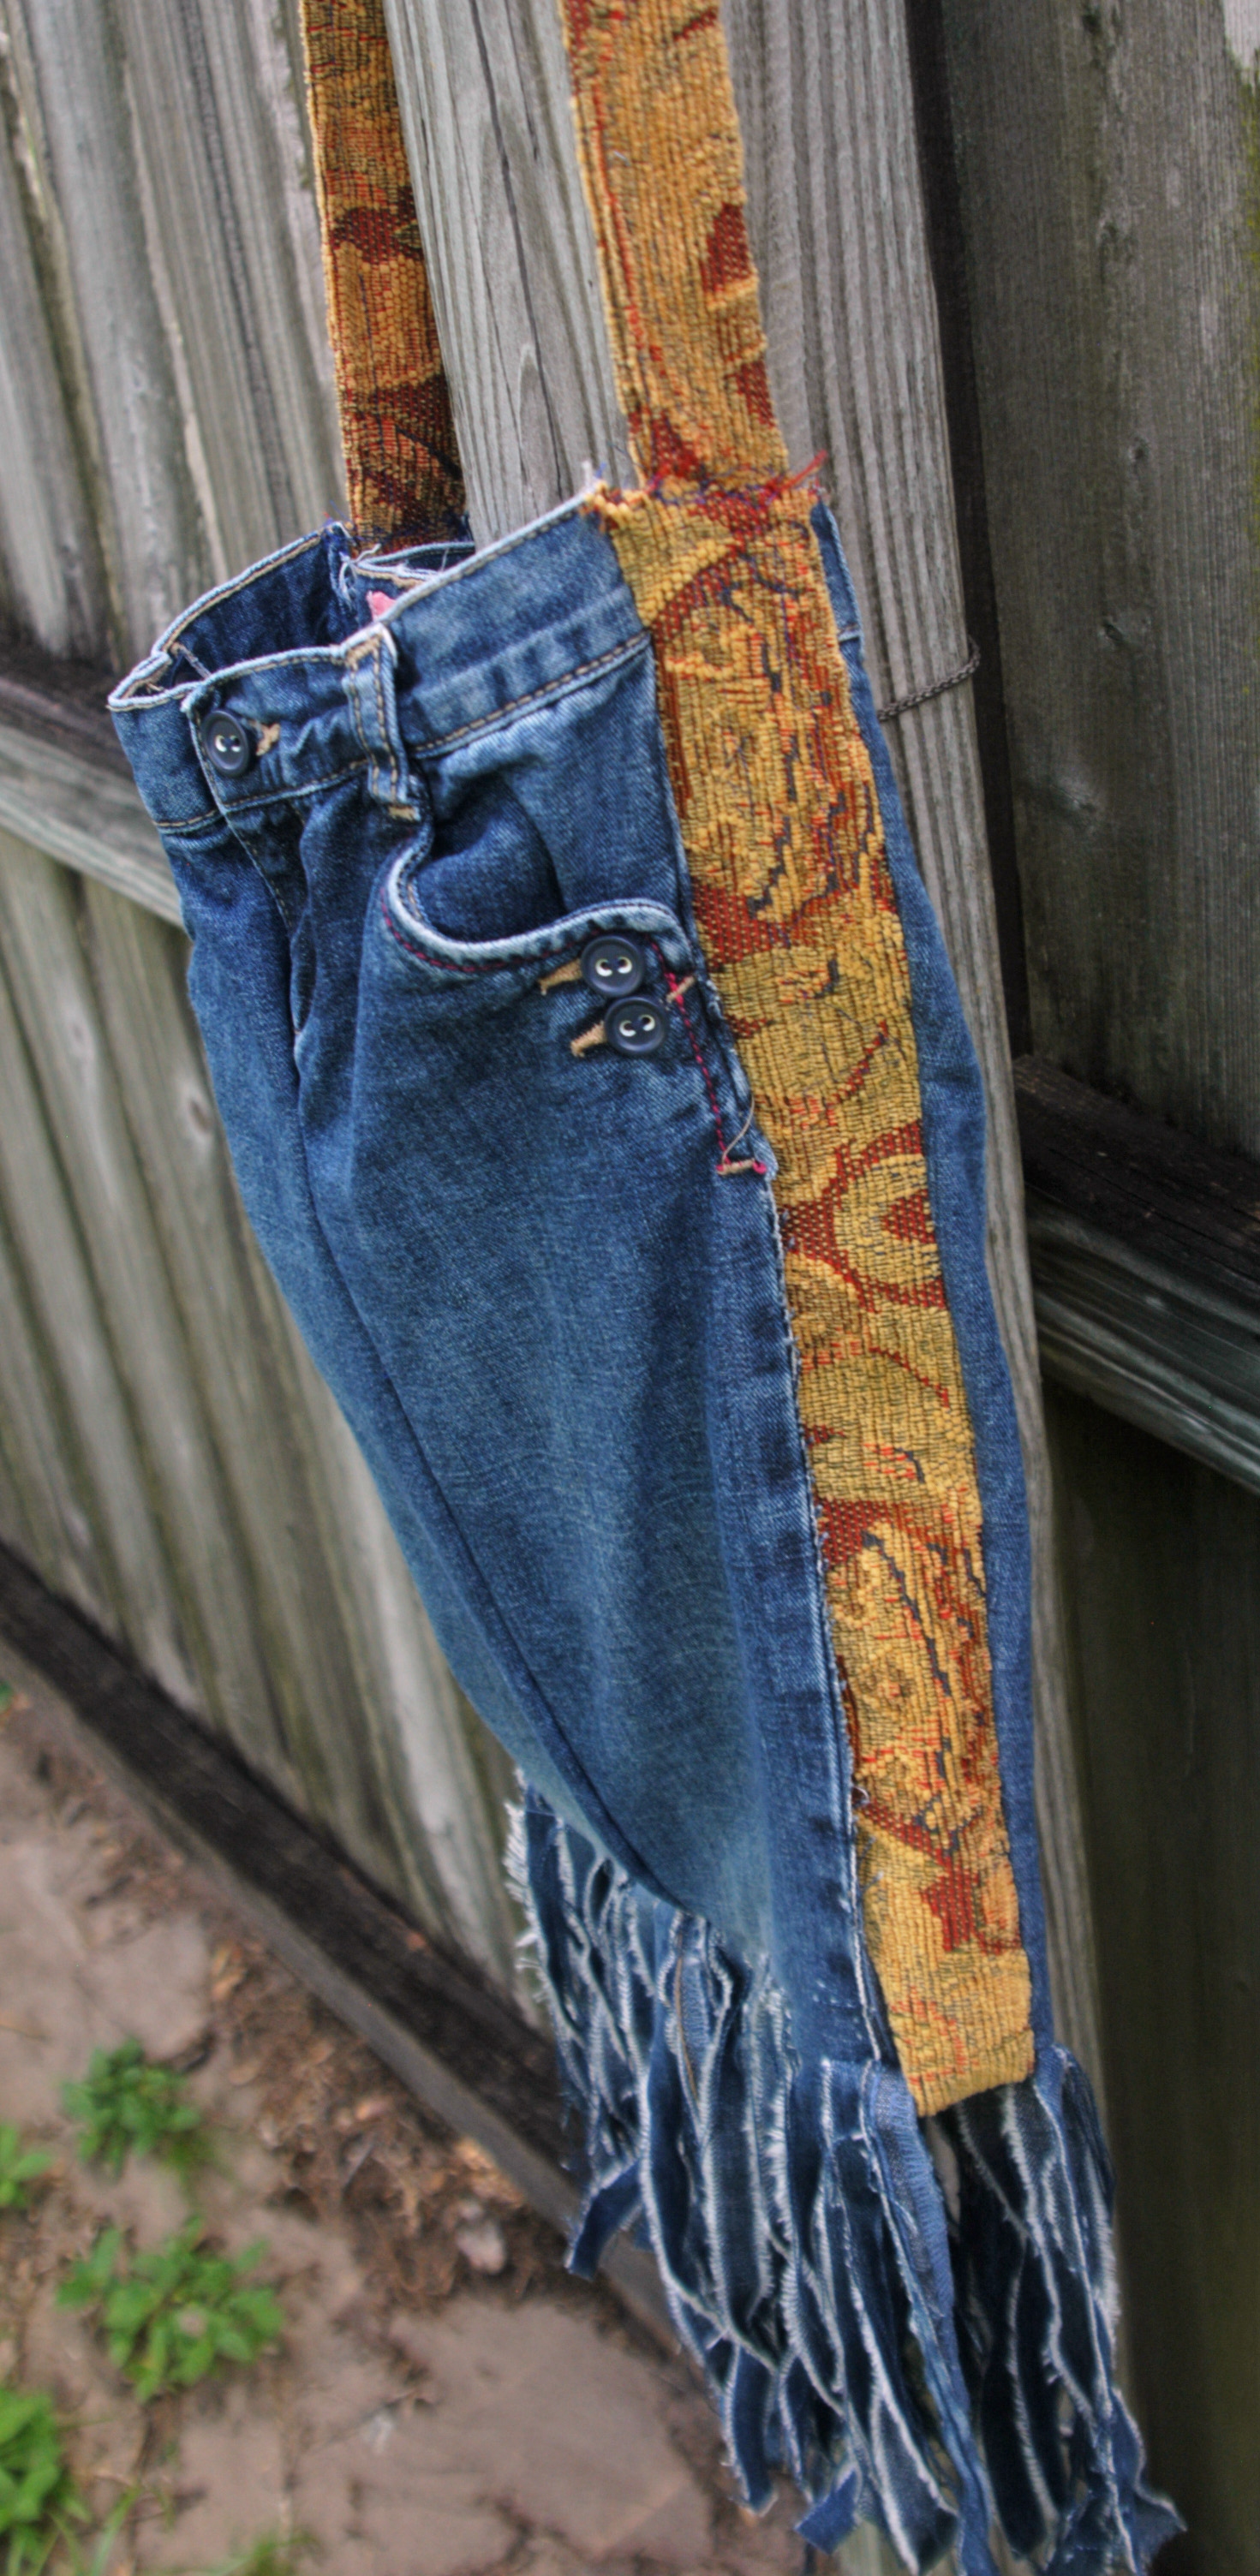
making large zig-zags across the width of the strap, sewing it securely onto the sides of the bag.
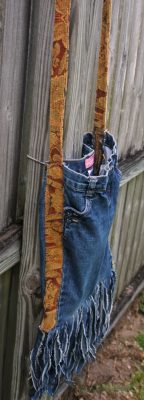
12. Make a liner bag of bright colors/ print of shiny fabric—a little longer than the denim bag.
Be sure when you sew the front and back together, that the right sides are facing each other, so when you look into your finished bag, you’ll see the pretty side!
Sew diagonally across the bottom corners to create a fuller bag that fits better into the denim bag. Hem the top. Don’t forget to put pockets on the inside of the liner!
Insert it into the bag and stitch at the top.
(Yes, I made my liner before I finished this tutorial—but, forgot my pockets. Argh!)
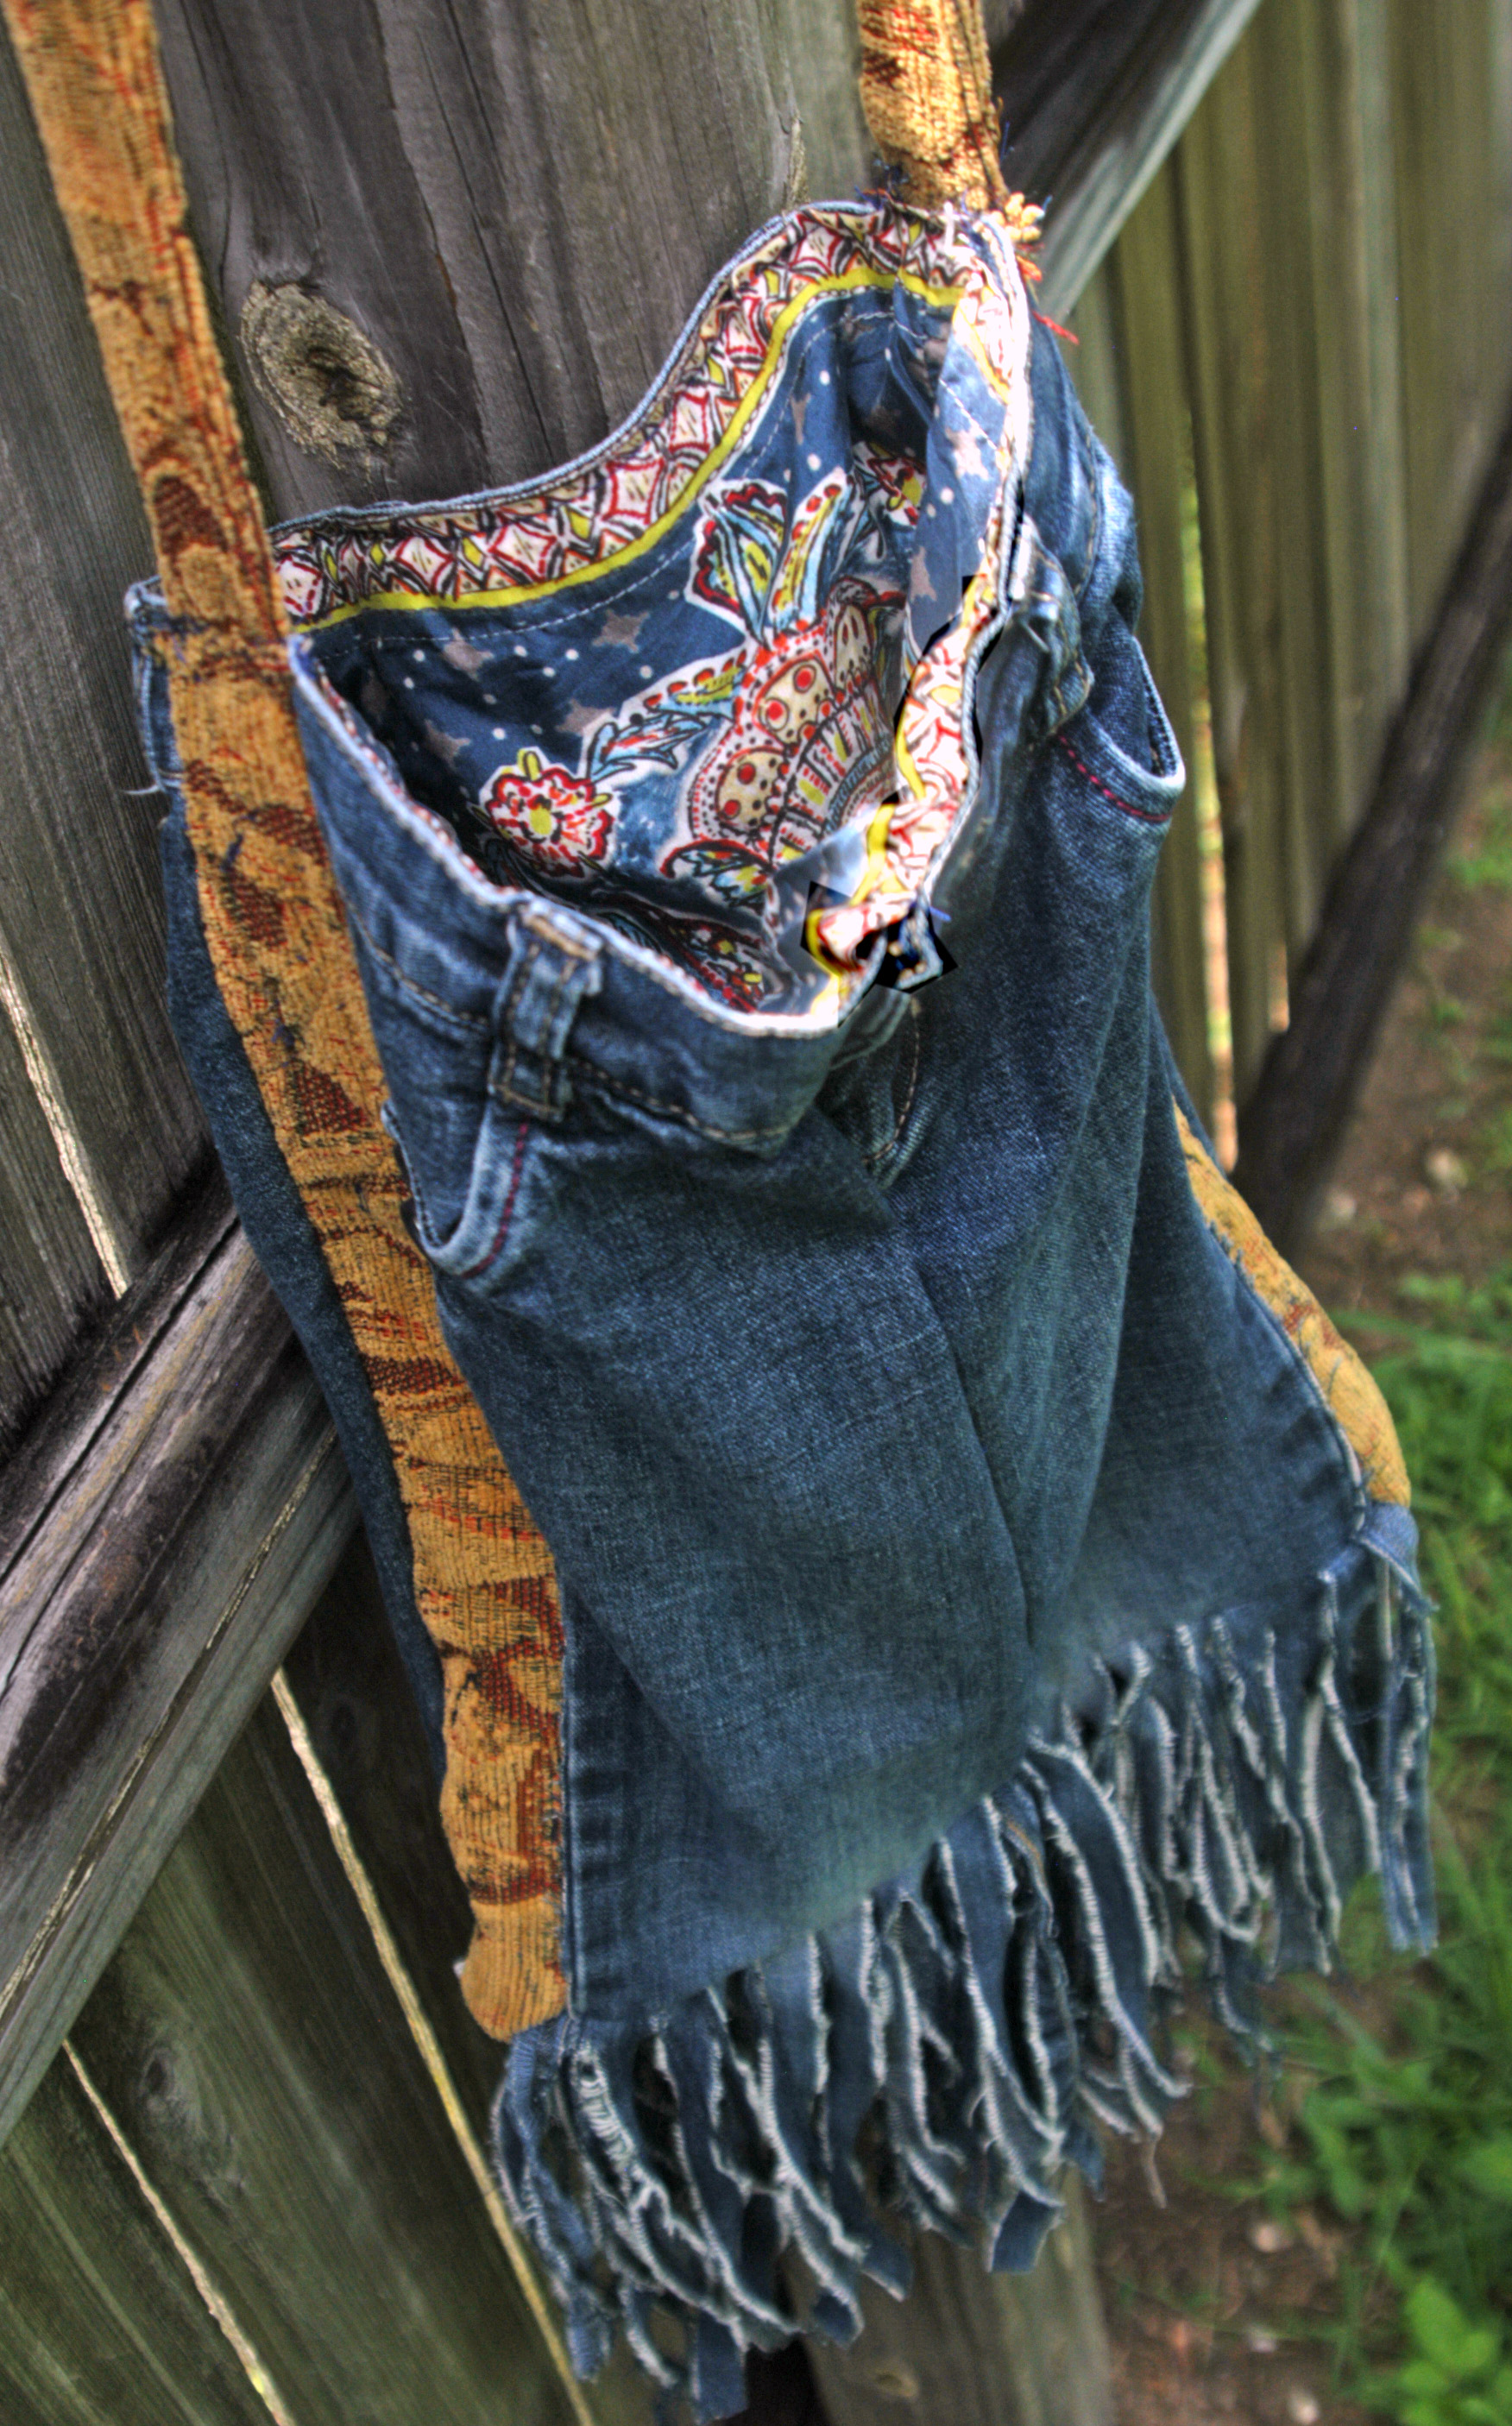
The bottom eight inches of jeans legs is hanging from the bottom of the bag.
11. Snip the edge of the bottom every half inch or so—one at a time. Cut far enough up so you can start a tear, then rip it all the way up to the bottom of the bag. Keep snip/ tearing strips until you have made fringe all the way around the bottom of the bag.
Check my other bag tutorials:
Talk to Me!
I’d love to hear from you!
Share your thoughts with me in the comment section below. 🙂
Be sure to “like’ it,
and save images/ post to a Pinterest board!
Thank you!




Children’s clothes don’t last very long – so this is a great way to recycle!
Thanks, AJ! I really appreciate your commenting and your interest! Yes, I love to repurpose things. 🙂 Americans are way TOO WASTEFUL! But, I’m thankful that the world is starting to recycle.