

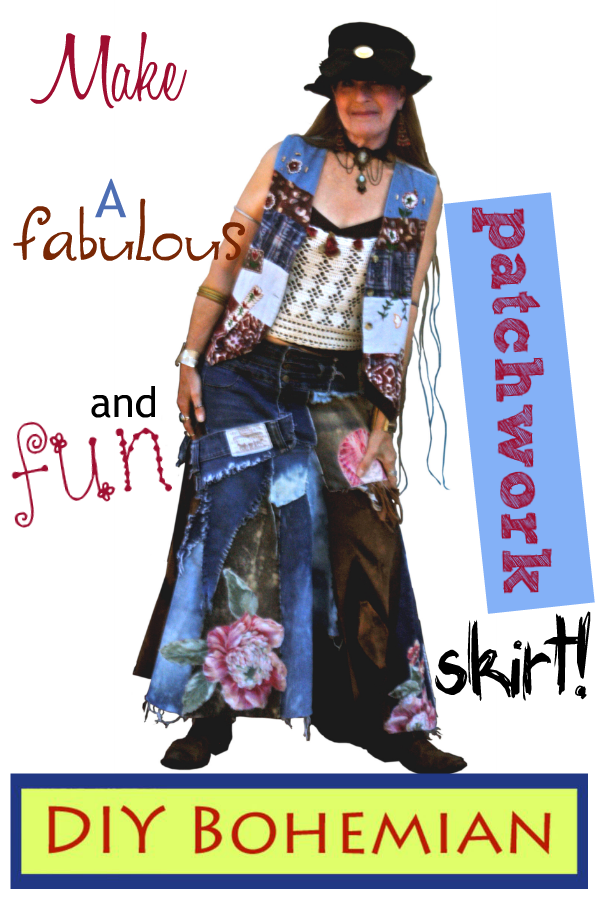
We all love denim!
It is believed to have been “born” in Nîmes, France.
Discovered serendipitously while manufacturing another strong cotton fabric known as “jeane” (named after the city of Genoa, Italy), weavers realized they had developed a different fabric from any other: This cotton twill weave was made of one colored thread and one white one.
Heralded for its sturdy durability, the fabric was made into work trousers for hard-working men during the California “gold rush” days of the 1850s in San Francisco: German immigrant Levi Stauss had brought his family’s dry goods business west, and carried denim in his store. A customer of his, Jacob W. Davis, was a tailor who was commissioned by a gold mining company to design rugged trousers for his workers. Strauss and Davis later became partners, manufacturing denim overalls in the 1870s, and, ultimately, jeans in the 1890s.
………………
For generations upon generations, young and old and in between, male and female, jeans have become the mainstay of our wardrobes. This clothing basic can be dressed up or dressed down. For many of us, this particular garment is the most comfortable and carefree item in our closets. We simply cannot live without our jeans!
Most of us wear our favorite jeans until they wear out. In fact, distressed denim is now fashionable! Who would have thought, years ago, that manufacturers would actually intentionally tear up new jeans to sell at higher prices because of their holes?!!!
So, what happens to our favorite jeans when it appears they have no more use? Ah-ha! We tear them up even more! Lol.

Read the entire tutorial BEFORE you begin.
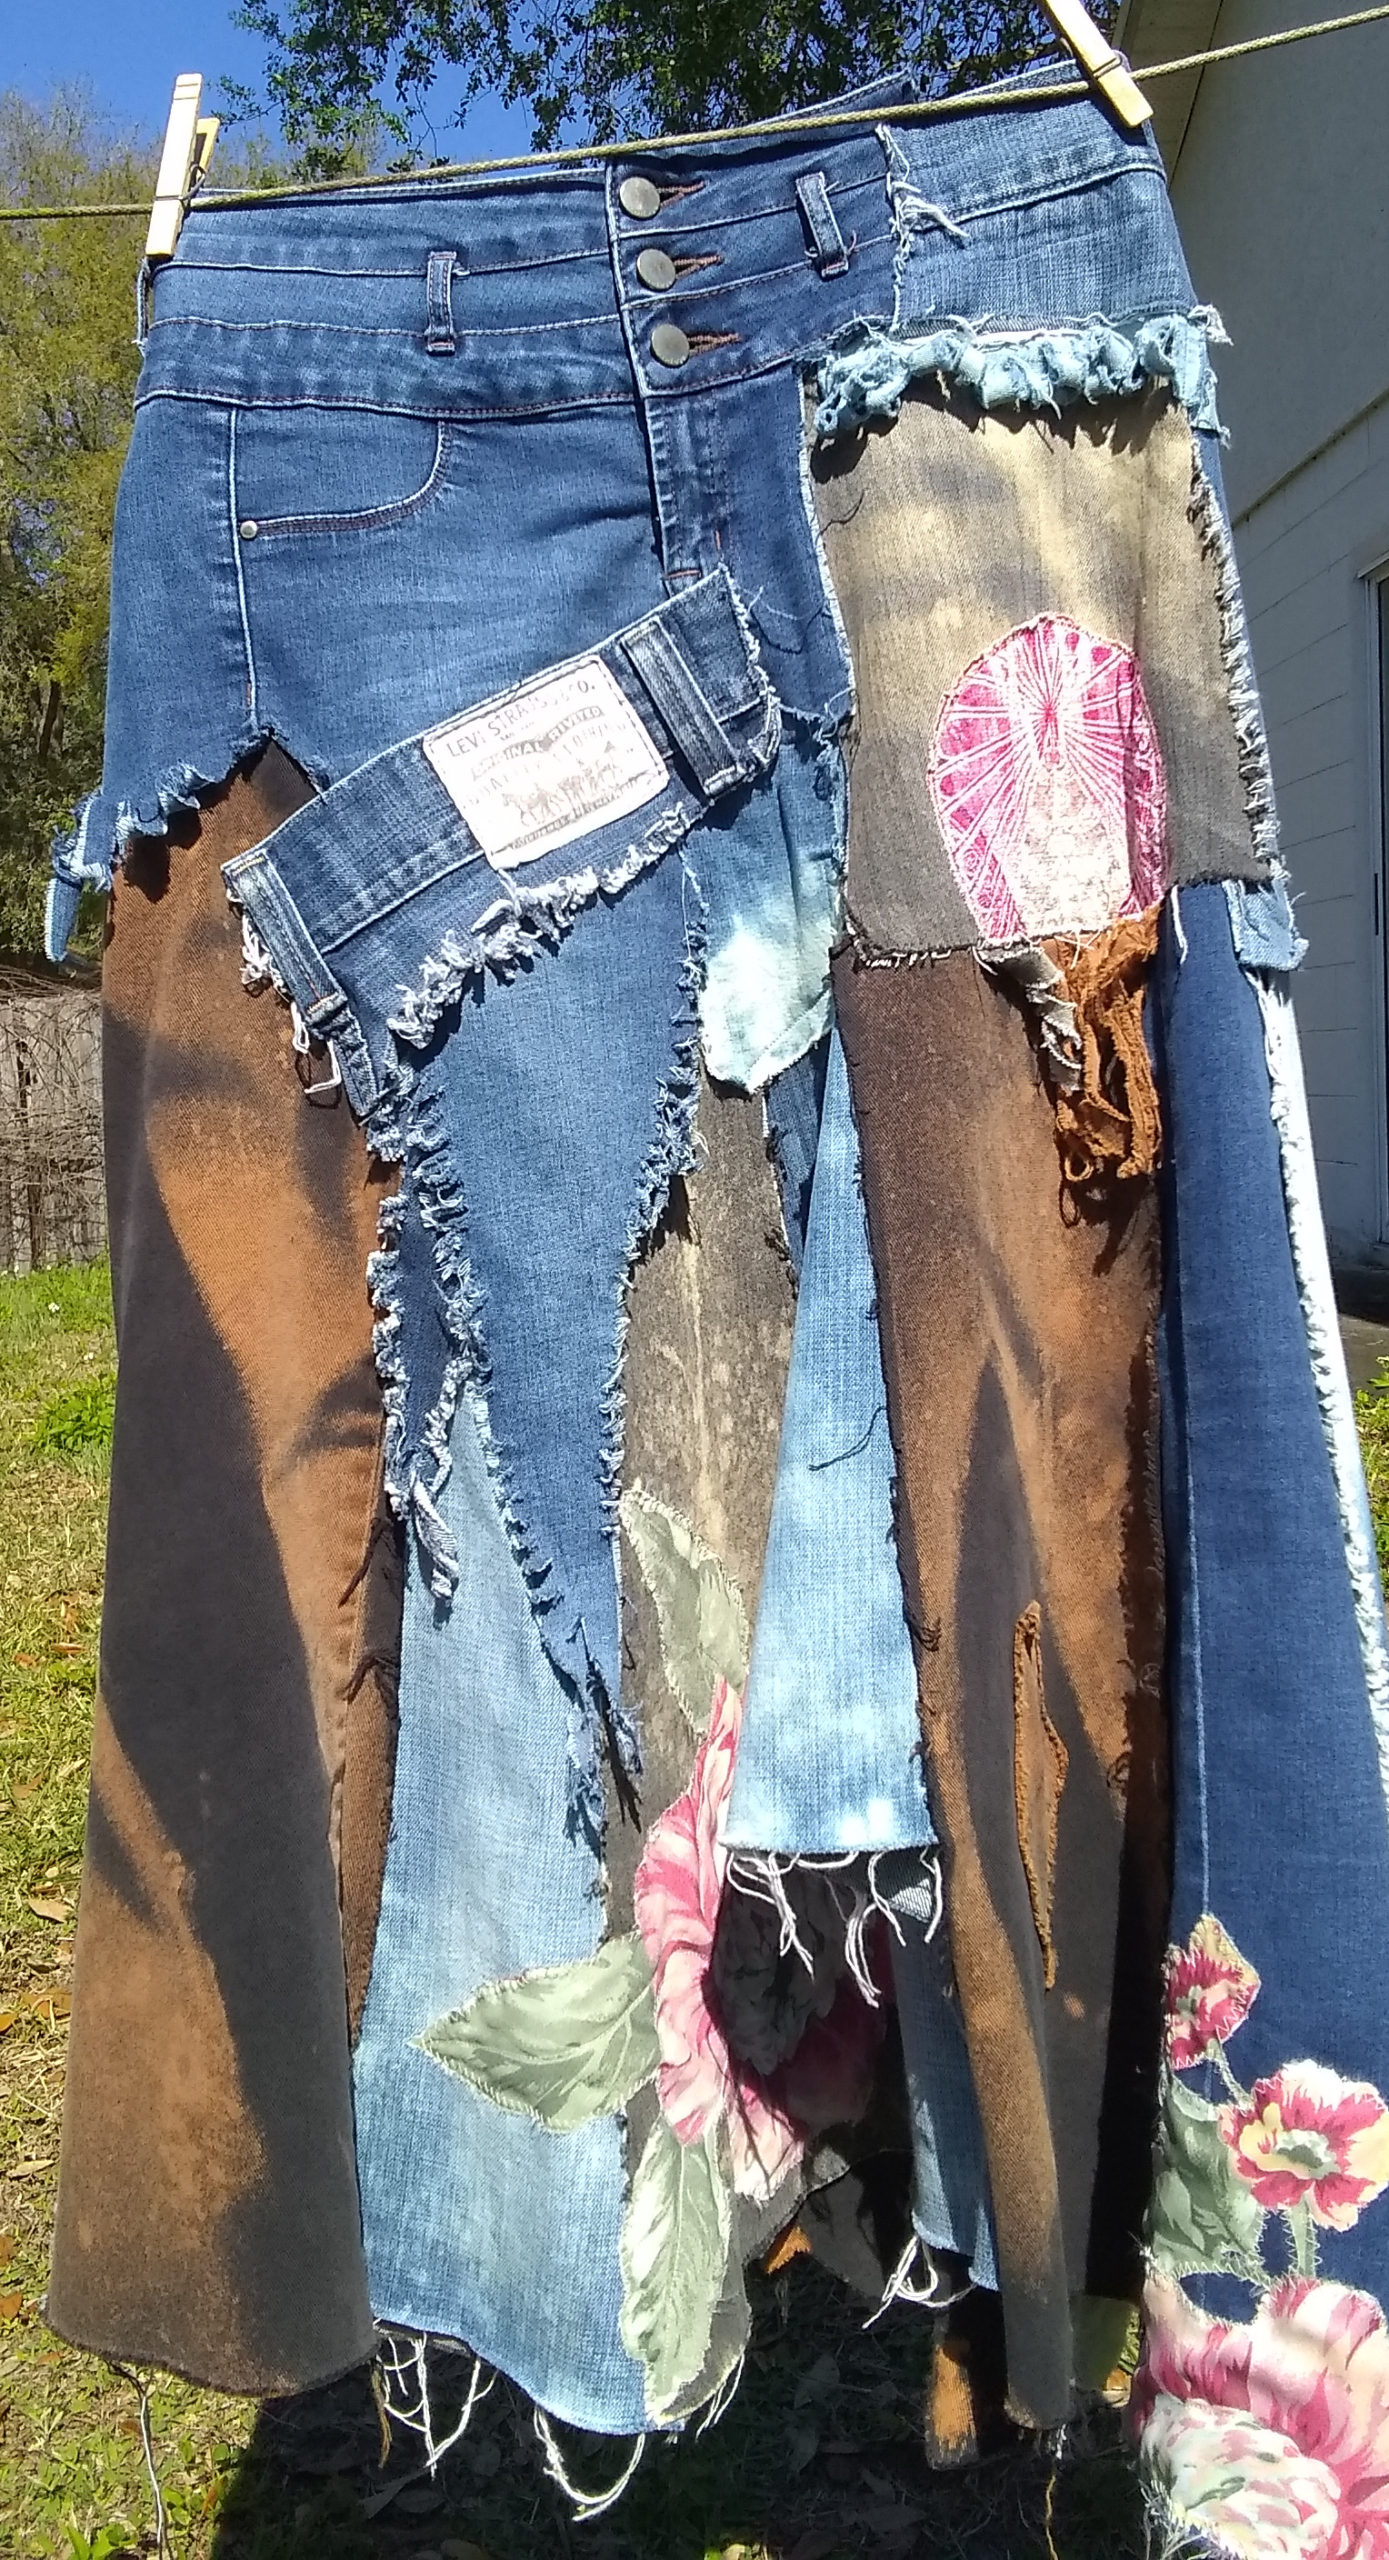
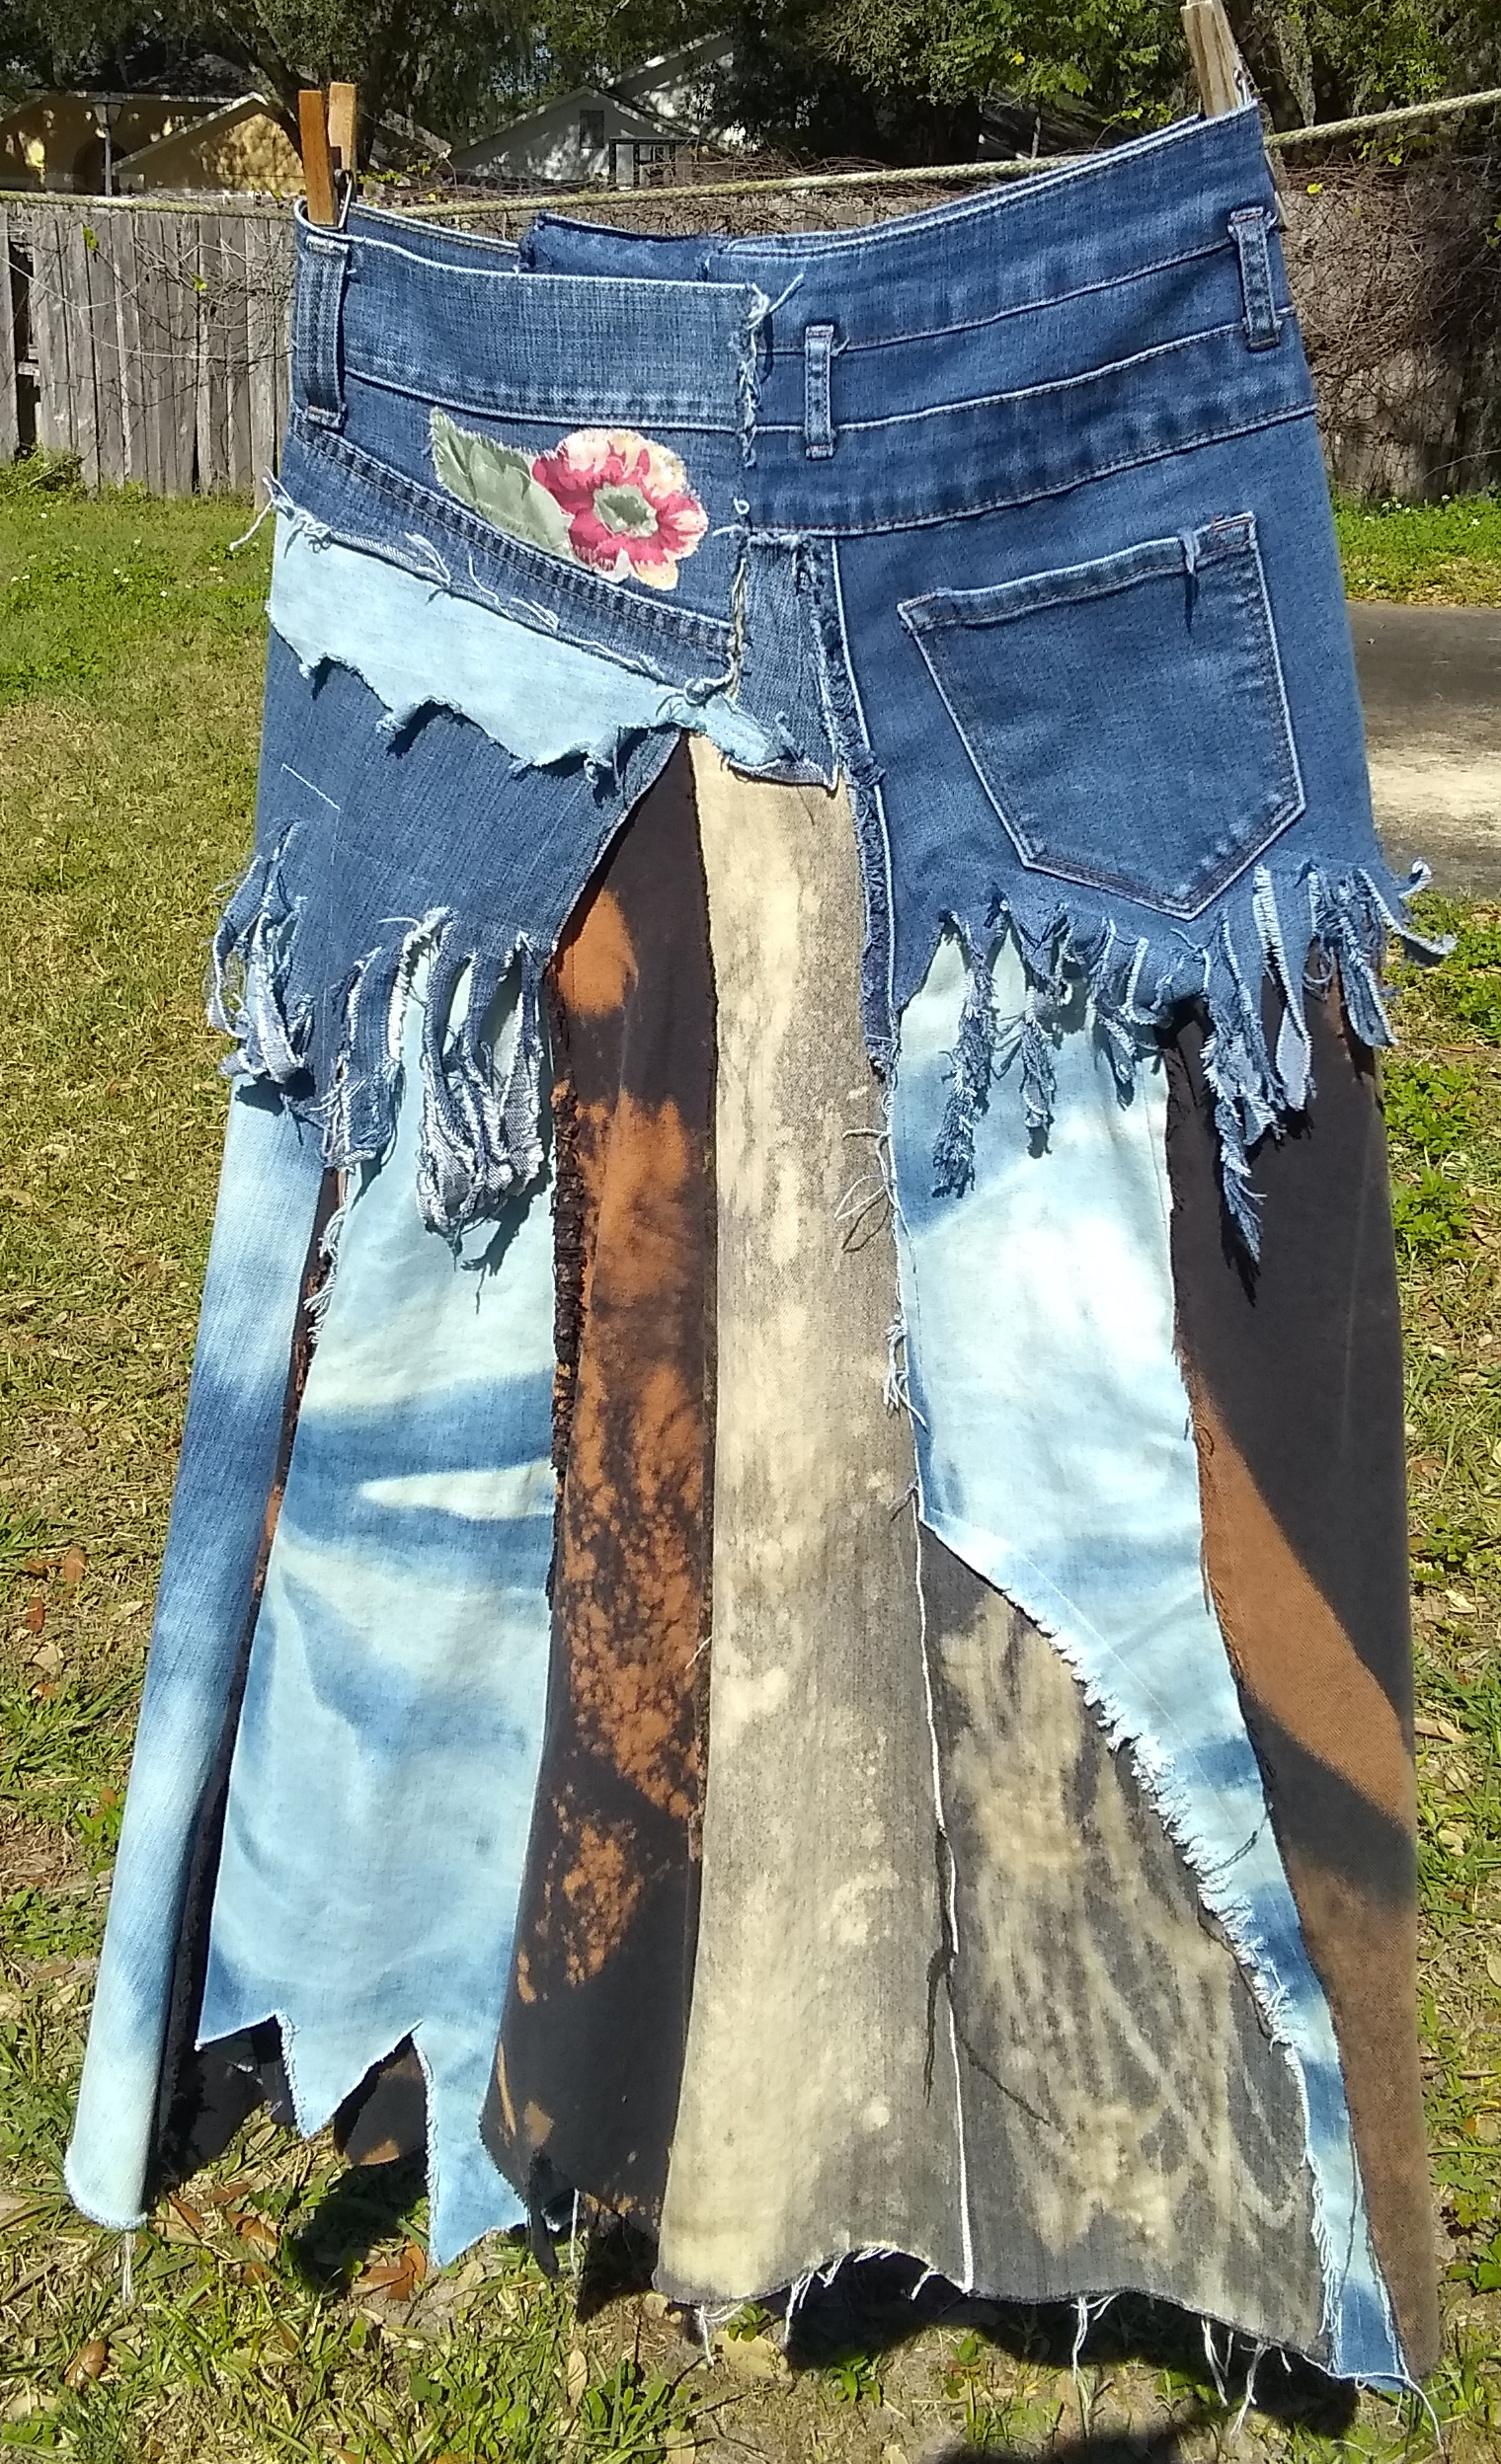
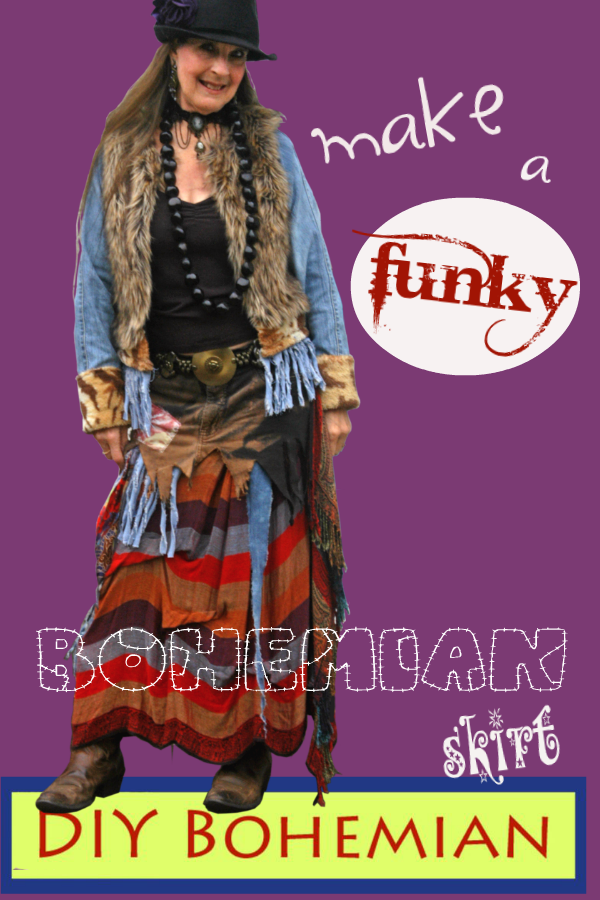
I made this skirt from the denim of four pairs of jeans: One black, one gray, two blue.
I used jeans I got at a thrift store for 25 cents each, at different times.
It’s cost-effective to buy jeans in large sizes even if you are a small or medium woman: You get more material that way for the same price!

Step 1: The Waistband. I used two pairs for the top part, shown here: One pair, with three buttons above the zipper, I liked in particular, but it was too small. I would combine it with another pair.
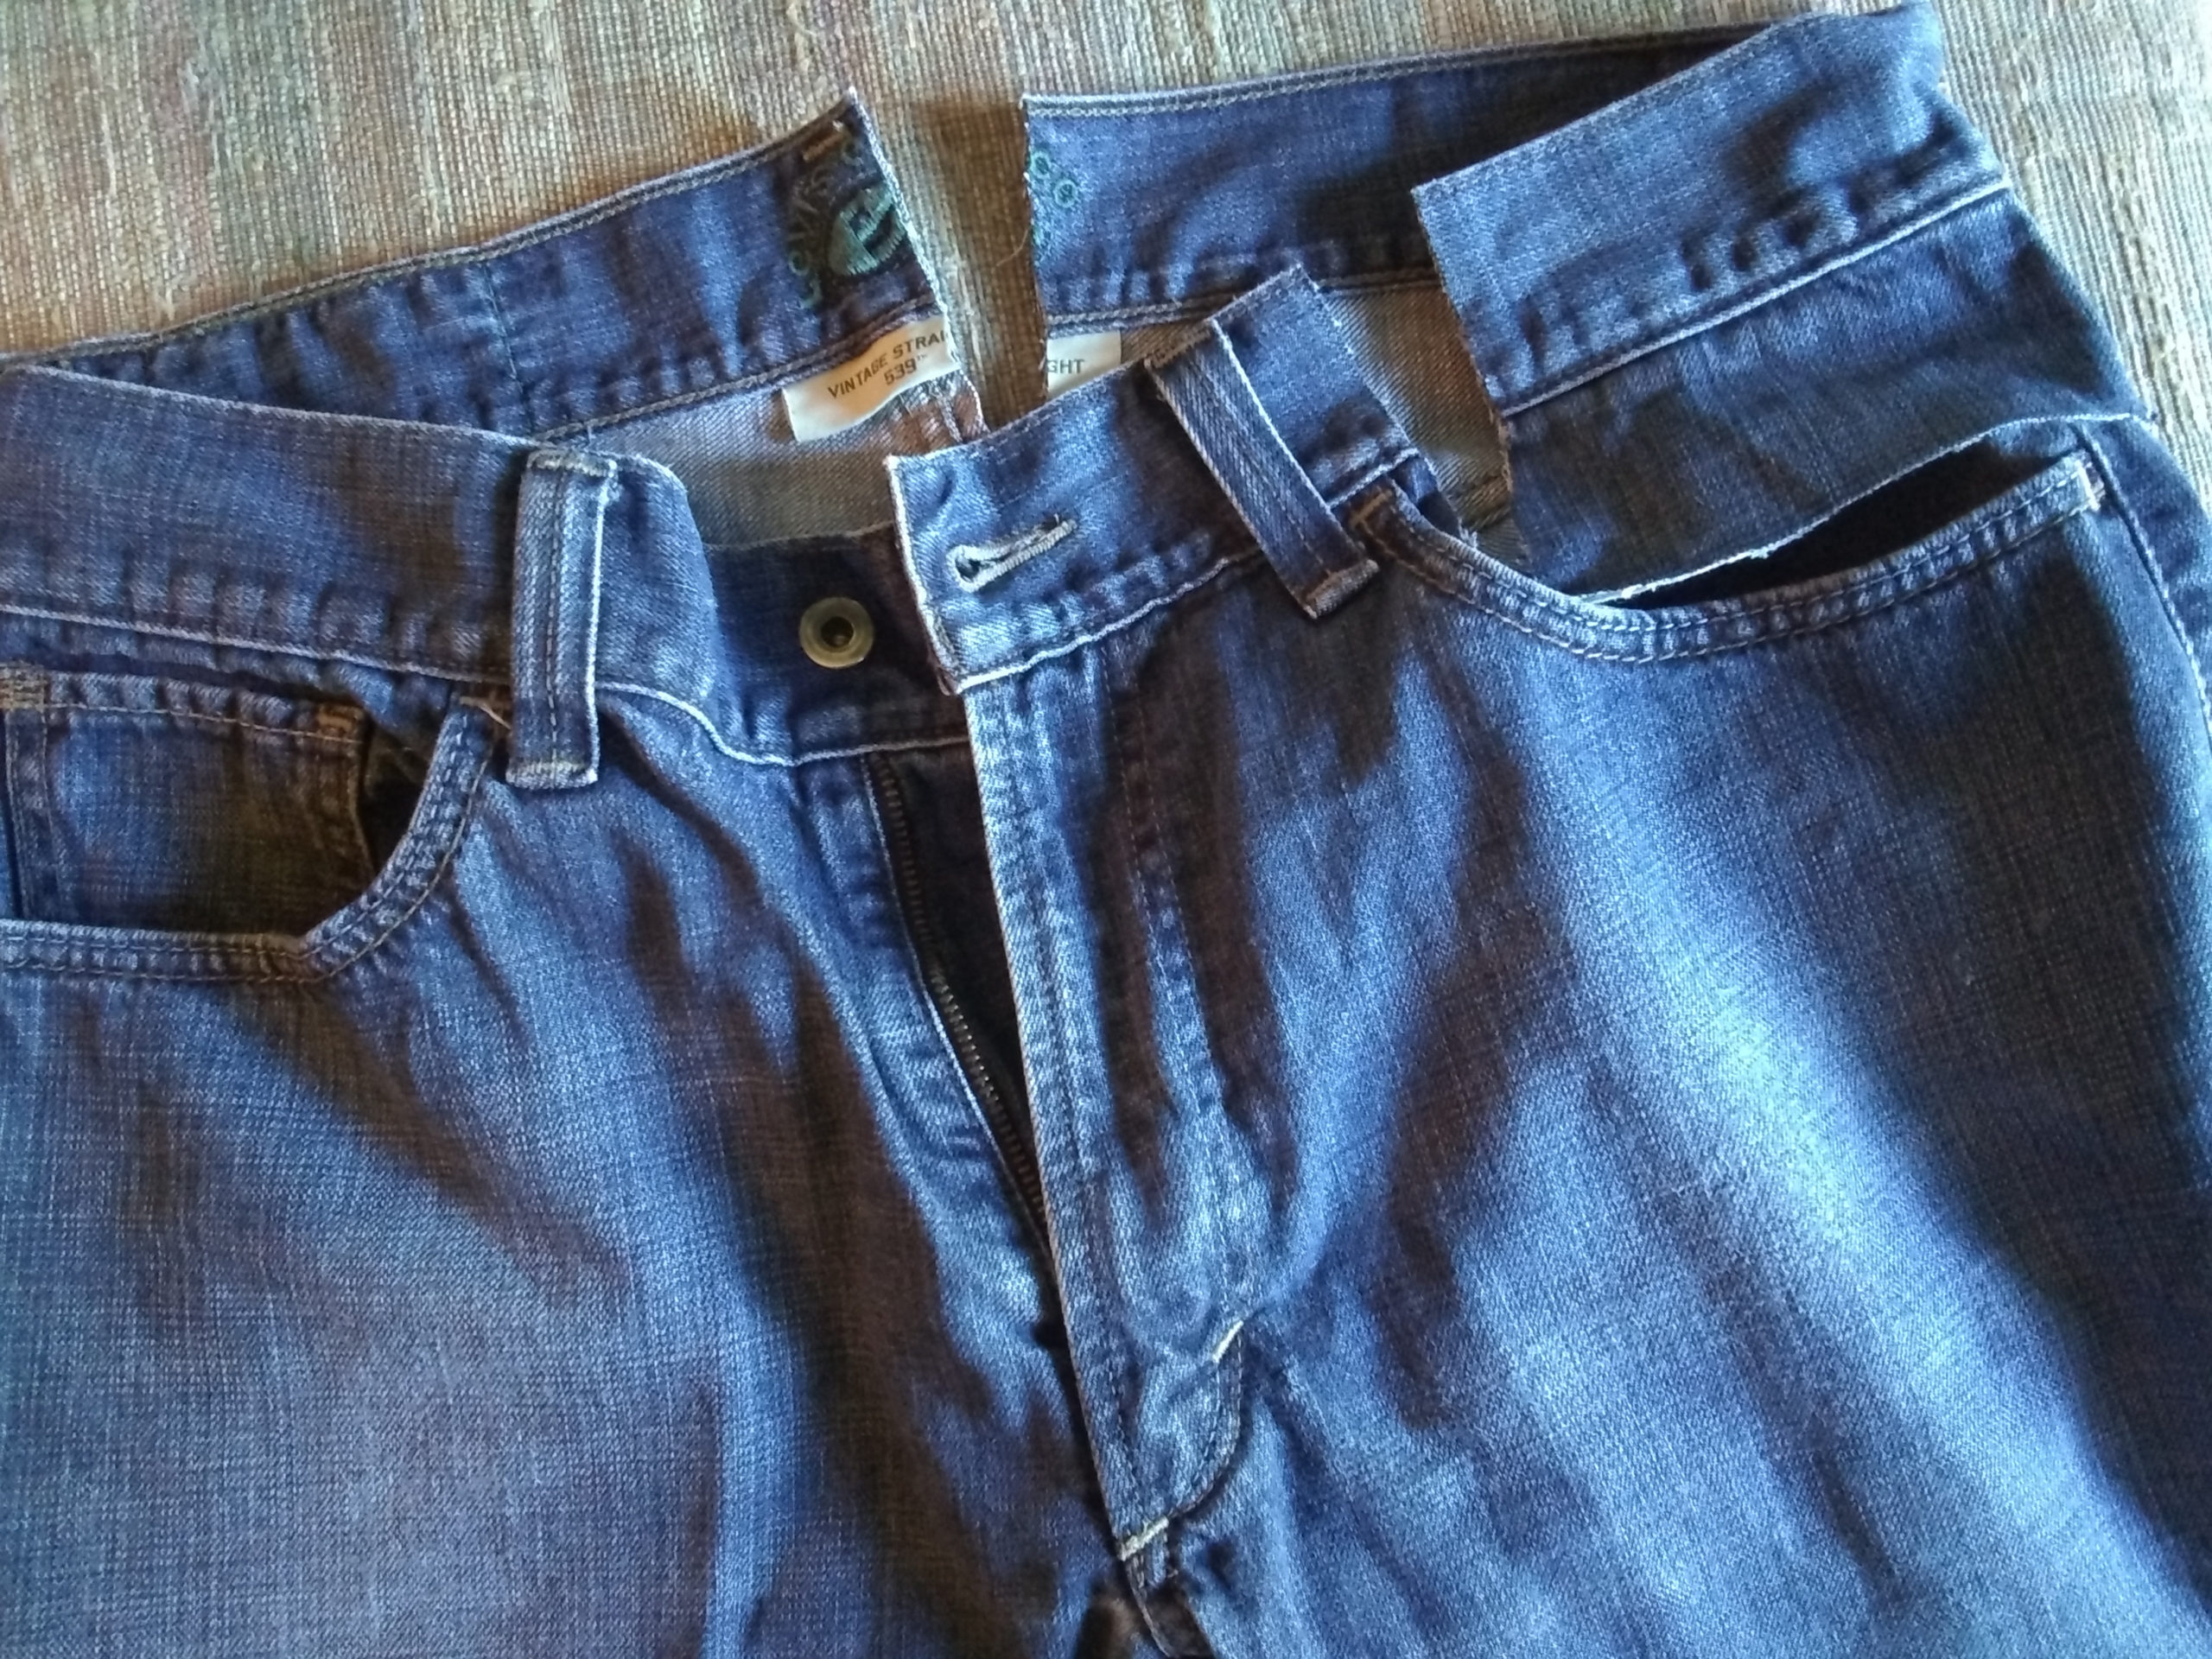
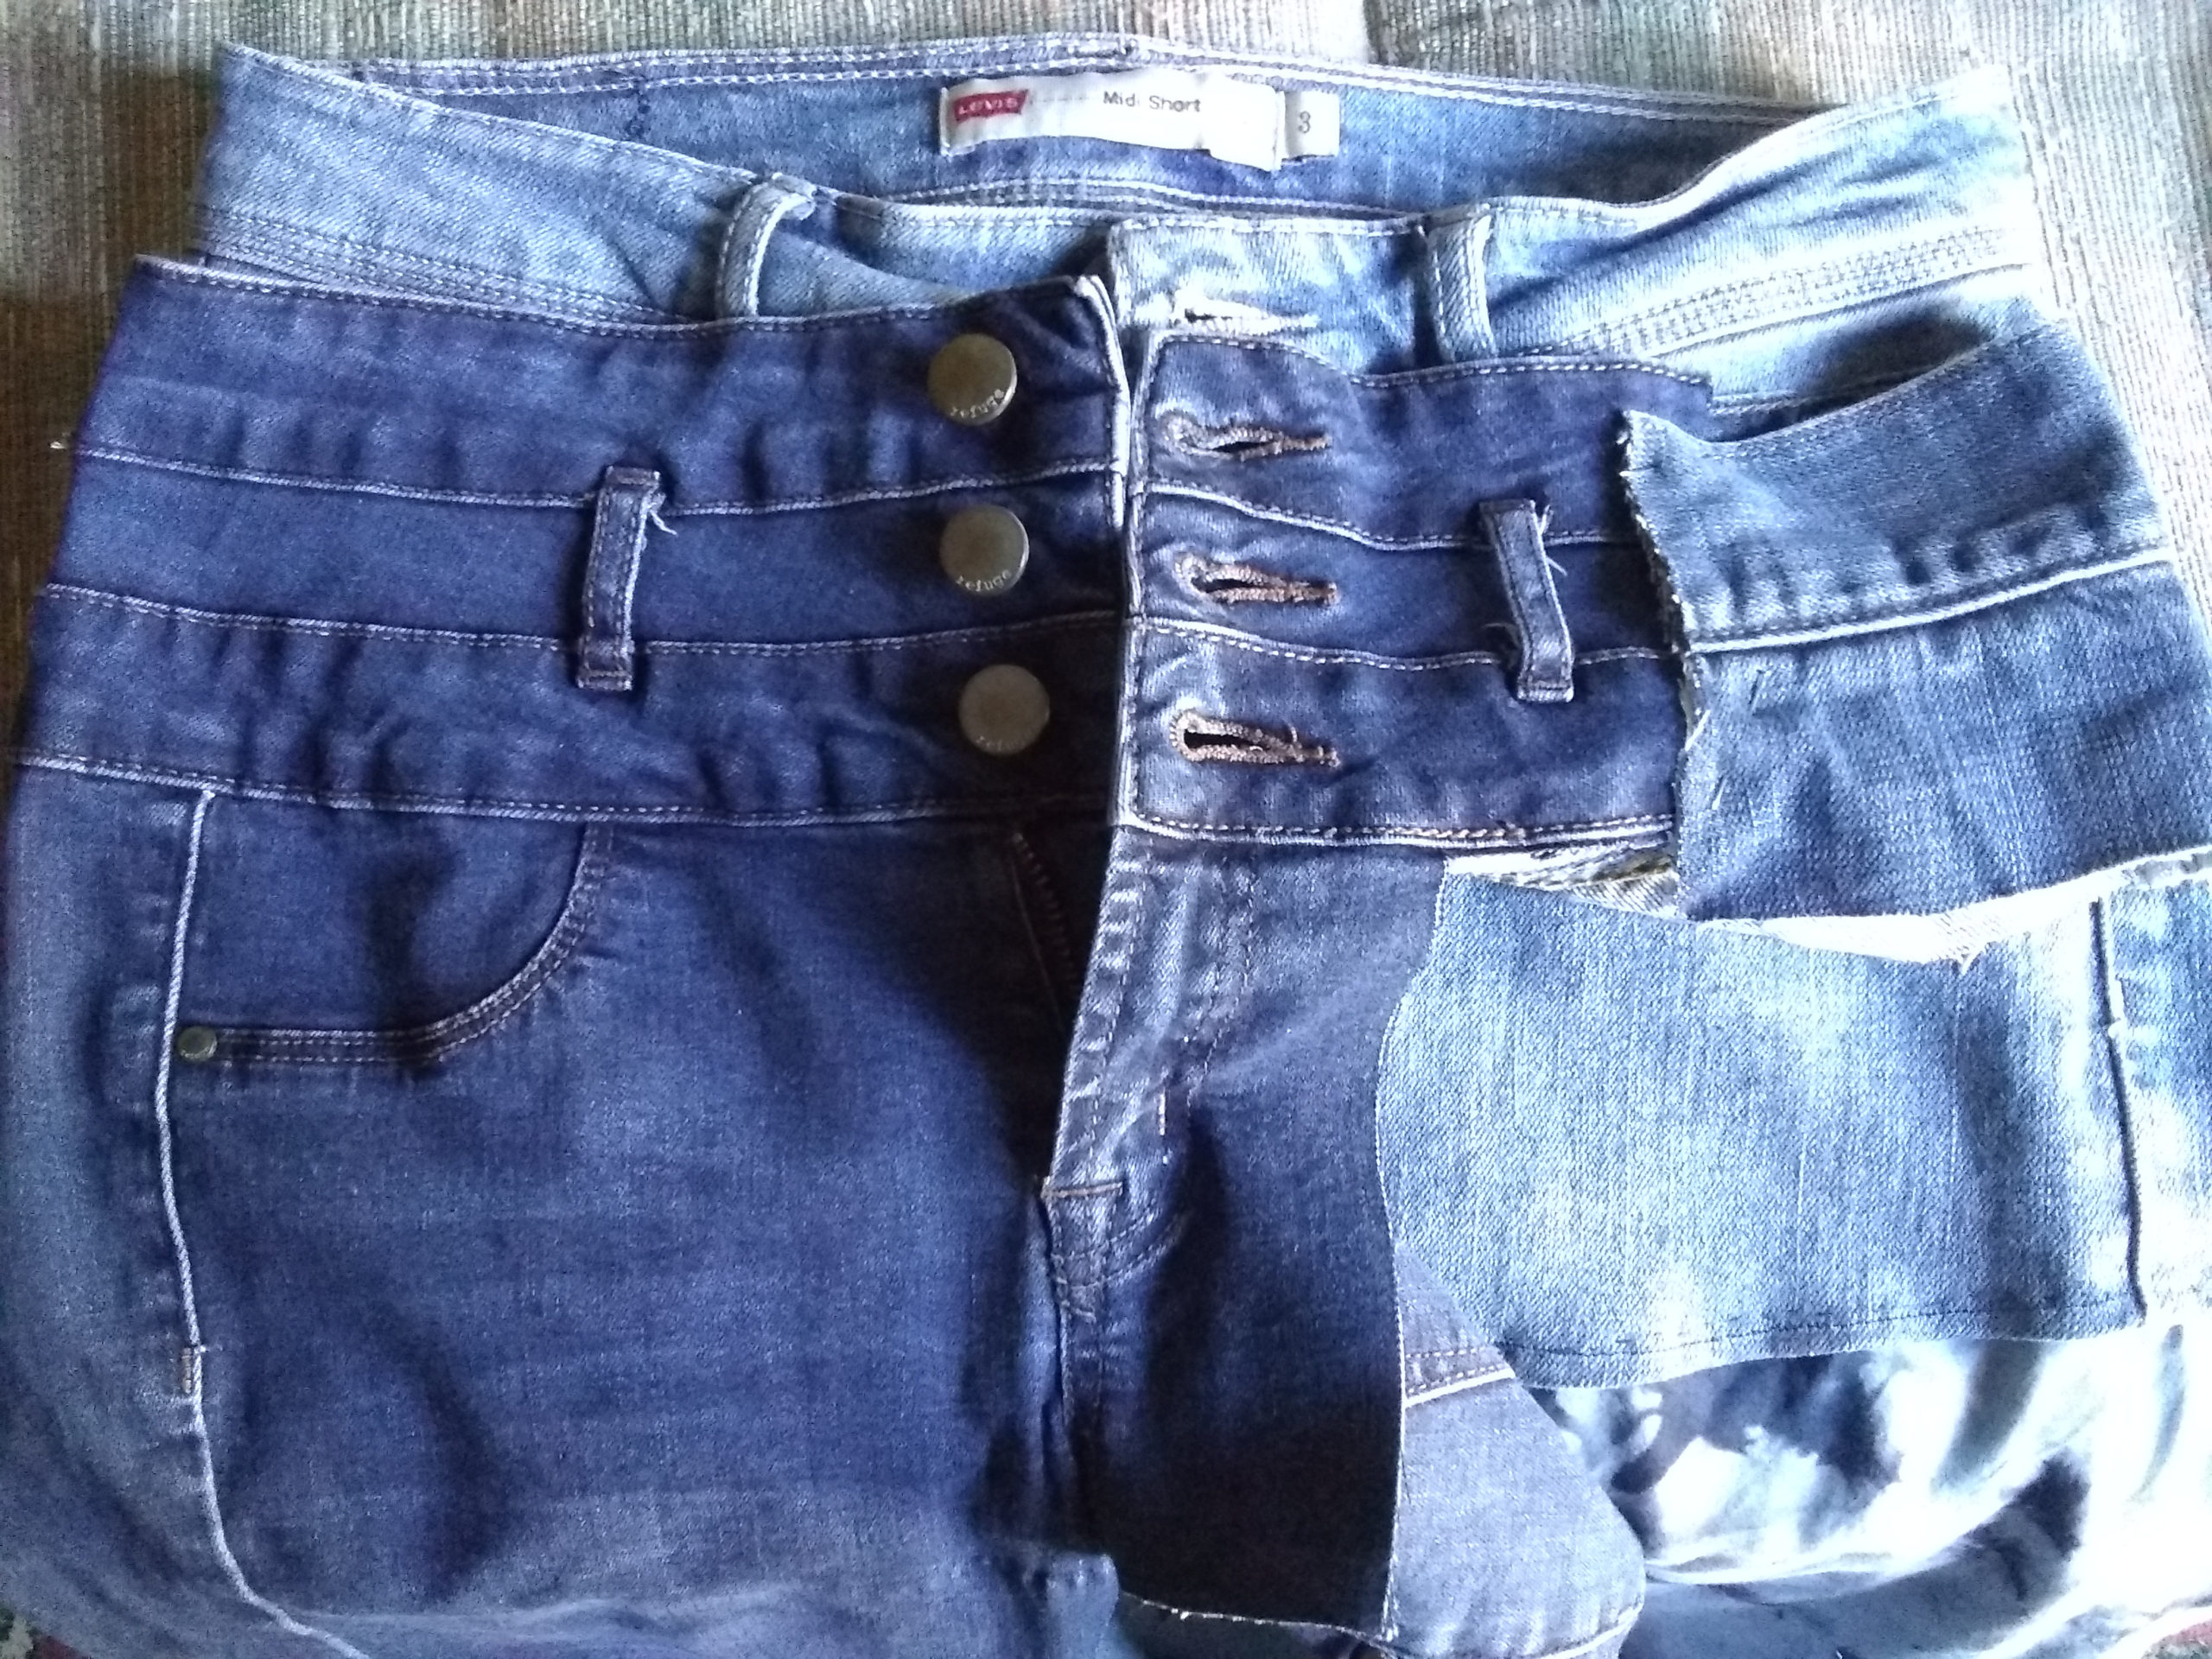
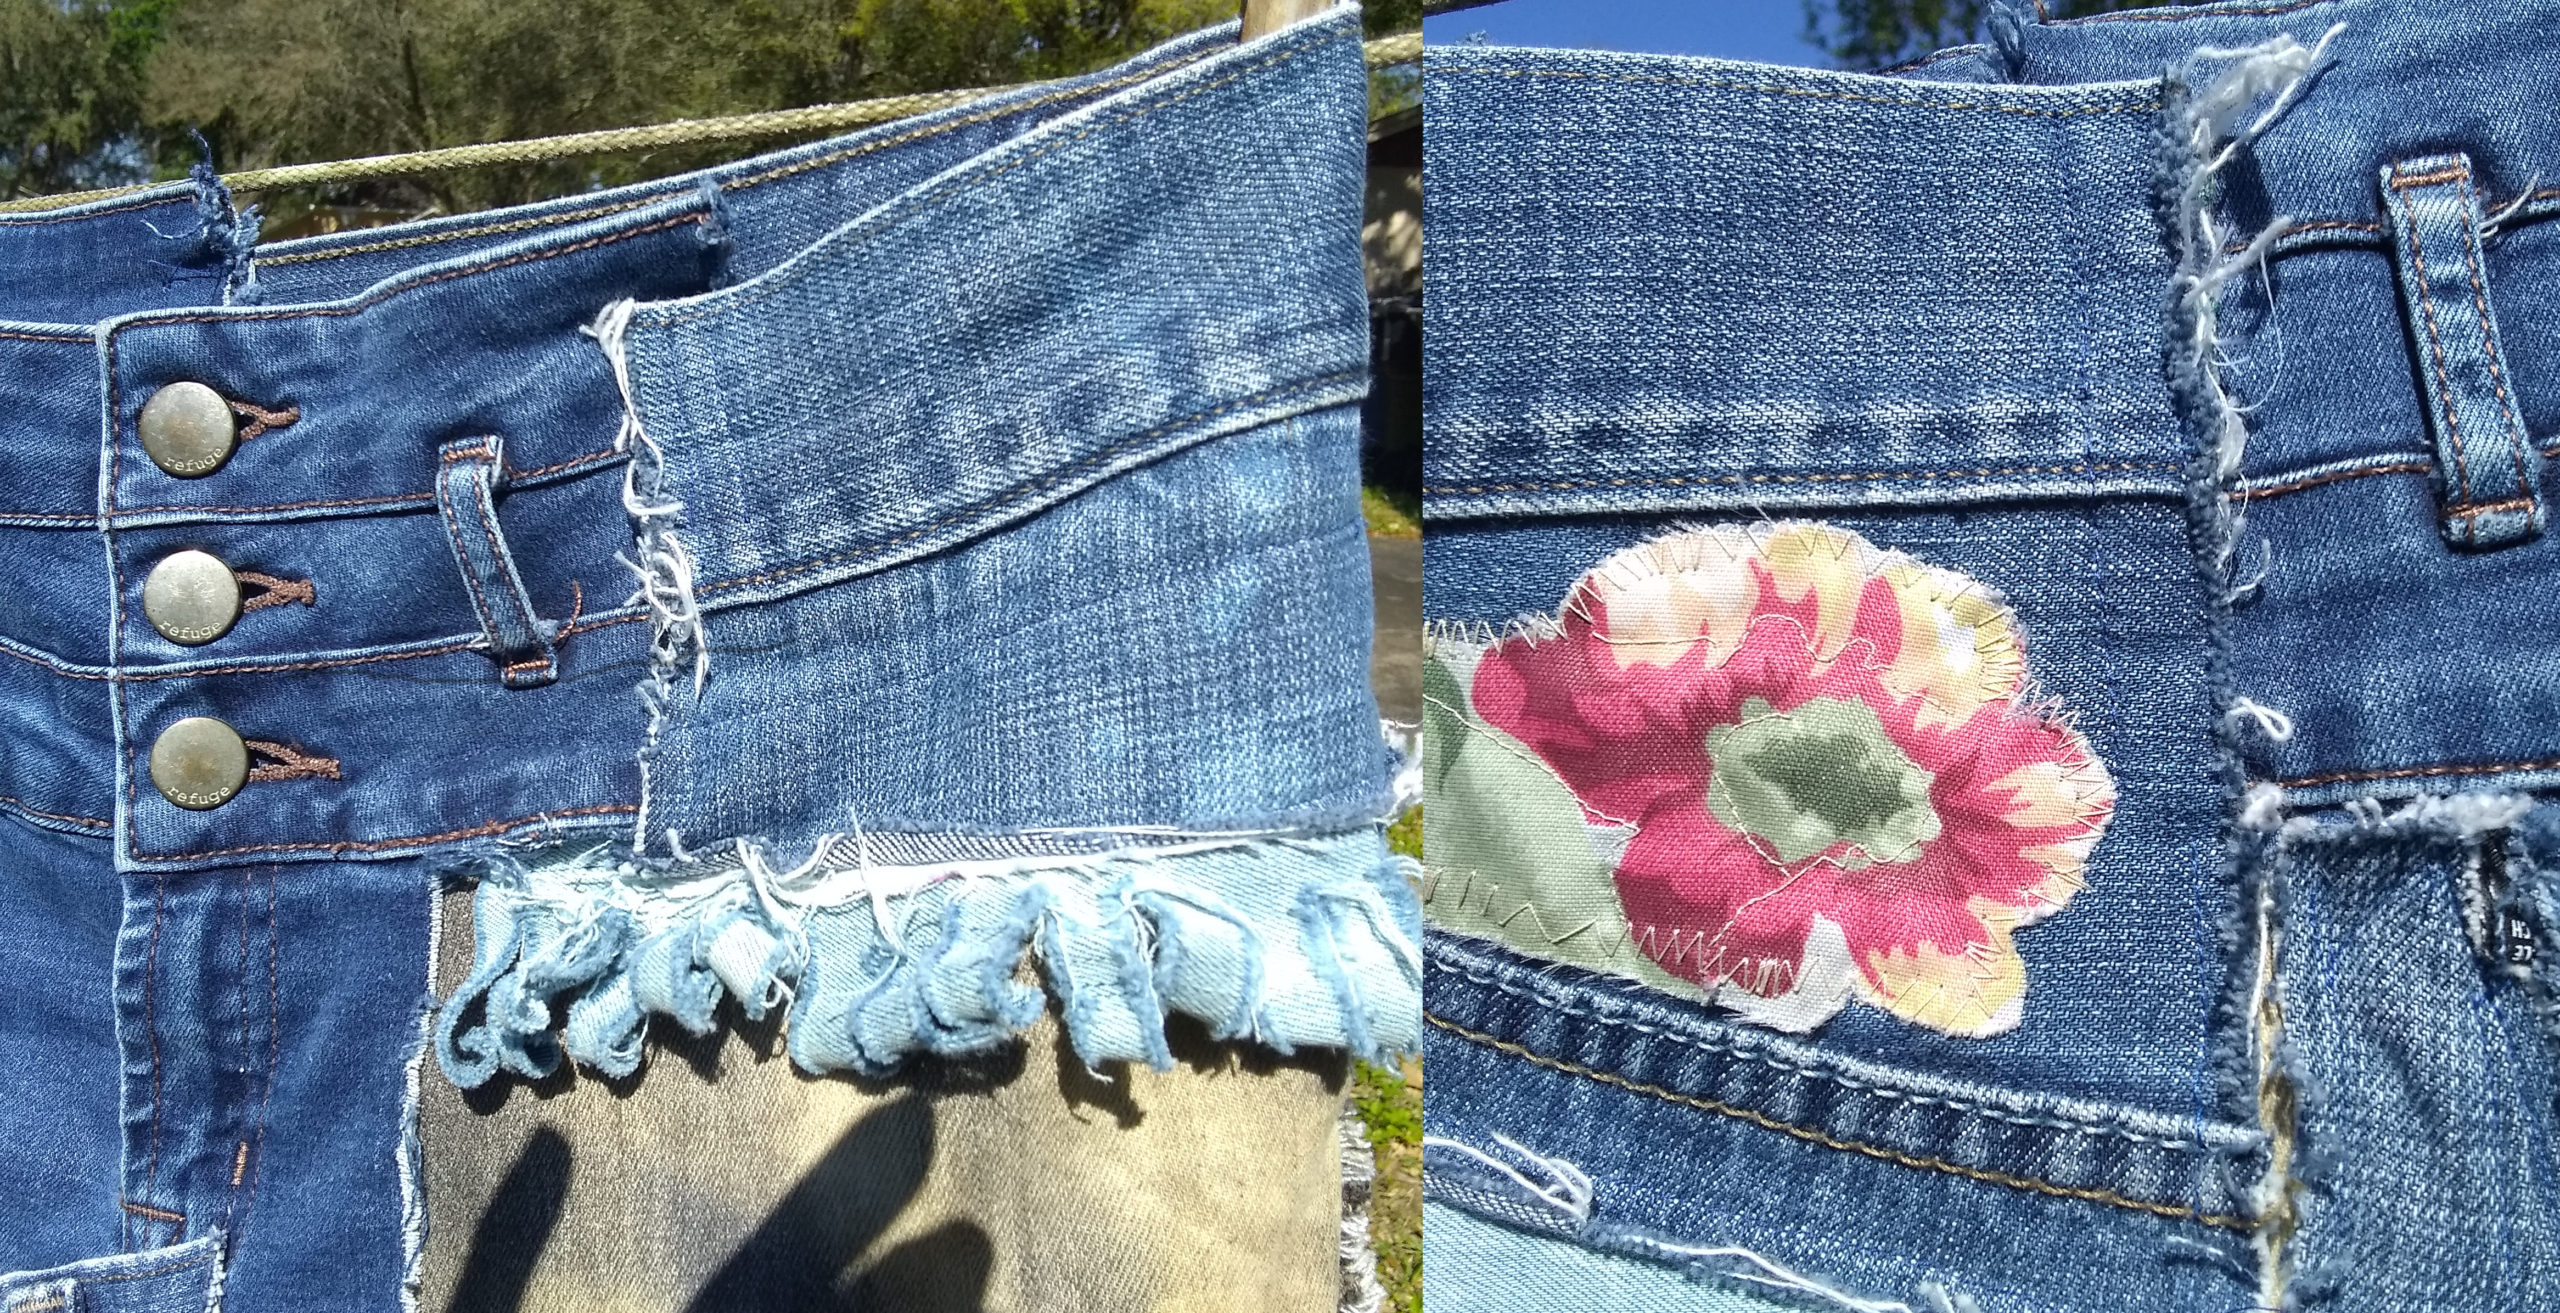
I like raw edges on denim, so I didn’t worry about the seams: I simply overlapped one onto the other, aligning the bottoms of the waistbands because one was wider than the other. No matter.
I pinned them in place, tried on the whole, then stitched them together.

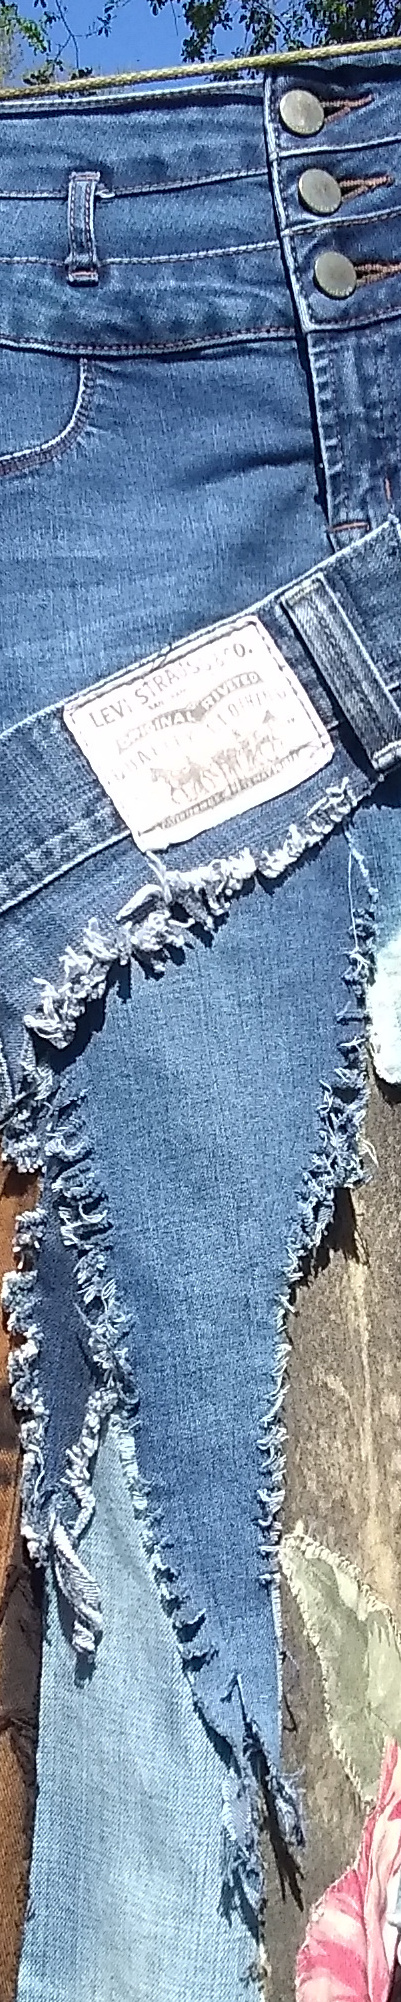
But, before I cut off the waist and hips area of each, I decided that, from the one, I would include a pointed swath from the leg, shown on the right. (The diagonal waistband patch was added later.)
I cut about 60 percent of the waist area from that one pair and about 40 percent from a larger pair and combined them, adjusting the “waistline” to fit my hips, resting just above my hip bones.
…………
Now, I have the top of the skirt with a long piece coming down.

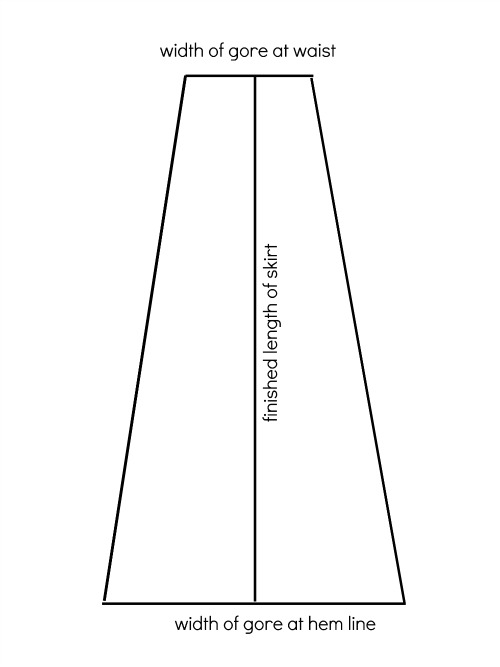
I wanted this to be a gore skirt but with extra patches.
A gore is a piece that is narrow at the top and wide at the bottom, as in the illustration on the right.
When they are sewn together, the skirt is fitted at the hips, and flares out wide at the bottom.

Normally, the gores would all be the same size—same length and width. But, this is a patchwork skirt—a bohemian skirt. Lol. So, I made it irregular. I really didn’t care about how many gores or what size each was.

Step 2: The Gores. I started out with a pair of jeans from which I cut off the top. The thigh area is generally wider than the ankle of a pant leg, especially if you’re using skinny jeans, so, I used the top of the leg for the bottom of the gore.
Put on your top-of-skirt piece and fit it either to your waist or hips, however you are making it to fit.
Take a yardstick. Hold the end of it where you want the bottom of your skirt to fall, and measure up to above the bottom of the skirt top.
This is the length of your gores, unless you cut the top part irregularly—which is what I did. Then, you will need to adjust each gore length, as I did.

Turn the jeans inside out. Cut off the bottom hem of the leg. Measure from that edge to make a piece the length you want. With a ballpoint pen, make marks on each side seem of the leg and draw a straight line across the thigh area. This is the bottom of the gore.
Find the center between the side seams in the ankle edge, mark it. From the center mark, measure out however wide or narrow you want the top of your gore to be.
I made mine varying in the two-to-three inch width for the narrow tops of the gores, which means one to one-and-a-half inch on each side of center.

If you want your skirt to have a generous flare, make the bottom of the gore as wide as the leg.
After you cut the gores, you can spray bleach each one, if you choose. See Step 2 of Funky Bohemian Skirt tutorial.
Because all of my gores were different, I cut one or two at a time, spray bleached them, washed them, dried them, sewed them.
Yes, this is an involved project. Don’t expect this to be quick: It took me about 25 hours to do the whole skirt, which includes the embellishments.

Simply keep adding gores.
When I established the desired length of the skirt with the first gore, I would add the next gore by lining it up on the bottom first. Then, overlap the side edges, bringing it up to the top.
As you see, I patched together one gore from two pieces.
Do what you like to make yours original.
Because of the irregularity of my gores, one or two of them needed to be more rectangular than “A” shaped.

Step 3: The Patches and Embellishments.
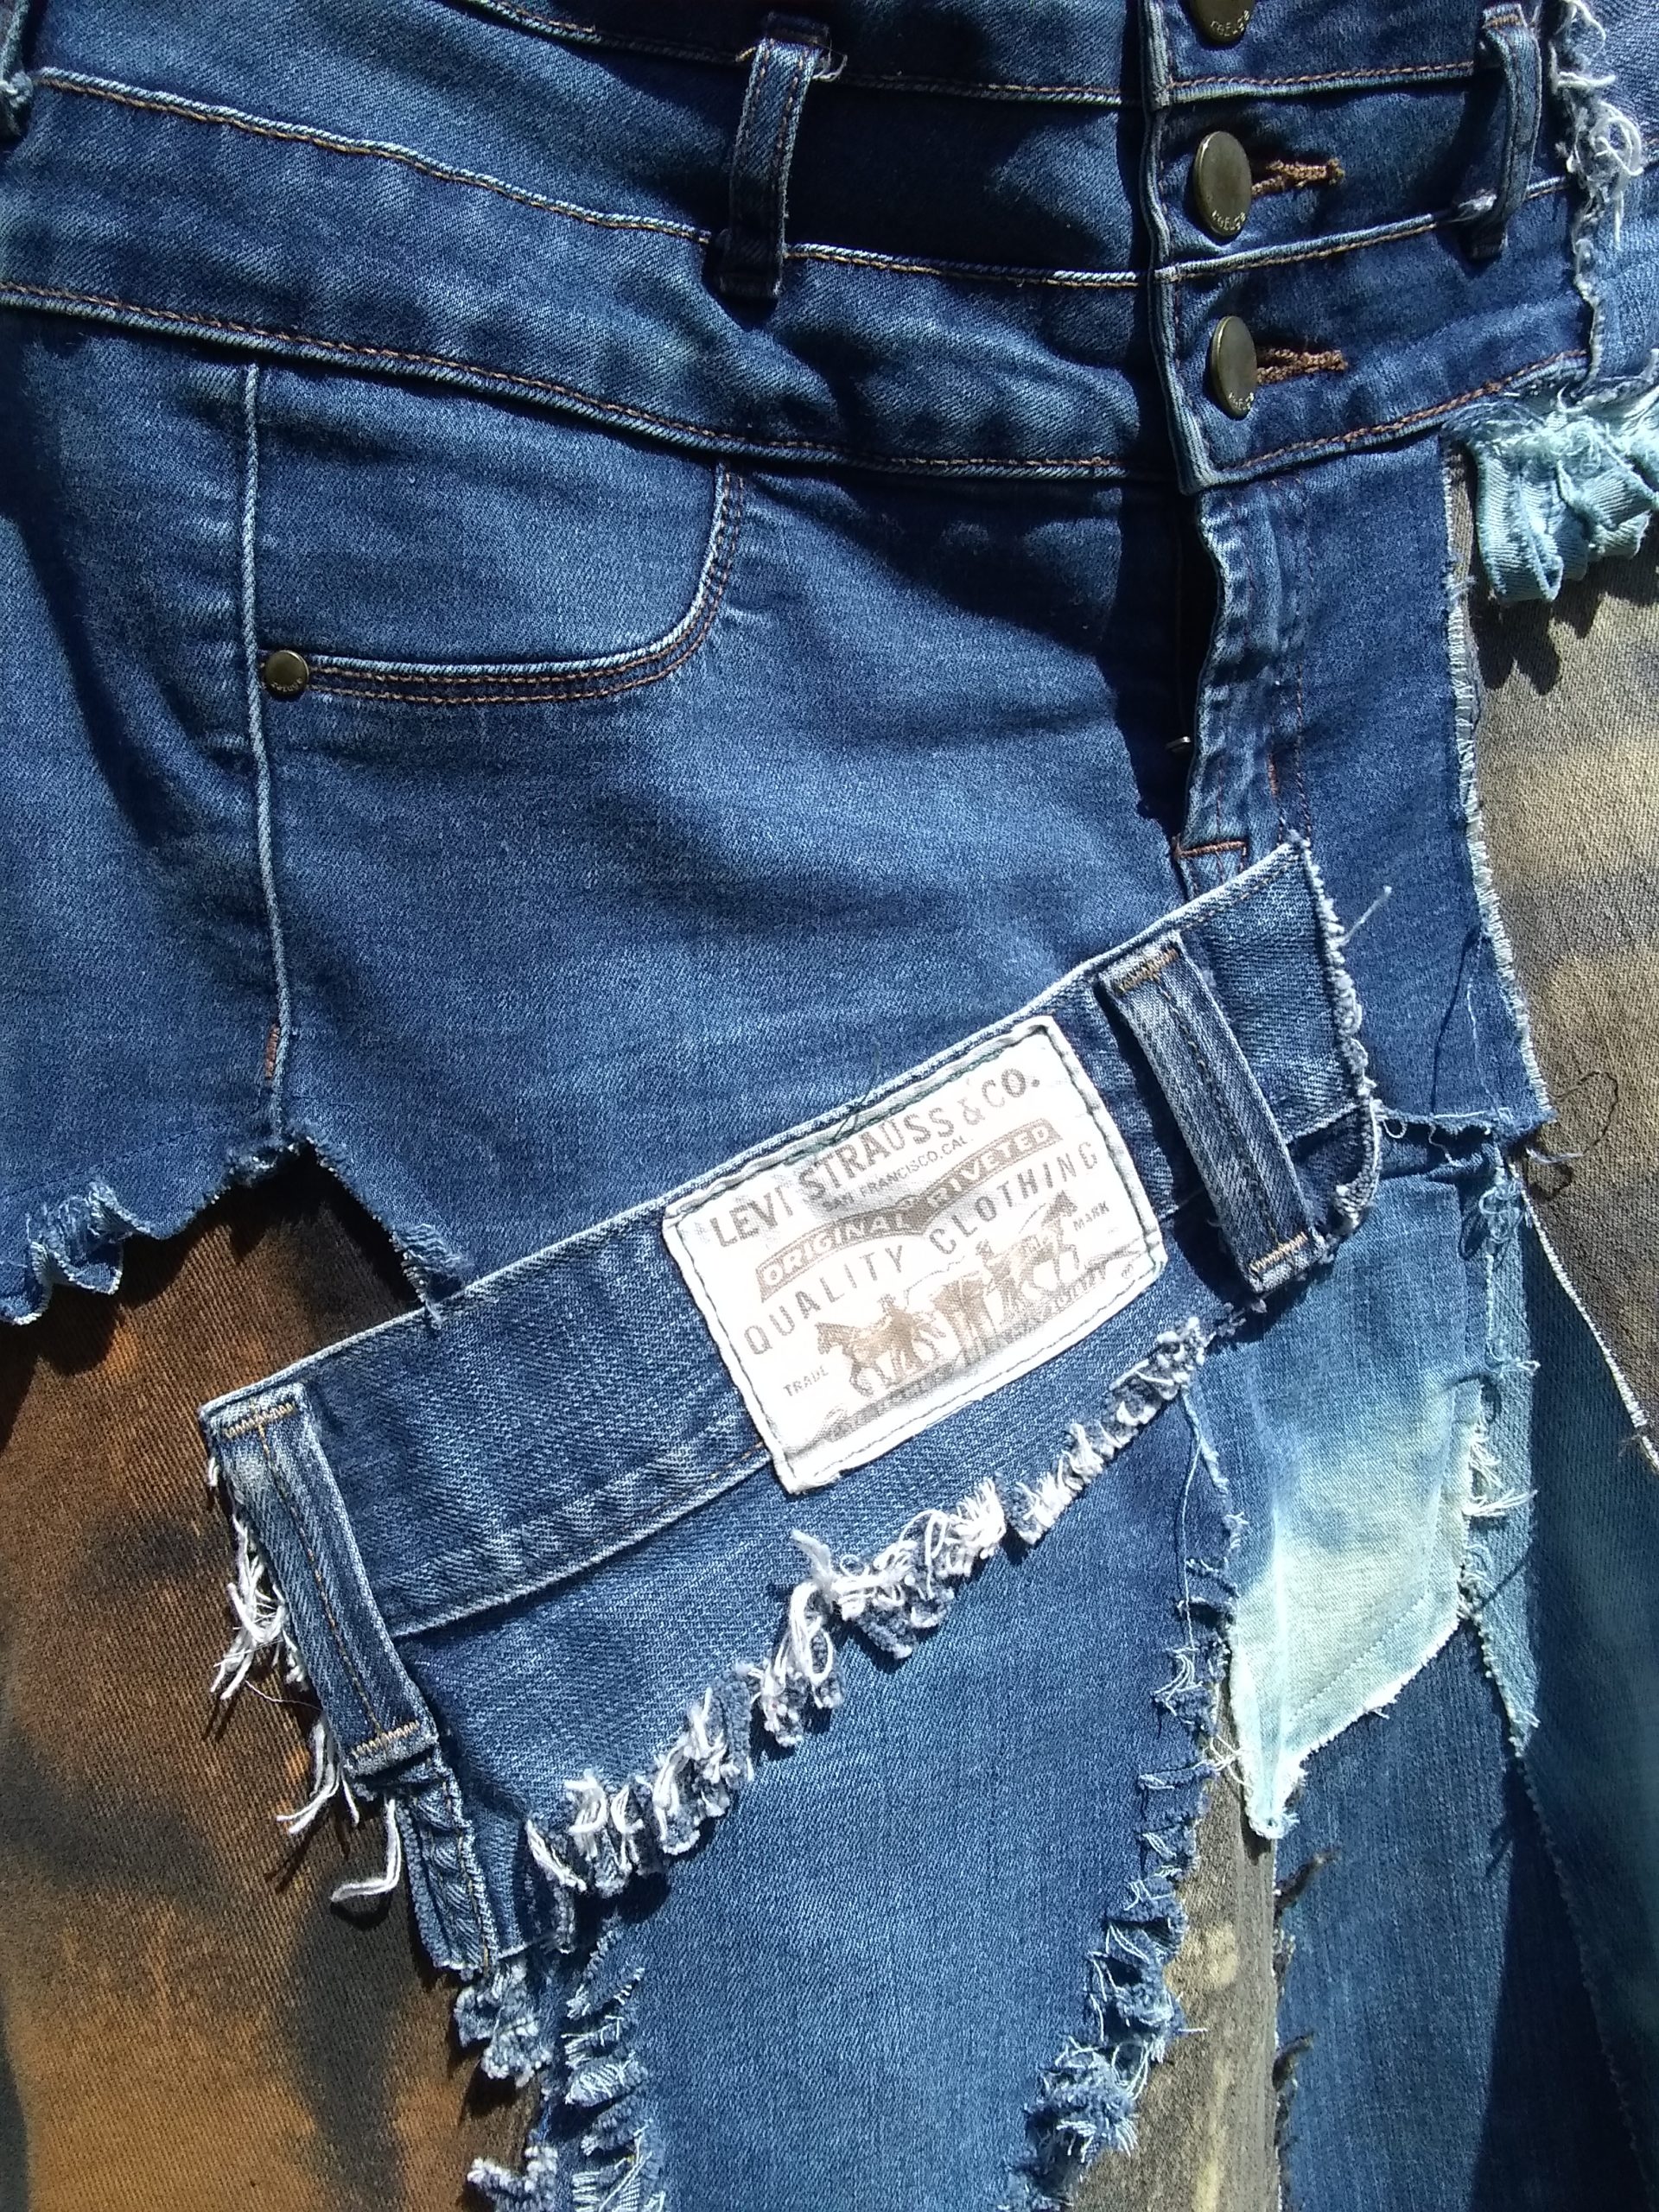
- I used a portion of waistband, with belt loops, and the famous Levi’s label for an interesting patch;
- Inserted an irregular piece of light blue in the darker blue;
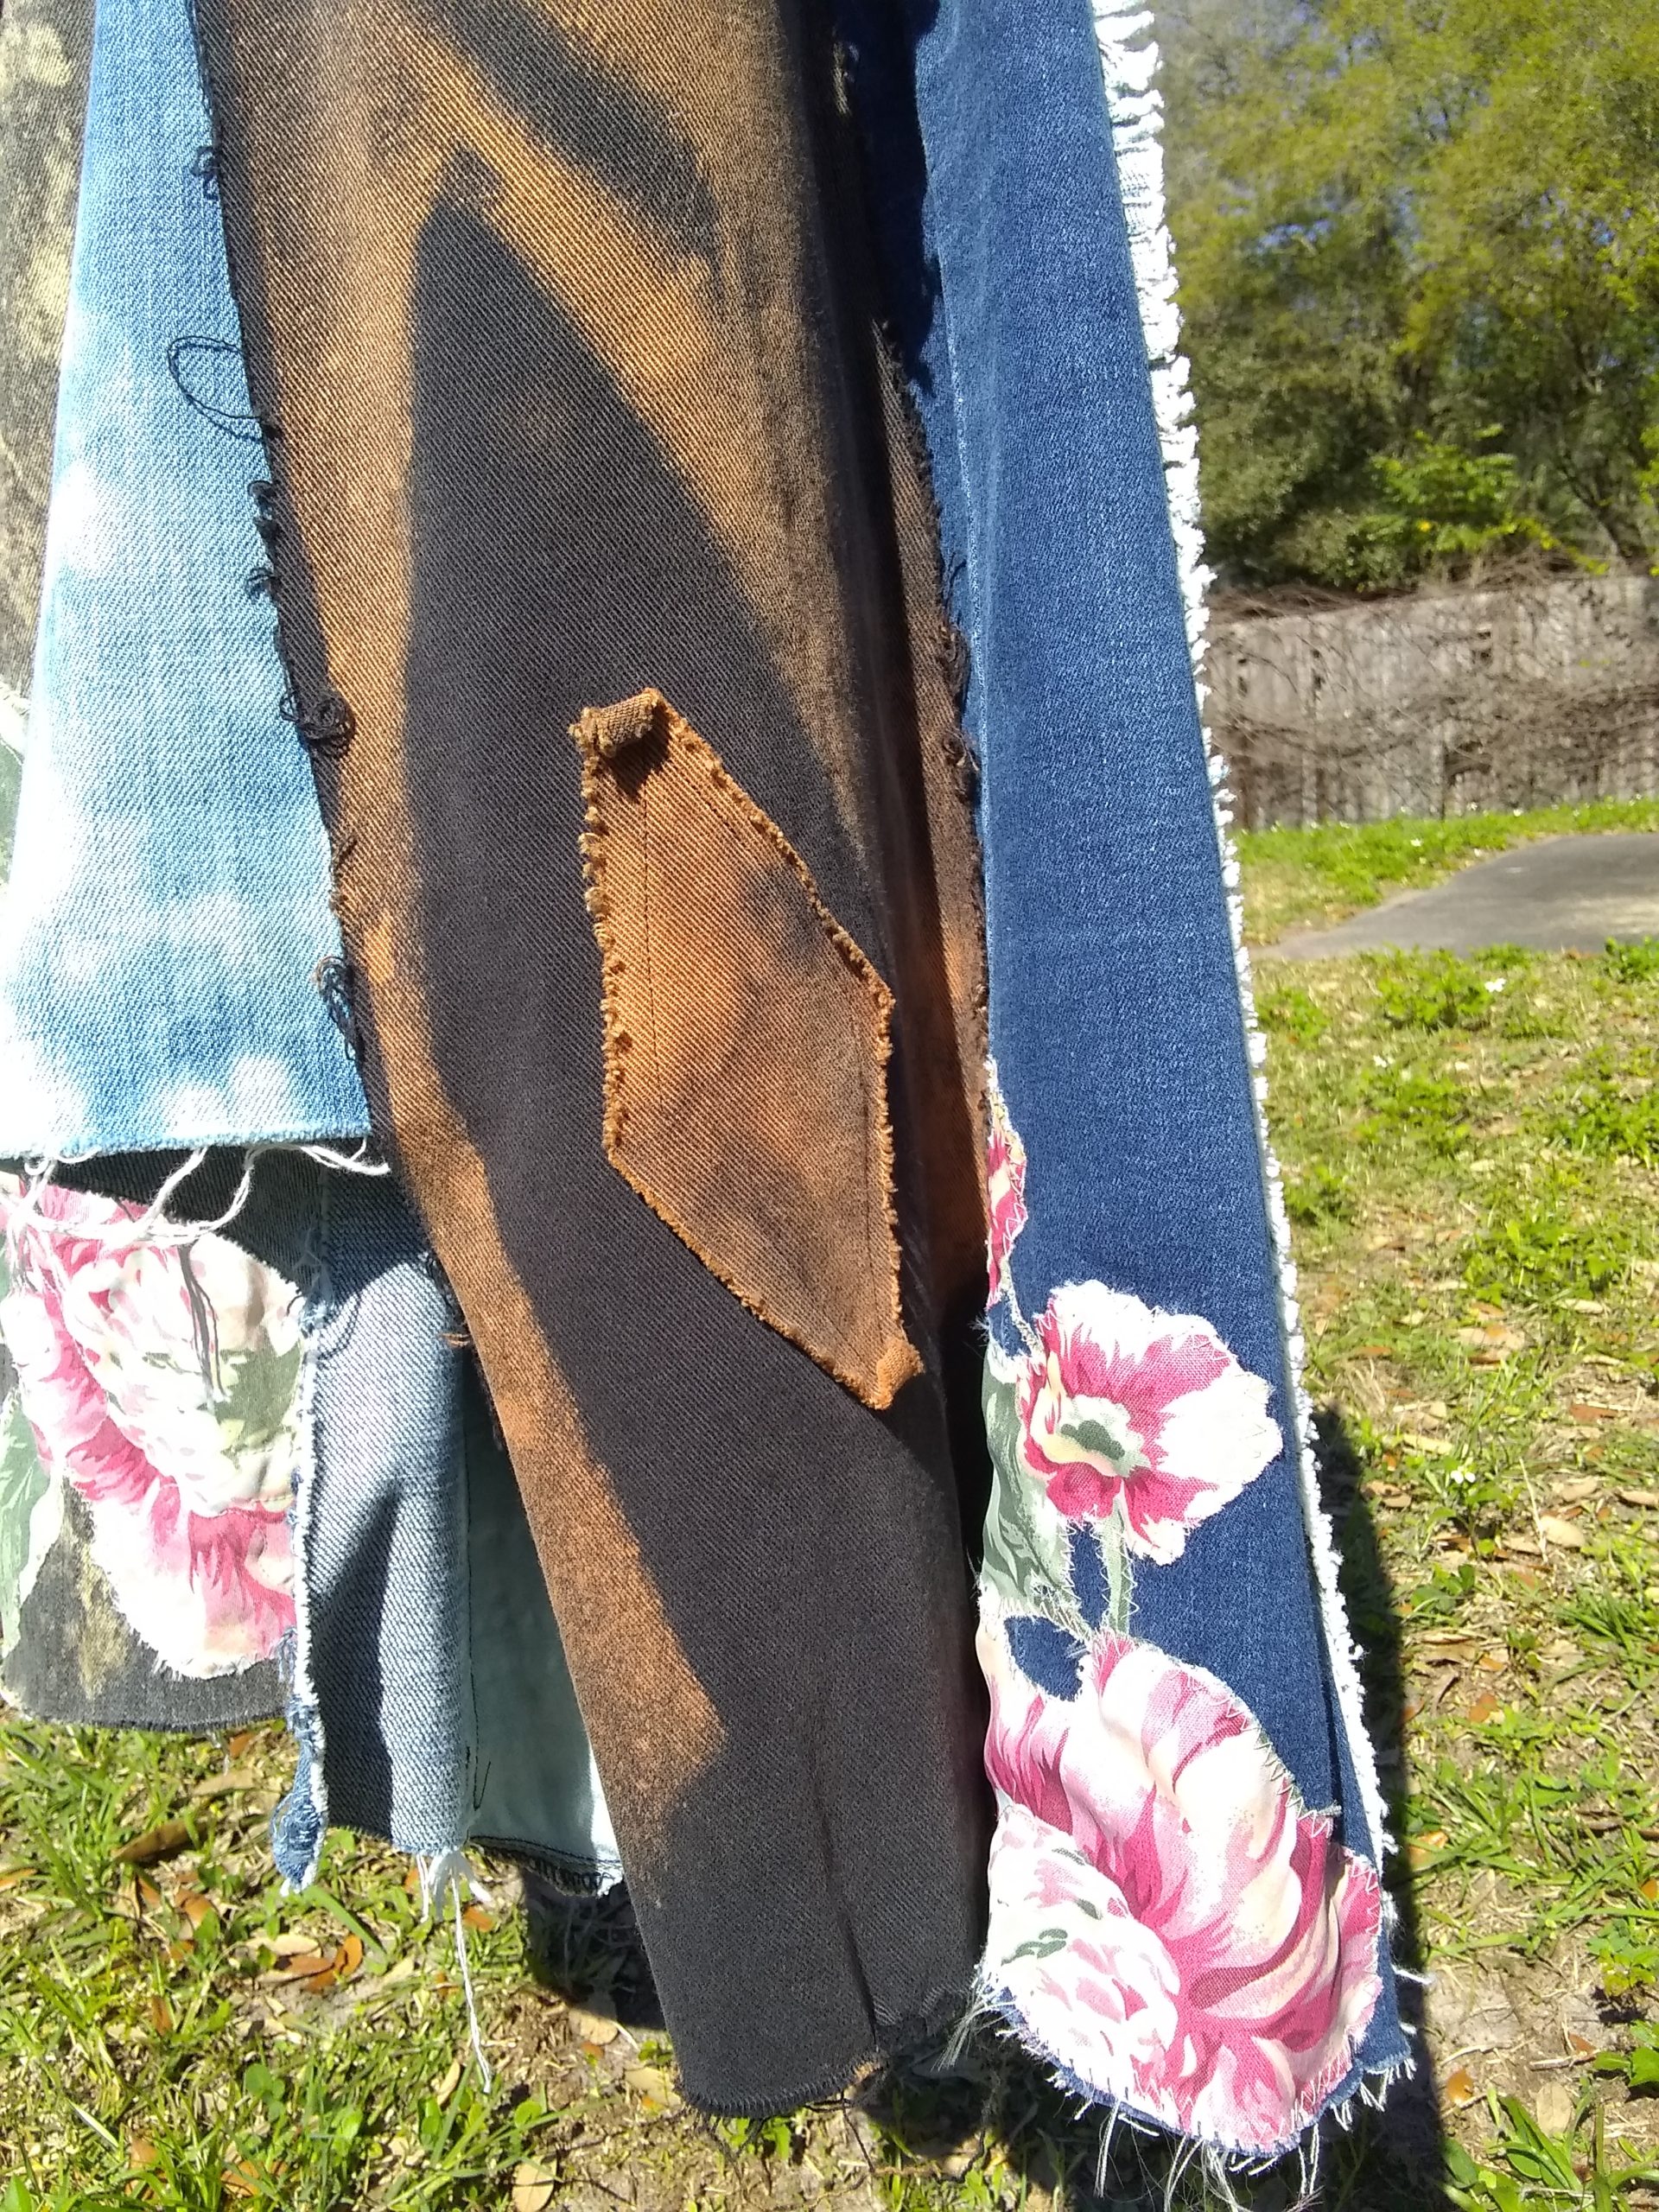
- Added a diamond-shaped bleached patch to correspond with the bleach pattern;
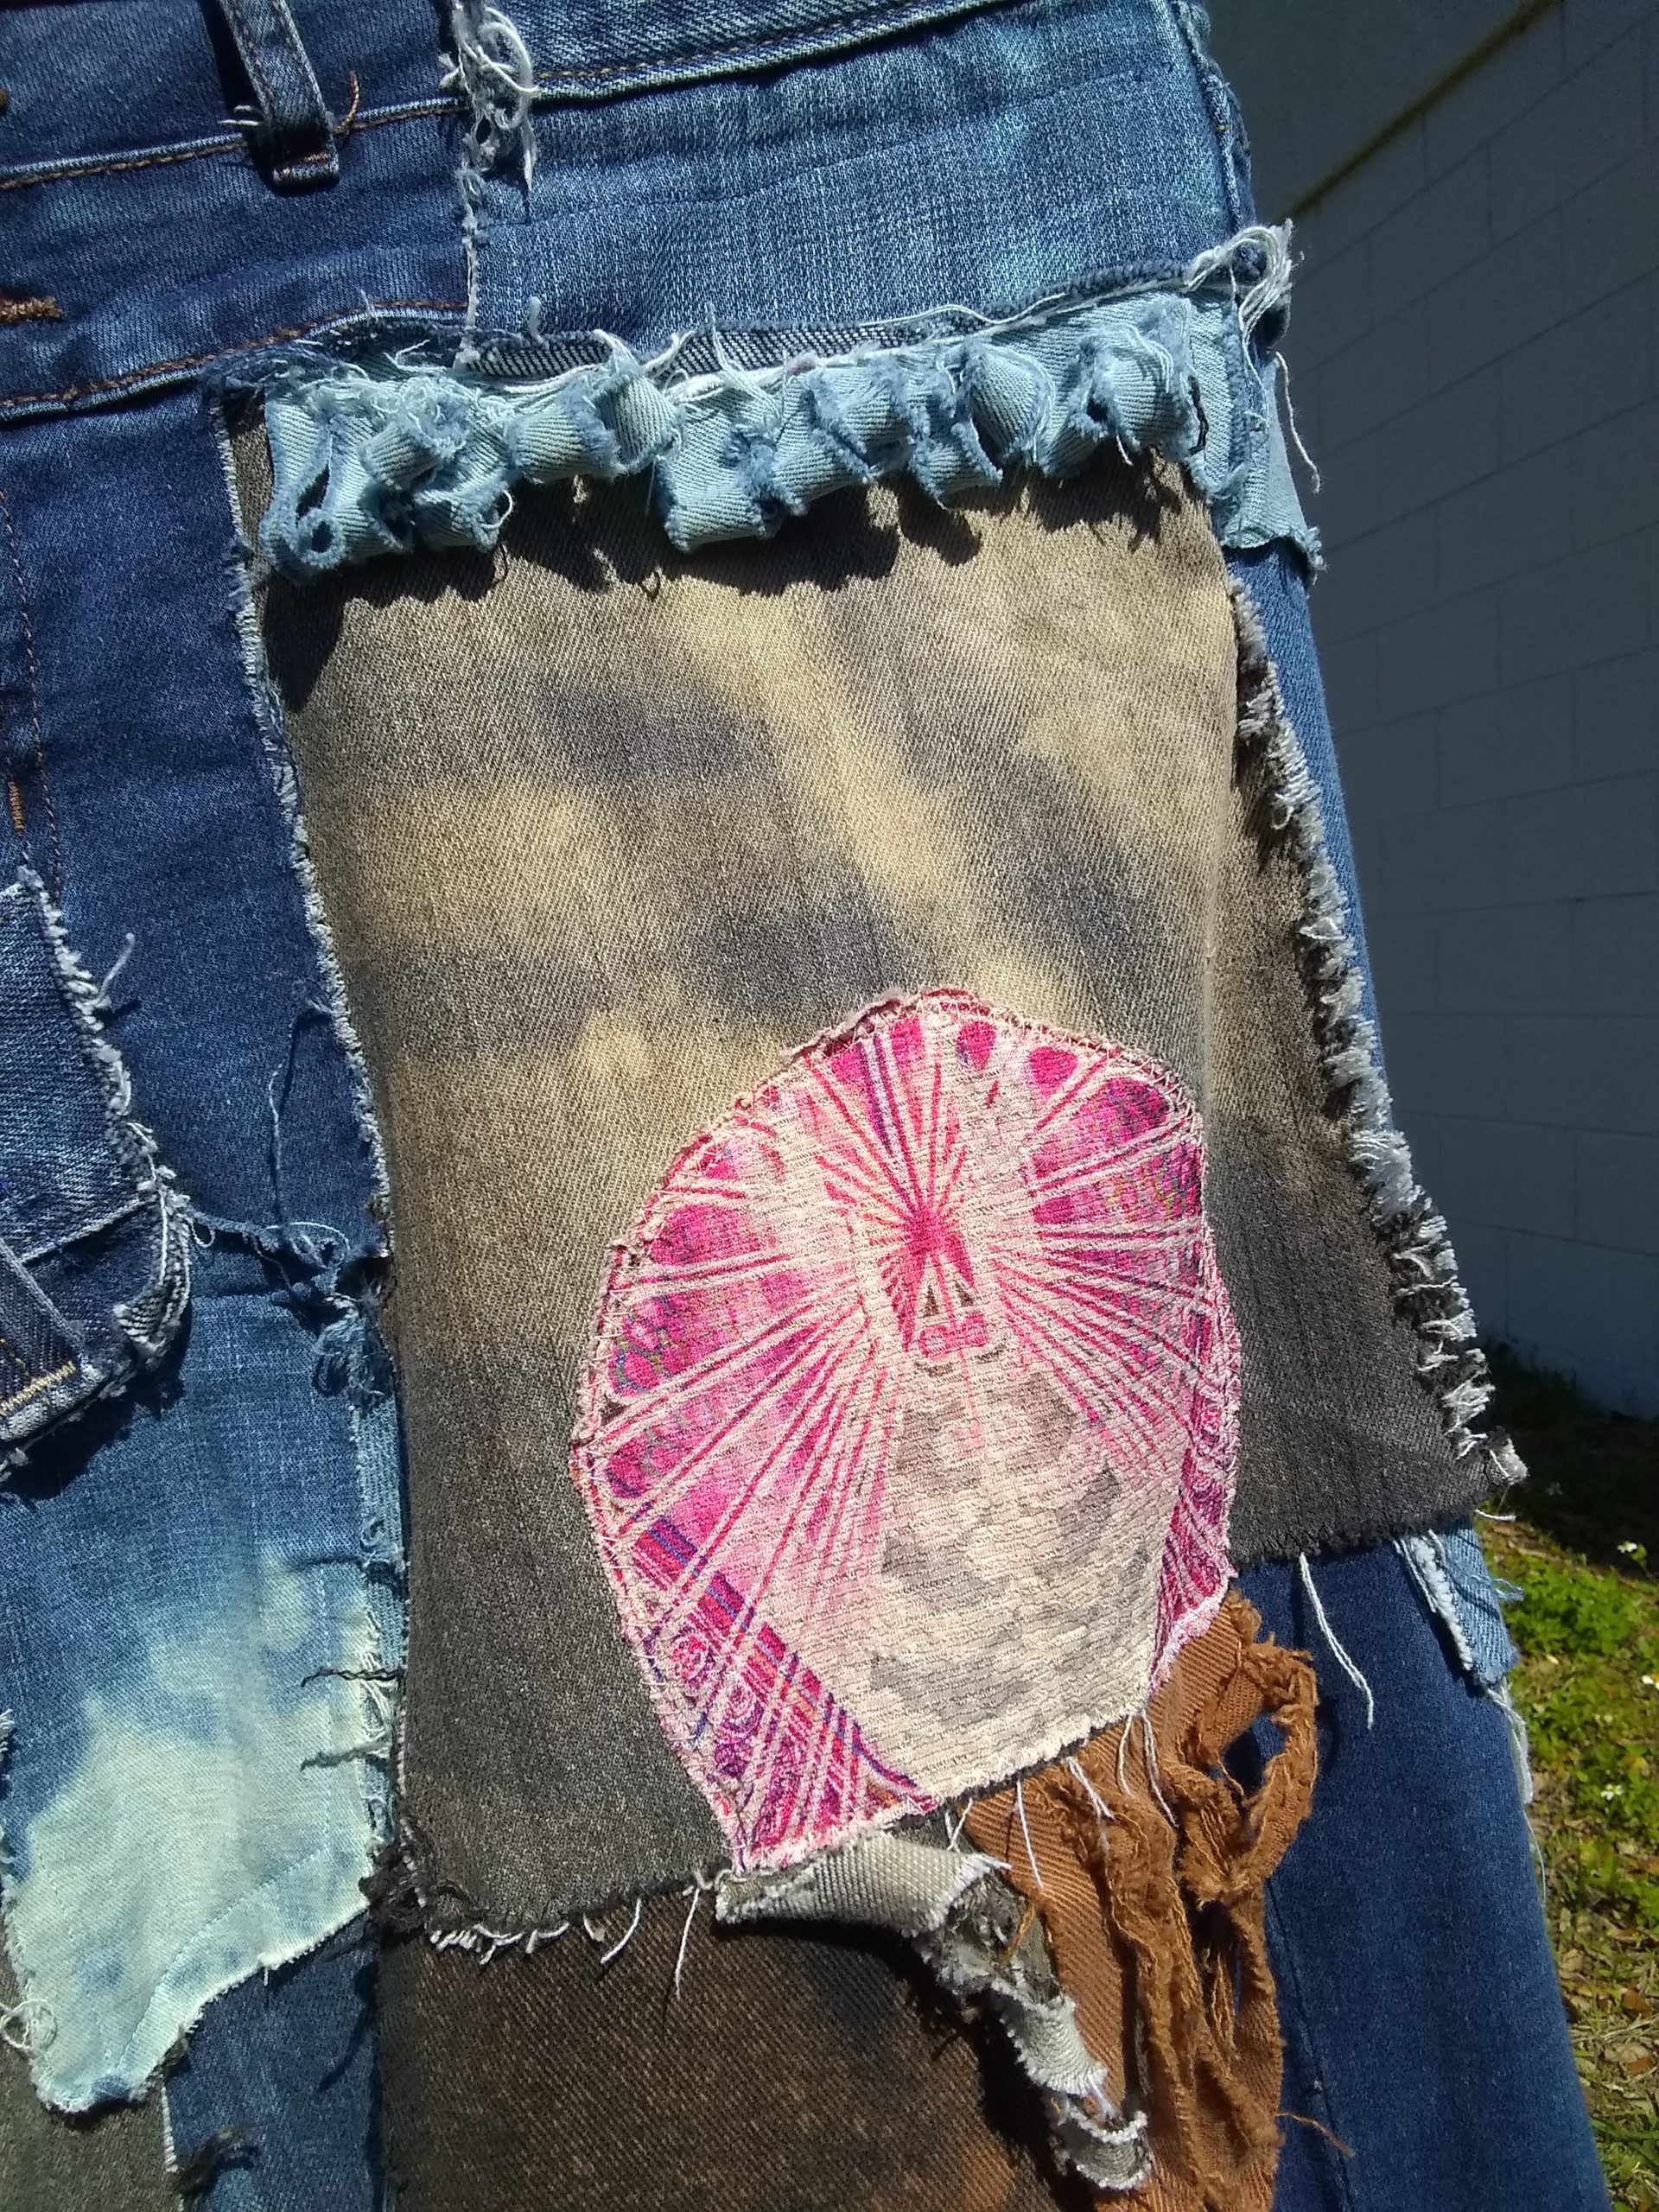
- Added a large patch onto the hip area, and a colorful swatch cut out of a shirt; sewed in hunks of denim to be cut/torn into fringe;
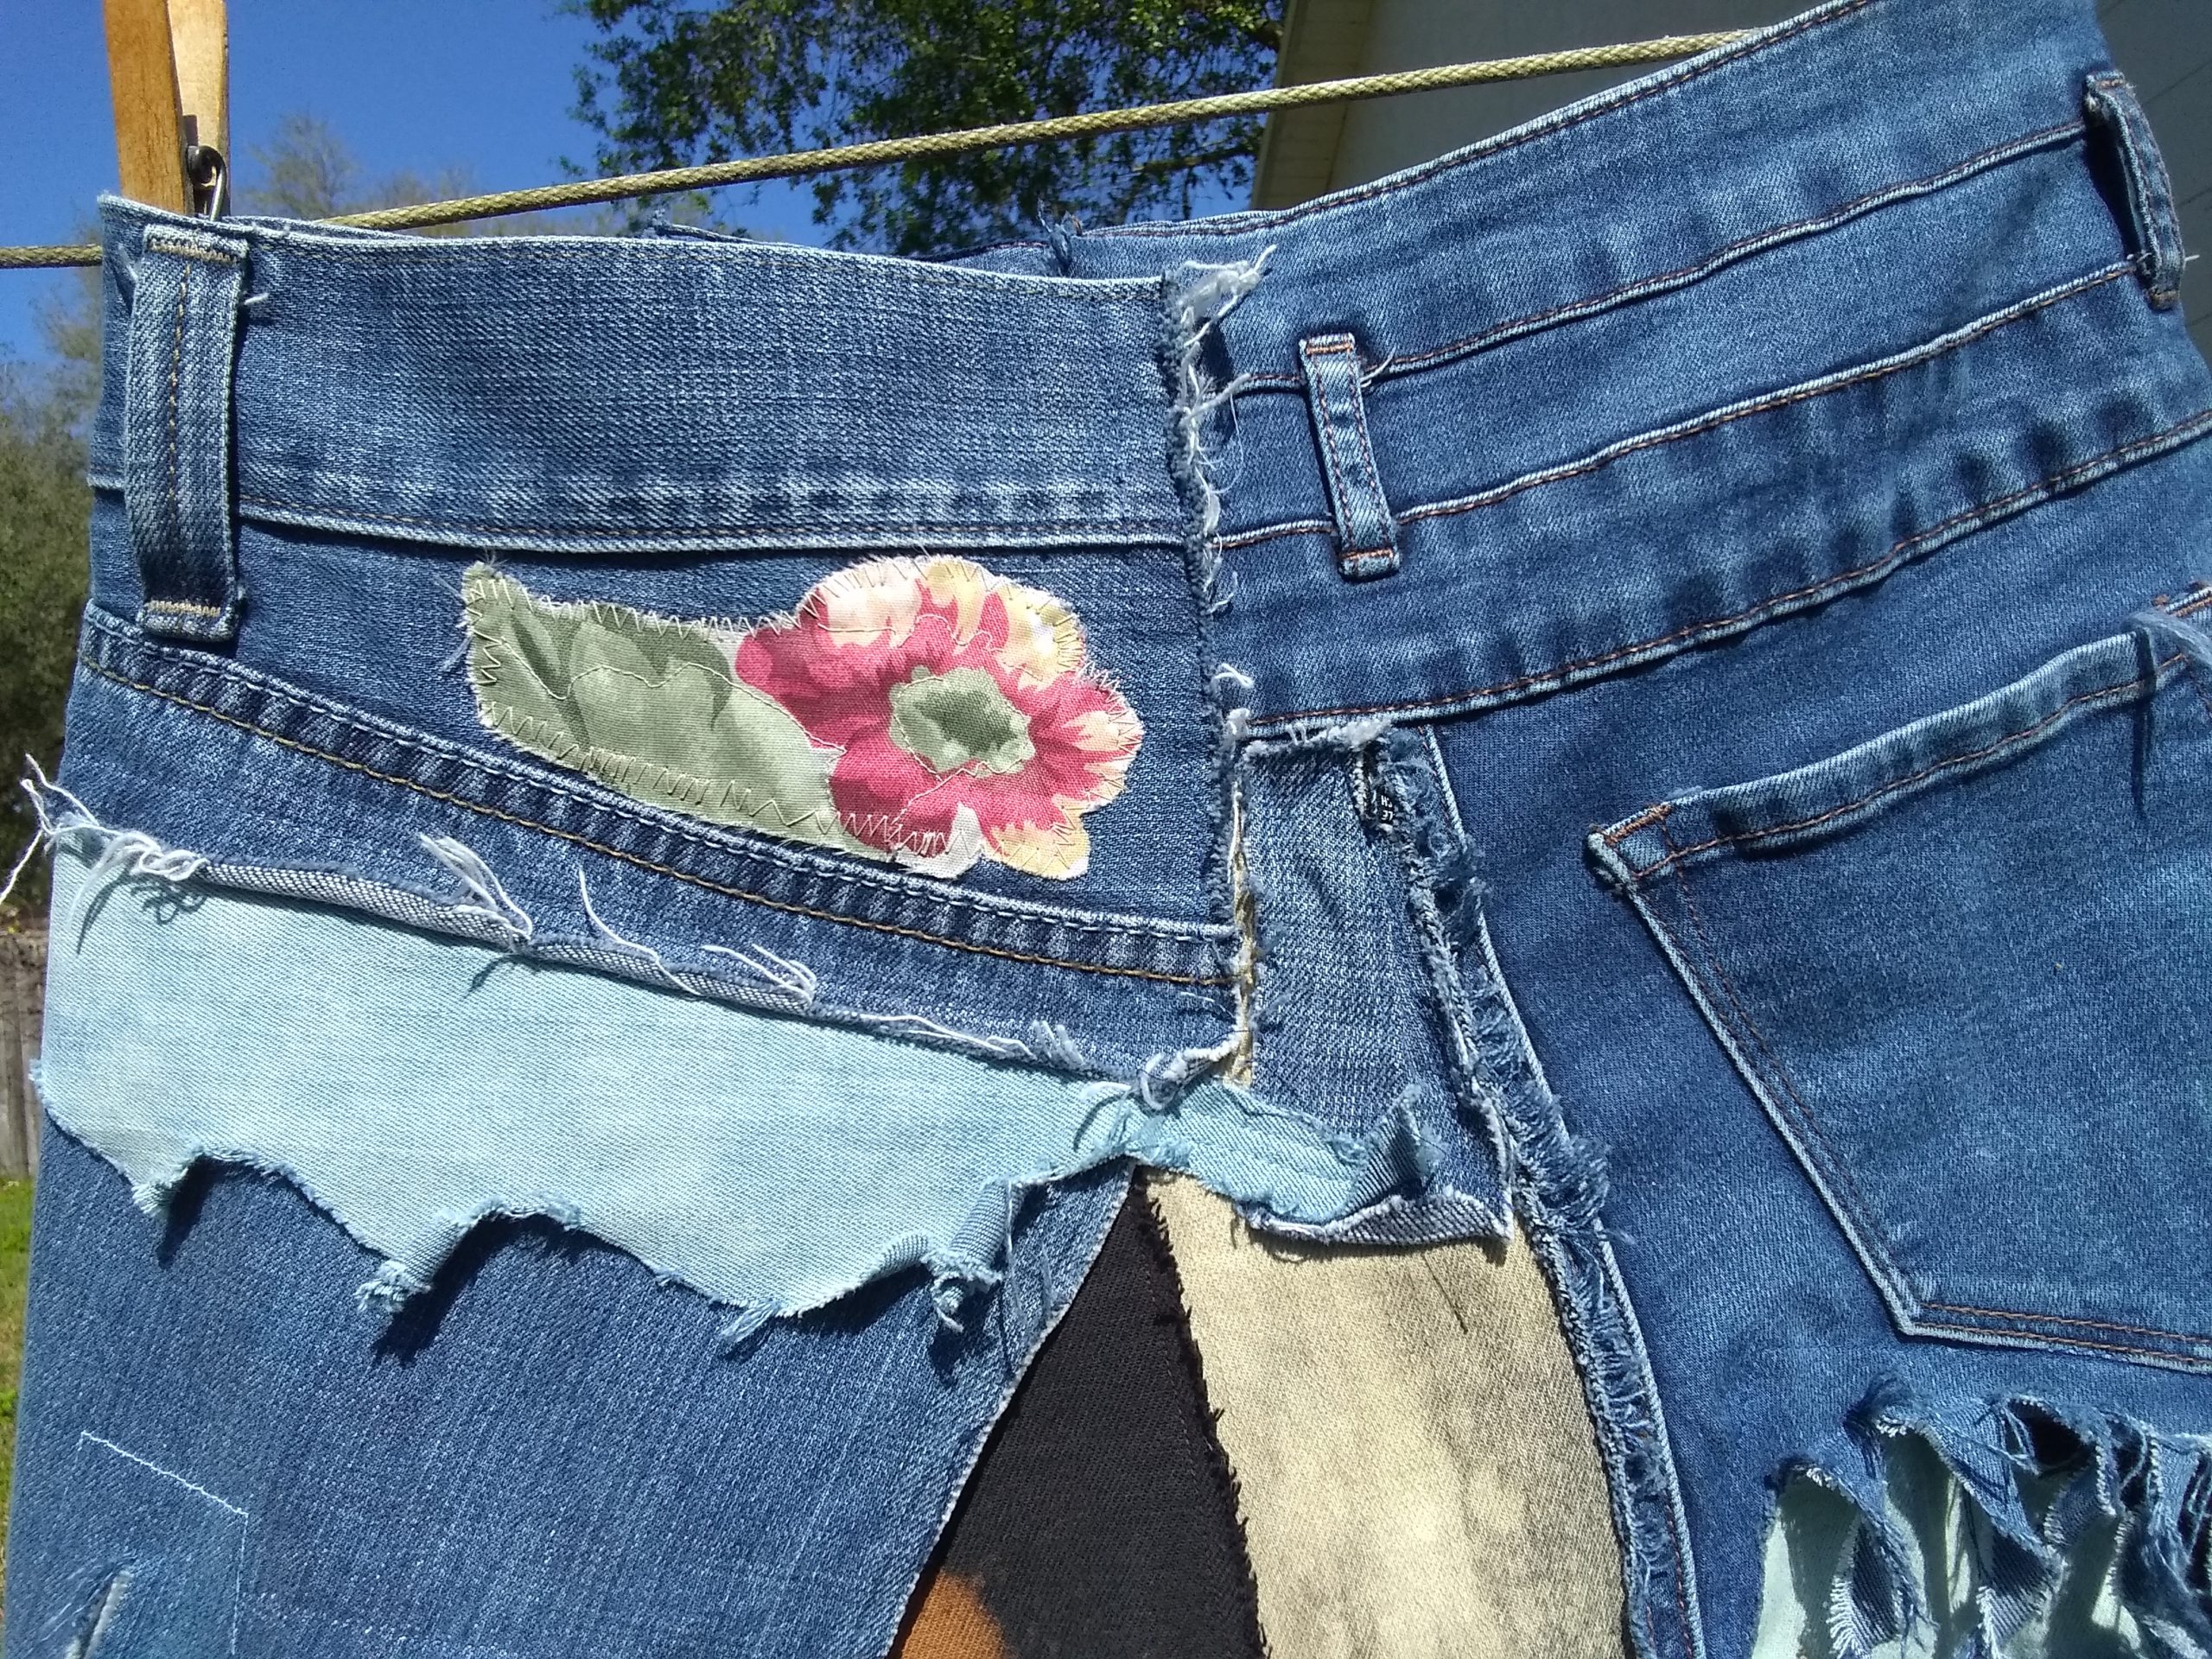
- Added cut-out flowers from—believe it or not, a shower curtain!
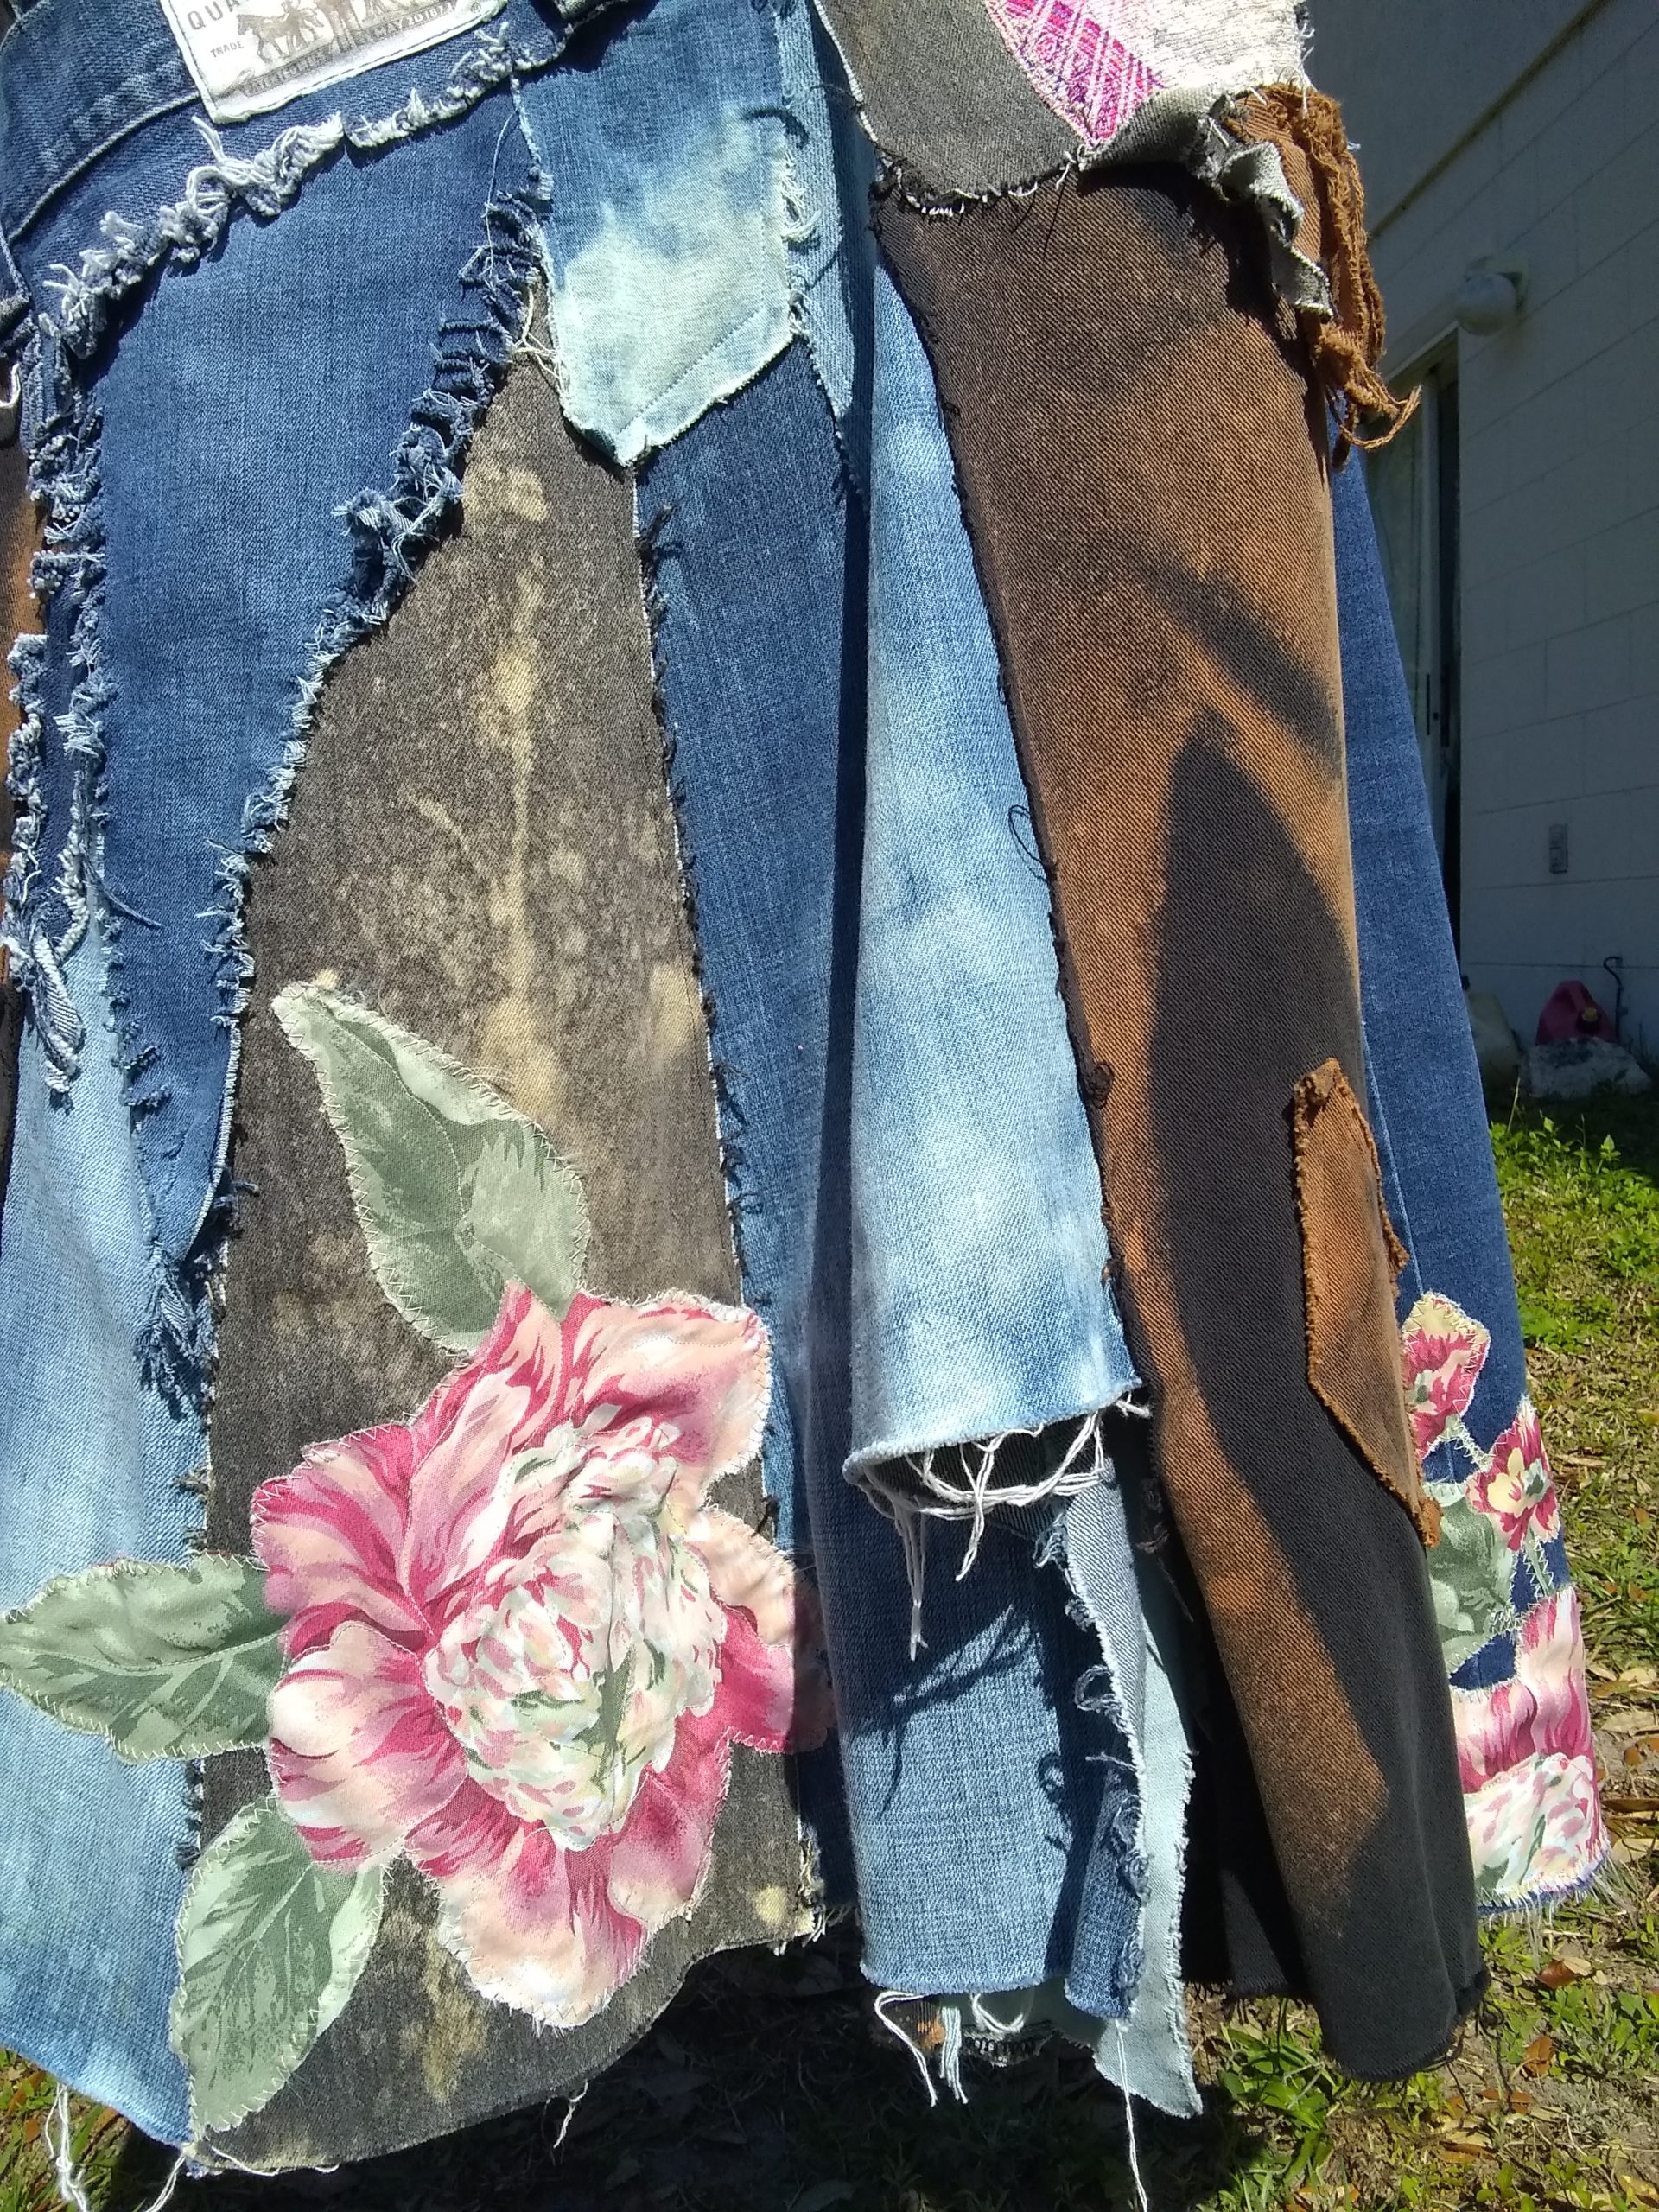
I used Fray Check, a liquid-plastic solution, used in very small amounts around the edges of the cut out flowers.
To applique the flowers—after pinning them in place, I zig-zag stitched around the edges to attach each to the skirt. Then, I”quilted” the flowers and leaves by straight stitching along the contours of the print pattern, i.e., around petals and down the center of the leaves.

Please
LIKE
Share
Comment below


Tuts-n-Tips
My Style Gallery
About
Love it! Wish I had the time to try doing something similar…lots of love
Hey Santie!
Thanks so much for commenting! I absolutely LOVE getting feedback!! I appreciate your encouragement and endorsement!! It REALLY means a lot!!! <3
Yes, this skirt did take quite a bit of time. But, ya know, if you have just a little time here and there, it can be a work in progress! You don't have to do it all at once. 🙂 What I enjoy so much about sewing---and, I only recently took this up, is that it is good therapy, it keeps me actively creating something---using my imagination, and I end up with something unique to wear!! Lol, I'm not a "proper" seamstress; I make it up as I go! Lol.
Thank you a lot for being my subscriber and actually opening your email when I send out each post!!
Love you, my excellent friend across the seas!!
Blessings,
Cindy <3