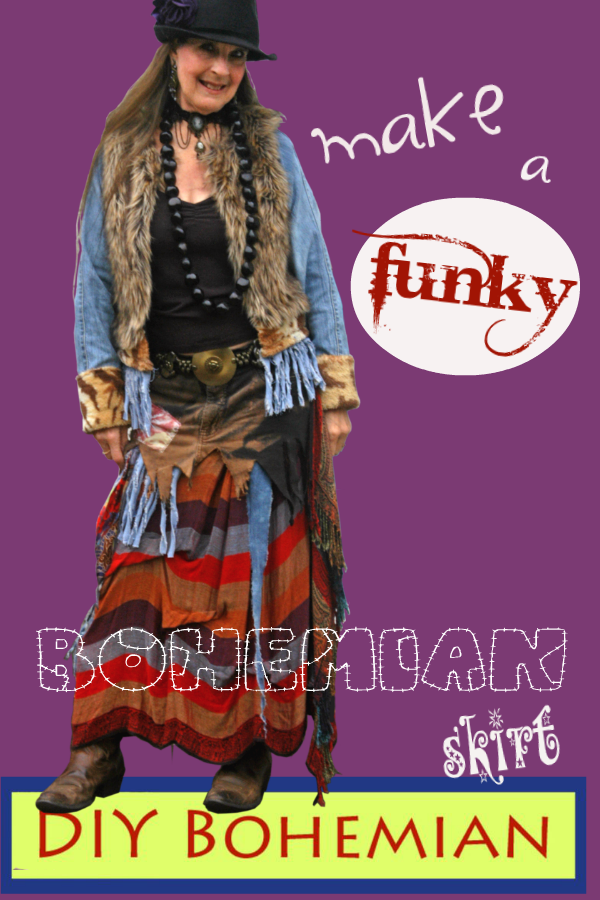
Hey fellow creators of bohemian togs!
Materials for a creative project can simply be a re-purpose of something. Jeans are an excellent source for re-purposing. Combining parts of
garments is an ideal way to create something you’ll love to wear without the hassle—and expense—of starting from scratch.
Y’all know how I love to make something unconventional out of great finds for cheap. Scavenging the sale racks of thrift stores is the best! Spending a quarter on an unwanted garment sure beats paying dollars per yard of material at the fabric store. I look for fabric I like or a print that stands out, or a wonderful piece made in India—anything that has potential!
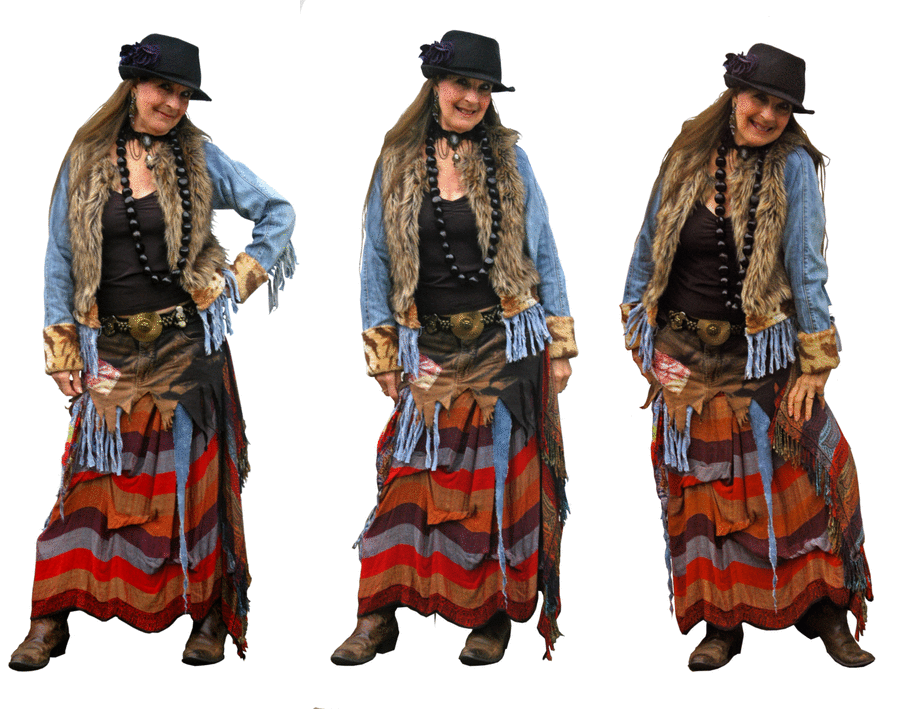
I found this fun and comfortable striped cotton skirt—made in India—with a fringed piece going down the side. It’s great, but it was a little small in the waist for me, and shorter than I like my skirts.
Here comes the jeans answer: Instead of making a waistband with zipper and button, using jeans for the top of your skirt is an easy no-brainer!
I like raw-edged denim. I also like the tattered hobo look in some clothes.
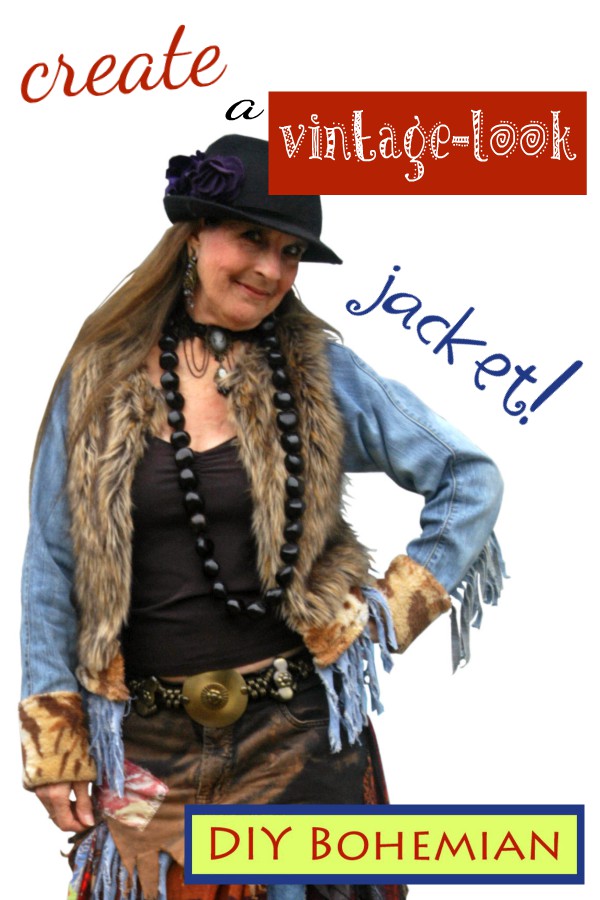
This tutorial combines these elements to fashion a unique and funky bohemian skirt that I love to wear! And, I’ve been told I look “amazing” in this outfit of this skirt and the jacket from my last post —and you will, too, in yours!
This is probably considered a companion piece to my last post about the vintage-look jacket that I made recently, pictured on the right.
To start, choose jeans that will match or, at least, blend and harmonize with the skirt you’re using.
I also used bleach to modify and distress the denim before attaching the jeans top to the skirt.
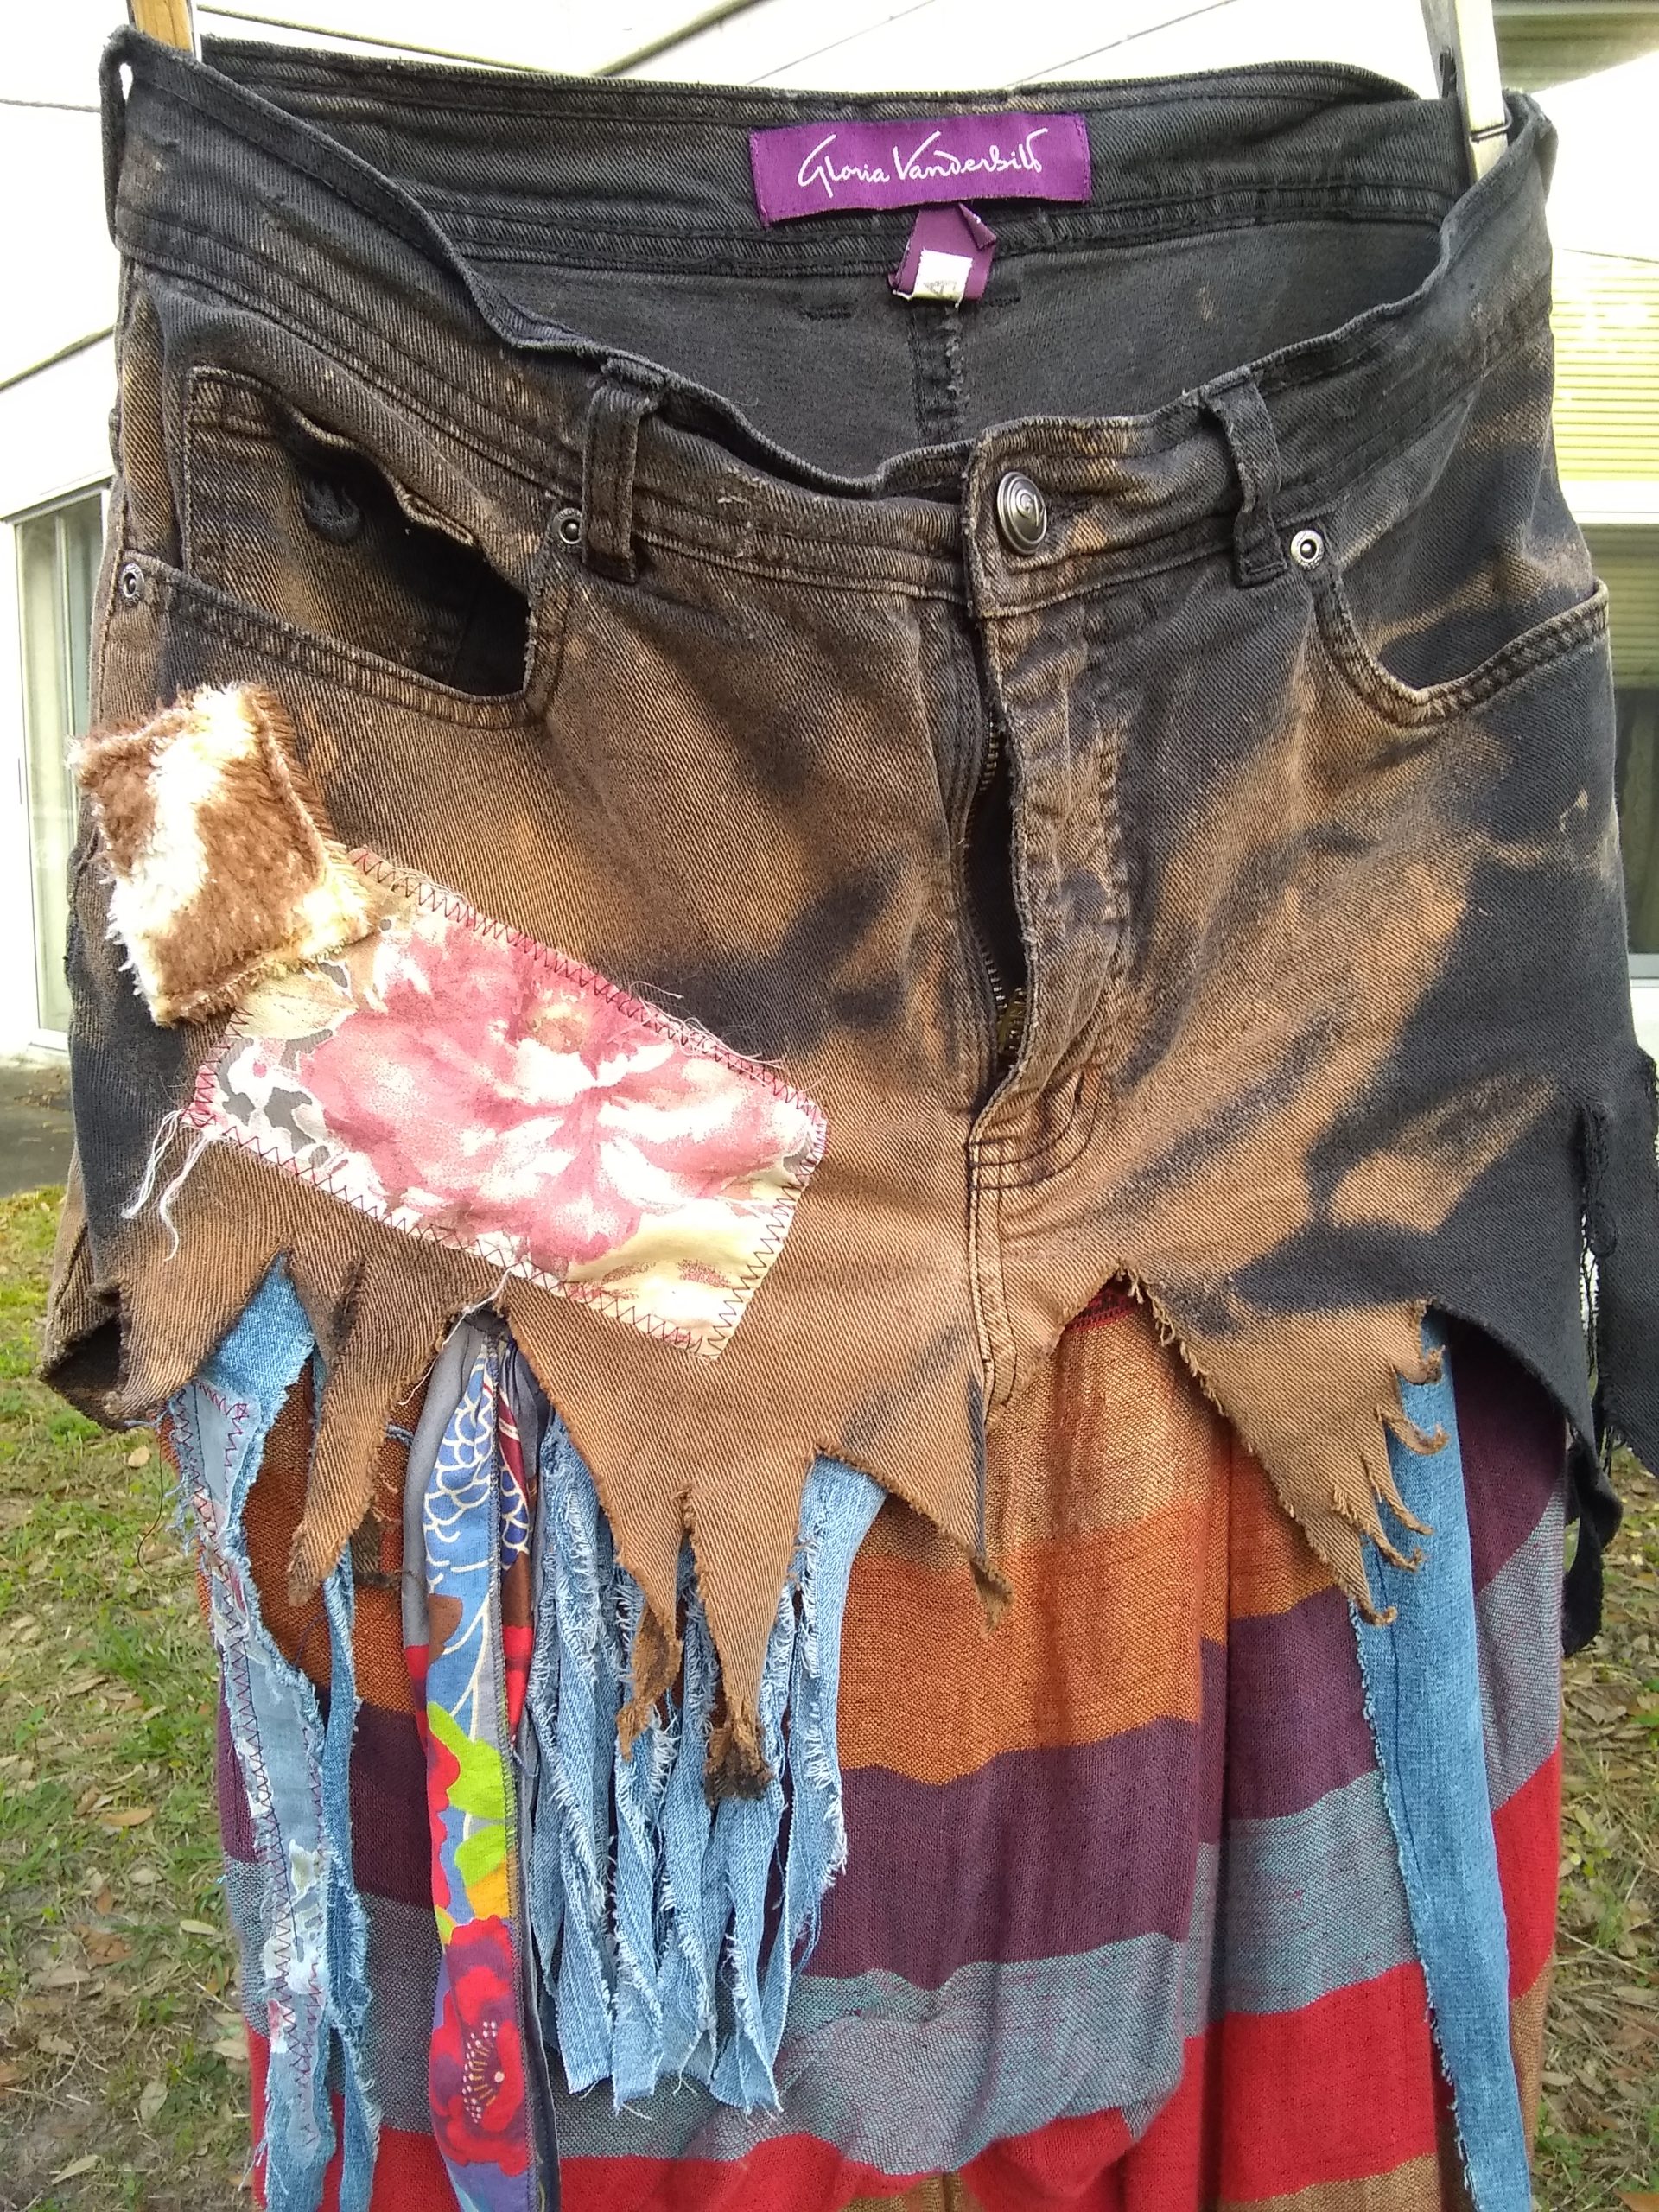
But, first, cut your jeans the way you want ’em. I cut my jeans in an irregular zig-zag.
P.S. I chose to make this a hip-hugger skirt: The “waist” rides on my hip bones.

Step 2: To bleach for effects, throw down your jeans top on the patio or driveway concrete—somewhere that doesn’t matter if it gets bleach on it. Lol…it may lead you to clean your entire concrete area because the bleach removes mildew on the concrete, making it white again.
Lol. Back to the jeans: Either throw it down randomly—with it rumpled, or make deliberate “fold-overs” so that when you spray the bleach, it won’t touch all the surface, making random coloring.
Get a spray bottle (available for a buck at your friendly neighborhood Dollar Tree store) and put some full-strength bleach into it.
Spray hit-and-miss. You can see it change before your eyes, some faster than others. Black denim changes to a really nice reddish “leather-brown” color. Some blue jeans take longer to fade; some are quicker. Some took only spraying bleach; other I had to literally soak in full-strength bleach for several minutes to get the effect I wanted. (I used a few different denims in the tutorial you’ll see next time.)
In the case of soaking, be sure not all the denim is under the bleach—make “mountain ranges” peaking above the bleach.
In these tough cases of darker denim, don’t worry if you dunk the whole thing into the bleach until you make your mountain peaks. It takes a while to fade out. Otherwise, if it’s completely under the bleach for that several-minute time, it will all fade to a very light blue. Or, maybe that’s what you want.
The thing about this is: It’s a totally artsy expression, so do it any way you want!
Important: Immediately after the bleaching, wash it out, adding a little detergent to your water, and rinse well.
I simply washed out my pieces in the kitchen sink.
If you’re bleaching some of your small pieces, after you wash them, you can dry them in the microwave. (But, not, of course, anything with zipper, studs, button, snap, etc.—anything metal.)Don’t do it for long: “cook” them in increments of 30 seconds to a minute—less for smallest pieces. As the fabric heats, the water rises as steam, drying them. (Guess I’m thinking more of the larger pieces of denim I used in the next tutorial.)

Step 3: Put on your jeans waist, inside out. Button and zip it. While wearing it, get your skirt, turn it inside out, and step into it to see the length.
Pull it up over the bottom of your “jeans waist.” Pin it in place as you stand in front of your mirror. This is a trial-and-error step. You’ll probably have to repeat trying it on after changing the pins several times.
When it’s like you want it, sew it on. Of course, use matching thread, and try to sew it inconspicuously, if possible, like in line with the pockets, or in a fanciful curvy way, so it looks more interesting than straight across.
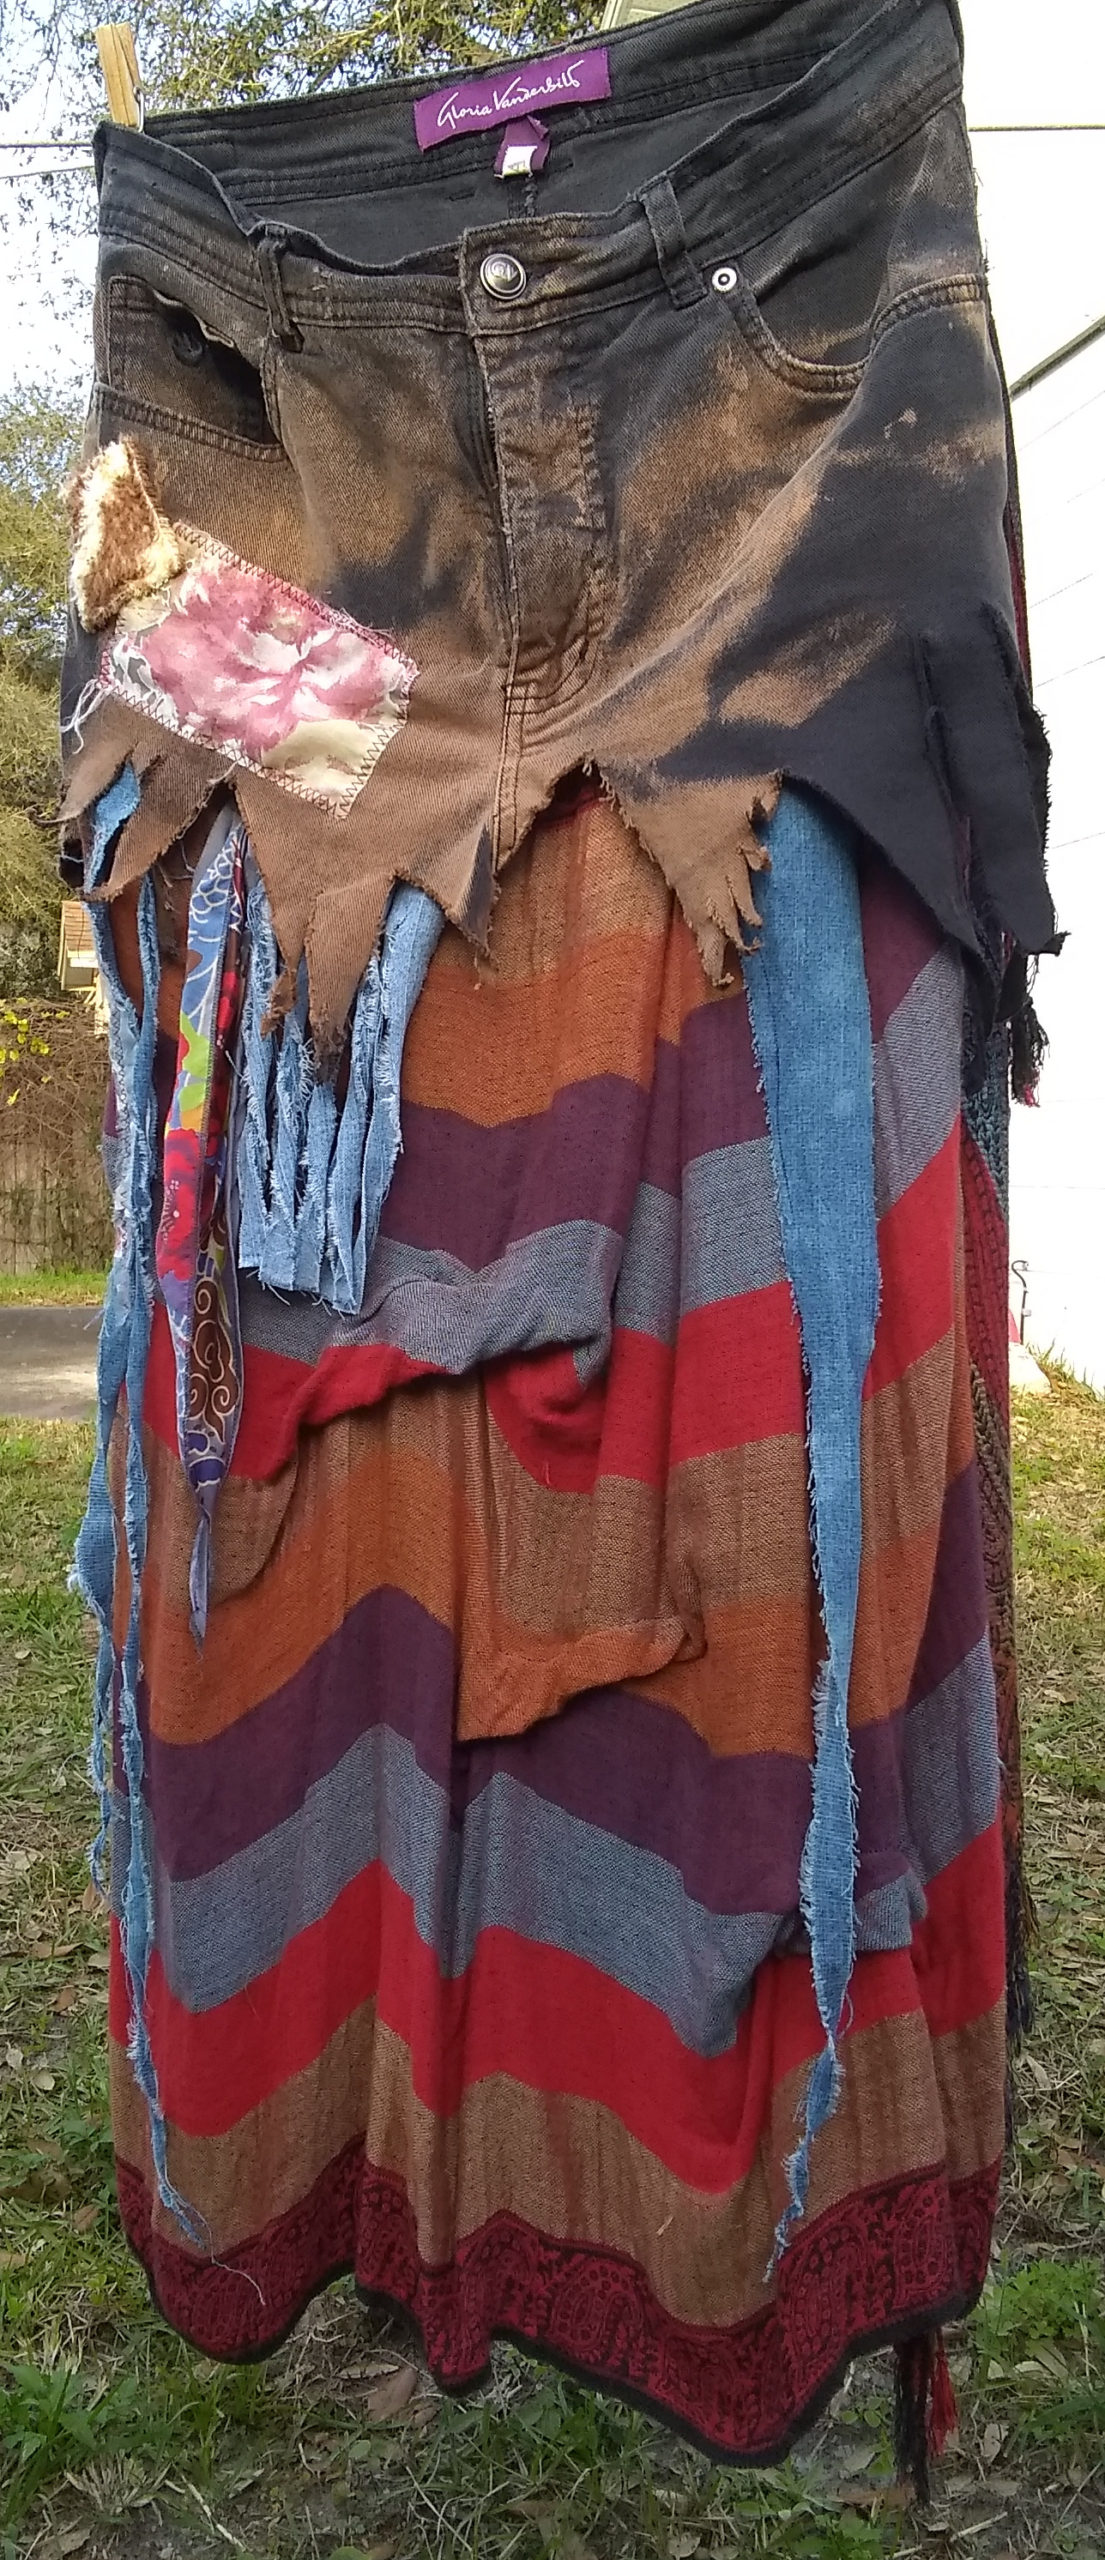
Sew it on a little way above the edge, so you can place stuff just under the edge to hang down. And, in a couple of places, you might want to “fringe” part of it.


Add patches and strips of sheer curtain, strips of lace, patches from an animal-print throw, denim patches, floral patches—cut in any shape you like. Anything!
Make it as fun and funky as your “imaginer” can imagine!
Step 4: Now the real fun starts!
You can add scraps of fabric from other sources: a dangle of printed silk, long strips of denim, a square of denim sewed in, then “fringed.”
You can leave the strips hanging loose, or stitch them down.

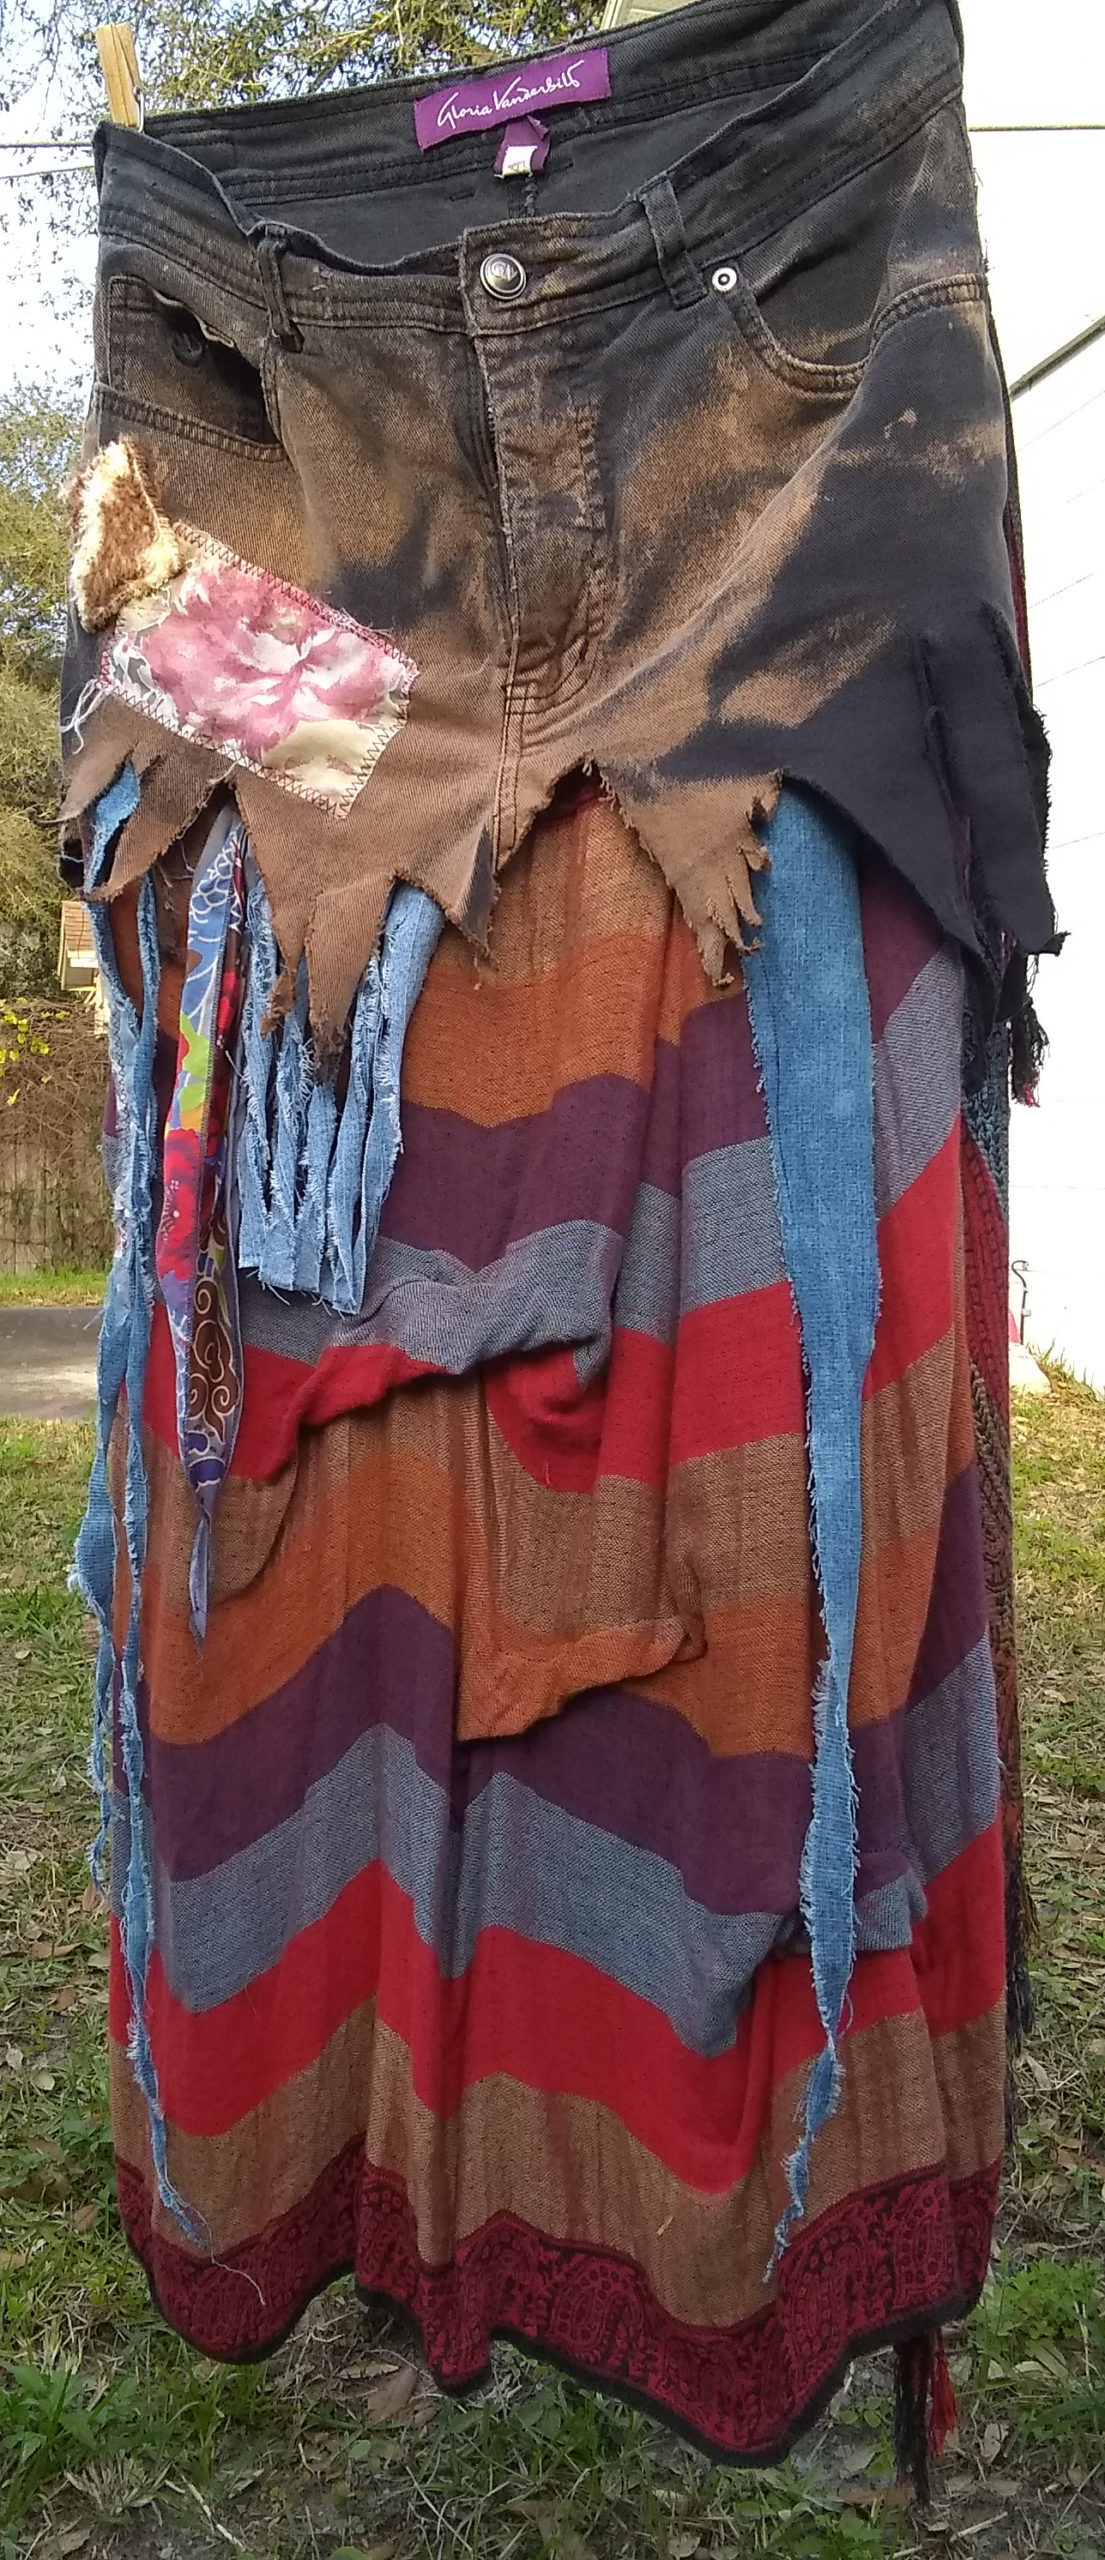
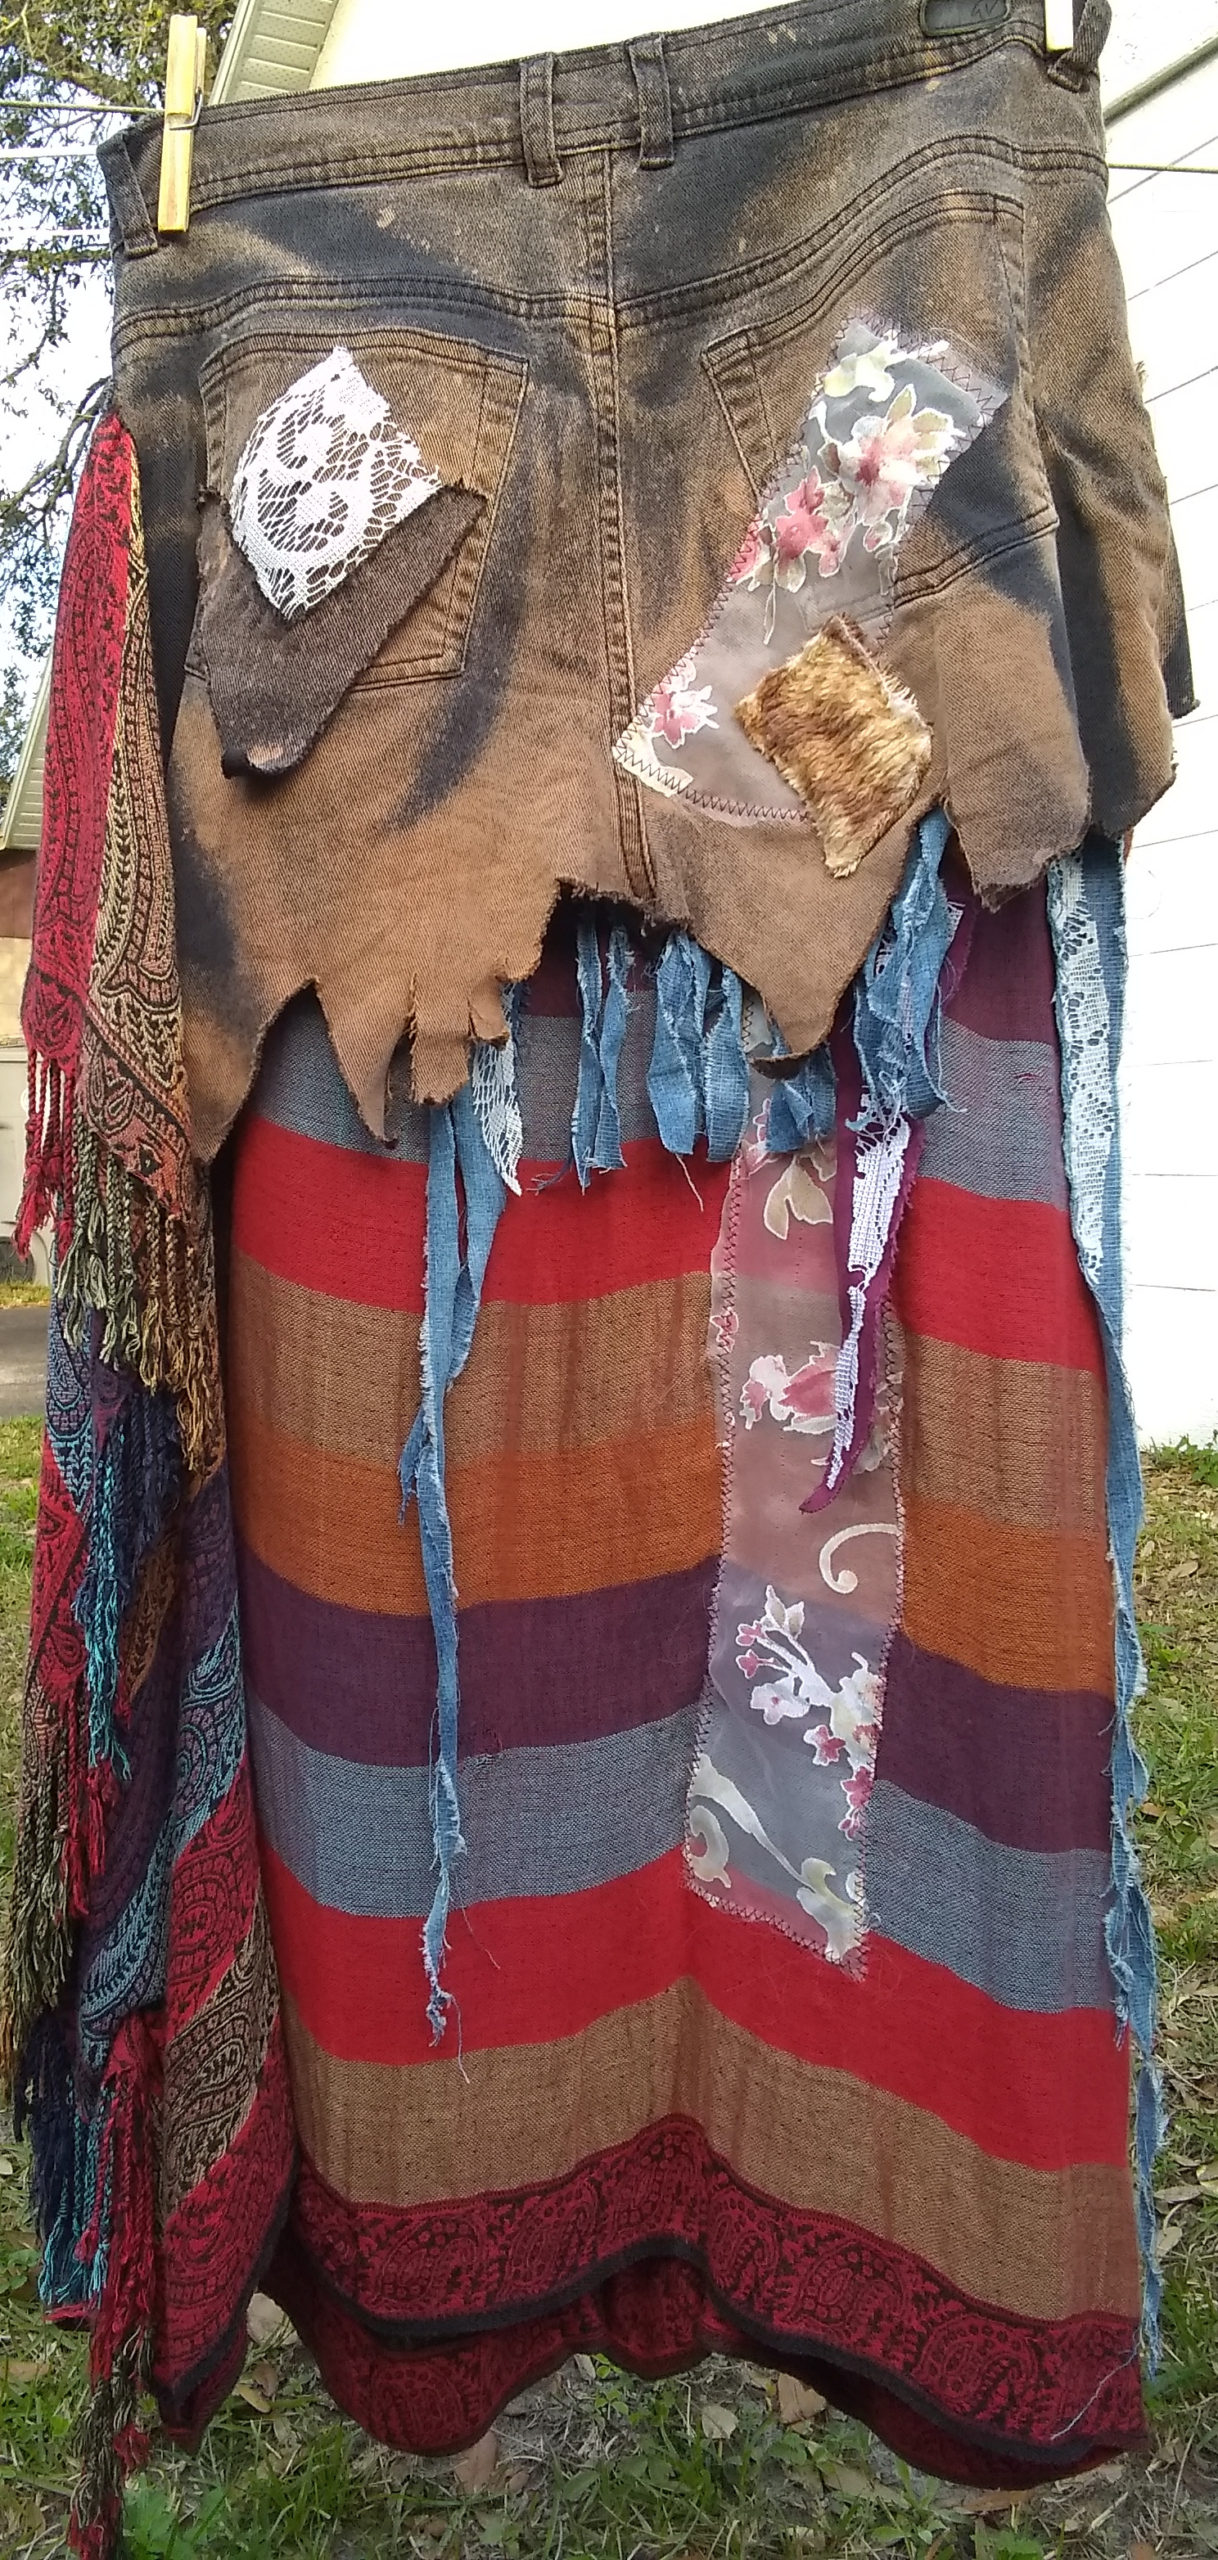
My skirt was a little long in the front, so I took a few horizontal tucks in various places. It adds to the look and raises the hemline. Even if you did a good job leveling your hemline, you could still make some tucks to raise the bottom of the skirt if you want it to be fashionably asymmetrical. 🙂
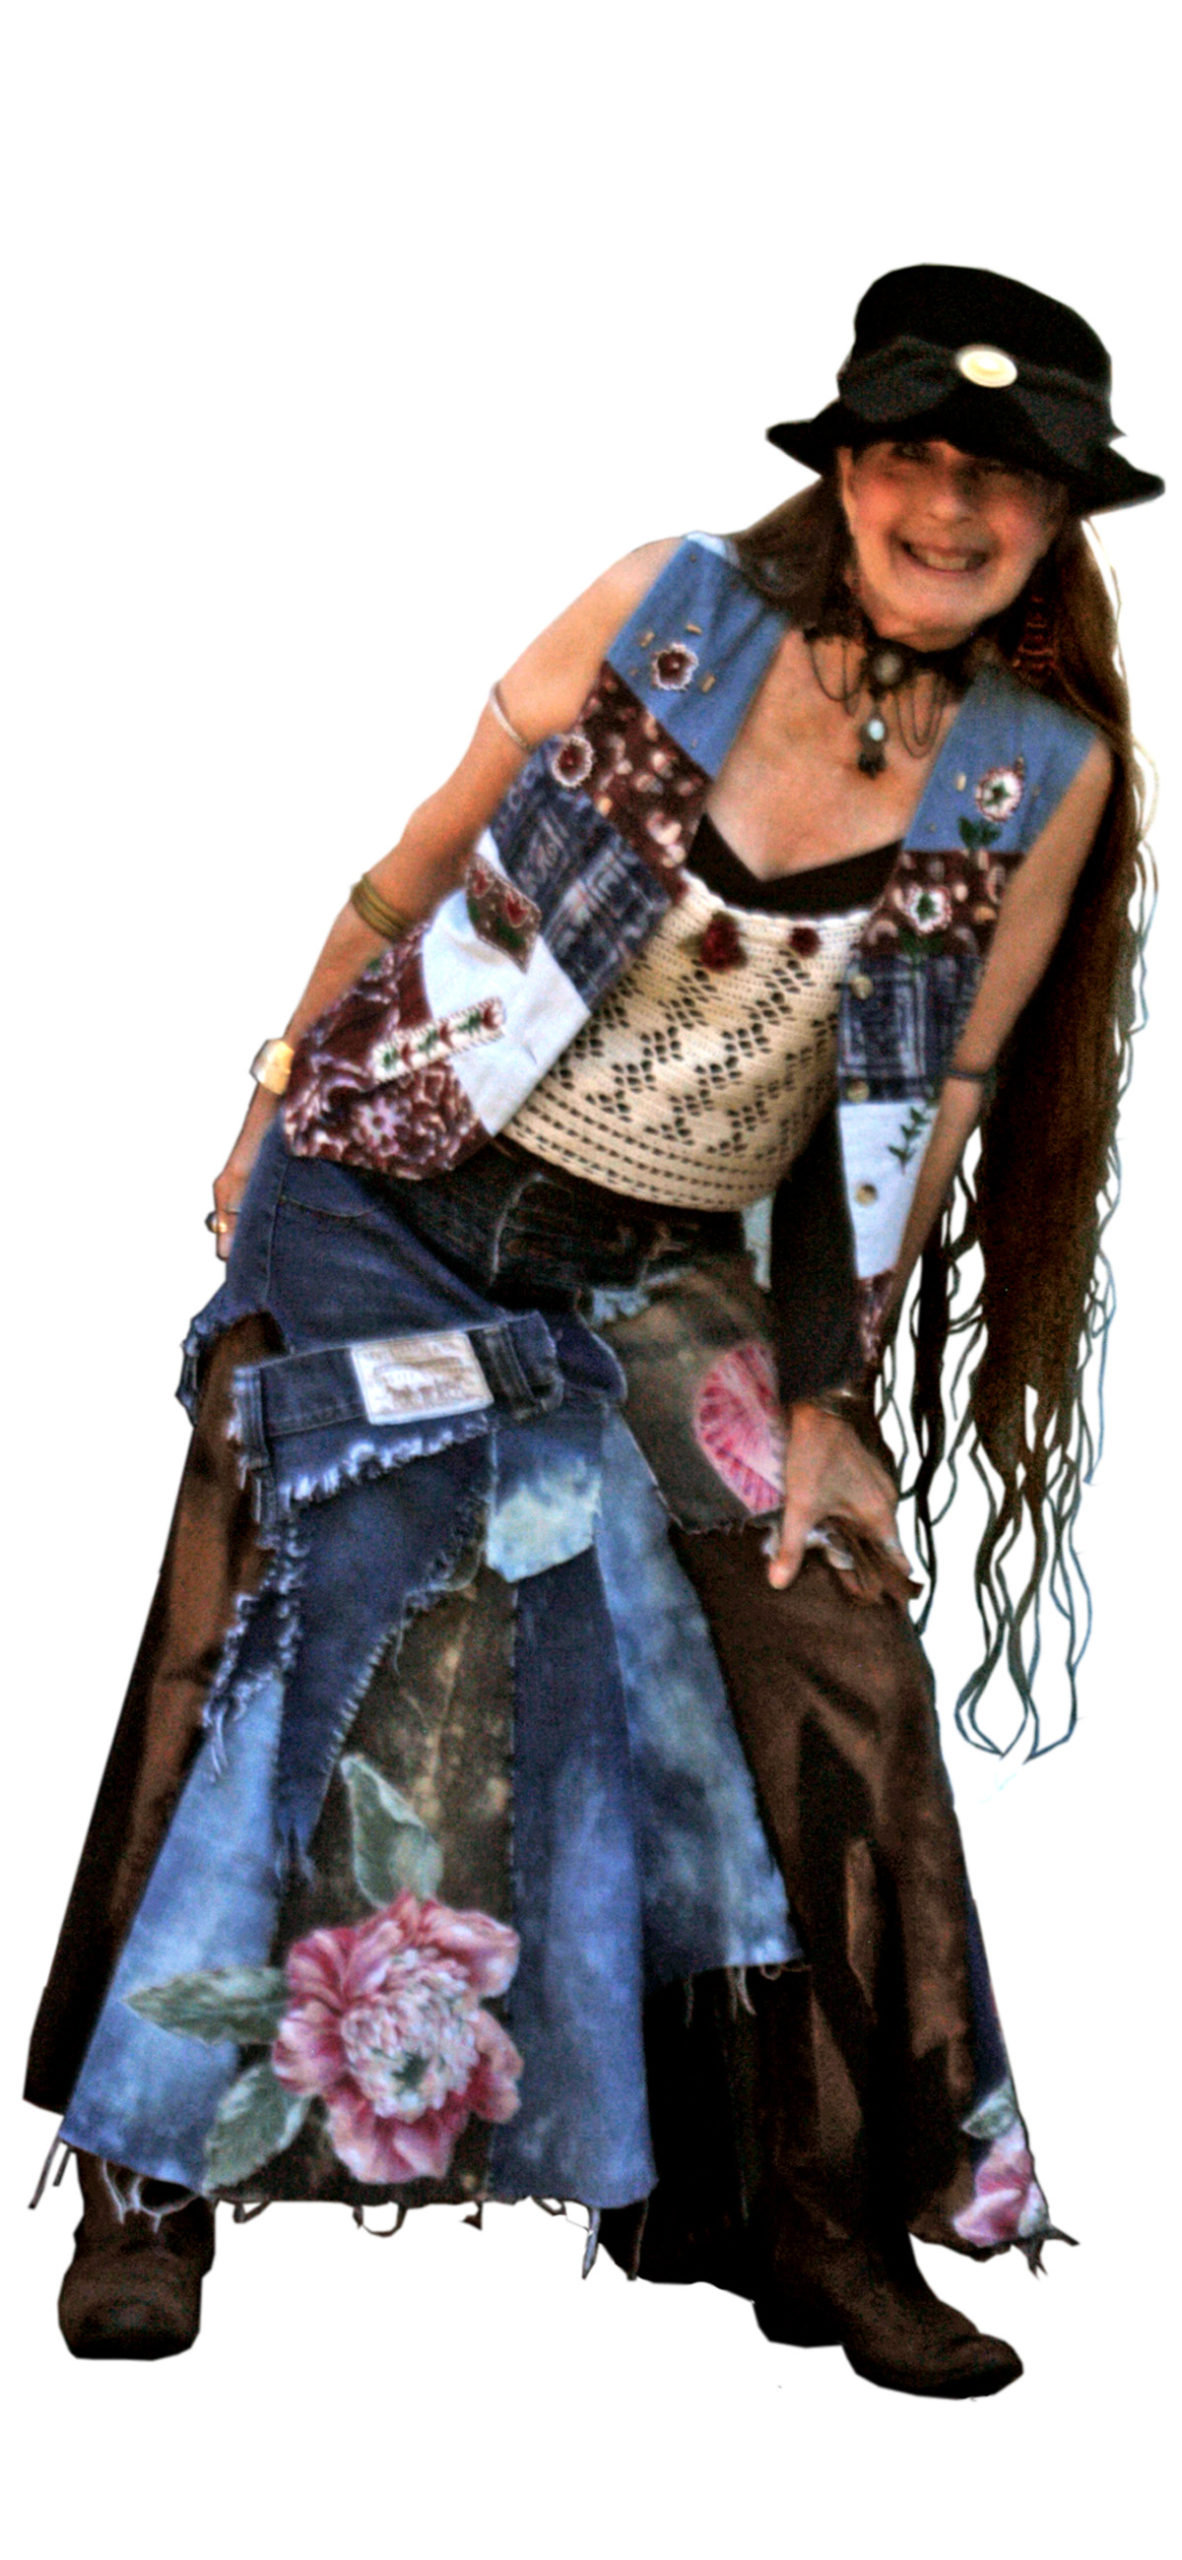
Coming up next, I’ll show you how I made this all-denim patchwork skirt!
Hey!…I want to see each and every one of you gals participating in my Facebook group, DIY Bohemian Group—Designers and Creators.
Each month, I challenge you to make something, anything! It doesn’t have to be something to wear, it can be anything you want to make, just be sure it’s artsy and unconventional—fitting into the bohemian category. We have artists who paint, do various needlework, etc.,besides those who like to sew.
This group’s purpose is simply to get you going, and encourage you in your art/craft; to get you following your creative bent, to stop the procrastination, and get you into your creative mode.
You may also want to follow this blog’s corresponding Facebook page, DIY Bohemian style blog. On it, I like to post images of fun bohemian style and decor to inspire you, along with inspirational sayings, to encourage you in your creativity, and in life.
Please follow DIY Bohemian on Pinterest.
I surely would appreciate some feedback!
Please
LIKE,
SHARE,
COMMENT below!



One Reply to “Funky Bohemian Skirt”