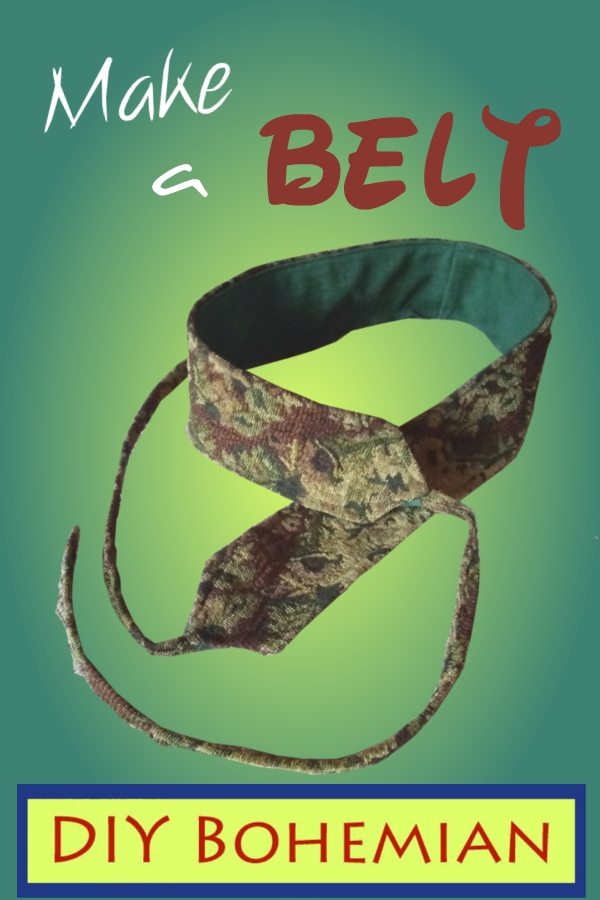
Hey Creative Bohemians!
To any fashionista, a belt is much more than a way to keep your pants up!
In the same manner that one’s large necklace makes a statement, a belt also speaks.
On my Facebook group, DIY Bohemian—Designers and Creators, one month, I decided to challenge our members to make a belt. So, this is my project for that assignment. Lol. It was intended to be a belt for a skirt not yet created. To date, this skirt is still unmade. 🙂 But, it’s still on my mental to-do list. Lol.
Step 1: Measure around your body where you want to wear the belt.
I like to wear belts— especially big ones, on my hips. It seems to de-emphasize my waist, which is a “bit” larger than I like, presently.

To make one like mine, make the length of the wide part of the belt just shy of your full waist or hips measurement.
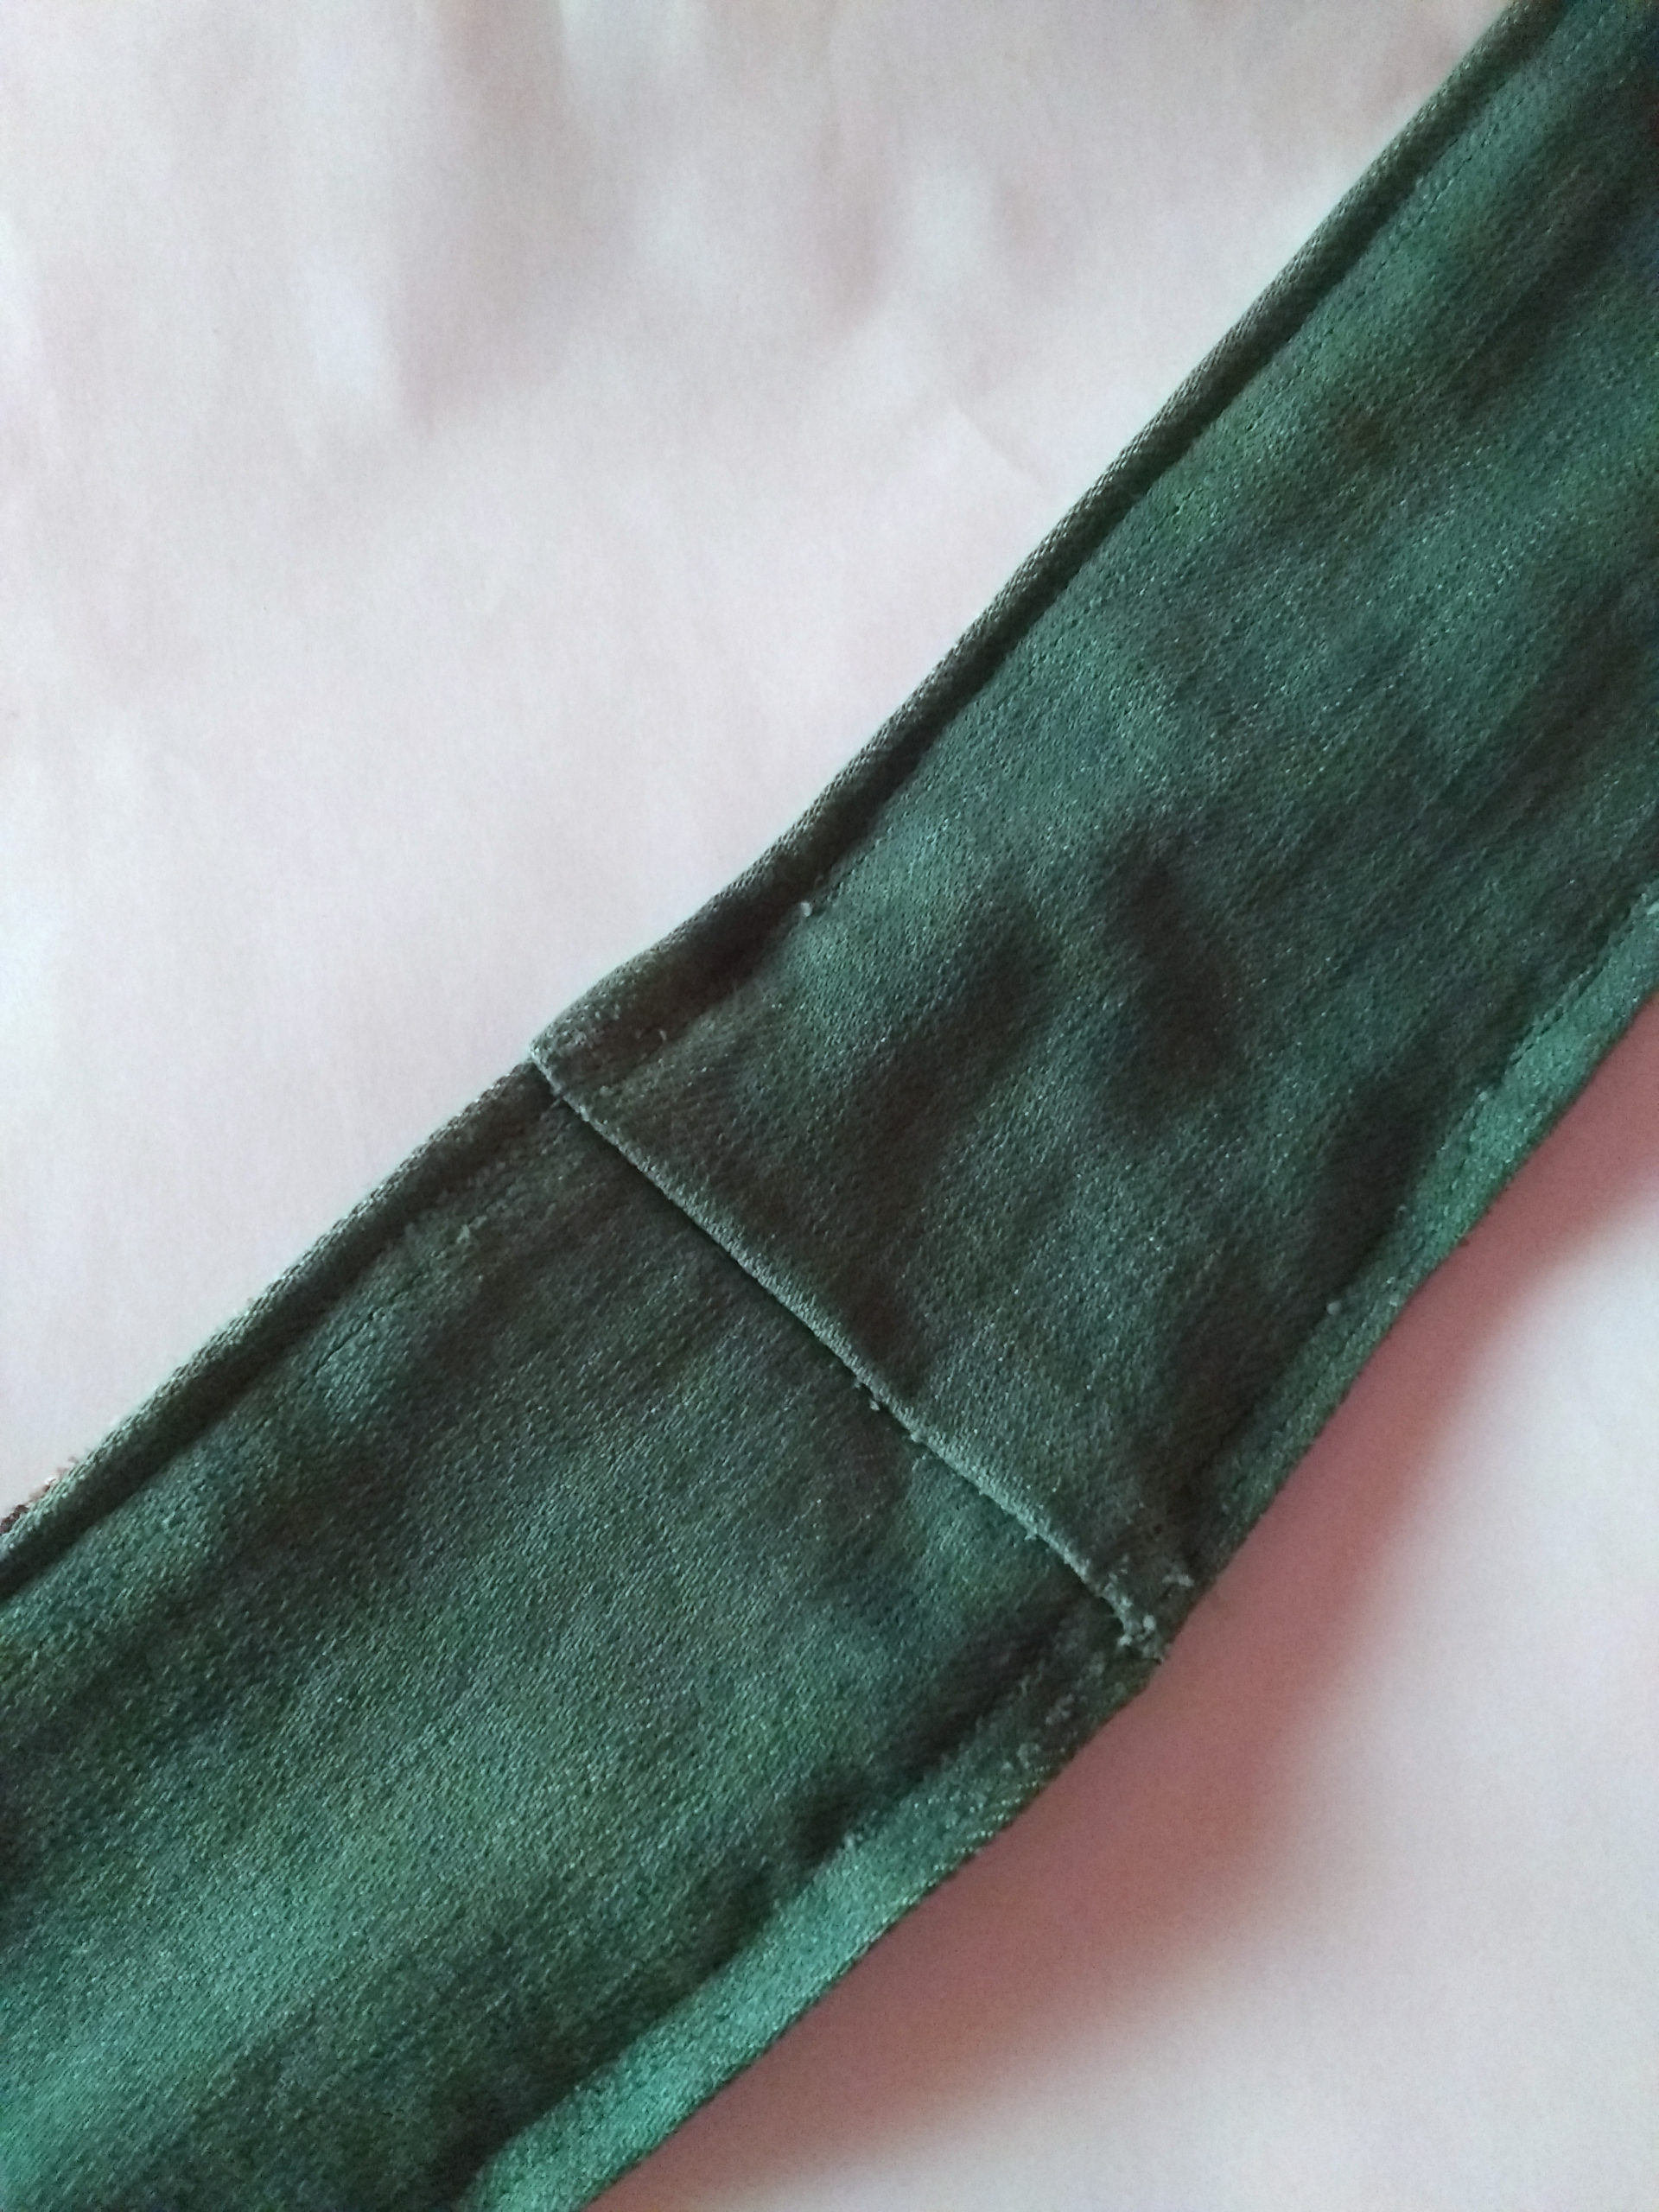
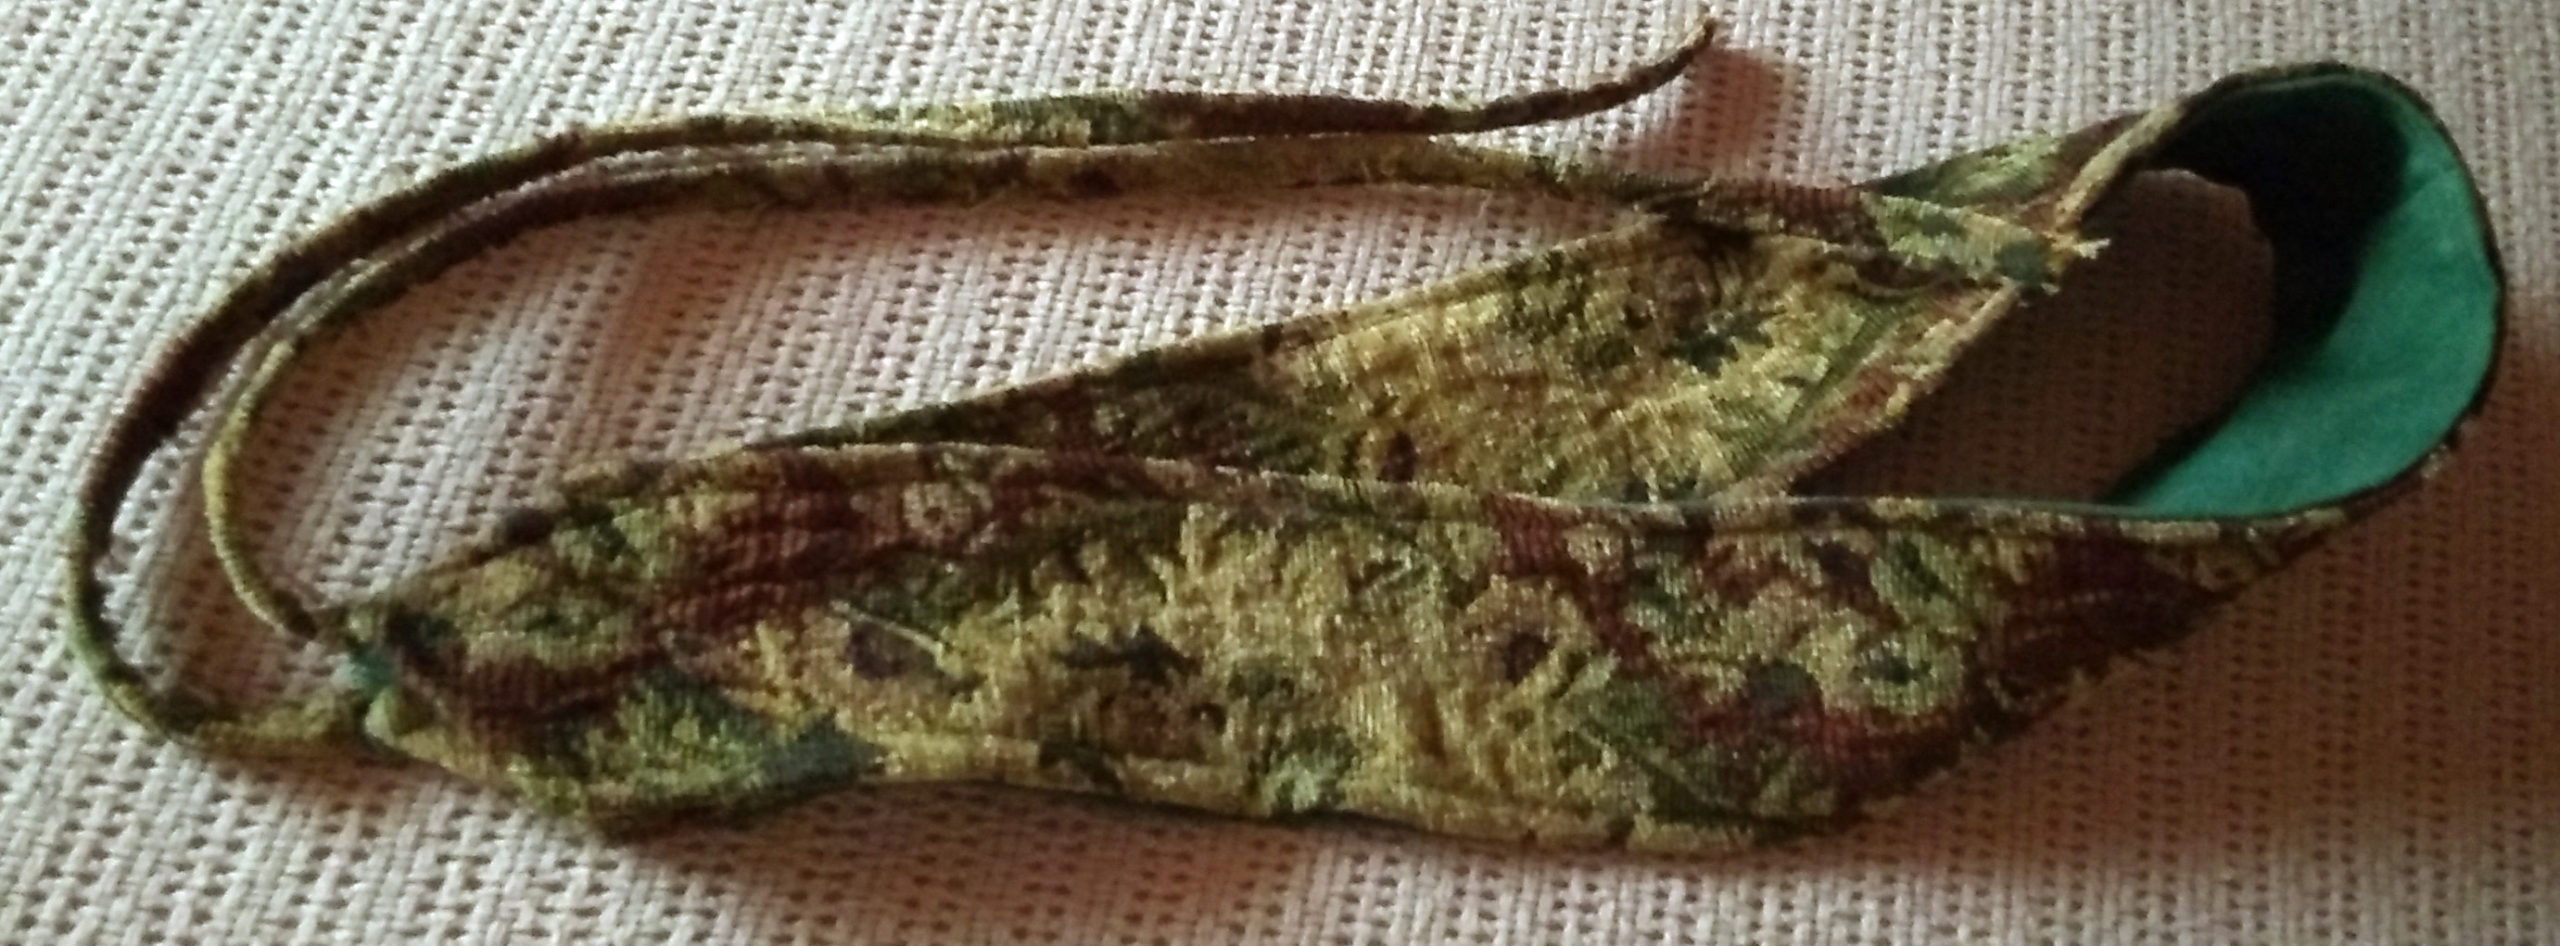
Step 2: Get your material ready. I used upholstery fabric for the top layer (decorative) and denim for the liner.
I dyed light-colored denim to the green color.
(I also had to piece it together.)
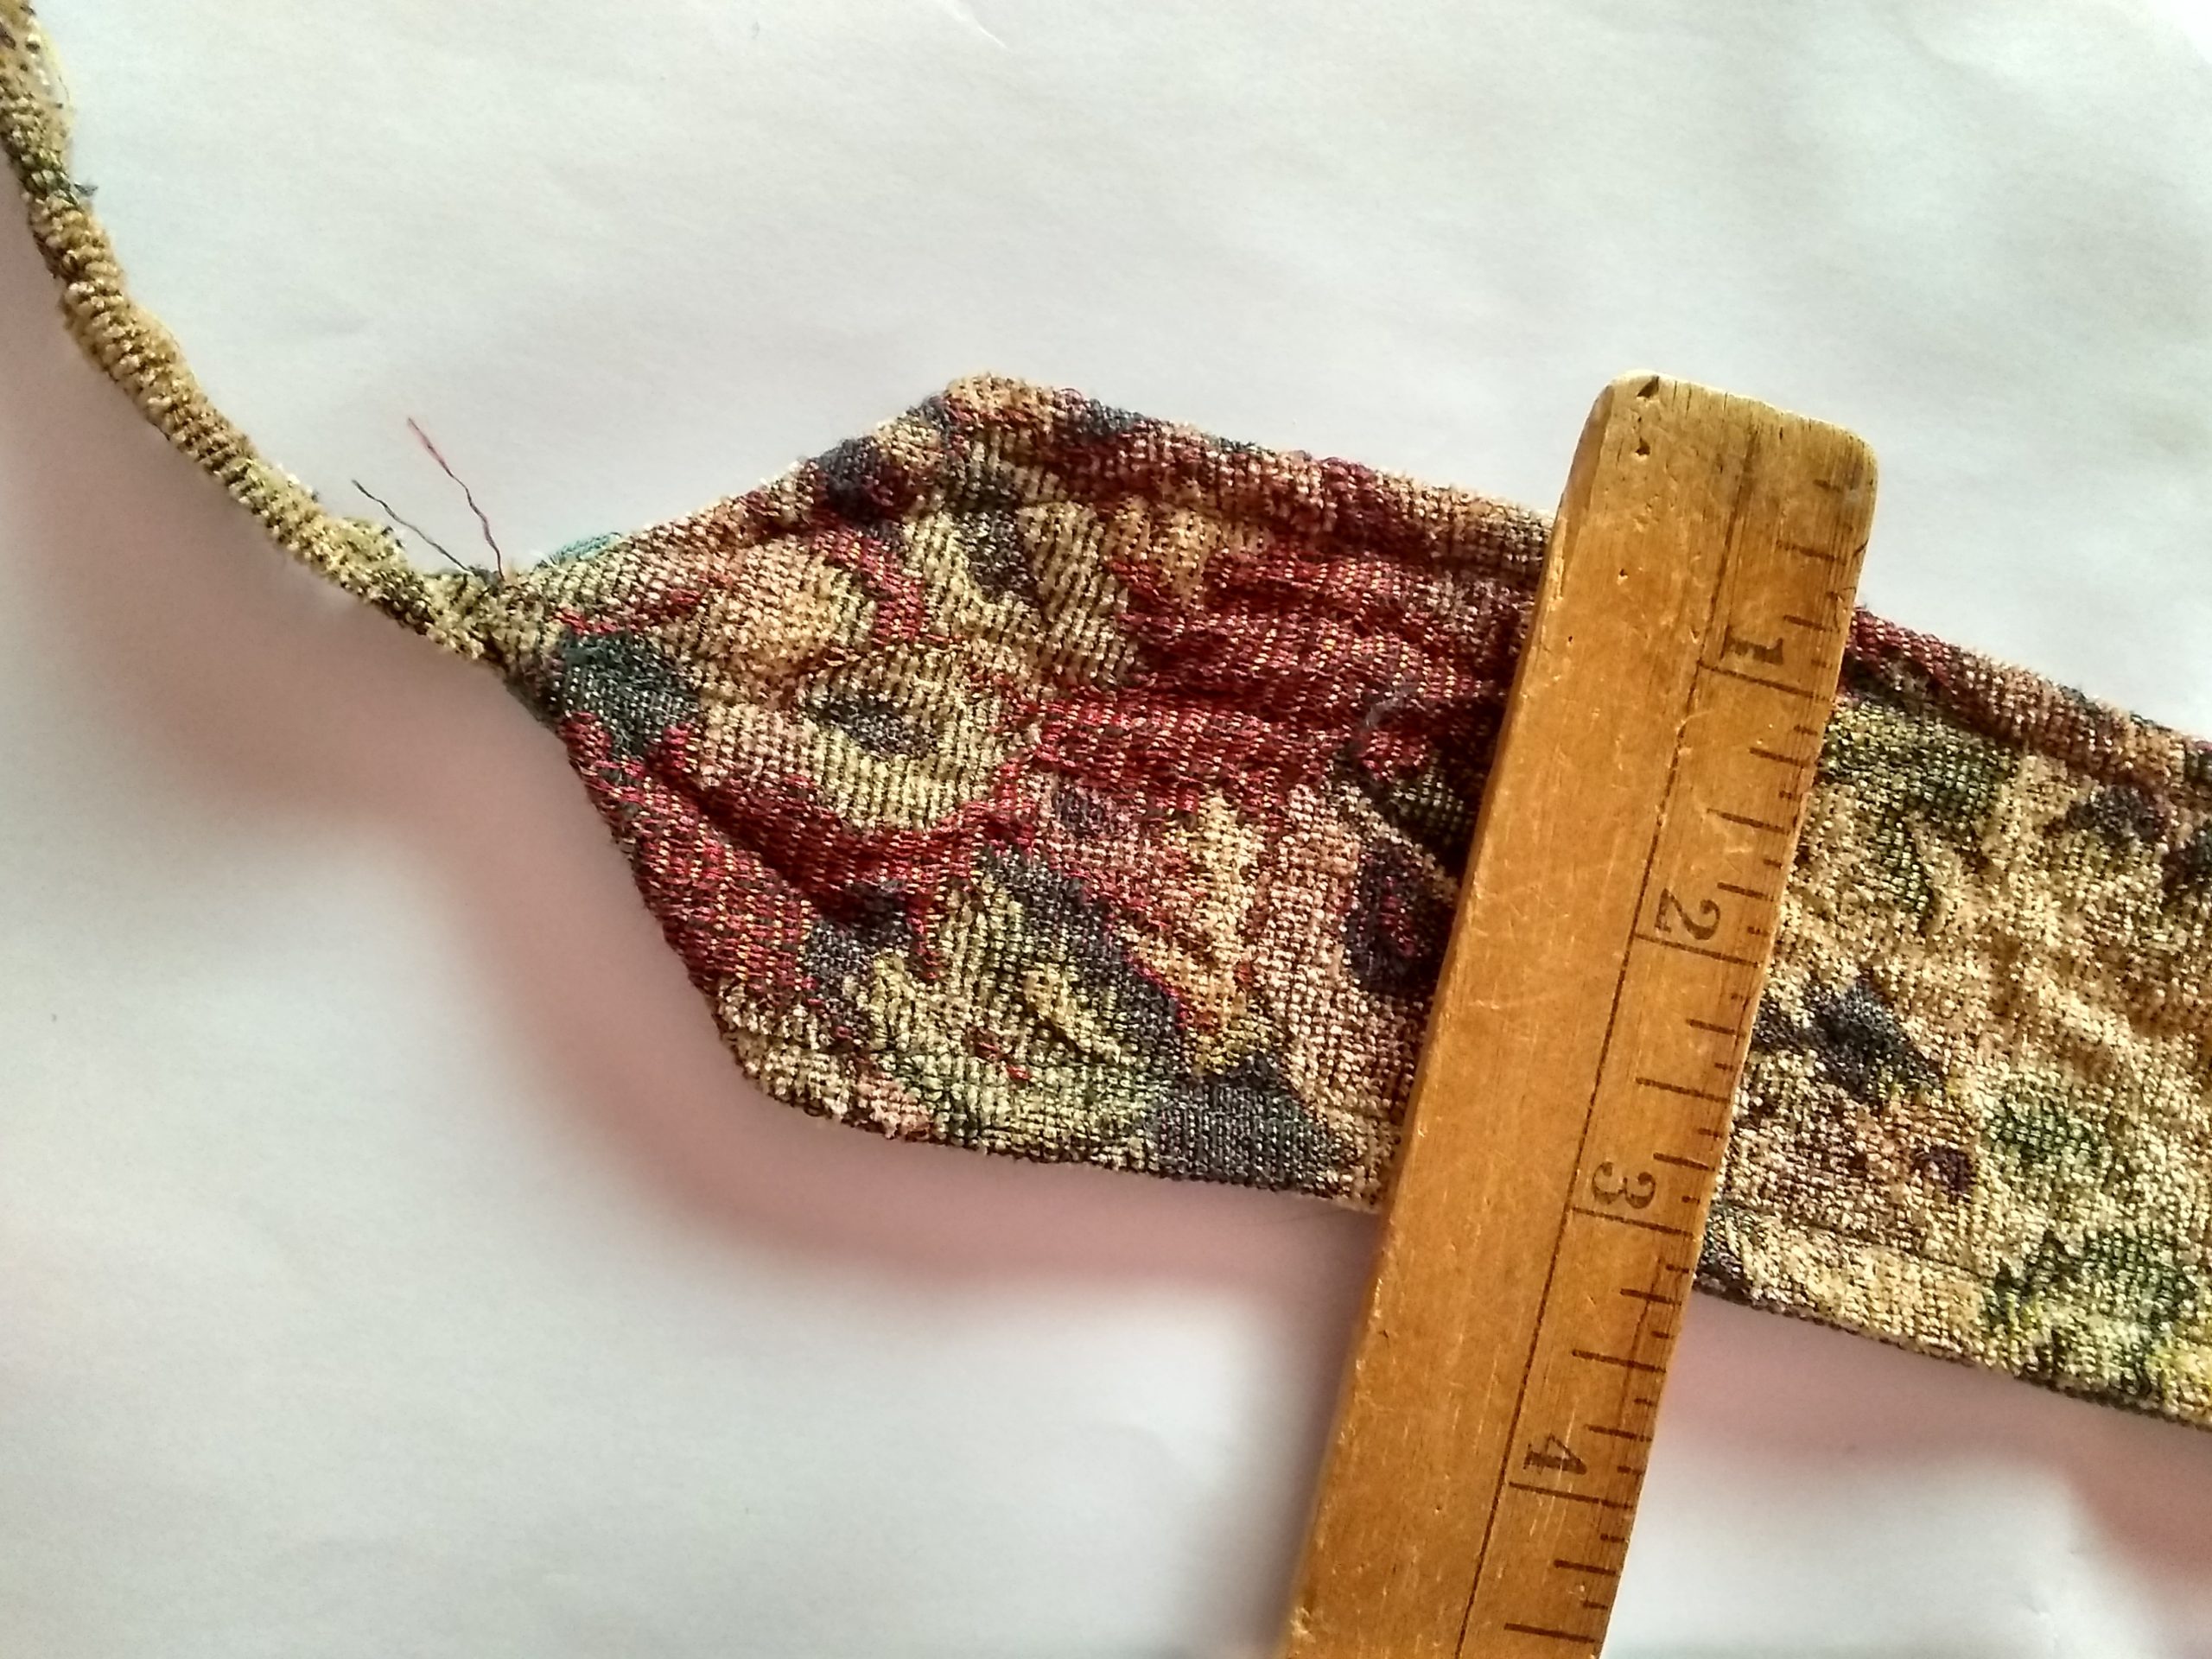
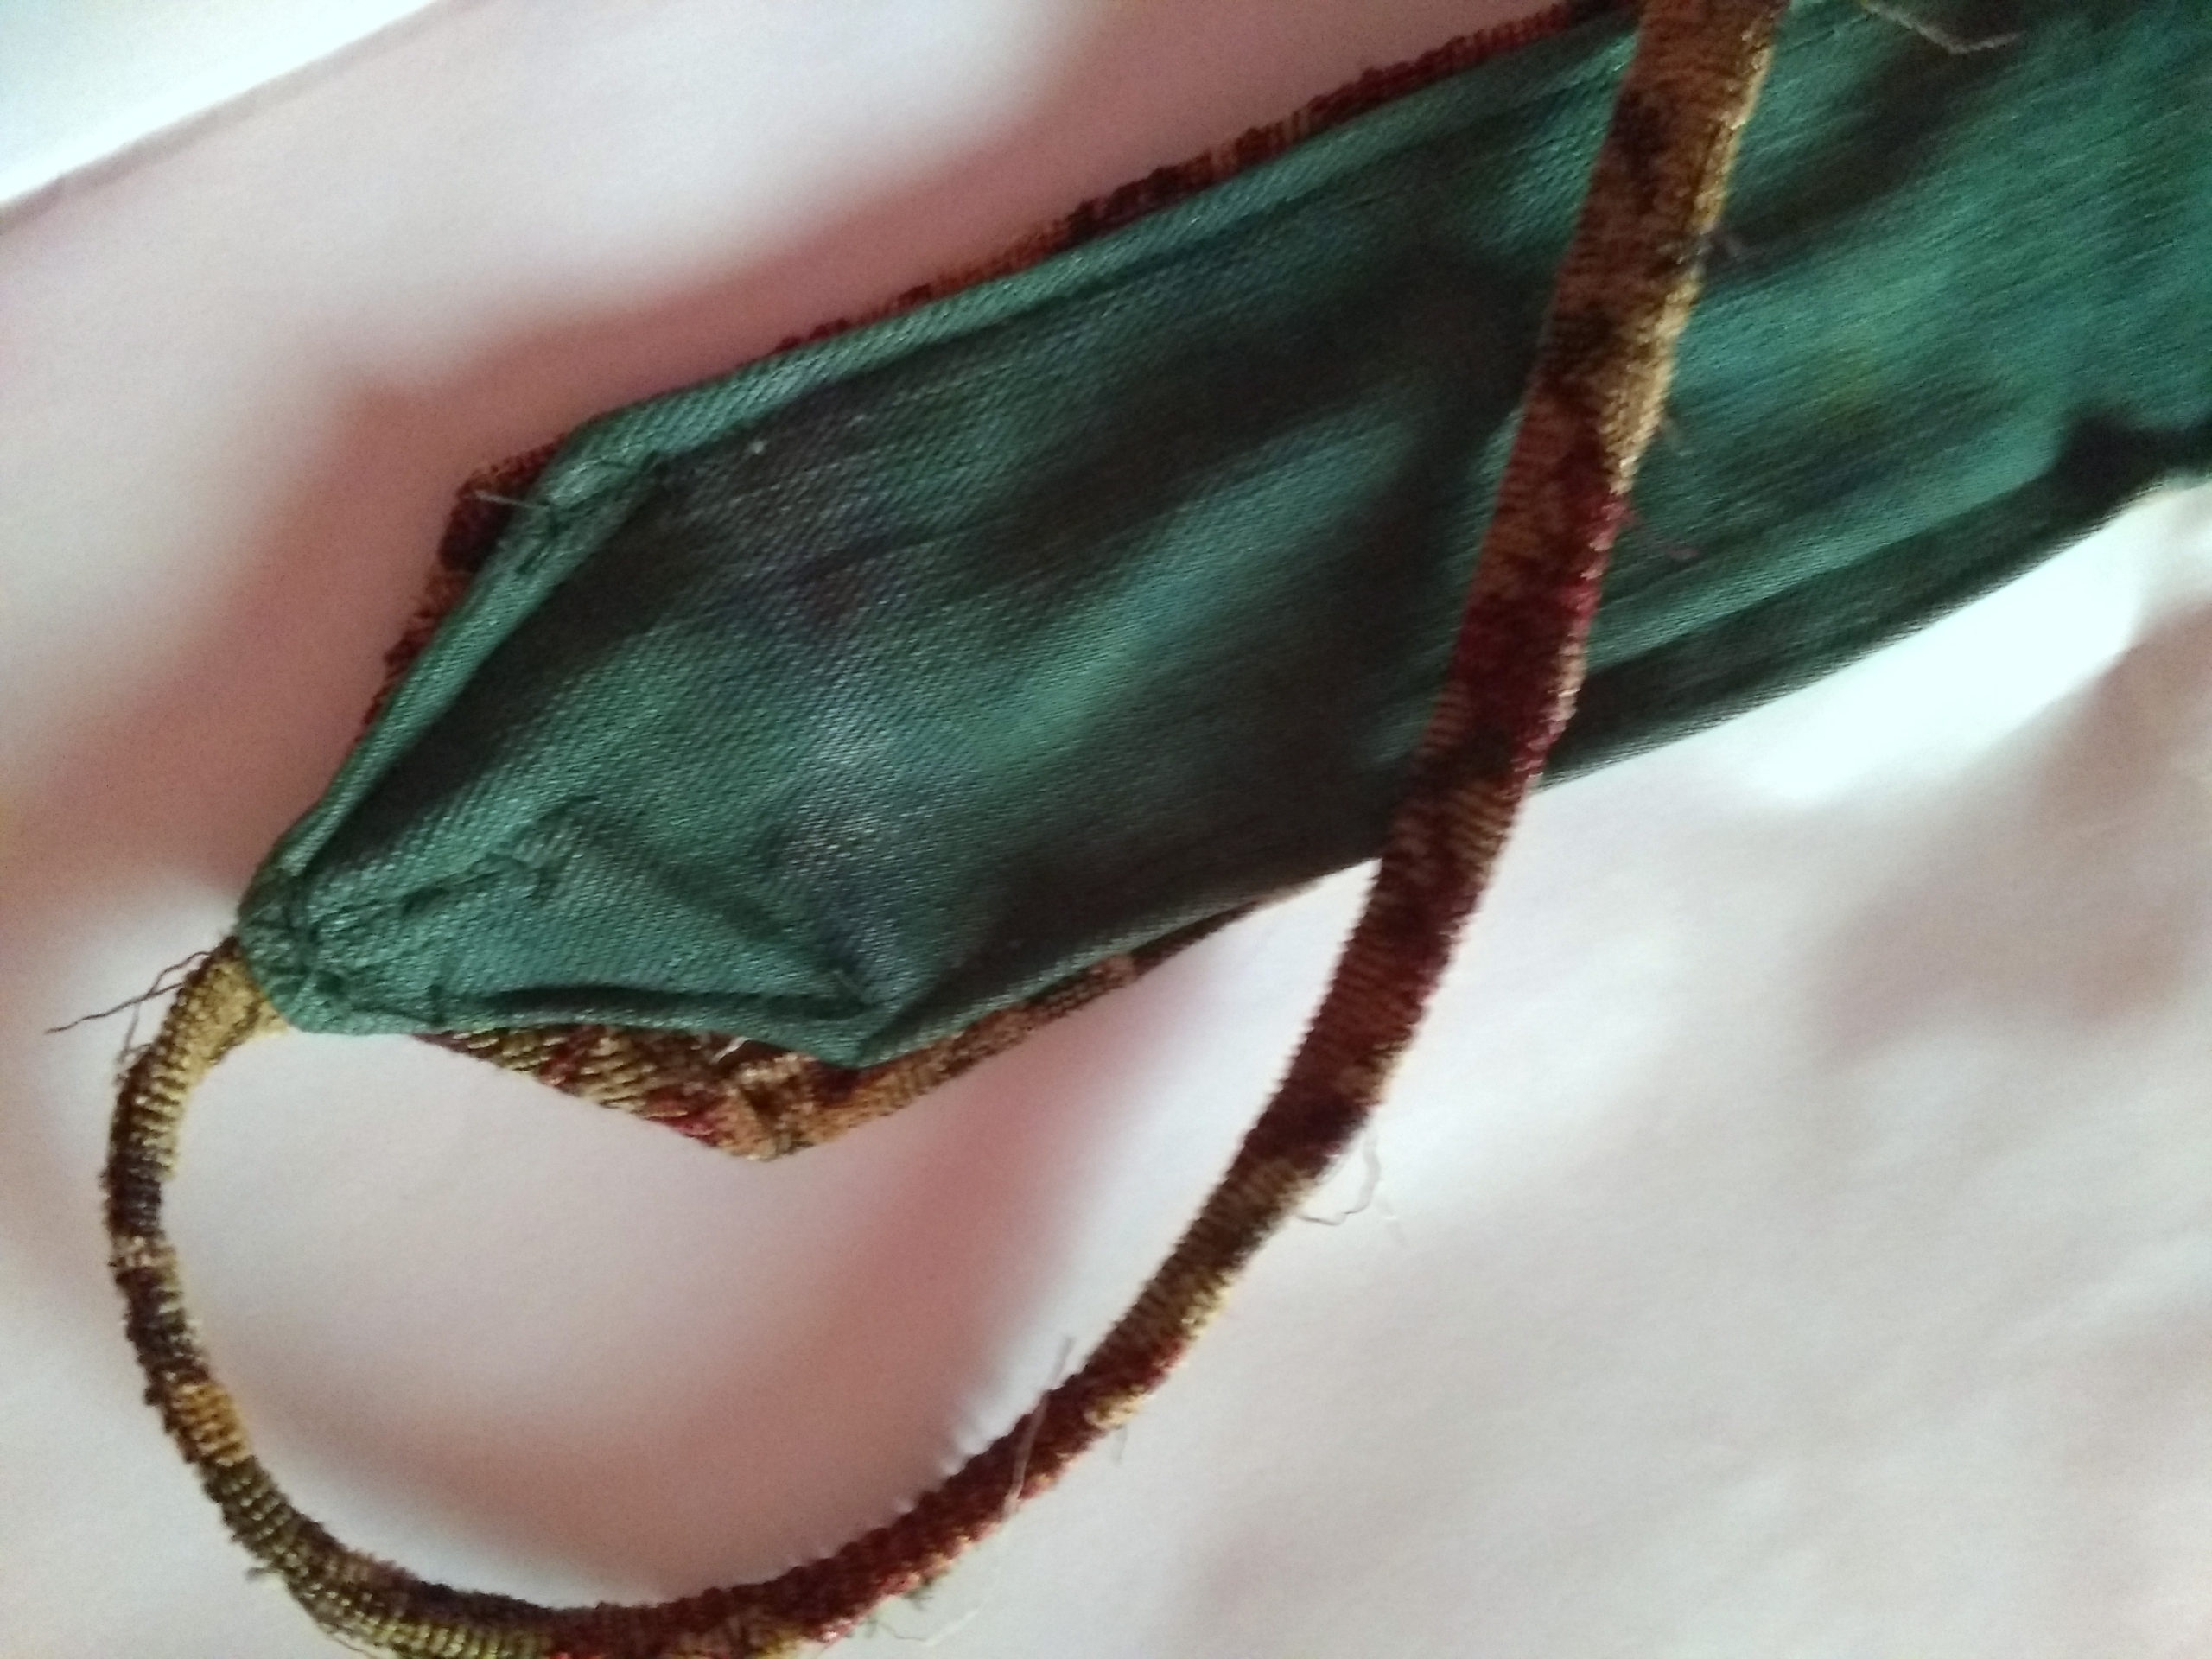
Step 3: Measure out both layers: about 3 1/2 or 4 inches wide, allowing for hemming, and as long as you need for the length to almost meet around your waist or hips.
Turn under the edges for each and stitch along the folded-over edges.
But, for the ends, fold it in to make points.
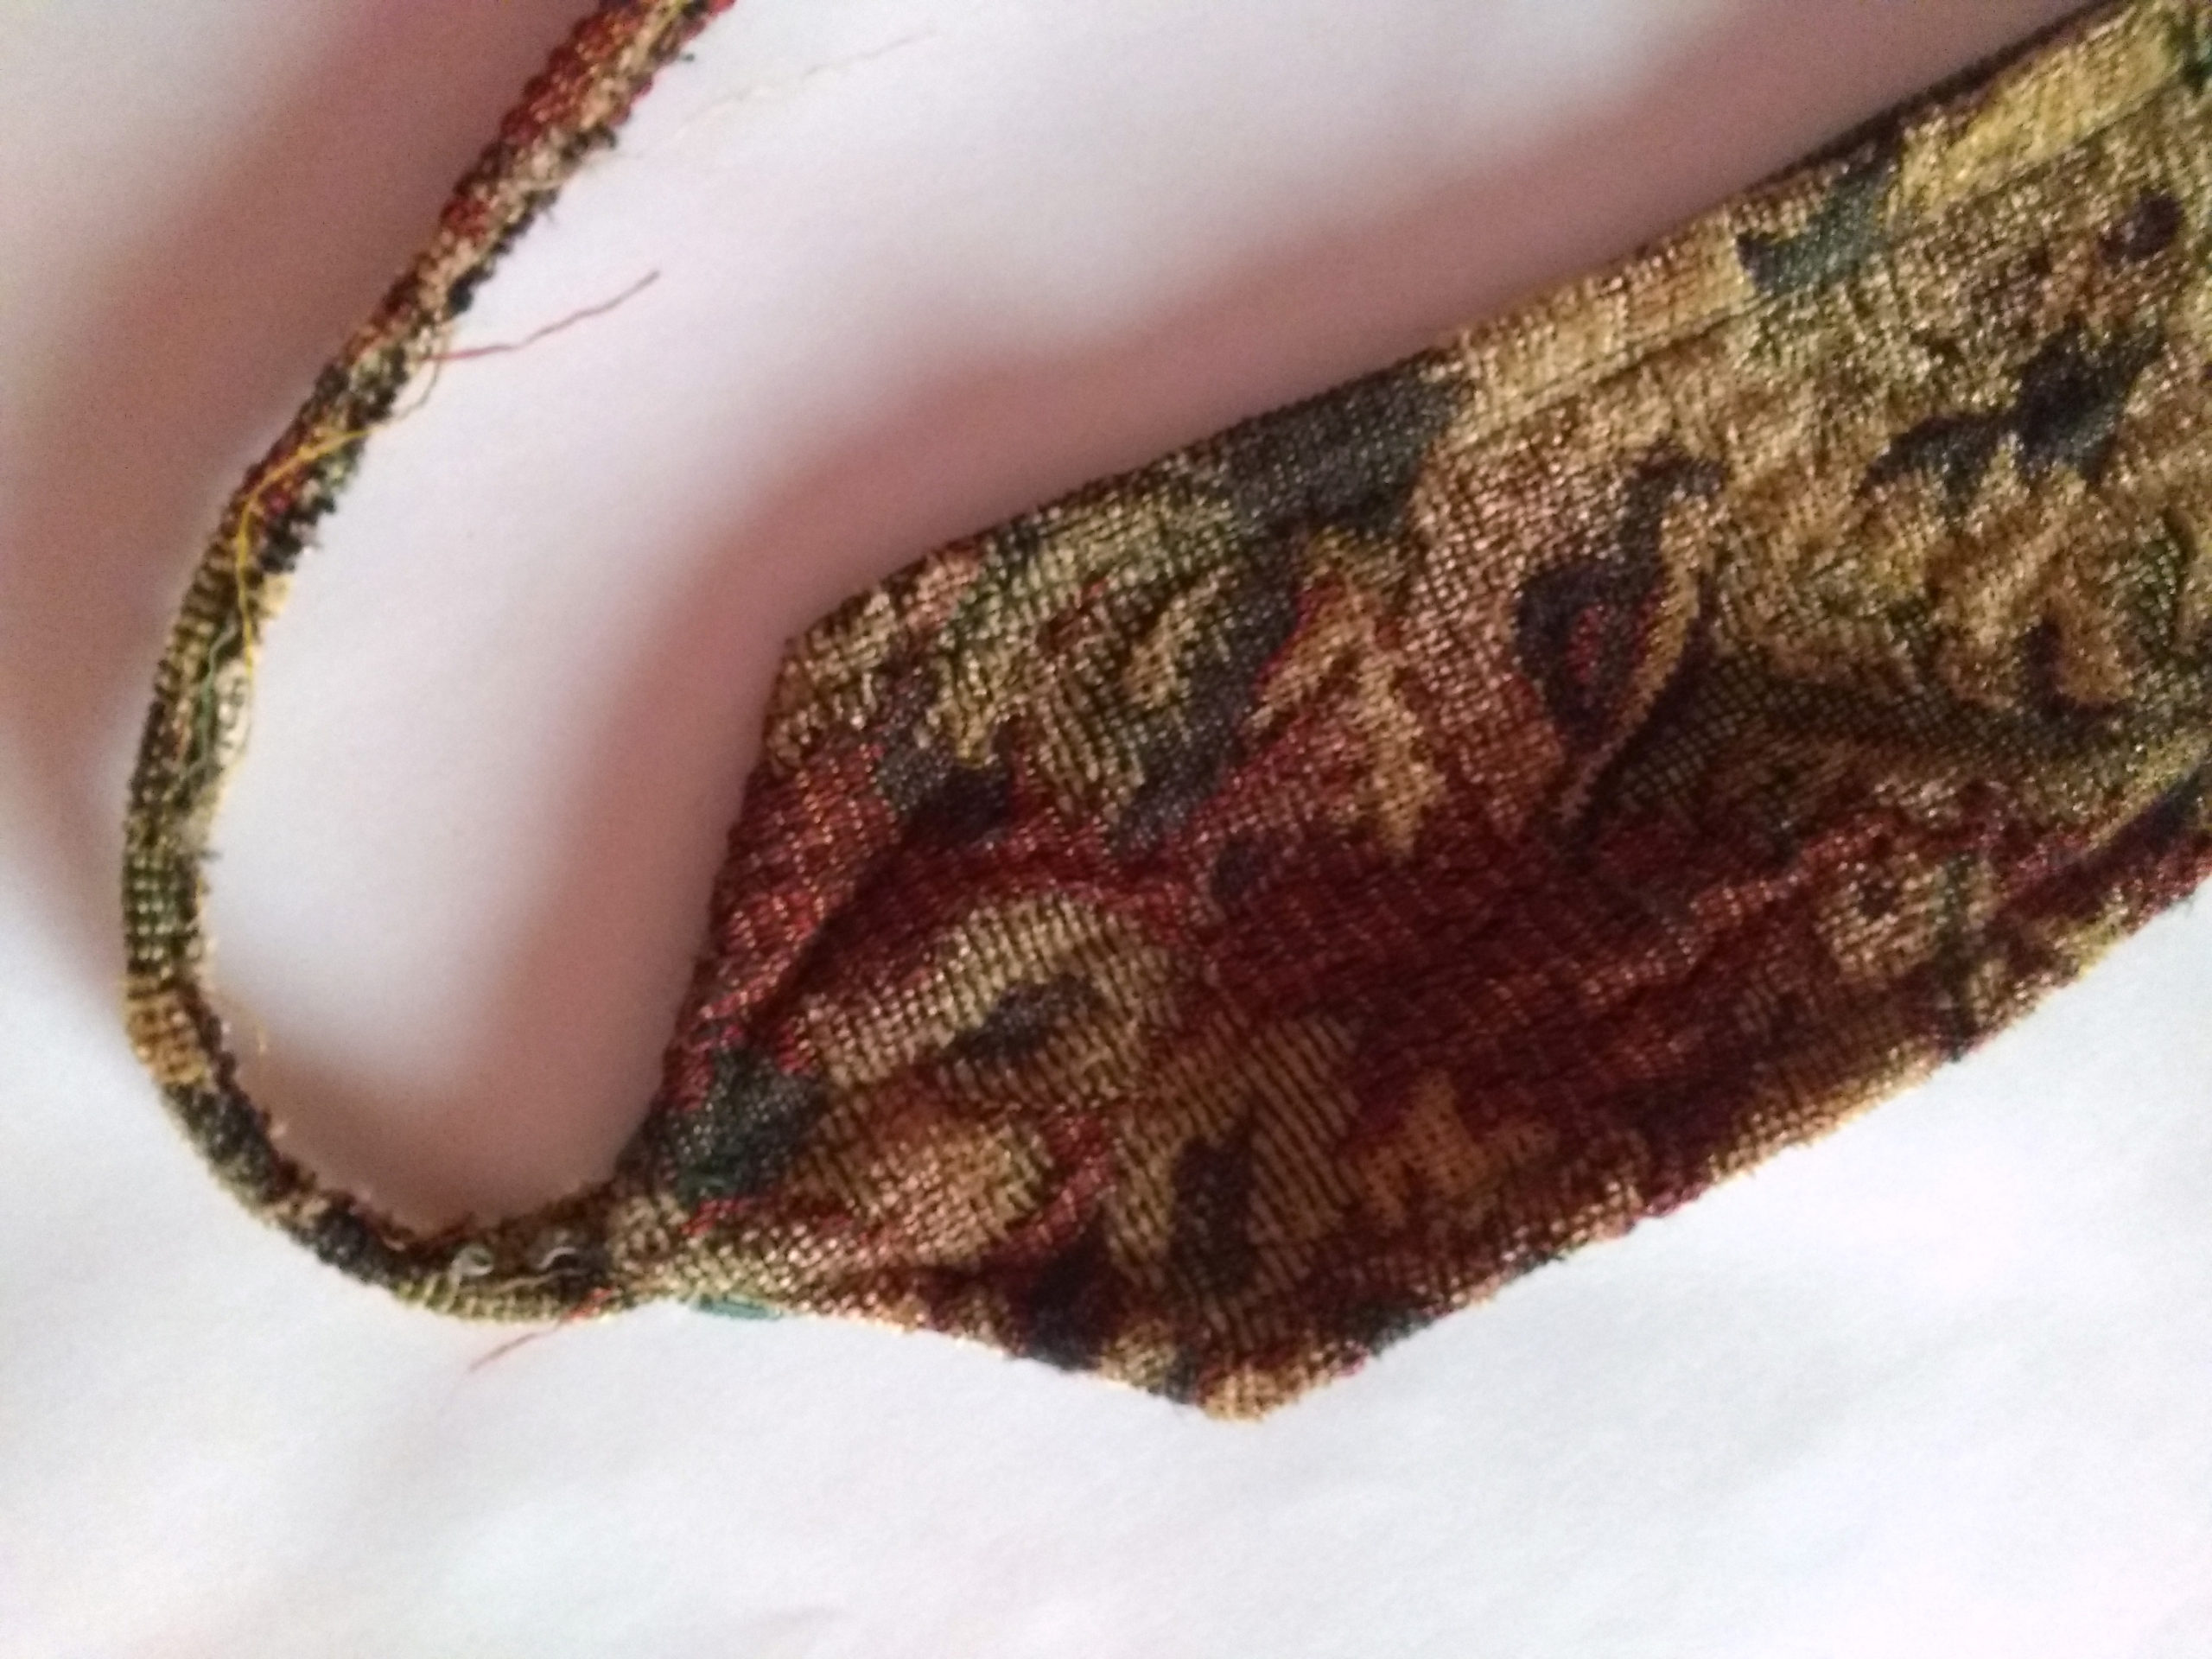

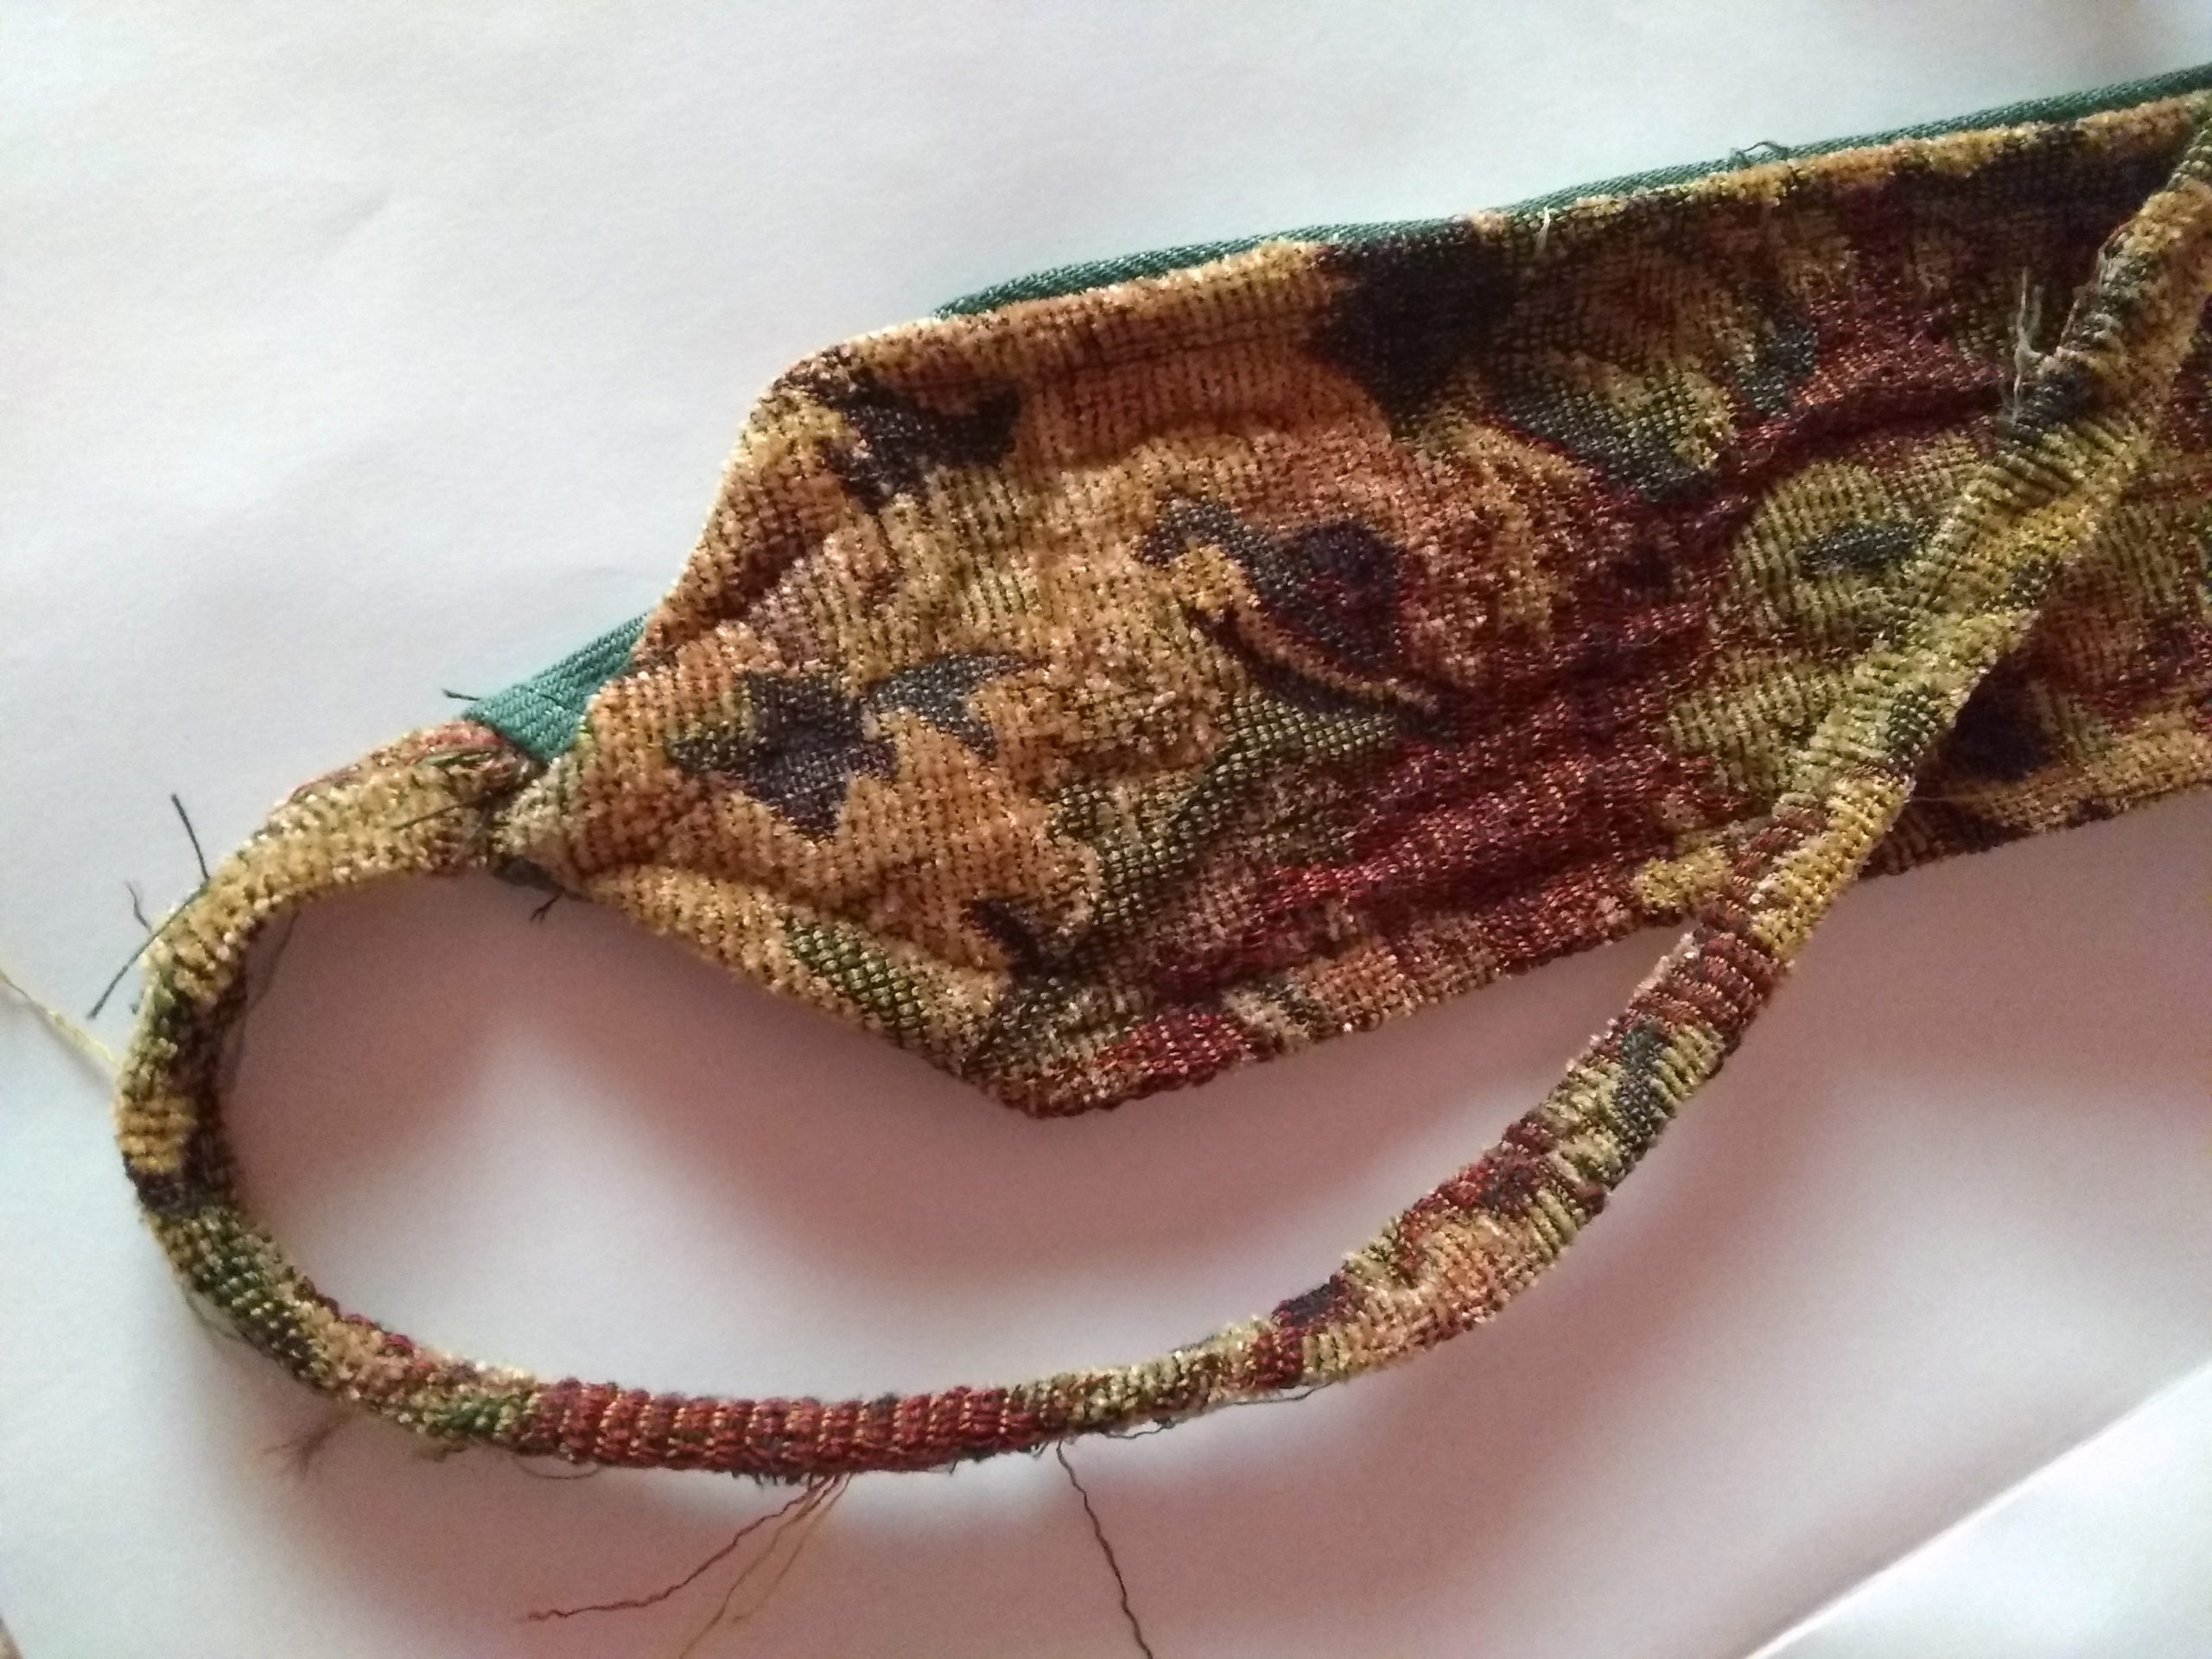
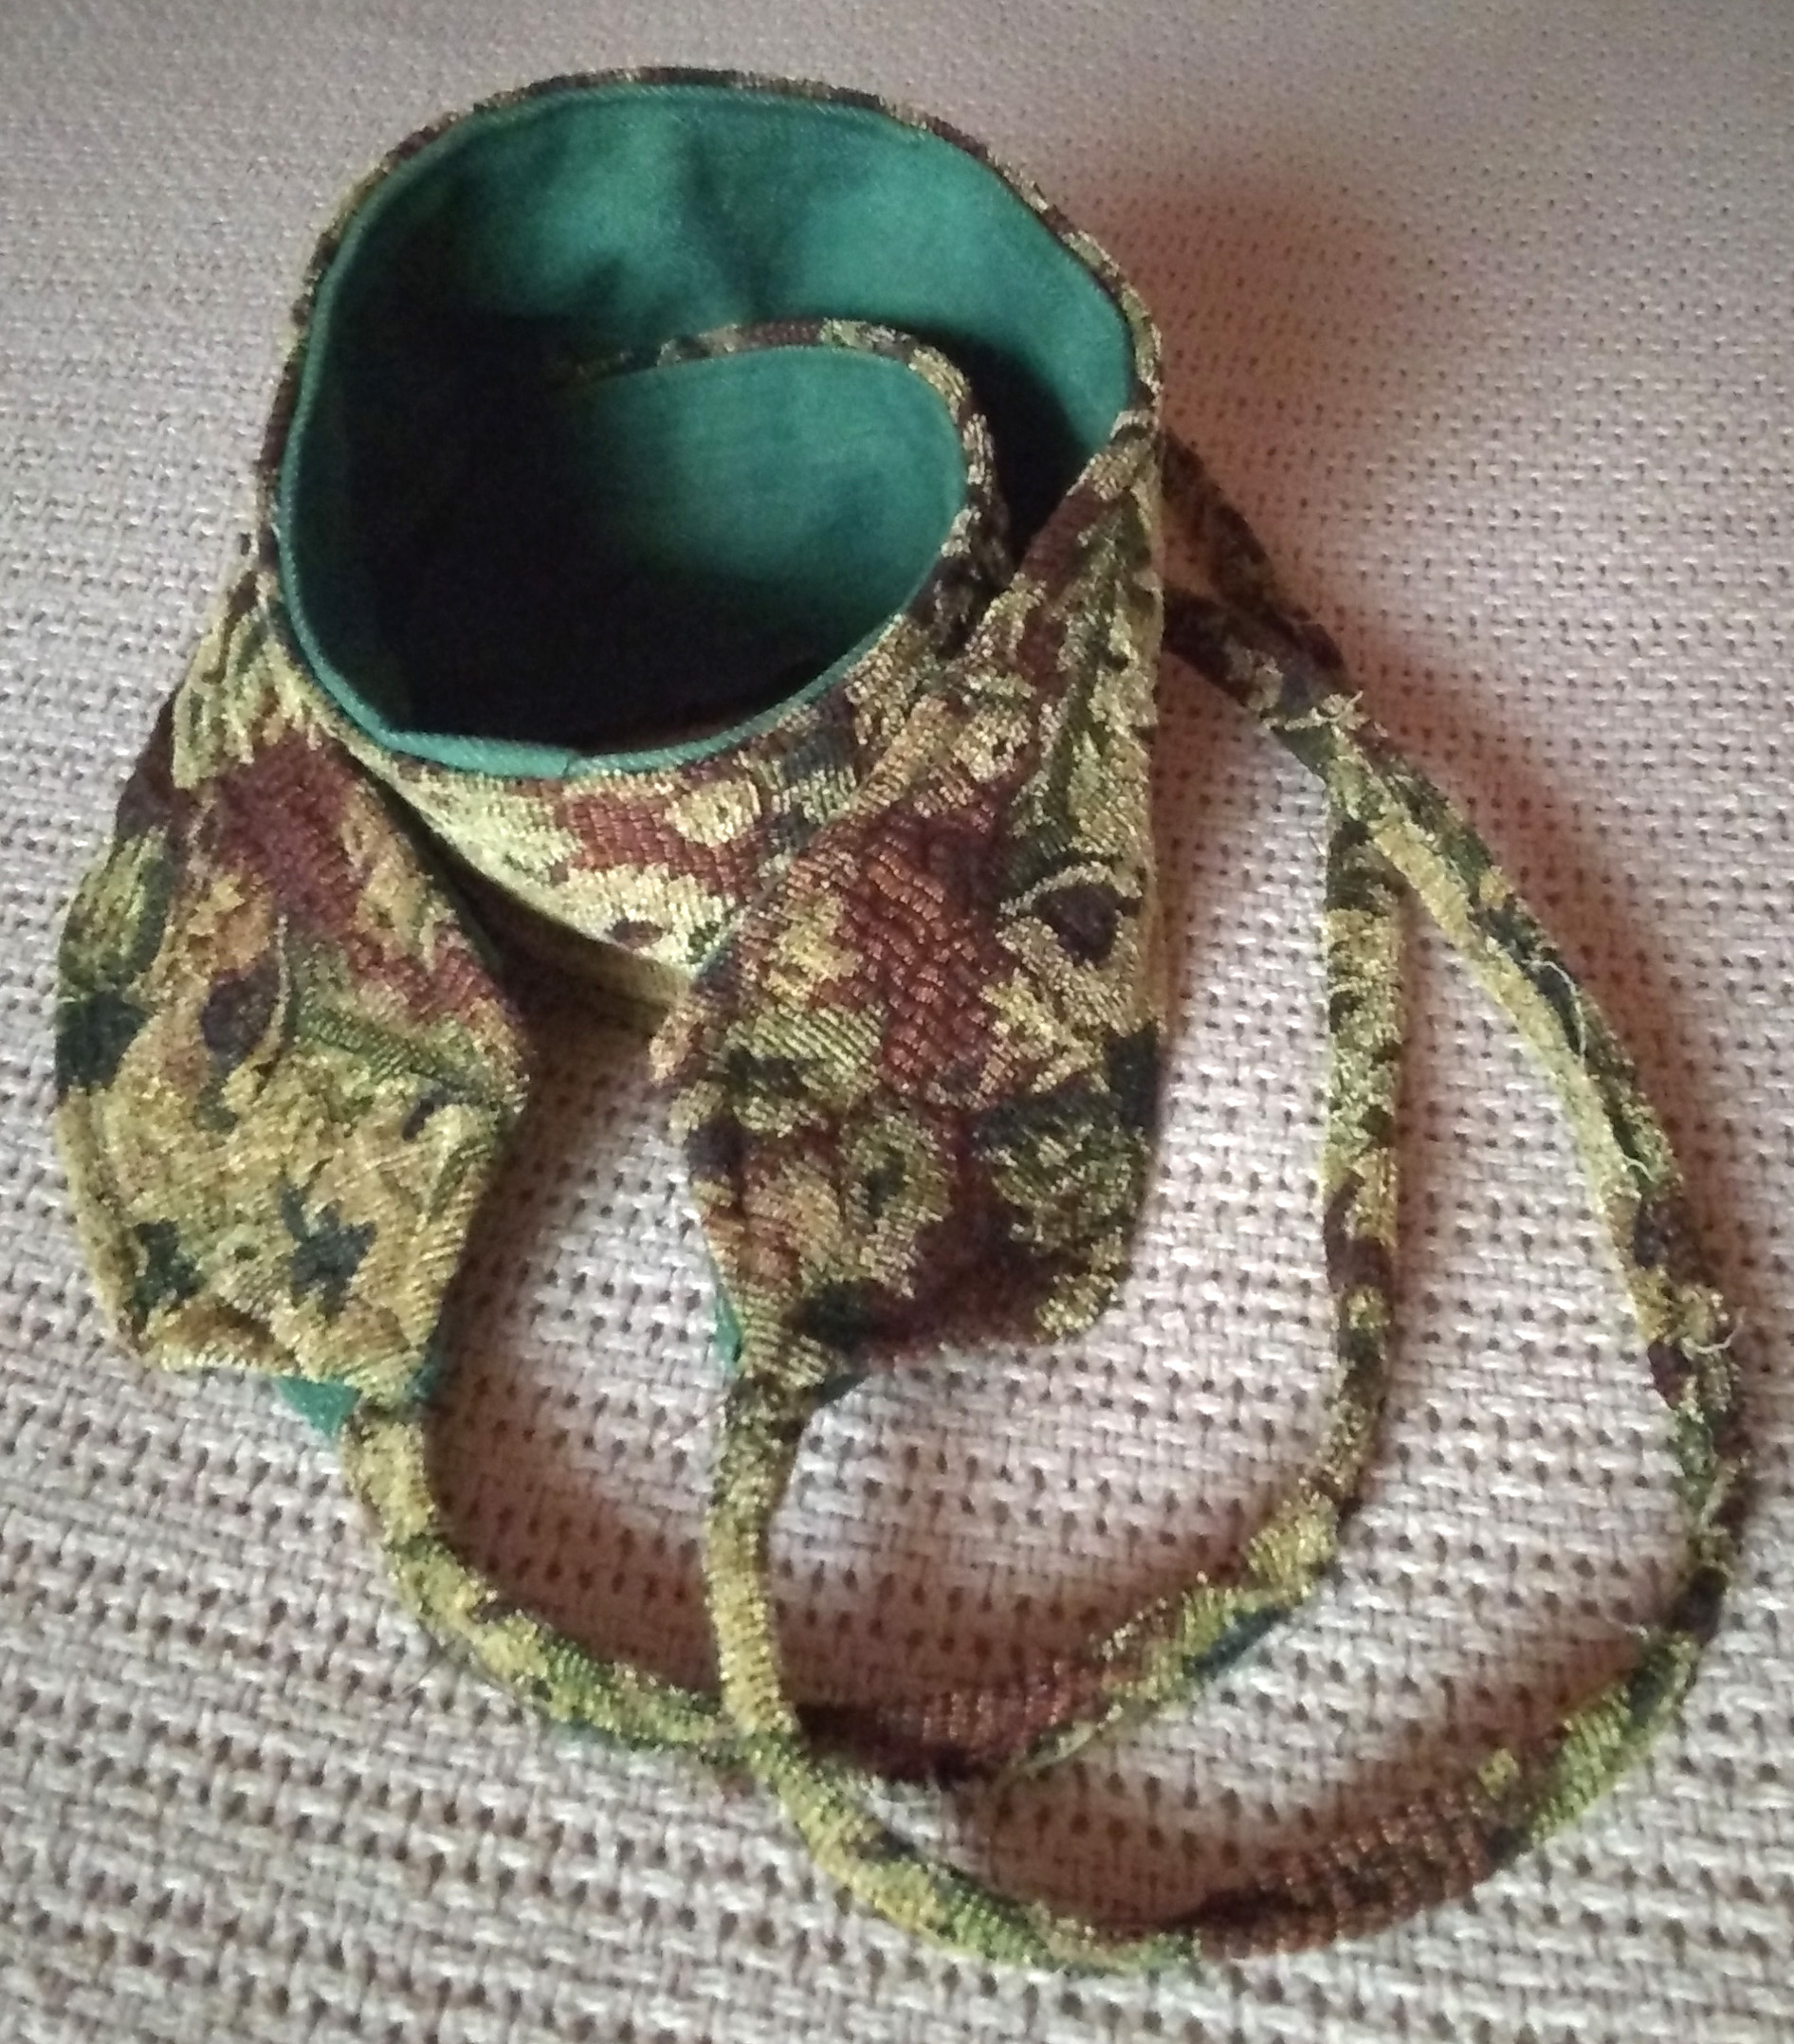
Step 4: Before you sew the layers together, make a “string” from the upholstery fabric.
Though it will end up being about 1/2 inch wide, you need to cut it 3 x that width (at least 1 1/2 inches) so you can fold it over and stitch it down.
Make the length about 18 or 19 inches, and after you’ve made it into a cord, insert it an inch in between the layers before you sew the layers together.

This is your tie belt.
“Stay tuned” for the making of the skirt that goes with my belt—at some point! Lol


Click the images above to go to other parts of my blog.
Comment
Like
Share