

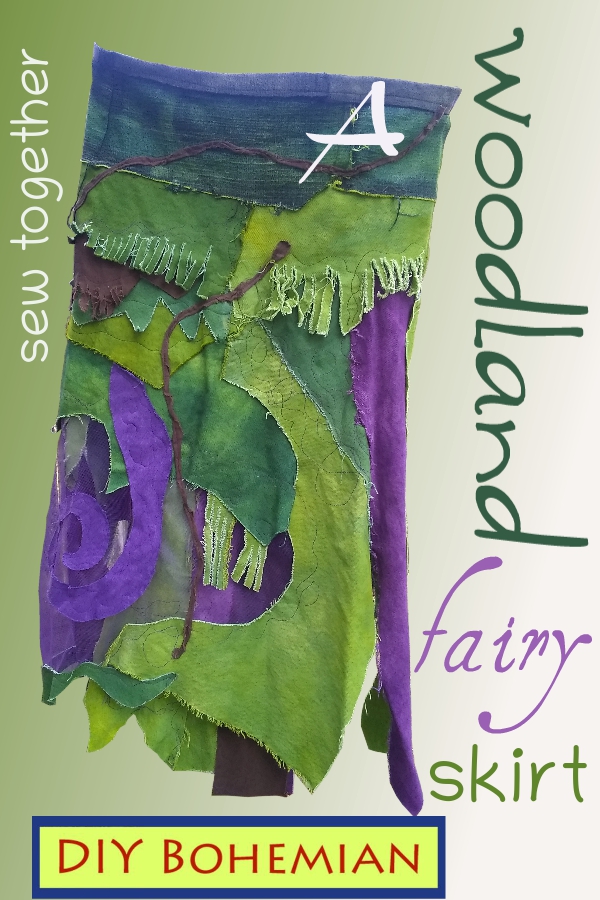
Hey creative bohemians!
Who loves fairies? …I do! I do!
I fancy myself hiding behind a stout tree trunk in a rich and glorious English garden.
I slyly peek around the rough-barked tree, delightedly, with eyes a-twinkle, to witness the fairies as they flit and flutter, playfully flirting with the flowers, and making merry with the butterflies.
At dusk, when the butterflies and bees go to sleep, the faes find new playmates: The fireflies blink their
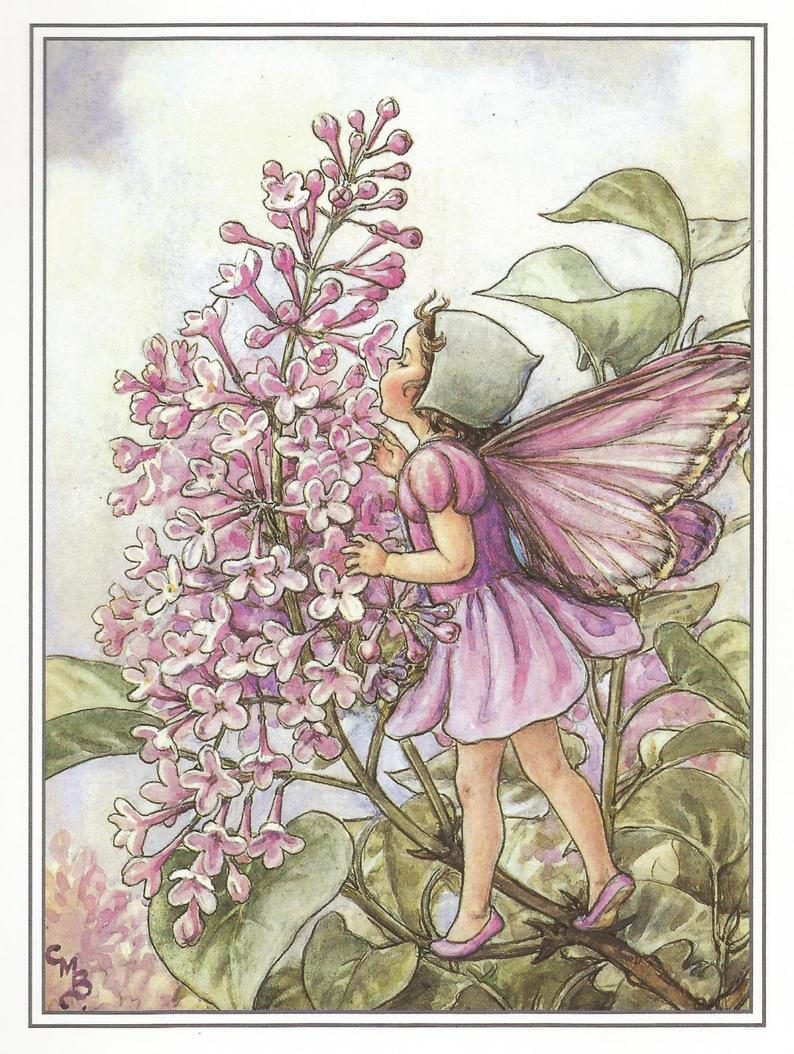
lights at the impish, high-spirited nymphs, coaxing, Come and play with us! We will light your way on this dark and enchanted night!
")
From Scratch
This skirt is the first I’ve endeavored from scratch—as I am not a genuine seamstress.
Normally—and, I always advocate this because it is so much simpler for one who is a novice, I use parts of already-made garments, i.e. jeans waist for making a skirt.
Lol…this is my way of “cheating!” It’s easier and less time consuming.
But, as this is totally from scratch, I’m very pleased with the end result!
MATERIALS NEEDED:
- Denim from several pairs of jeans. Cut the fabric away from the seams, but save the seams for other projects. I get jeans from the 25-cent rack in a thrift shop.
- Purple tulle. Mine is from a sheer curtain I found at the Goodwill Outlet, for, literally, pennies.
- A seven-inch zipper. Mine is from Wal-Mart—$1.47, I think.
- Chlorine bleach
- A few colors of dye. I use RIT liquid dye. The powdered is okay if you can’t get liquid. It’s just easier to pour in a little liquid. I found that Wal-Mart has the best price on this ($4.47).
- Milk jugs, juice bottles, or any disposable plastic bottles. I like to use plastic OJ or lemonade bottles with a wide mouth—about 1.5 qt. size. This is for keeping the excess dye: Pour it from the pot into the bottles to use later. When you use it again, you’ll probably want to add more liquid dye to make it more potent.
- Funnel, to avoid spills.
- Rubber gloves. Dollar Tree has them ($1).
Cutting, Bleaching
I cut chunks and strips of denim from jeans, bleached the color out—or, in some cases used denim from white or light tan jeans.
After washing out the bleach and drying the pieces, I then dyed them—in a variety of greens and yellow-greens.
I had some purple denim and brown denim already dyed by the manufacturer.
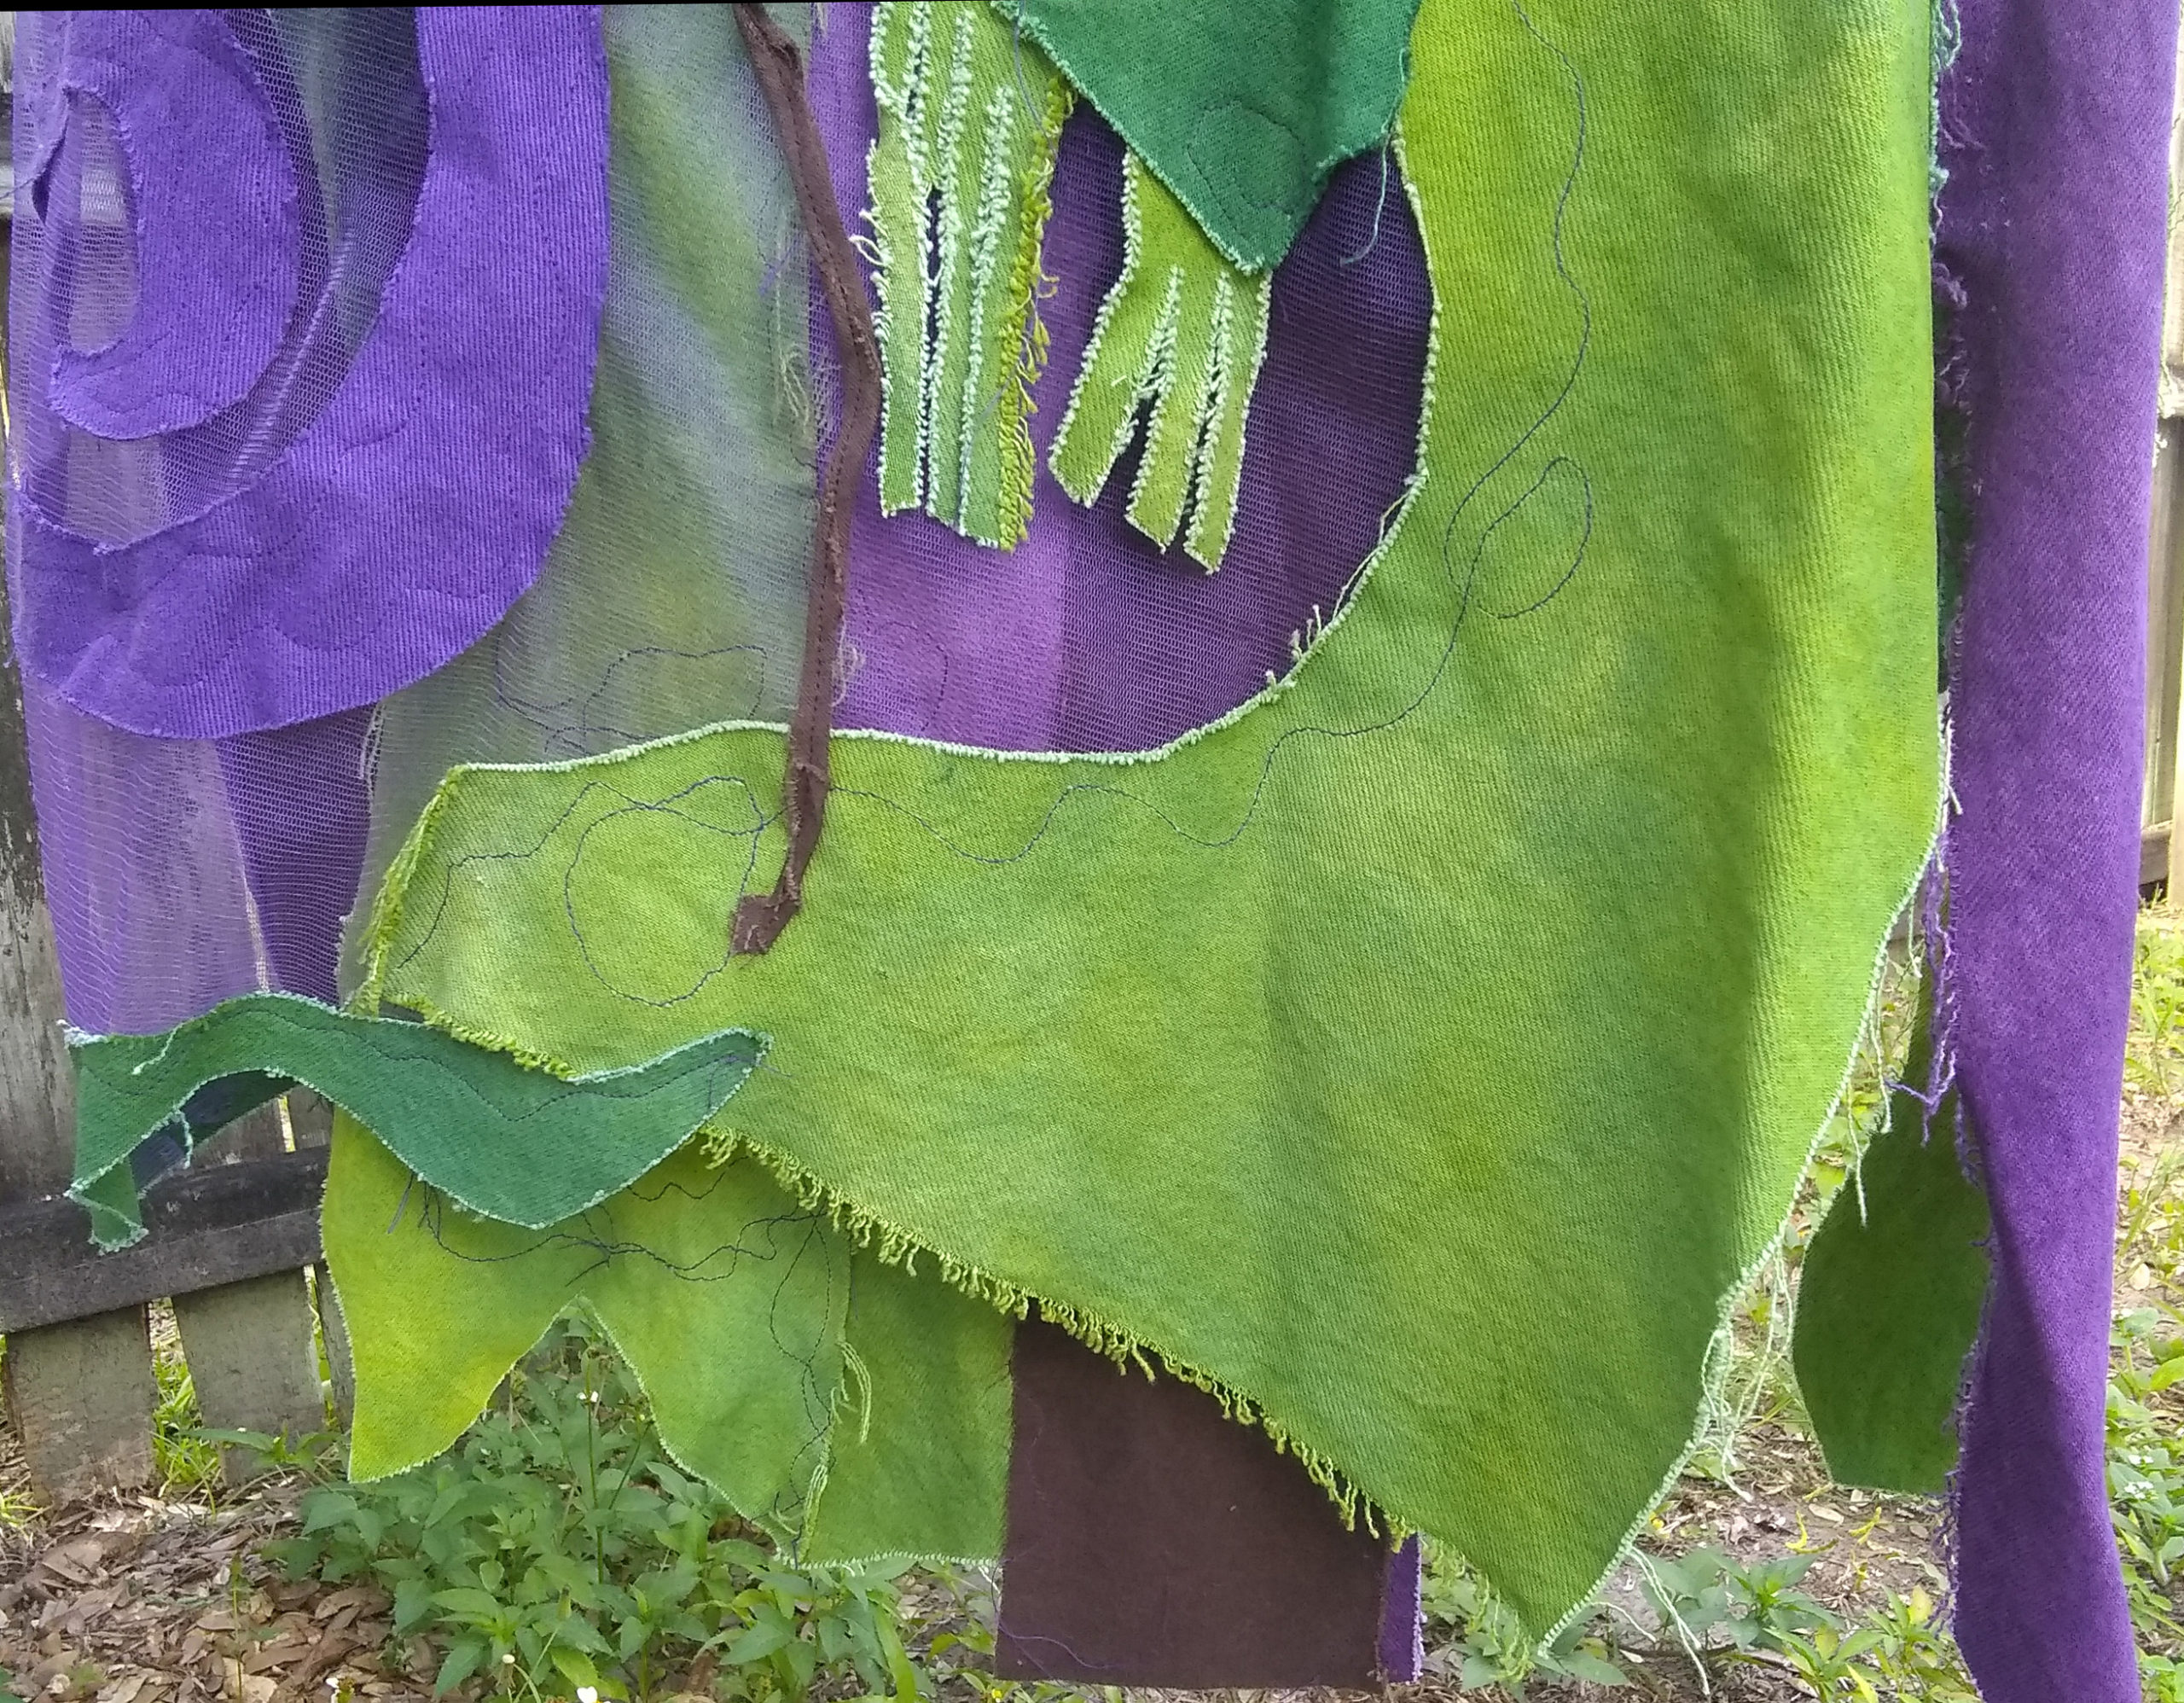
As I have done on other denim projects, most of the fabric edges on this skirt are left “au naturel.”
When constructing, I cut unusual shapes, i.e. zigzags and curlicues.
As for the dyeing,
I don’t like completely saturating fabrics. I like to dunk the fabric, kinda wadded up, into the dye bath and take it out pretty quickly. Squeezing out the excess allows some color to penetrate the entire piece. It leaves the pieces uneven in color. If I want it darker or more even, I leave it in longer, sometimes swishing it around. It just depends on the effect you want.
When I double dip into two different colors, of course one contaminates the other, but you can still use the mixed dye. Just keep it separate from the pure colors.
I like RIT dyes. I have a large pot I got at a thrift store to use particularly for dyeing.
For small pieces, heat a small amount of water—enough to submerge the pieces—on the stove, adding some liquid dye, and heat it to just to where it steams a little.
Don’t boil it.
USE RUBBER GLOVES! and tongs, if you wish. Be careful. Squeezing out the dye back into the pot can get pretty hot on your hands even with gloves.
On this project, I used: dark green and lemon yellow. I had some jeans already purple for the purple, and brown for the brown.
After dipping (squeeze out excess) and before rinsing, spray the pieces front and back with RIT Color Stay, and allow them to sit for 20 minutes. This locks in the color, and when you rinse your pieces, they hardly bleed at all!

SEWING TOGETHER
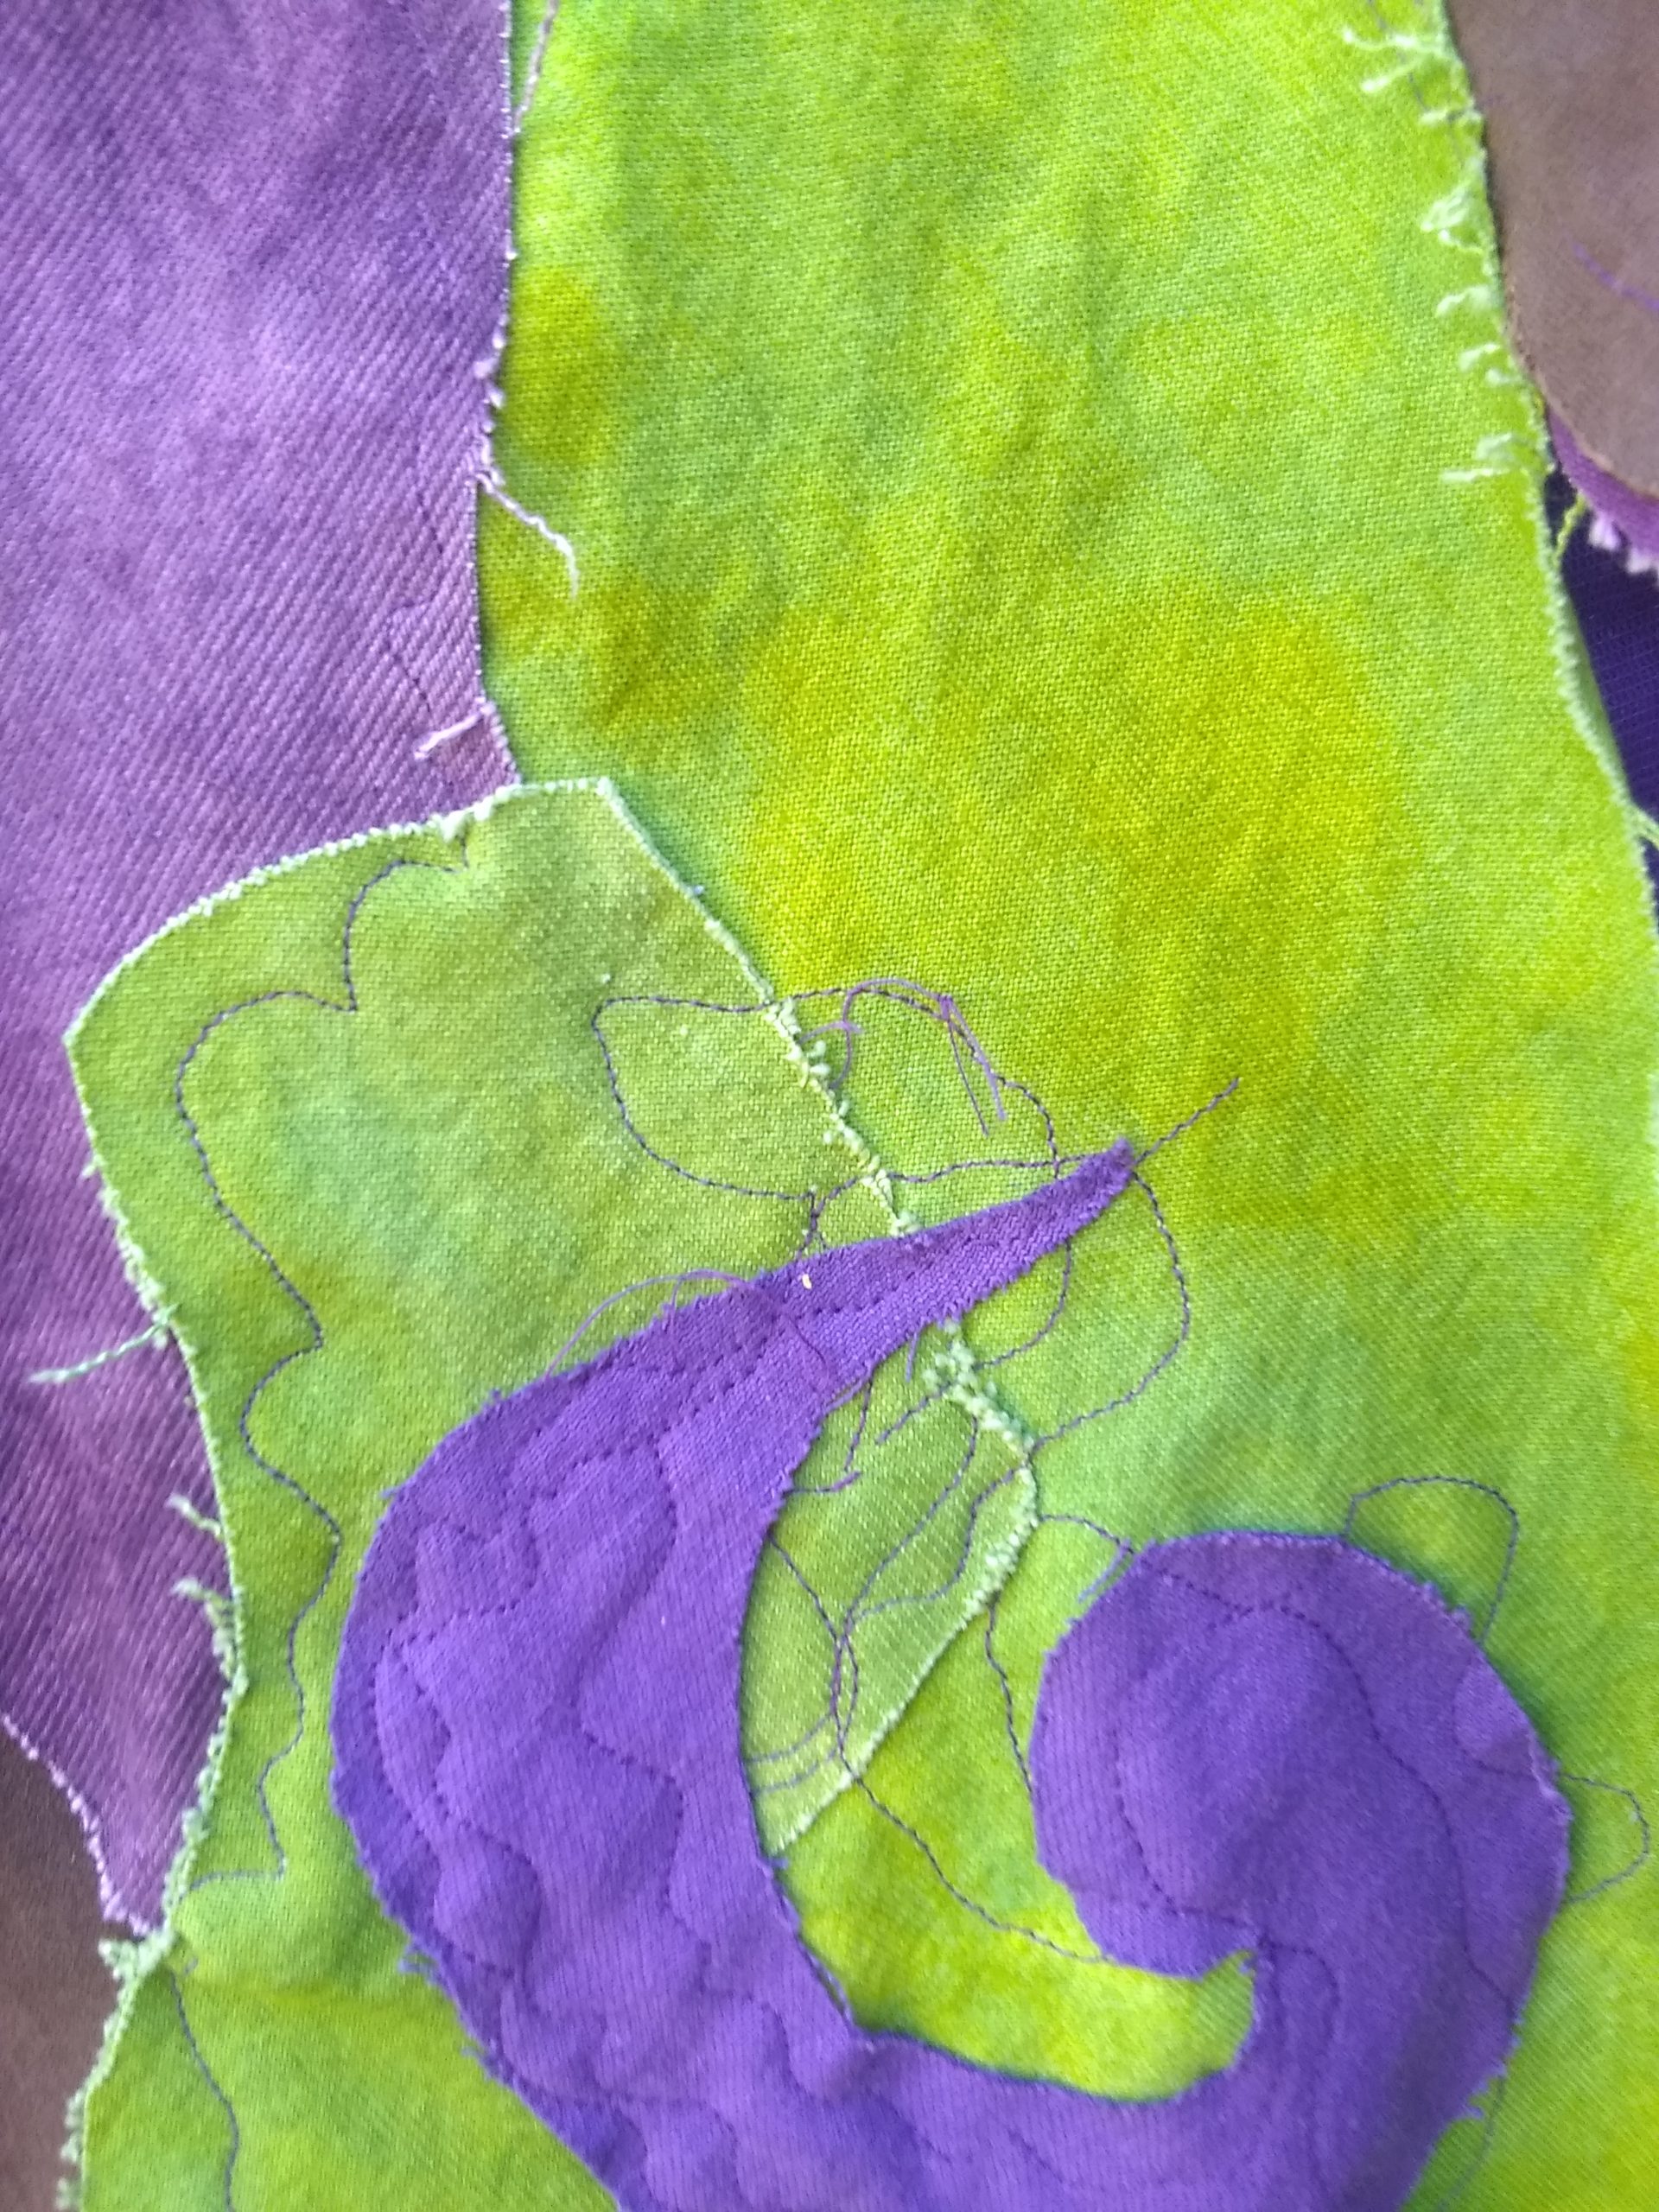
When sewing on each piece, do some fancy stitching instead of straight.
That just makes it more fun and looks more like decoration instead of utilitarian seams.

Construction
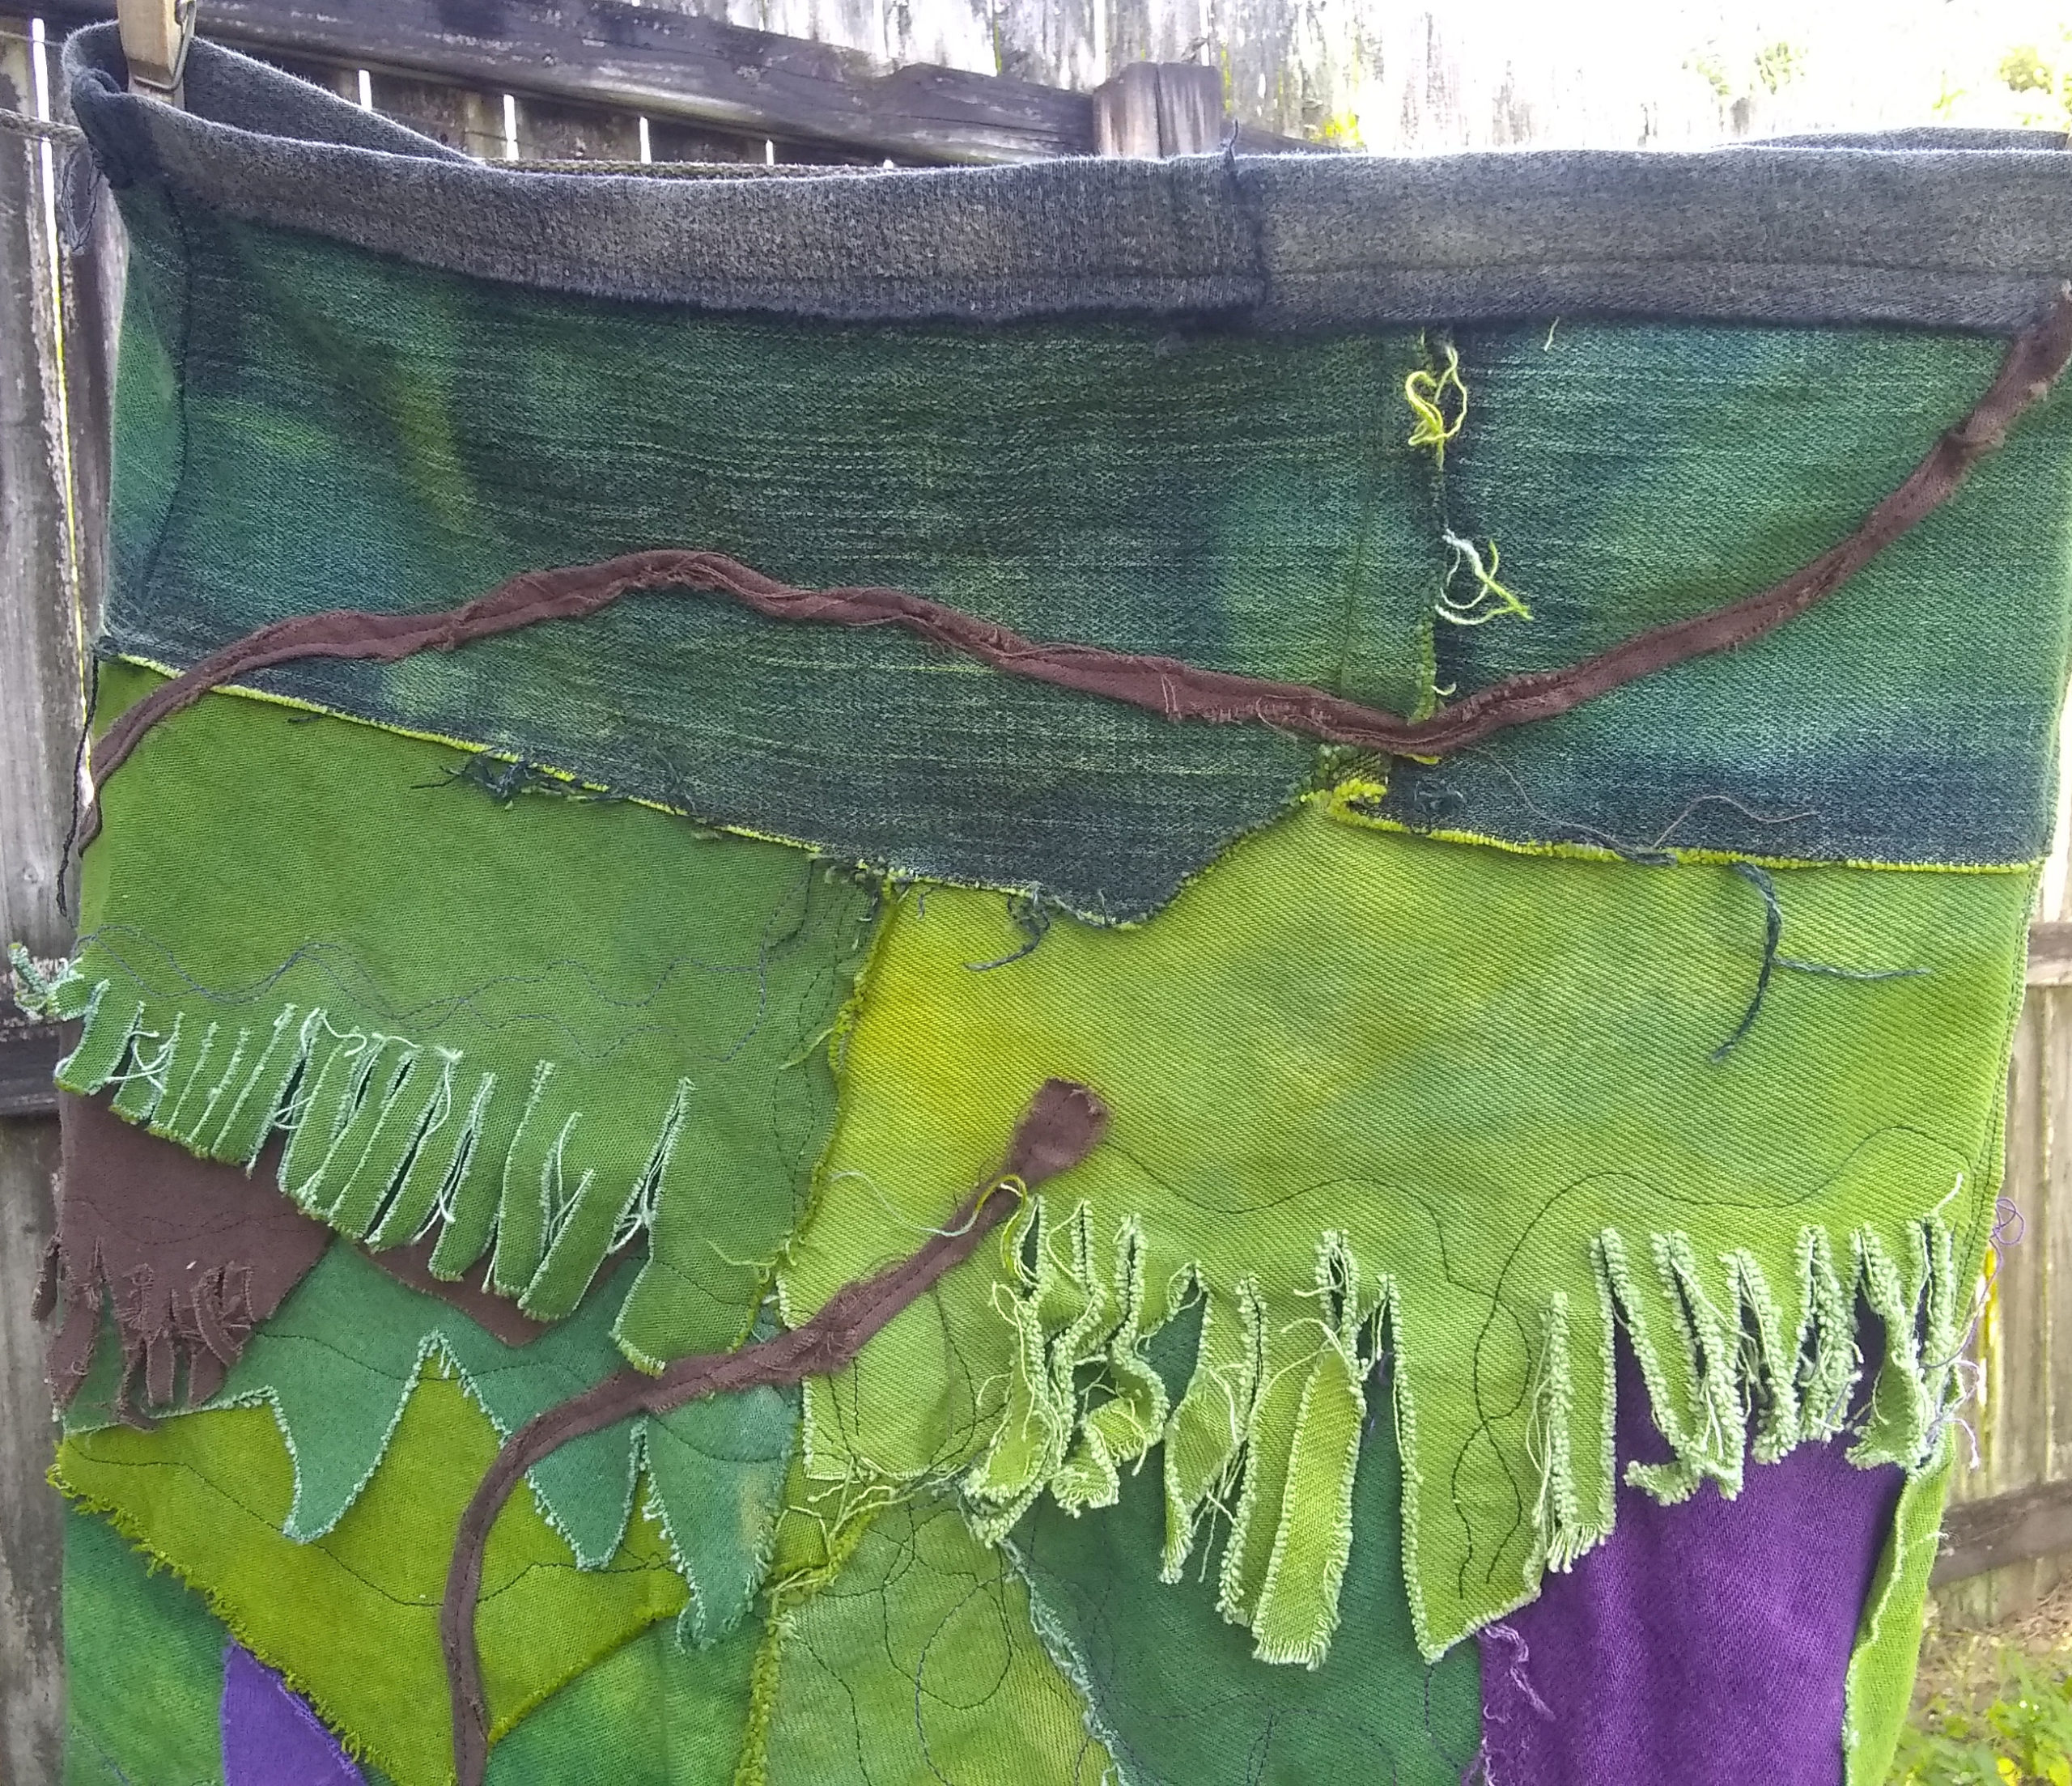
Step 1: I took a length of black denim, about 5 inches wide, from a jeans leg. From the available material I had, I needed to piece it with an additional scrap to make it long enough to go around my hips, plus a few inches.
I used about a two-inch-wide regular paint brush, dipped the brush into full-strength bleach, and “painted” bleach in swipes along the middle of the whole
length of denim. Then, after washing and drying the denim, I used the brush (washed out to remove the bleach) to paint green dye—then, yellow, where it was lightened.
Many times, black cloth (of natural fibers), when bleached, doesn’t just lighten, it strips off one layer of the coloring process to reveal a nice reddish brown hue. I’ve enjoyed this transformation on other projects using black denim. But, in this case, it just lightened. Actually, the black of these jeans was a cooler bluish hue of black—so, it may be a different dyeing process when it’s a different black.

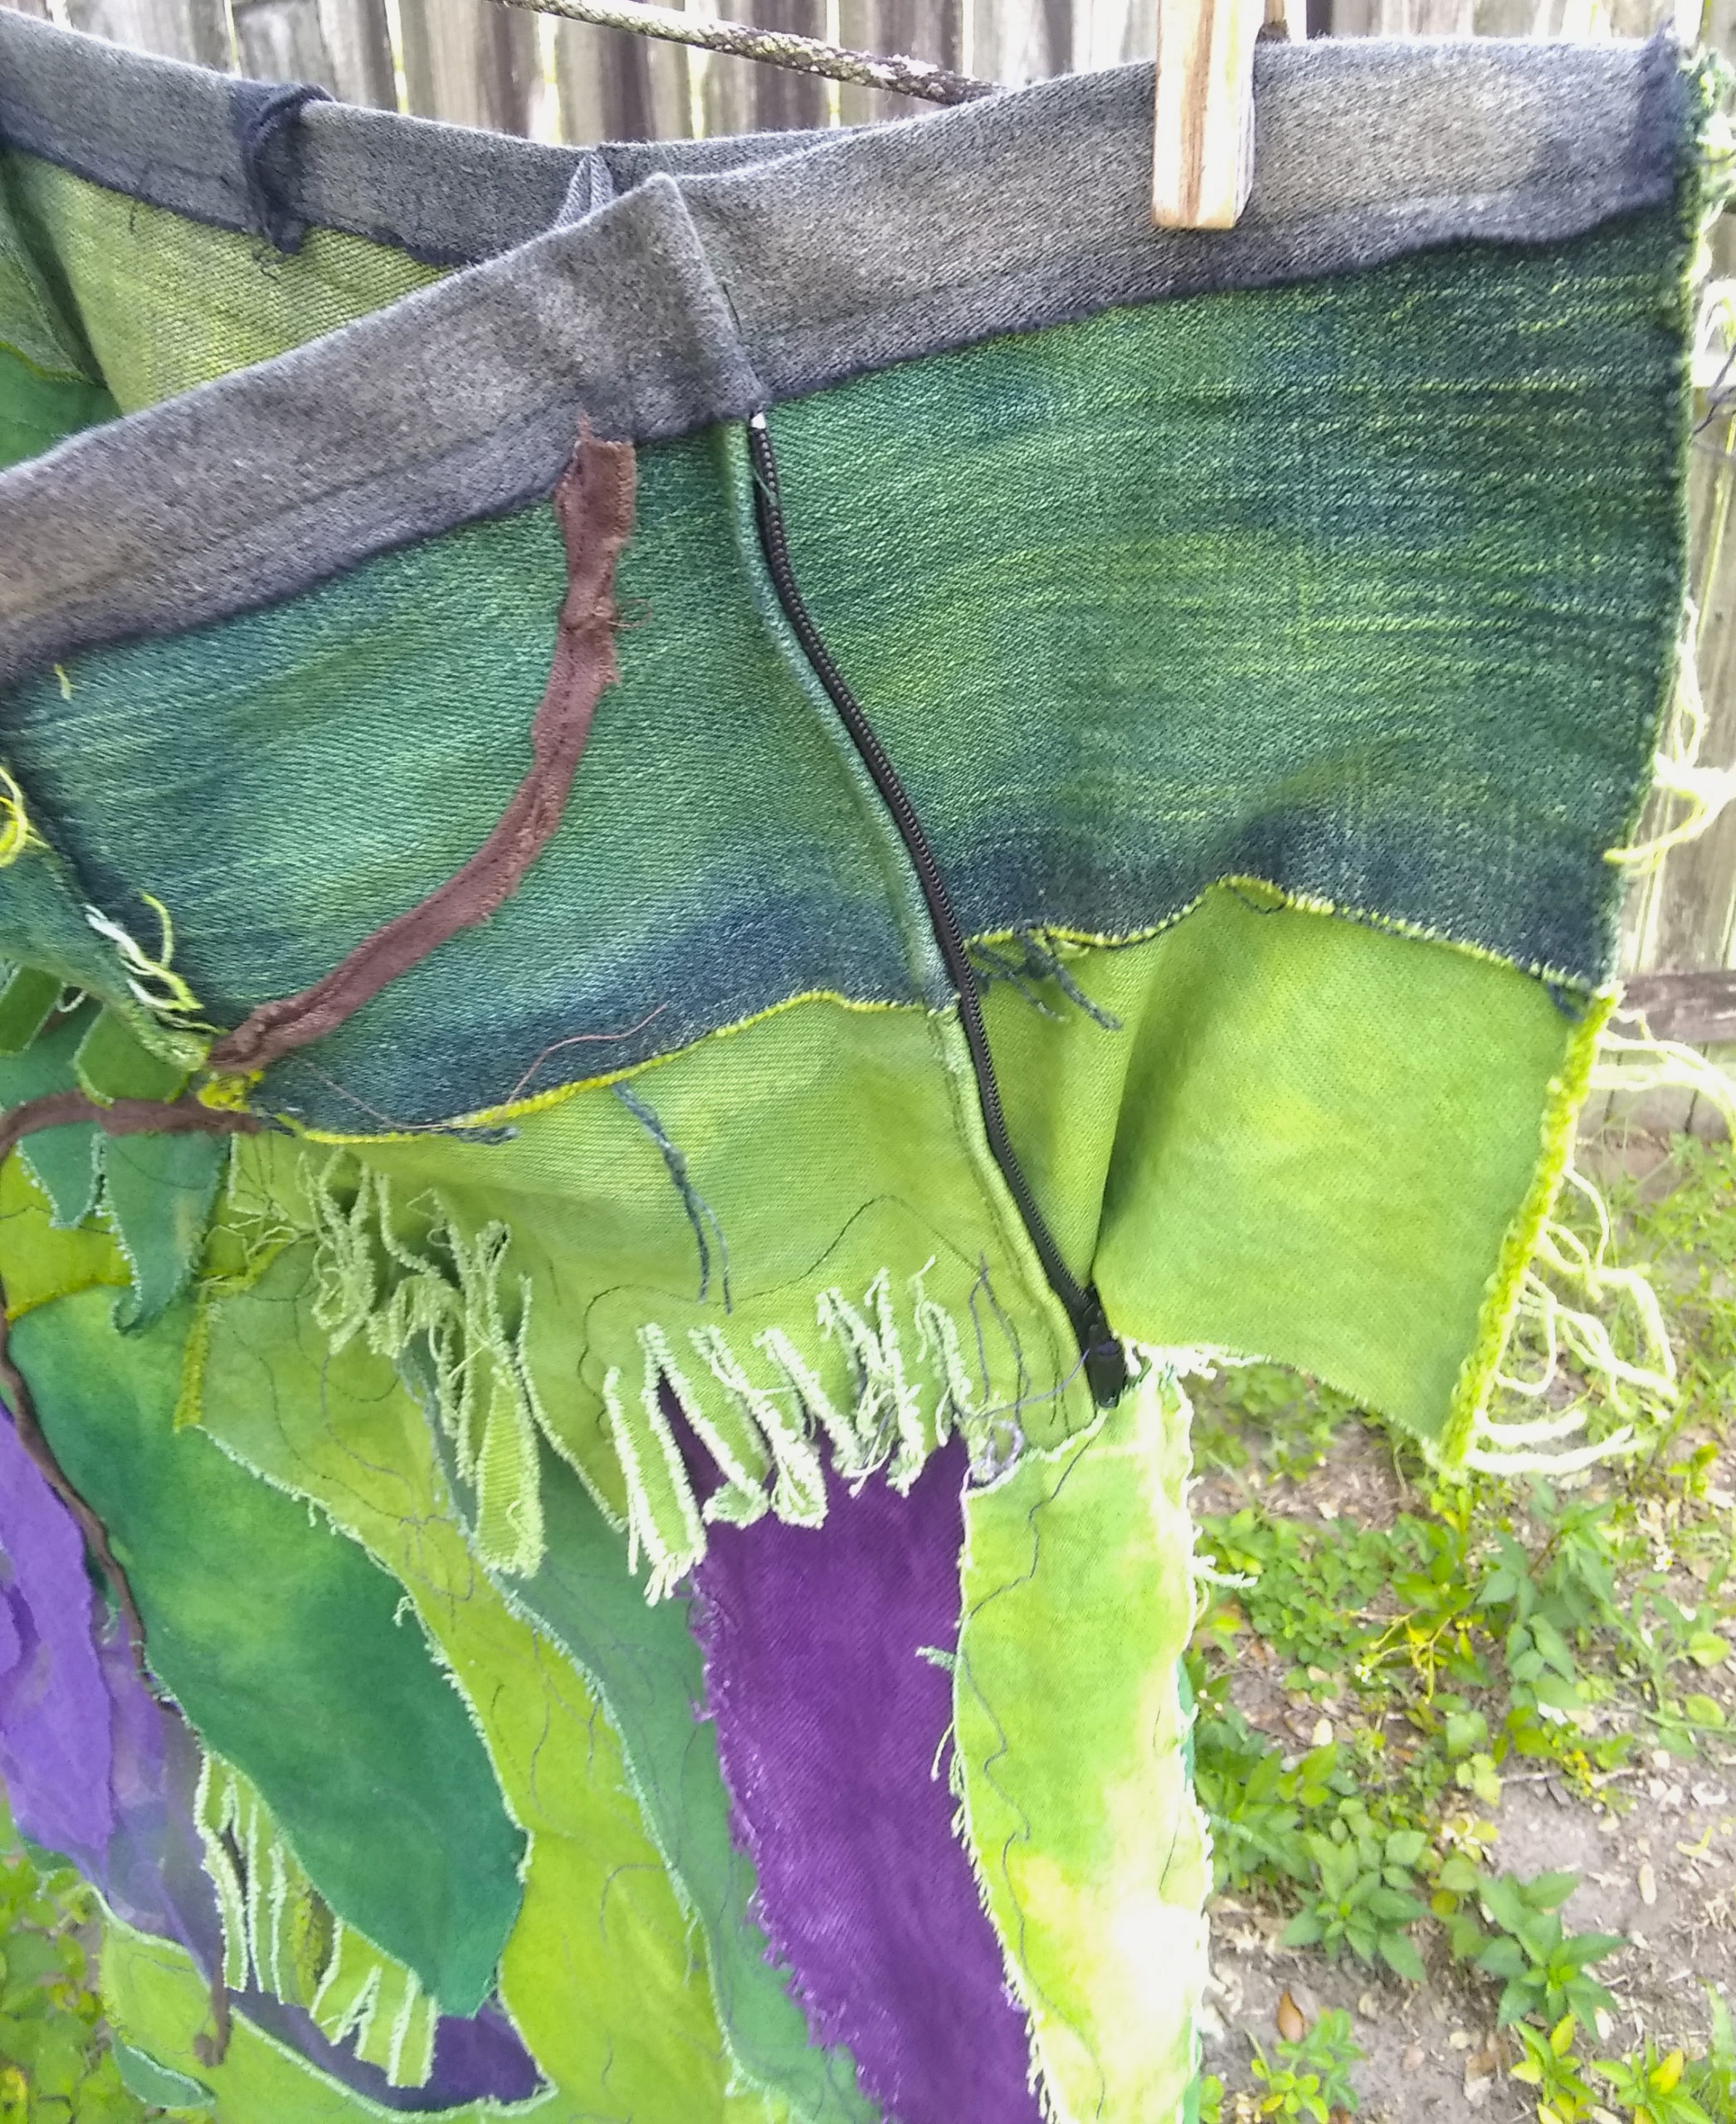
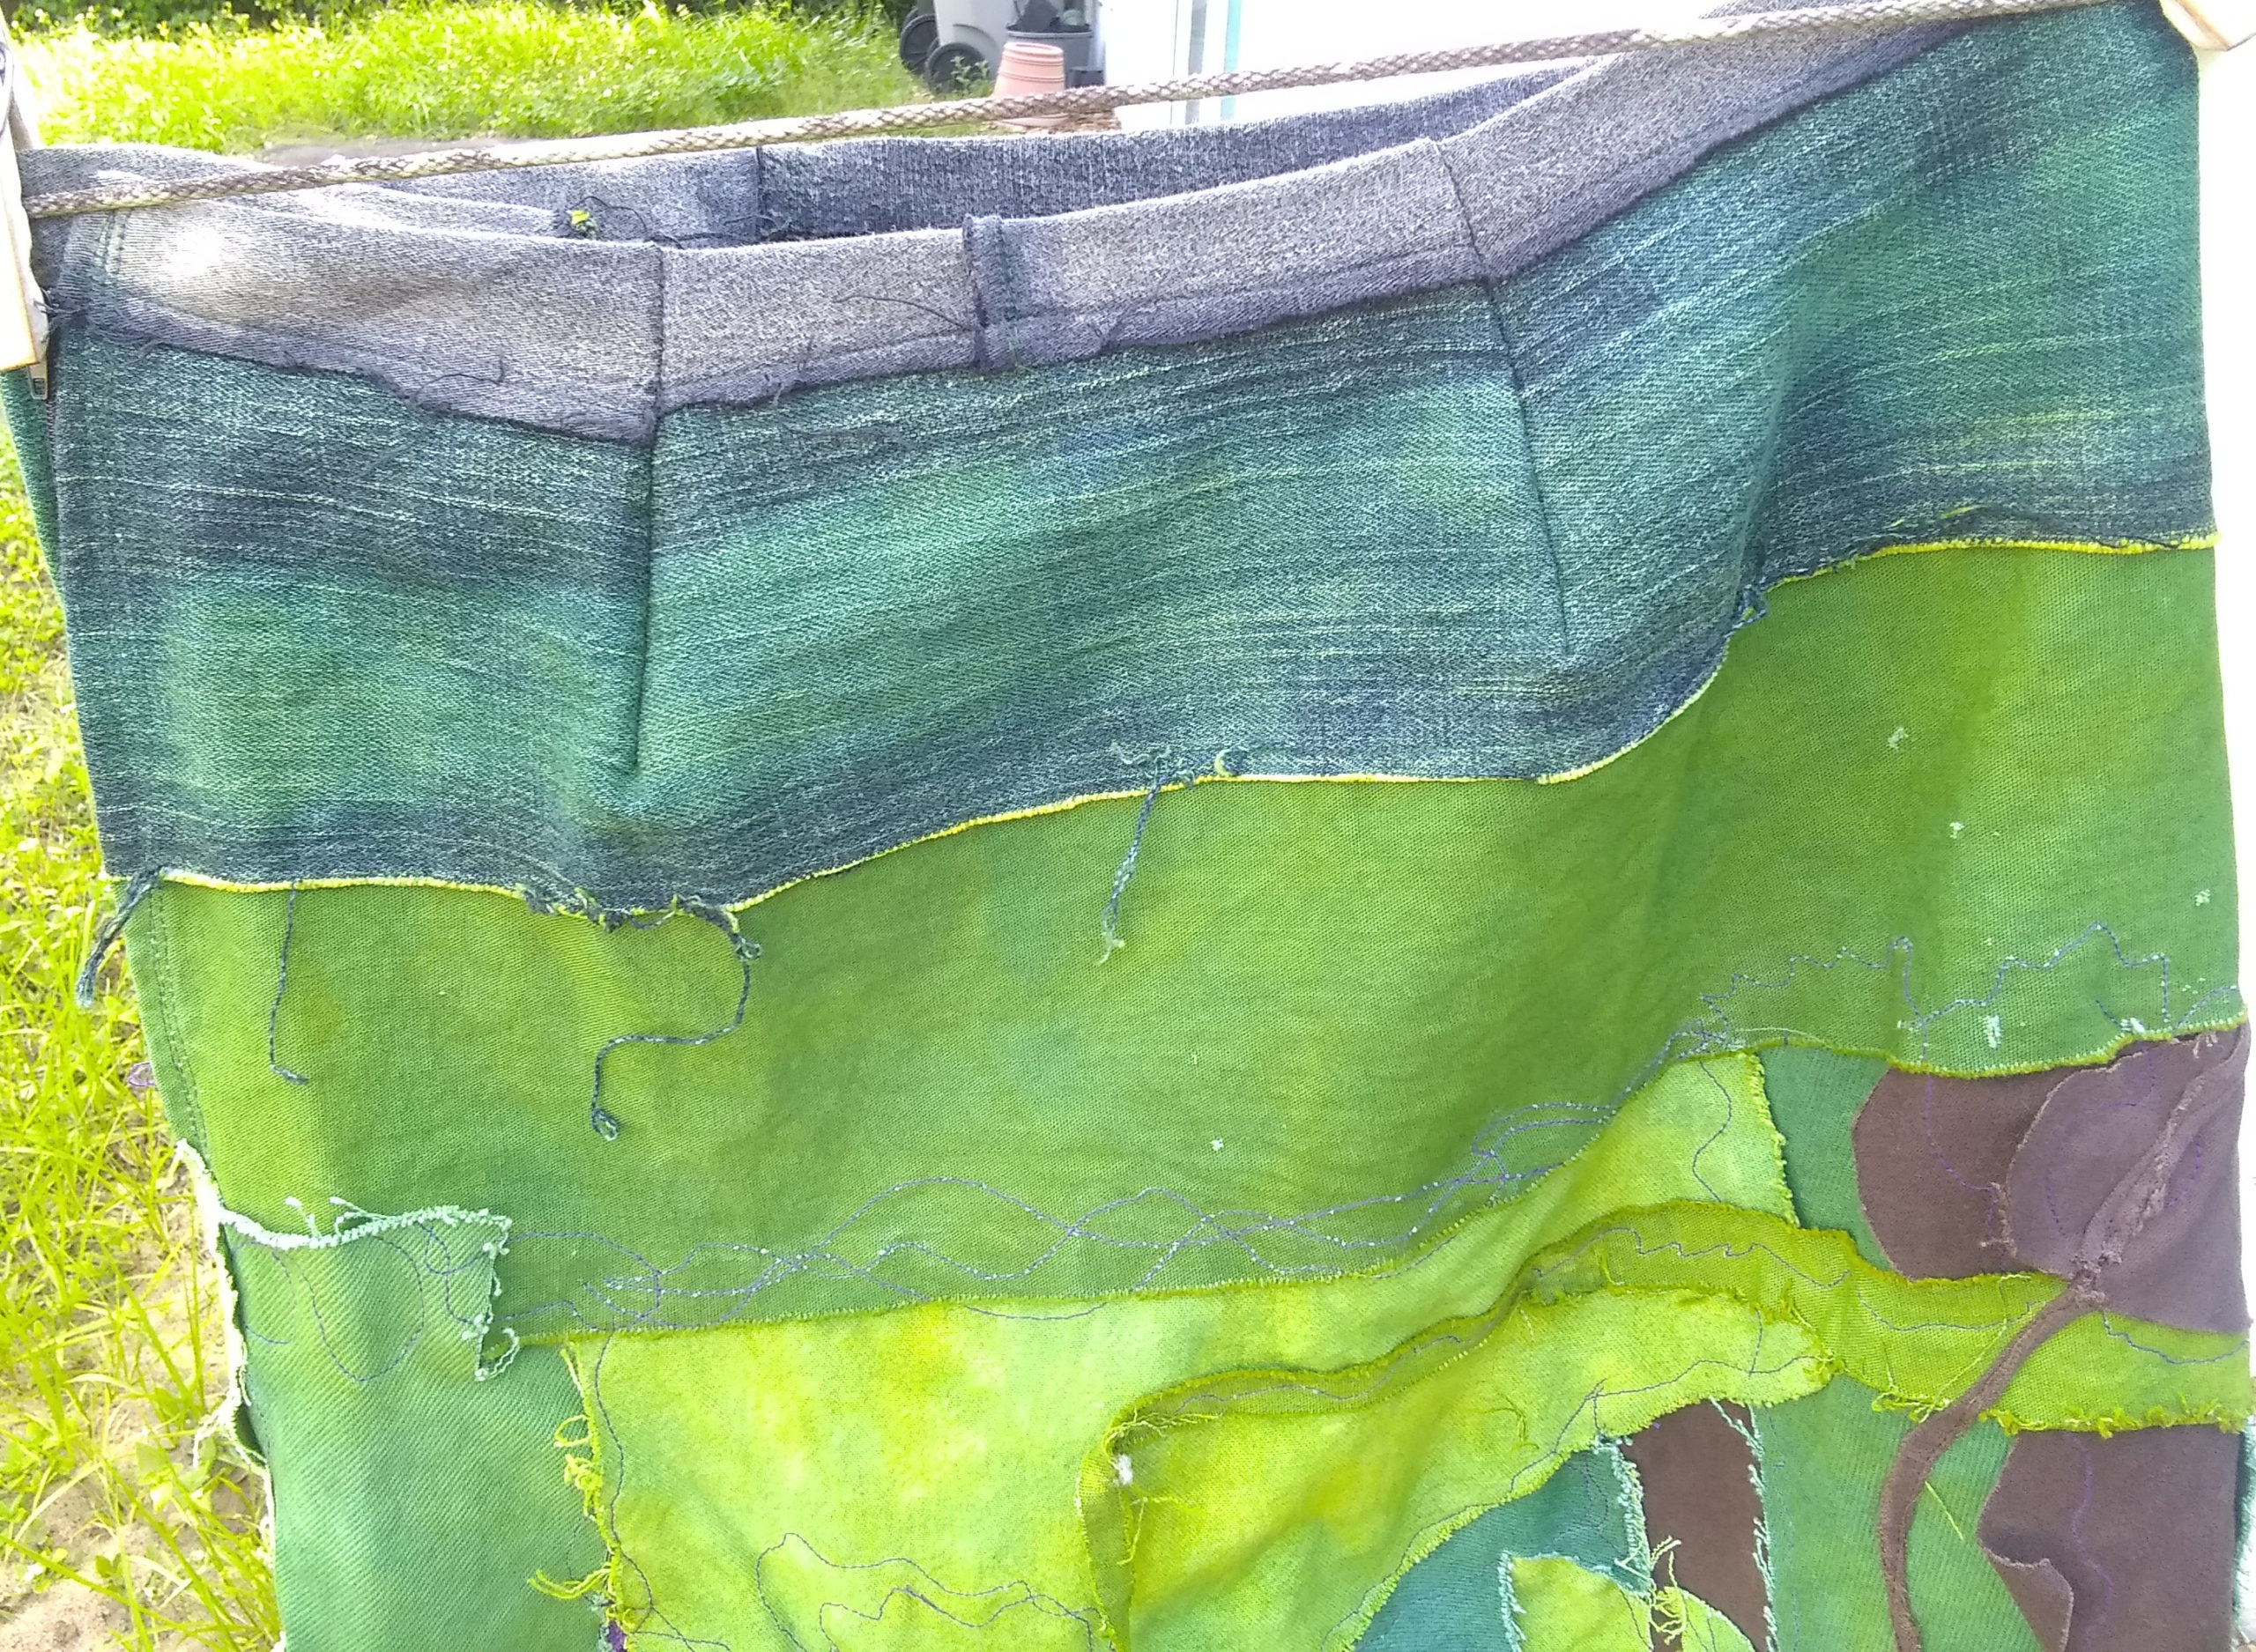
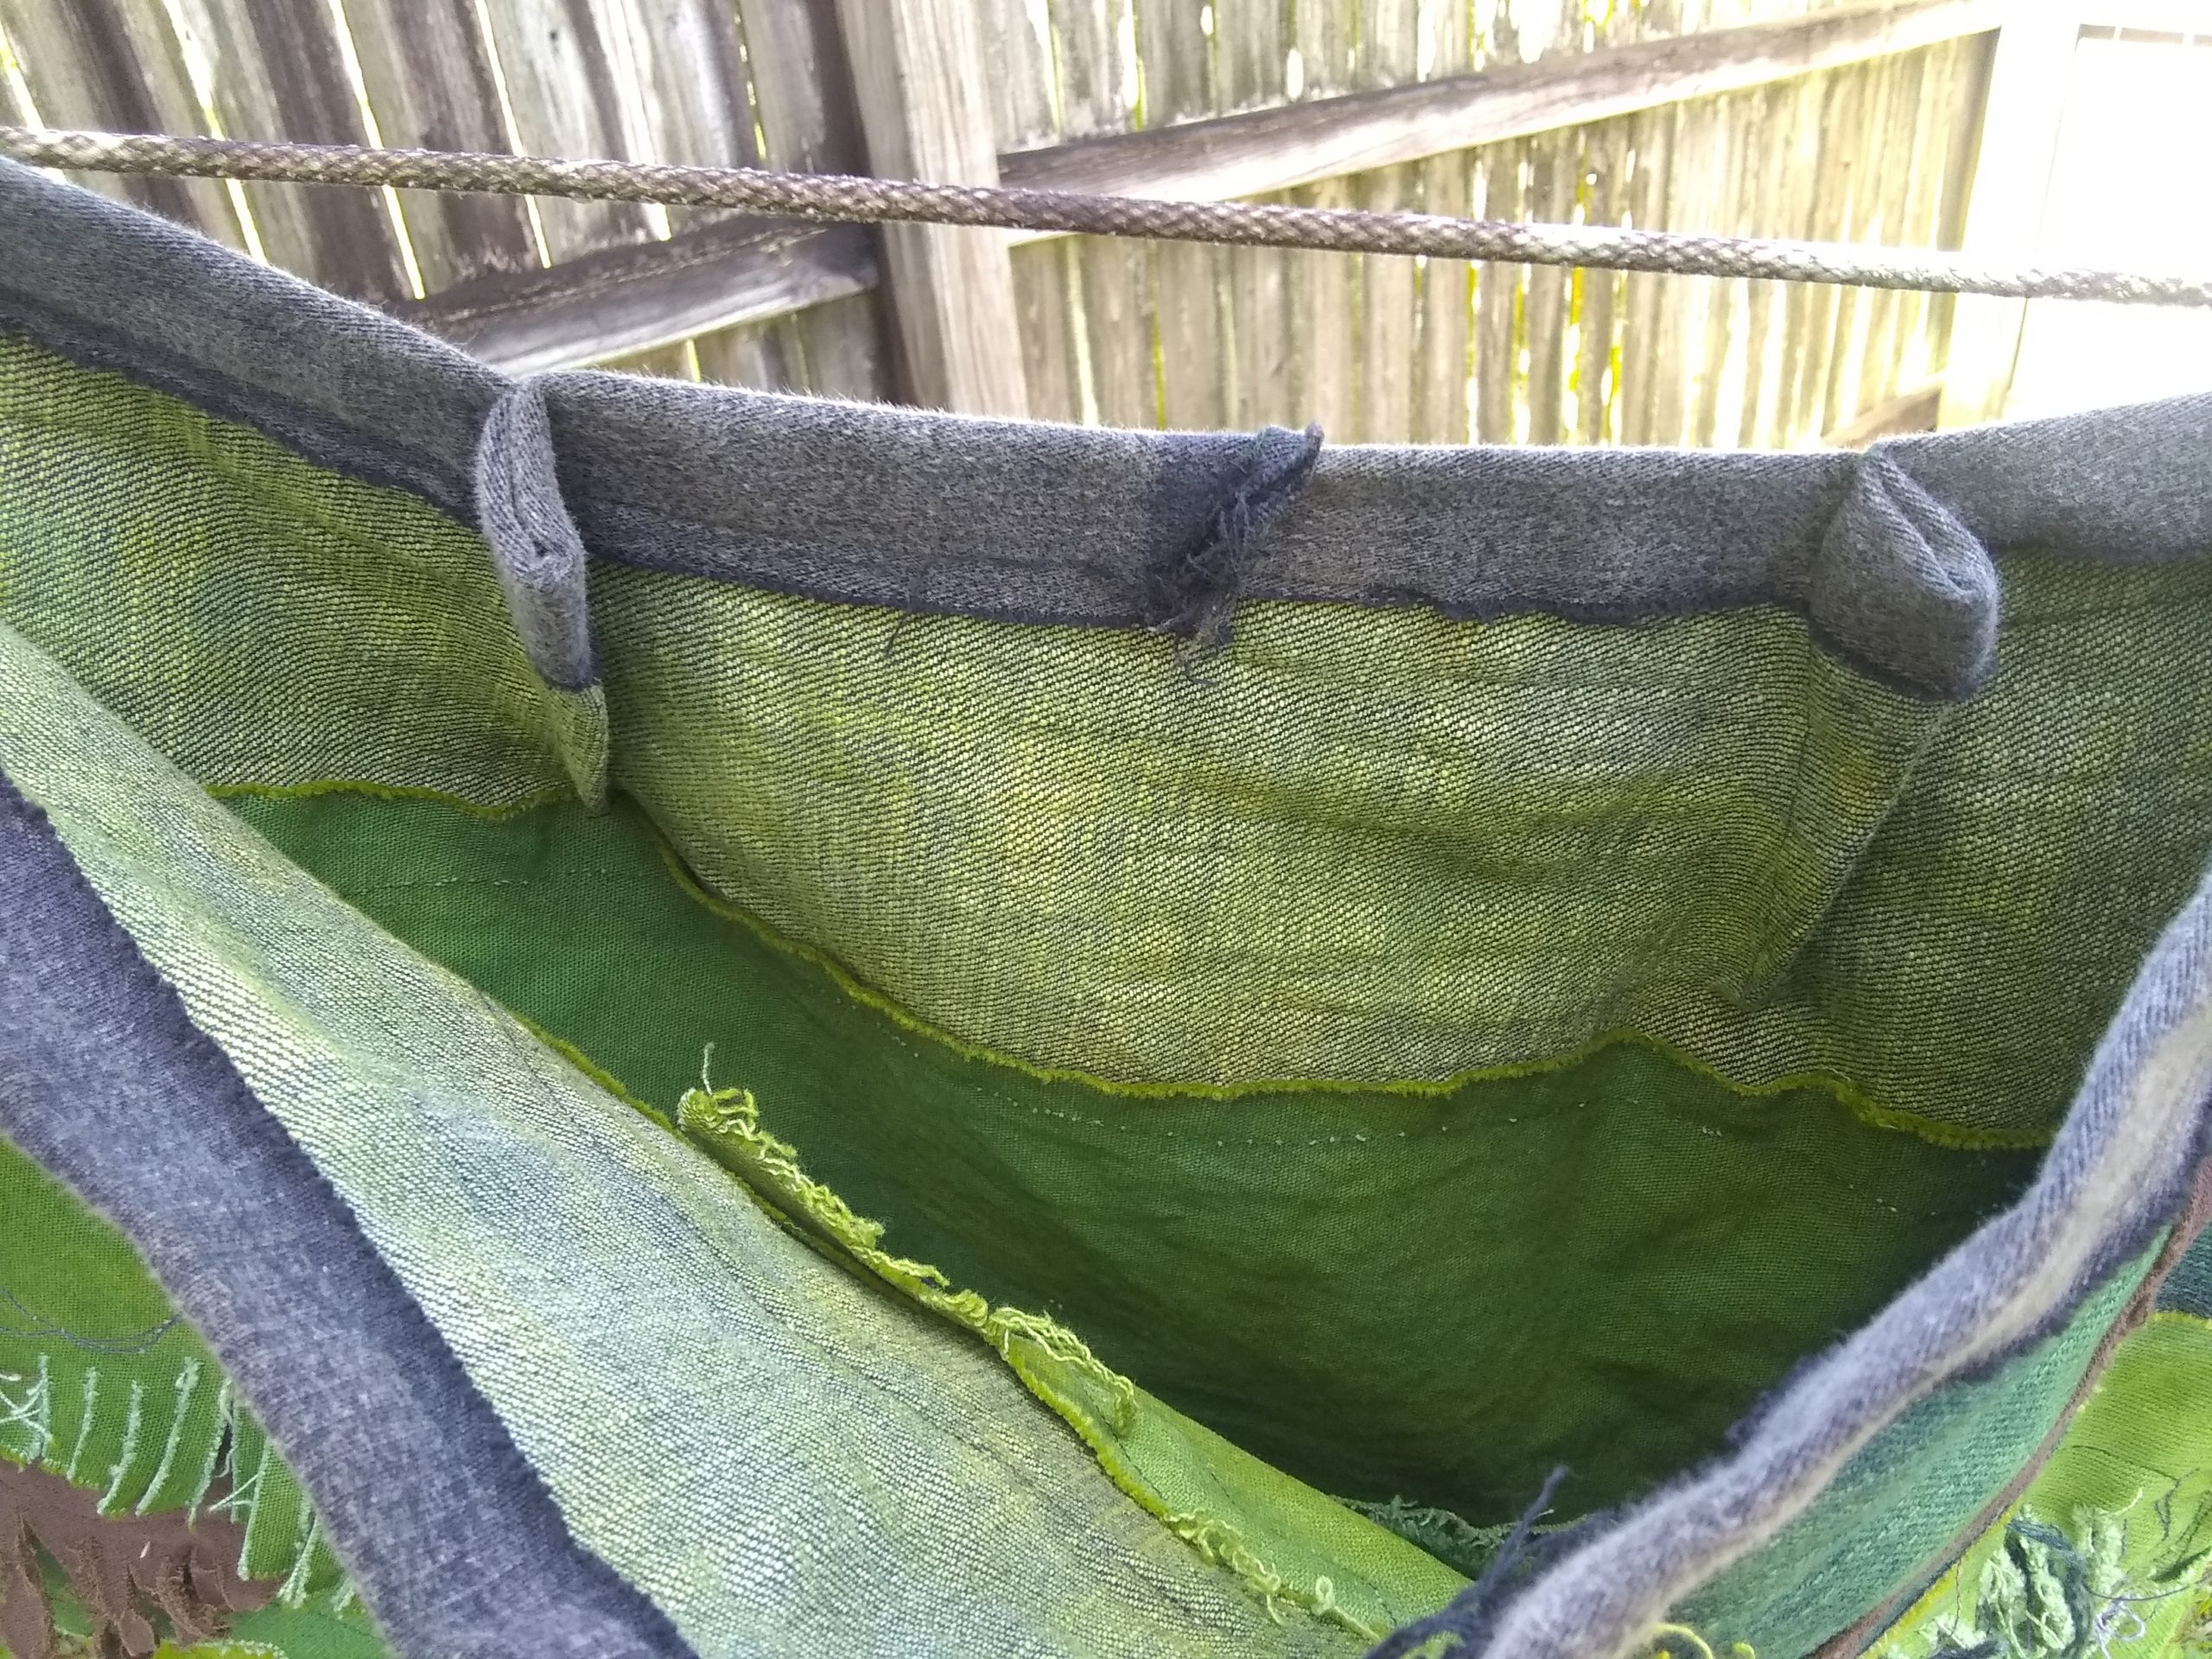
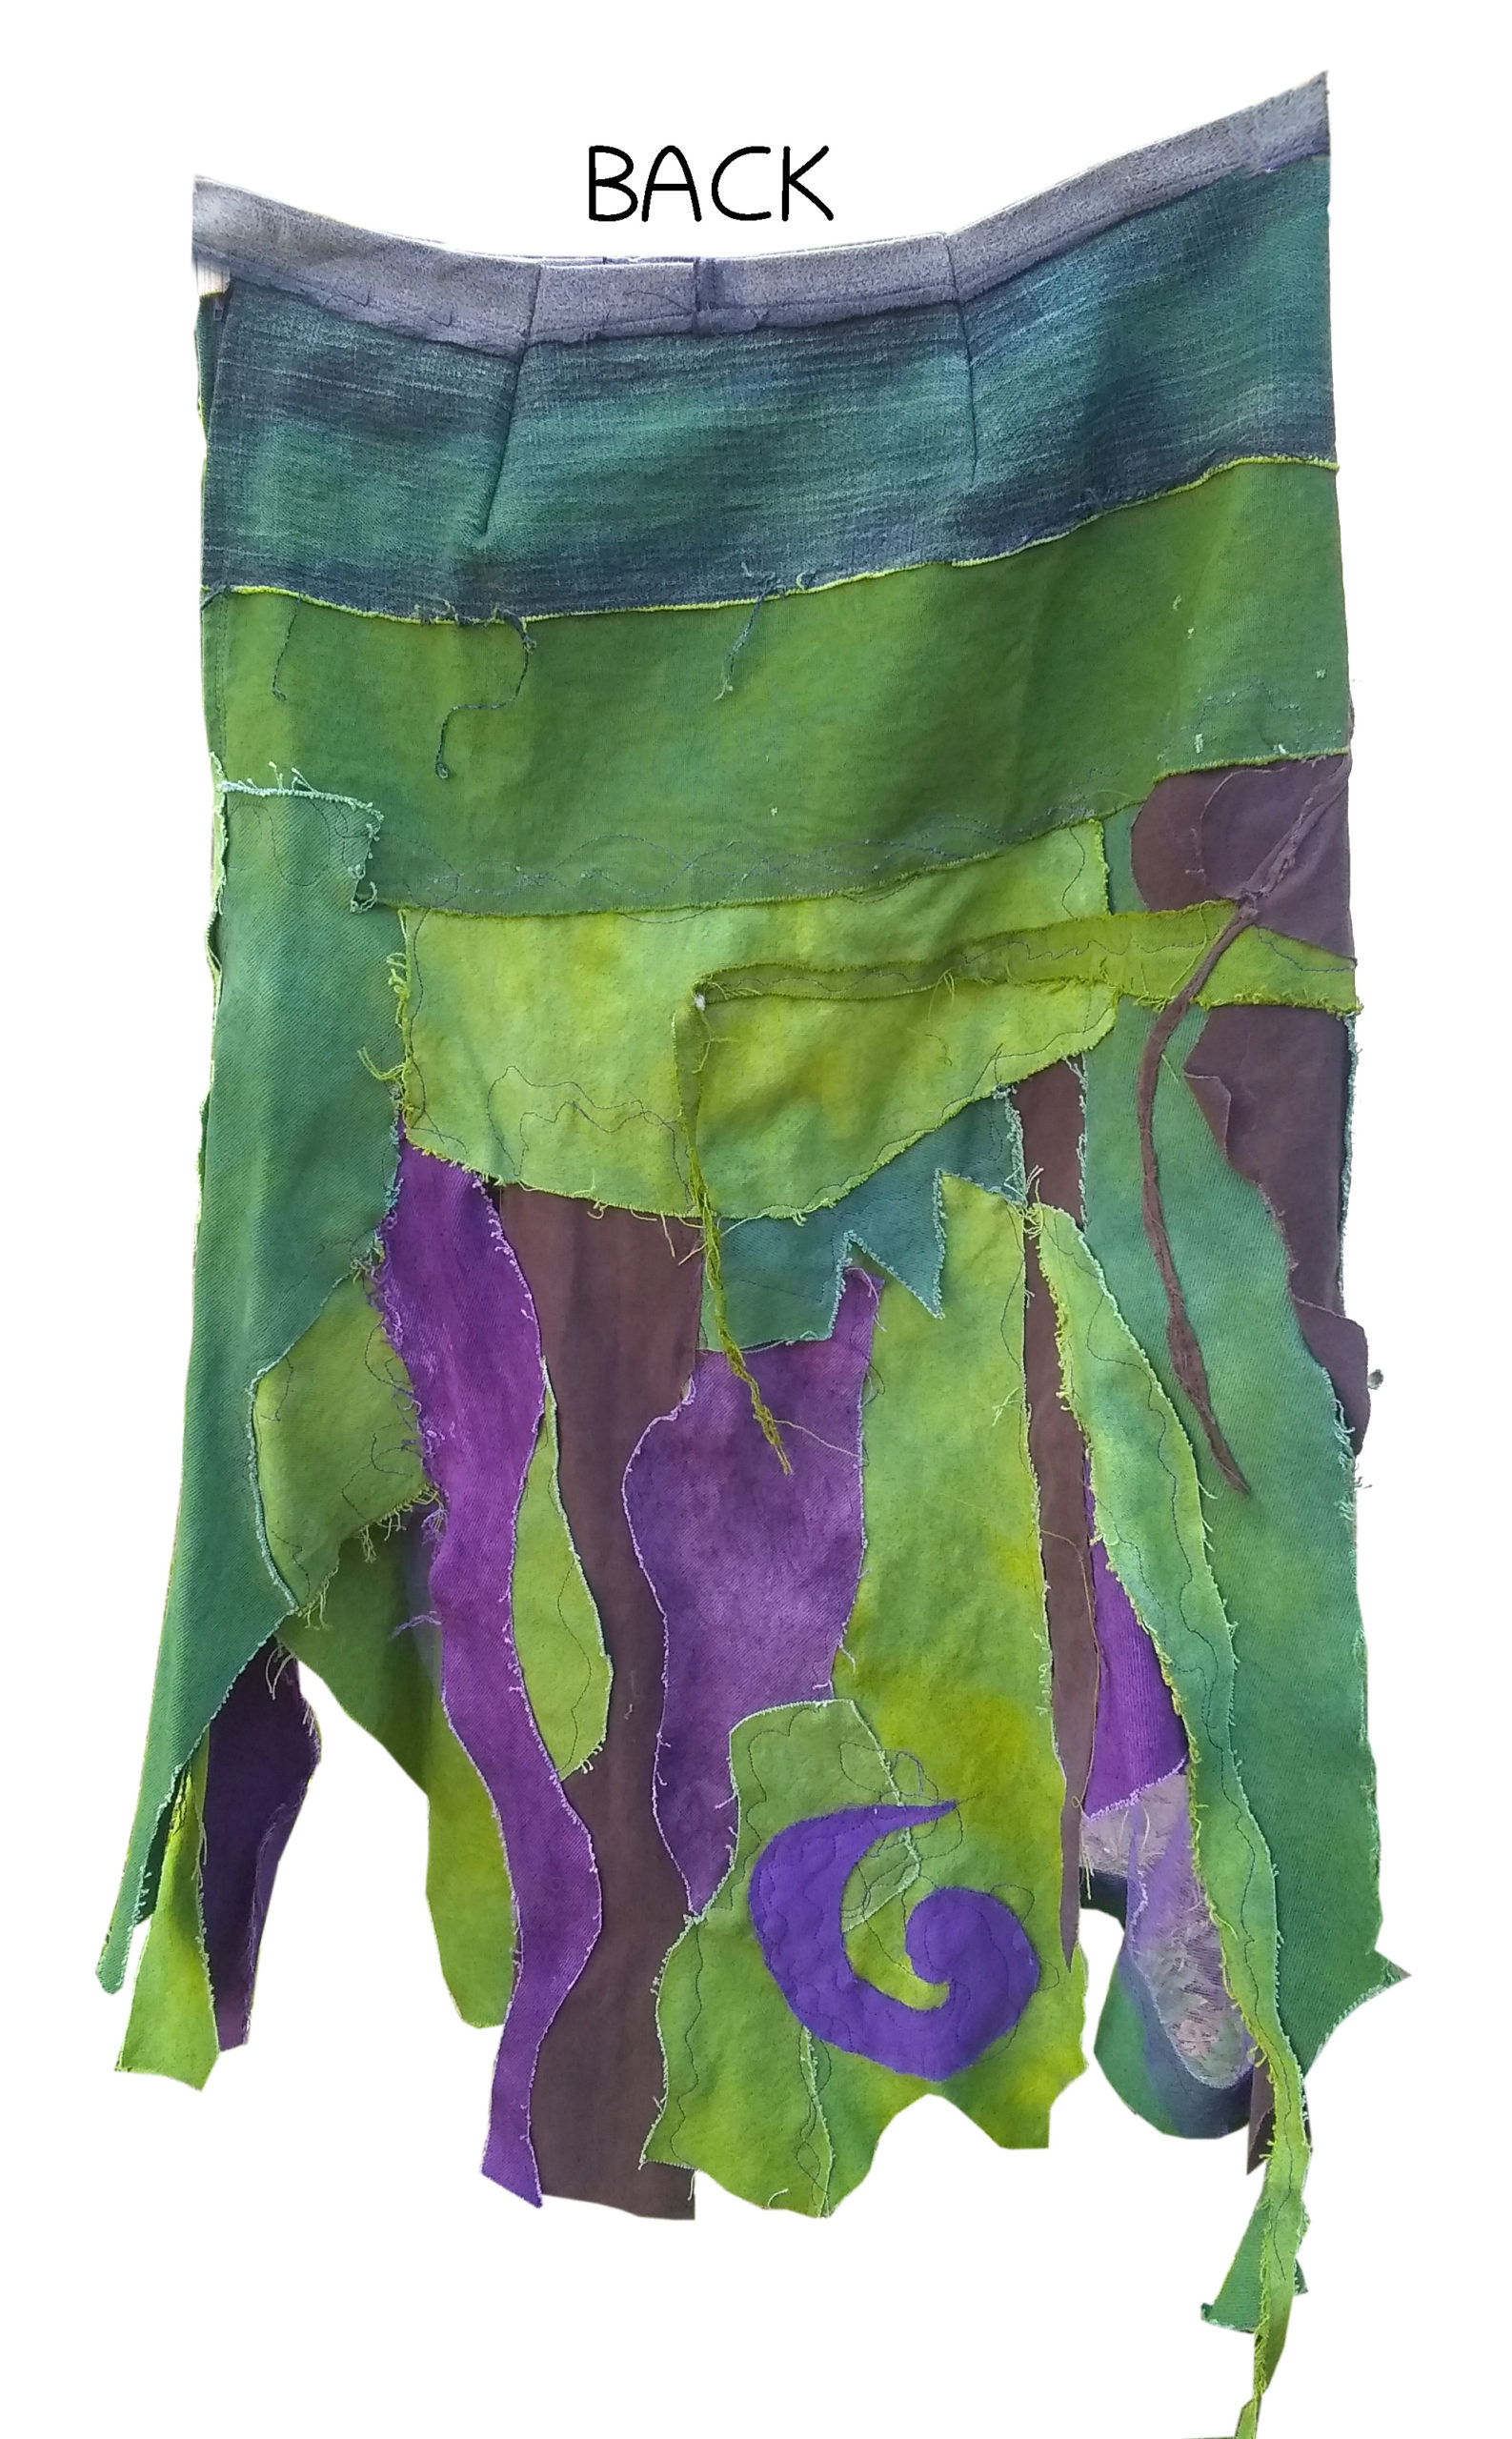
Step 2: I decided to reinforce the “waist” piece (though, this is a hip-hugger skirt that sits below the waist), and finish the top edge, by cutting a long narrow strip of black denim to fold over the top, stitching it down, leaving raw edges.
Step 3: Below the “waist” piece, I added another horizontal strip, also pieced together: of two different greens.
You can adjust the color by how long the fabric is in the dye bath: the longer, the darker.
Also, you can change the green to a yellower hue by briefly dipping in the dark green dye, then longer in the yellow dye. So, I wanted several hues of green and yellow green.
")
Step 4: As you see, I added a couple more horizontal green, yellow/green, and brown pieces on the front.
I like to cut odd shapes for more interest.
Also, you see I made fringe in some places. But, I cut the fringe
later.
And, added the “vine” later.

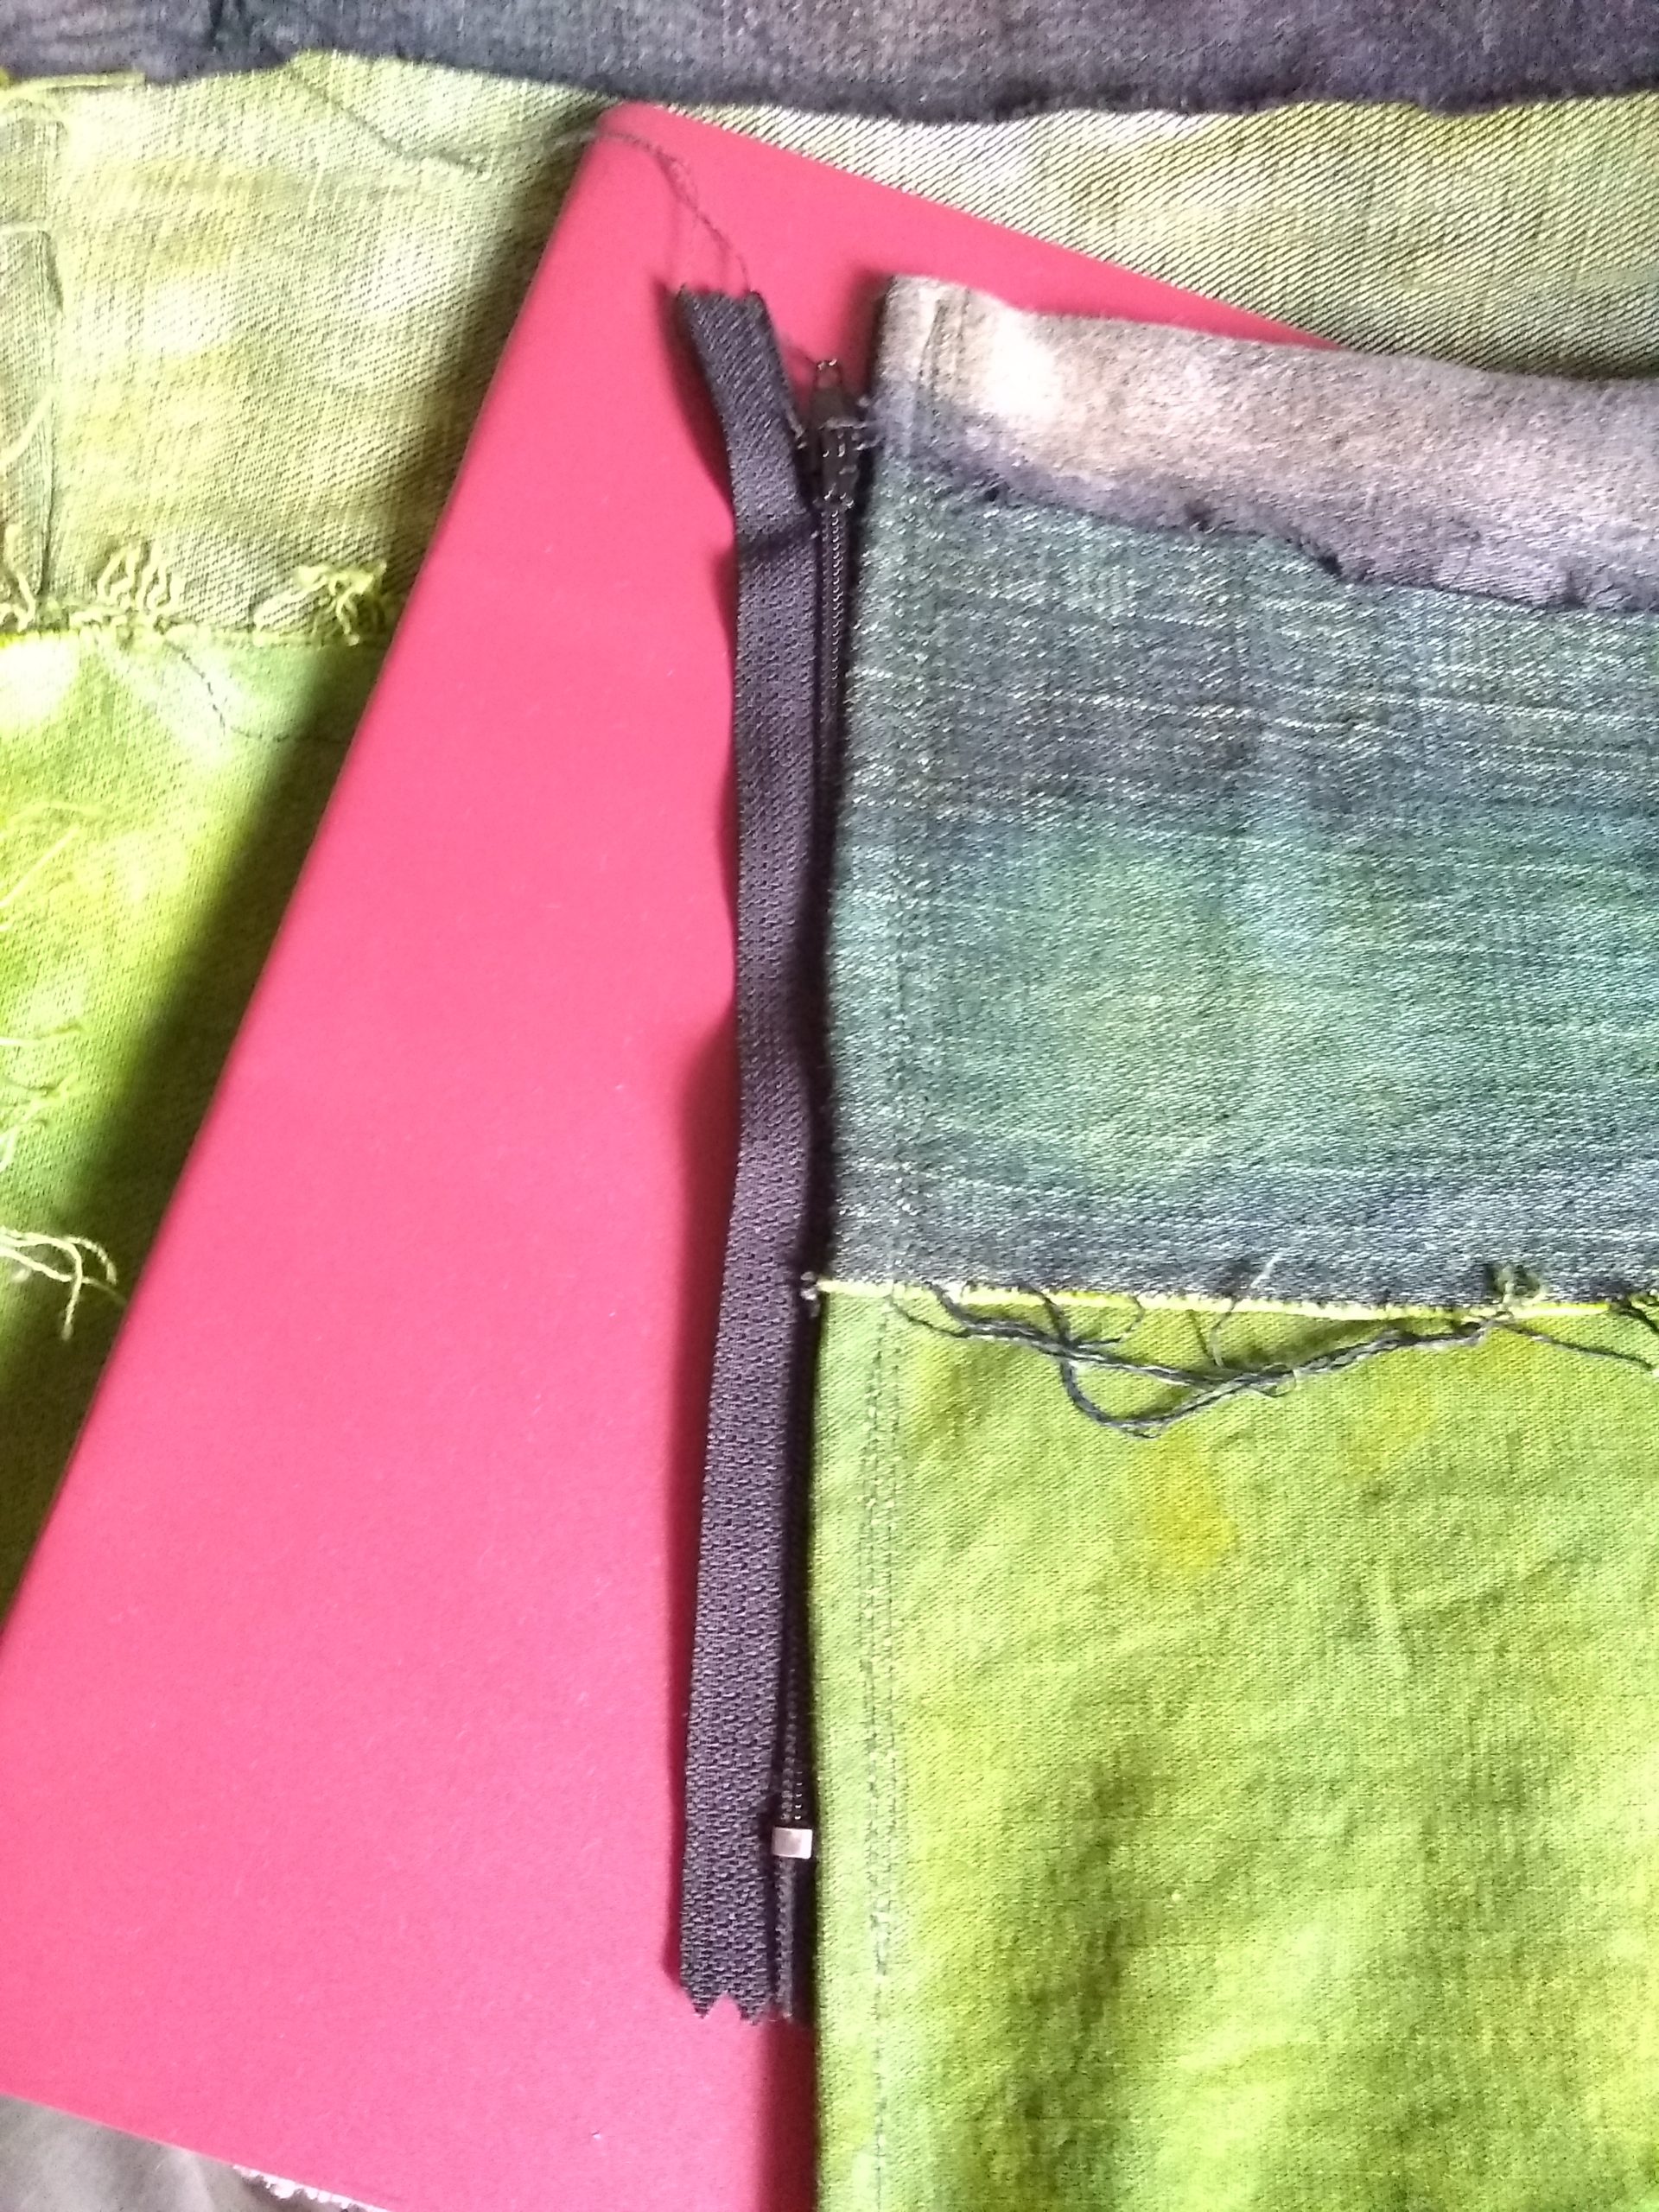
Step 5: When I got it wide enough, I put in the zipper.
Turn the edge over and stitch it down to prepare for the zipper insertion.
I used a plastic notebook to pin against so I wouldn’t pin the other layer of fabric.
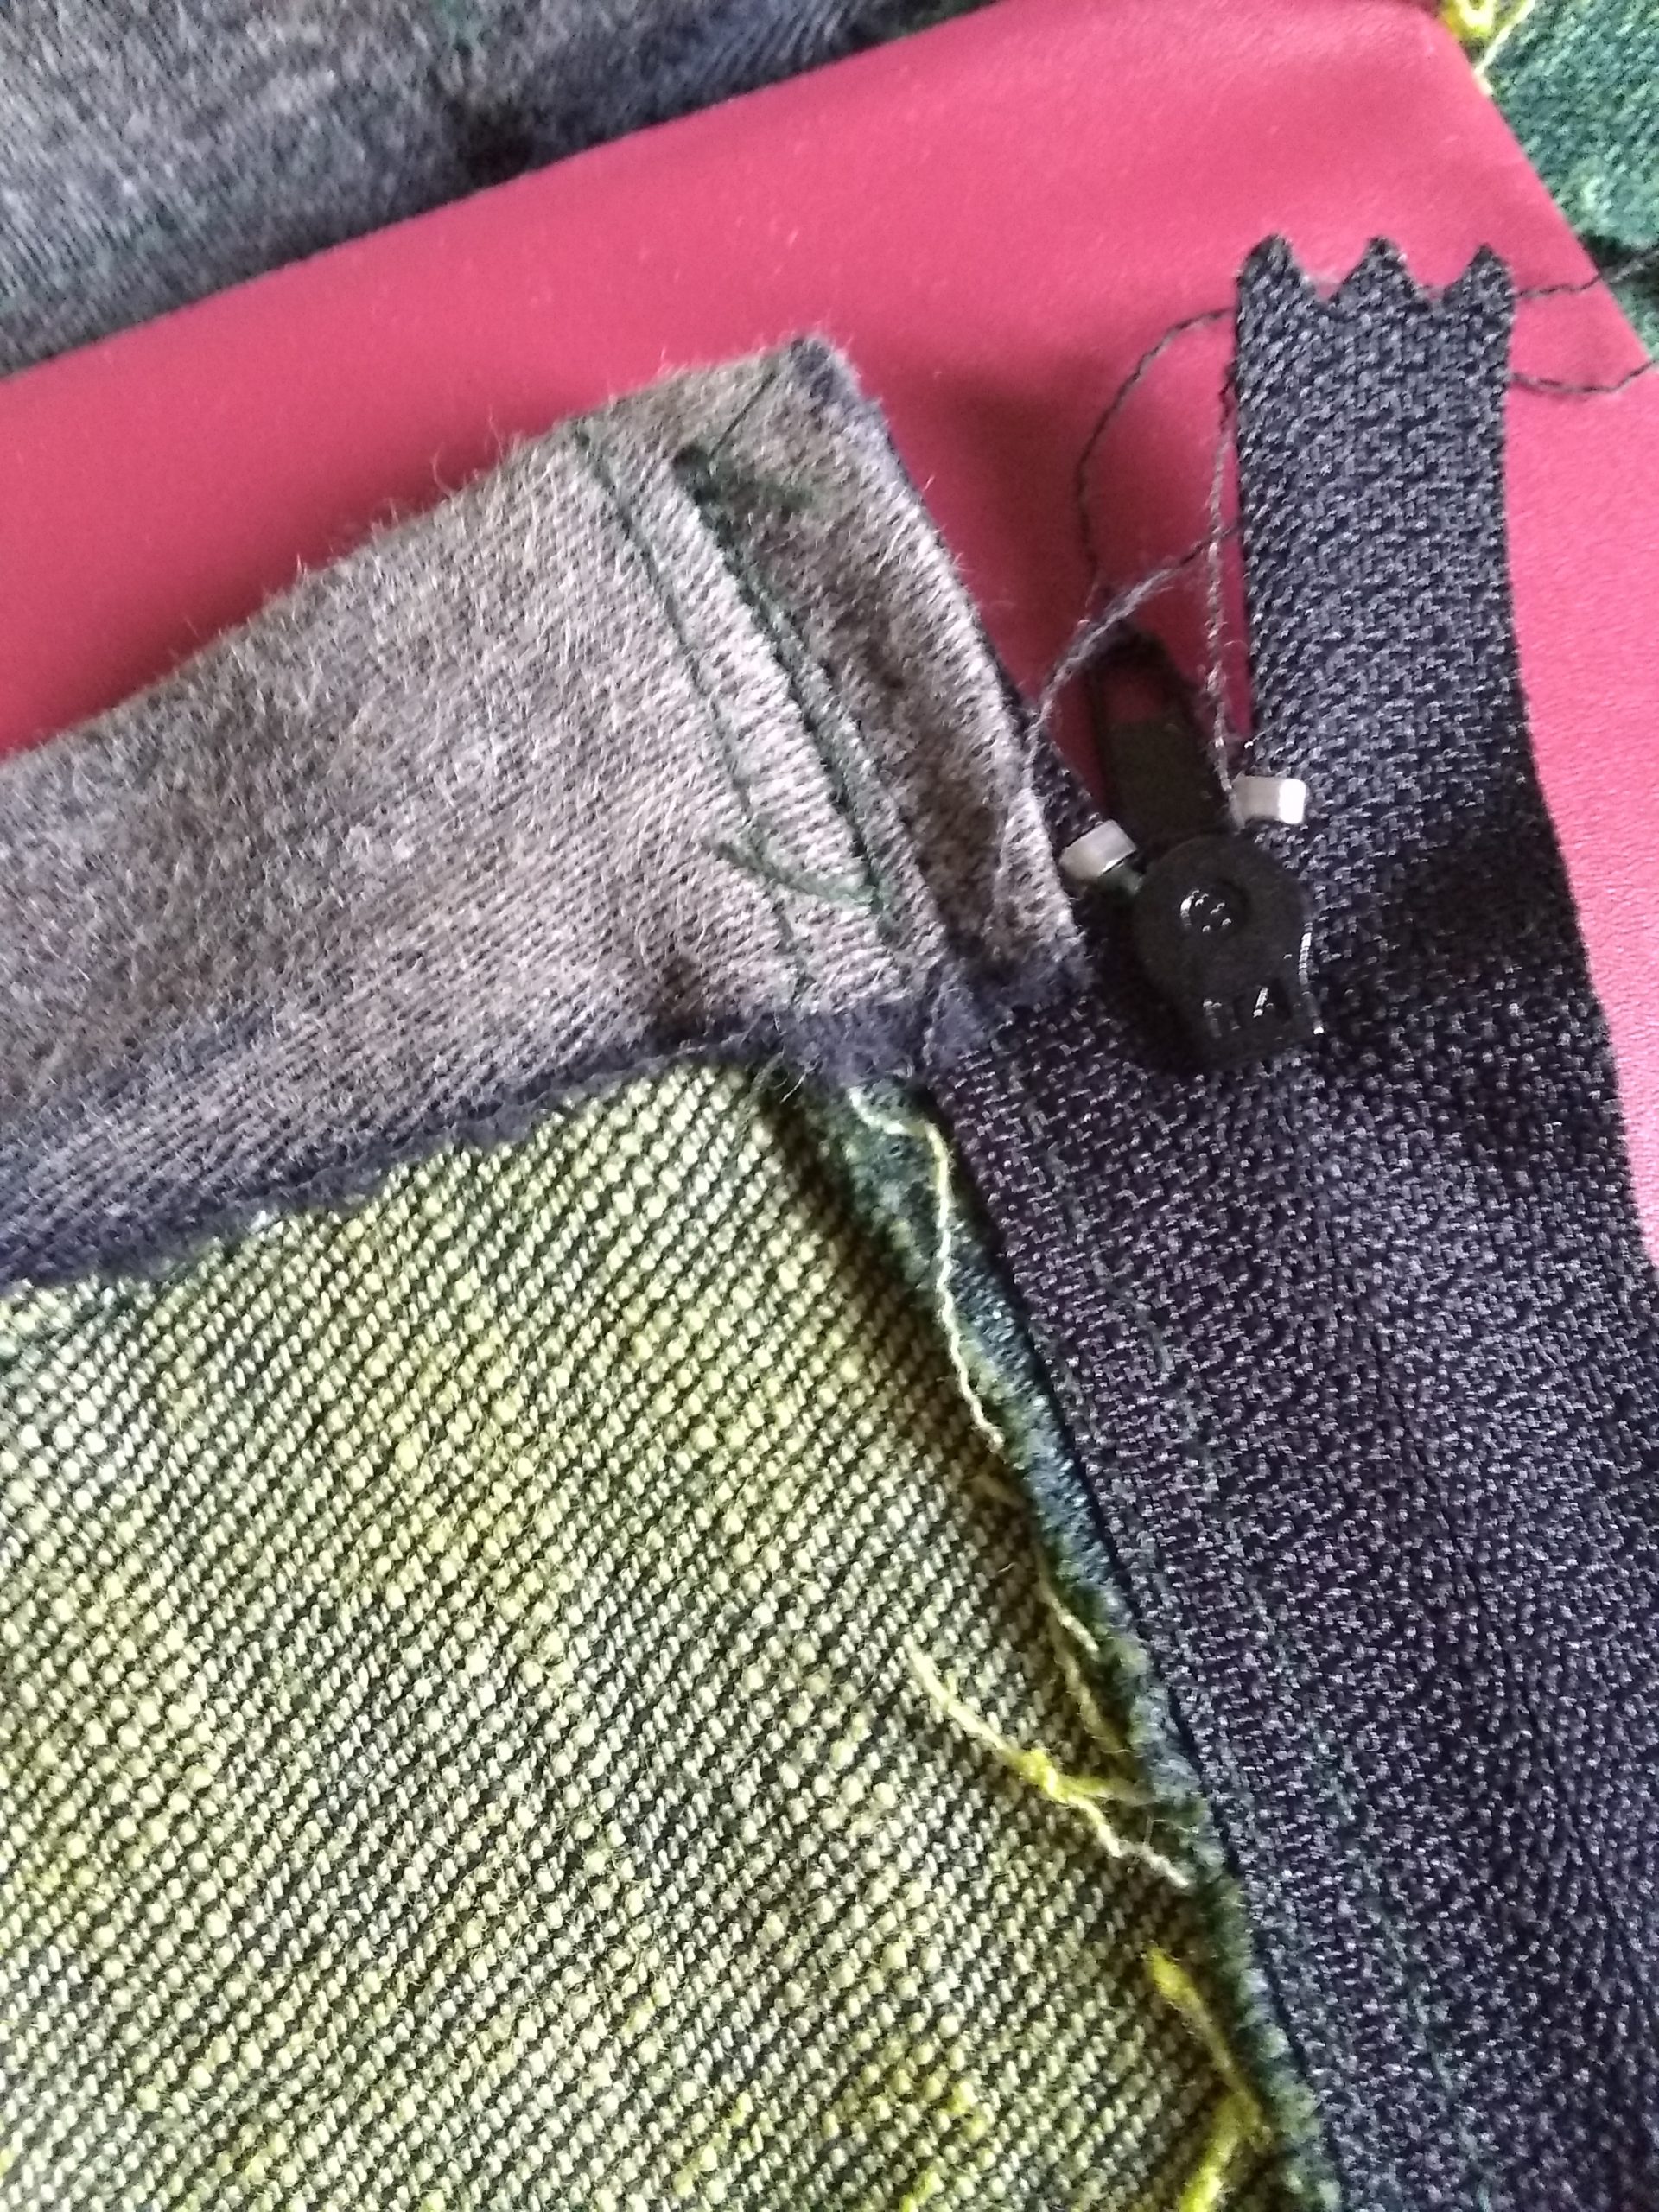
Sew the edge to the zipper.

Step 6: On the other end, I folded under the extra inches of fabric so that the fold would be where the zipper would connect. I left the extra material to be a flap inside the zipper. So, when you put it on, it tucks under the zipper.


Step 7: Make tucks on the back to form better to your body.

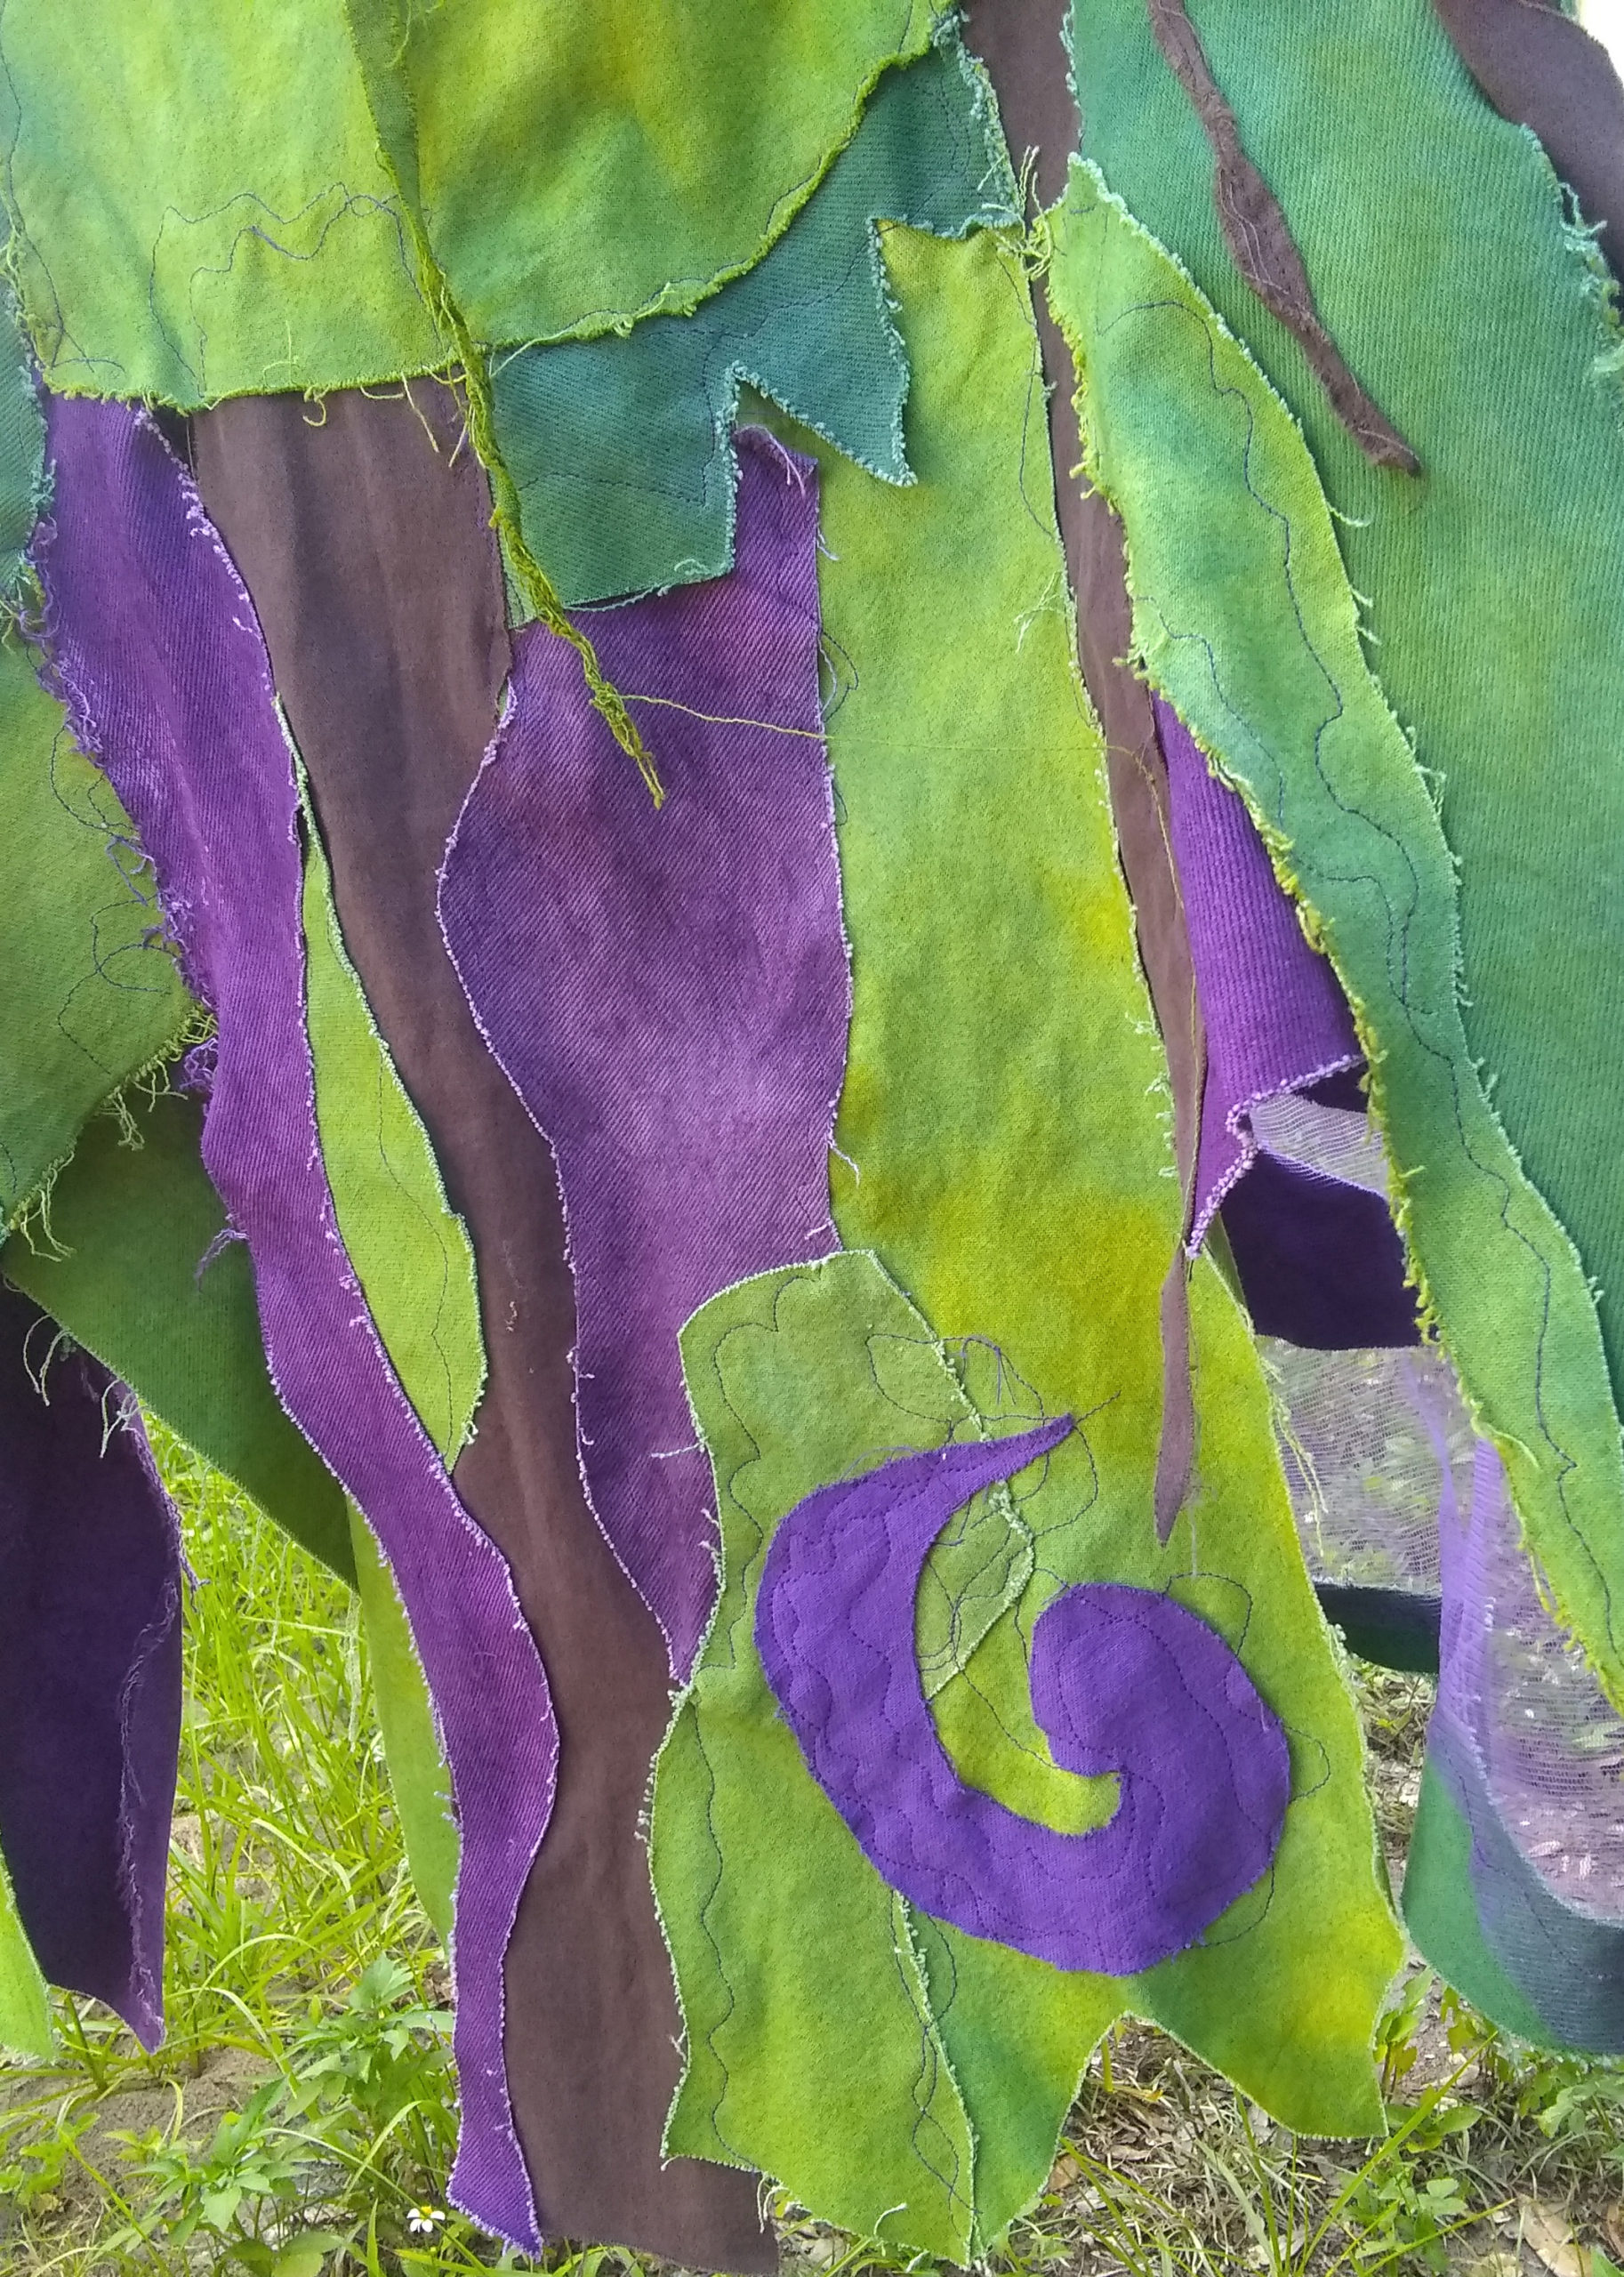
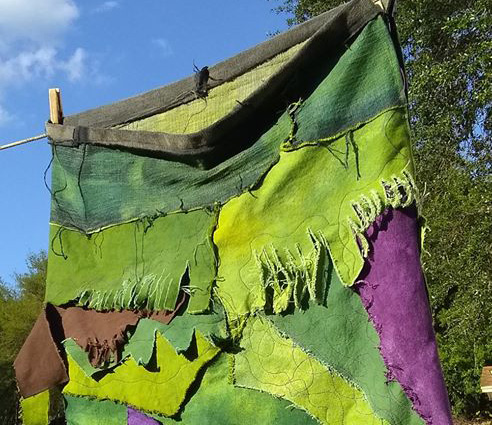
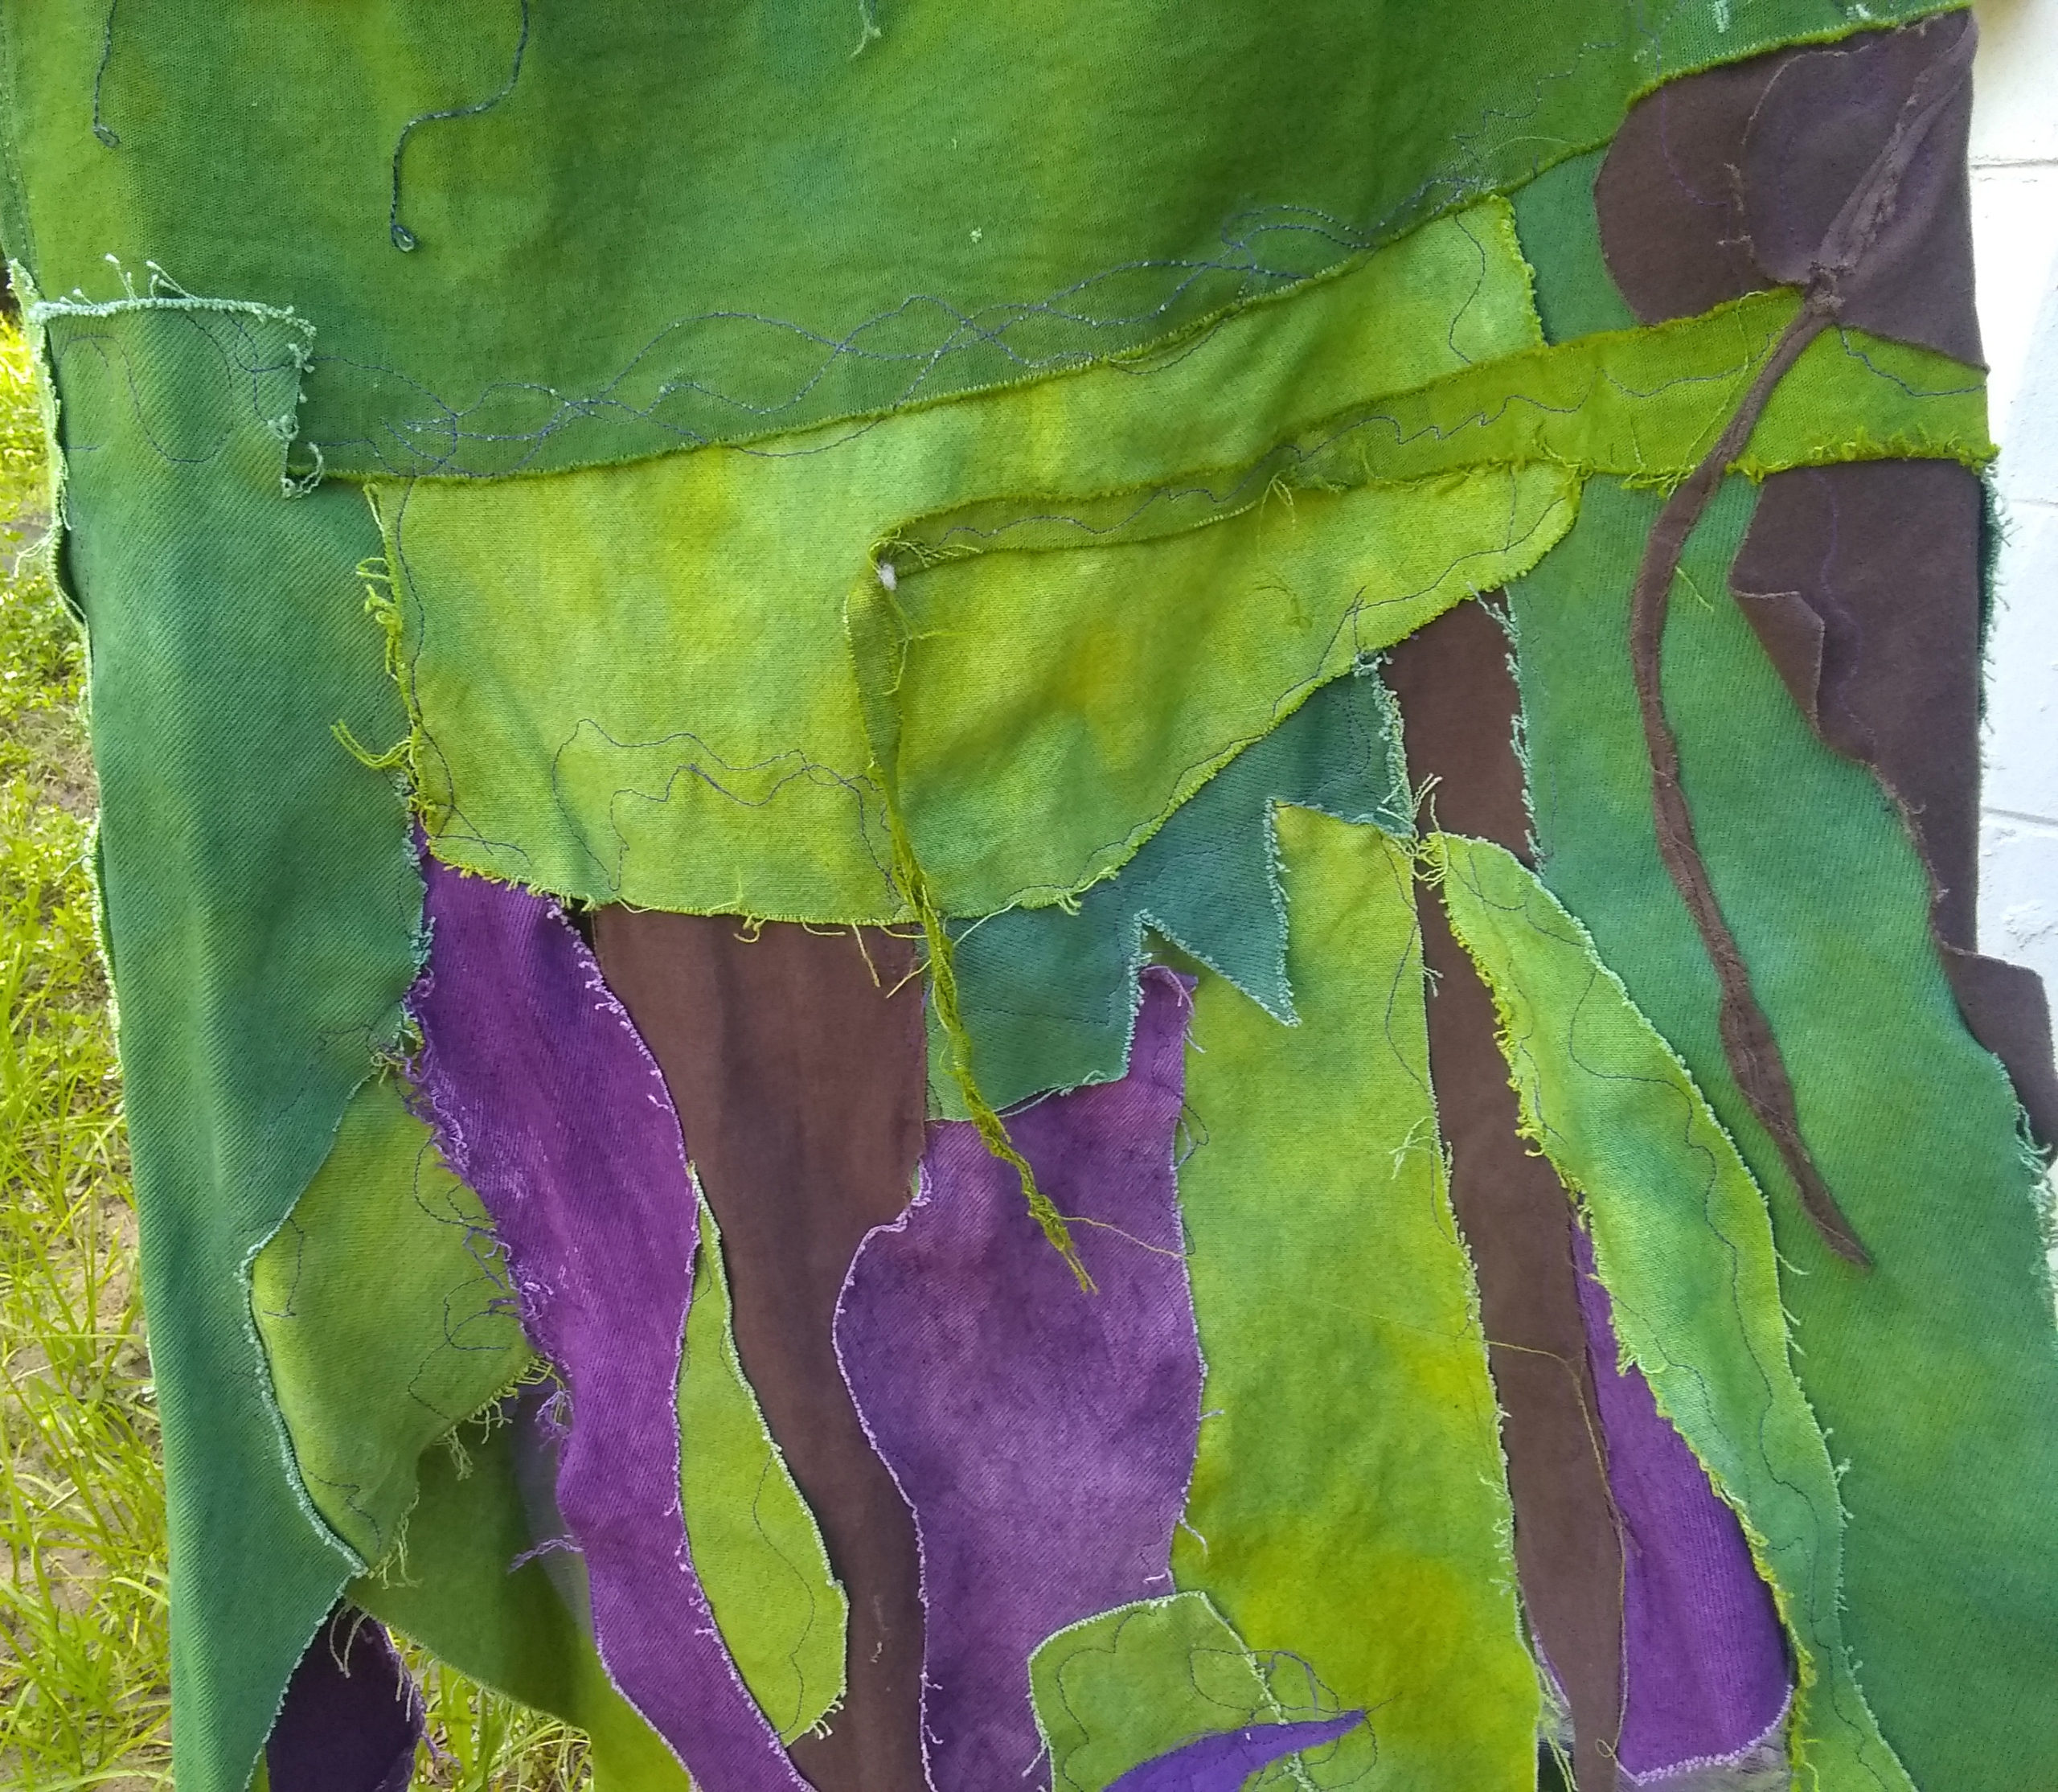
Step 8: Simply start adding vertical pieces and stitching them in place, overlapping
slightly.
Put on the skirt “starter,” zipping it up. Then, measure with a yardstick how long you want certain strips. Or, hold up a long strip cut from a jeans leg and note where you want to cut the length.
Again, I cut in unusual shapes—and cut different lengths.
Some strips hang singly at the bottom.

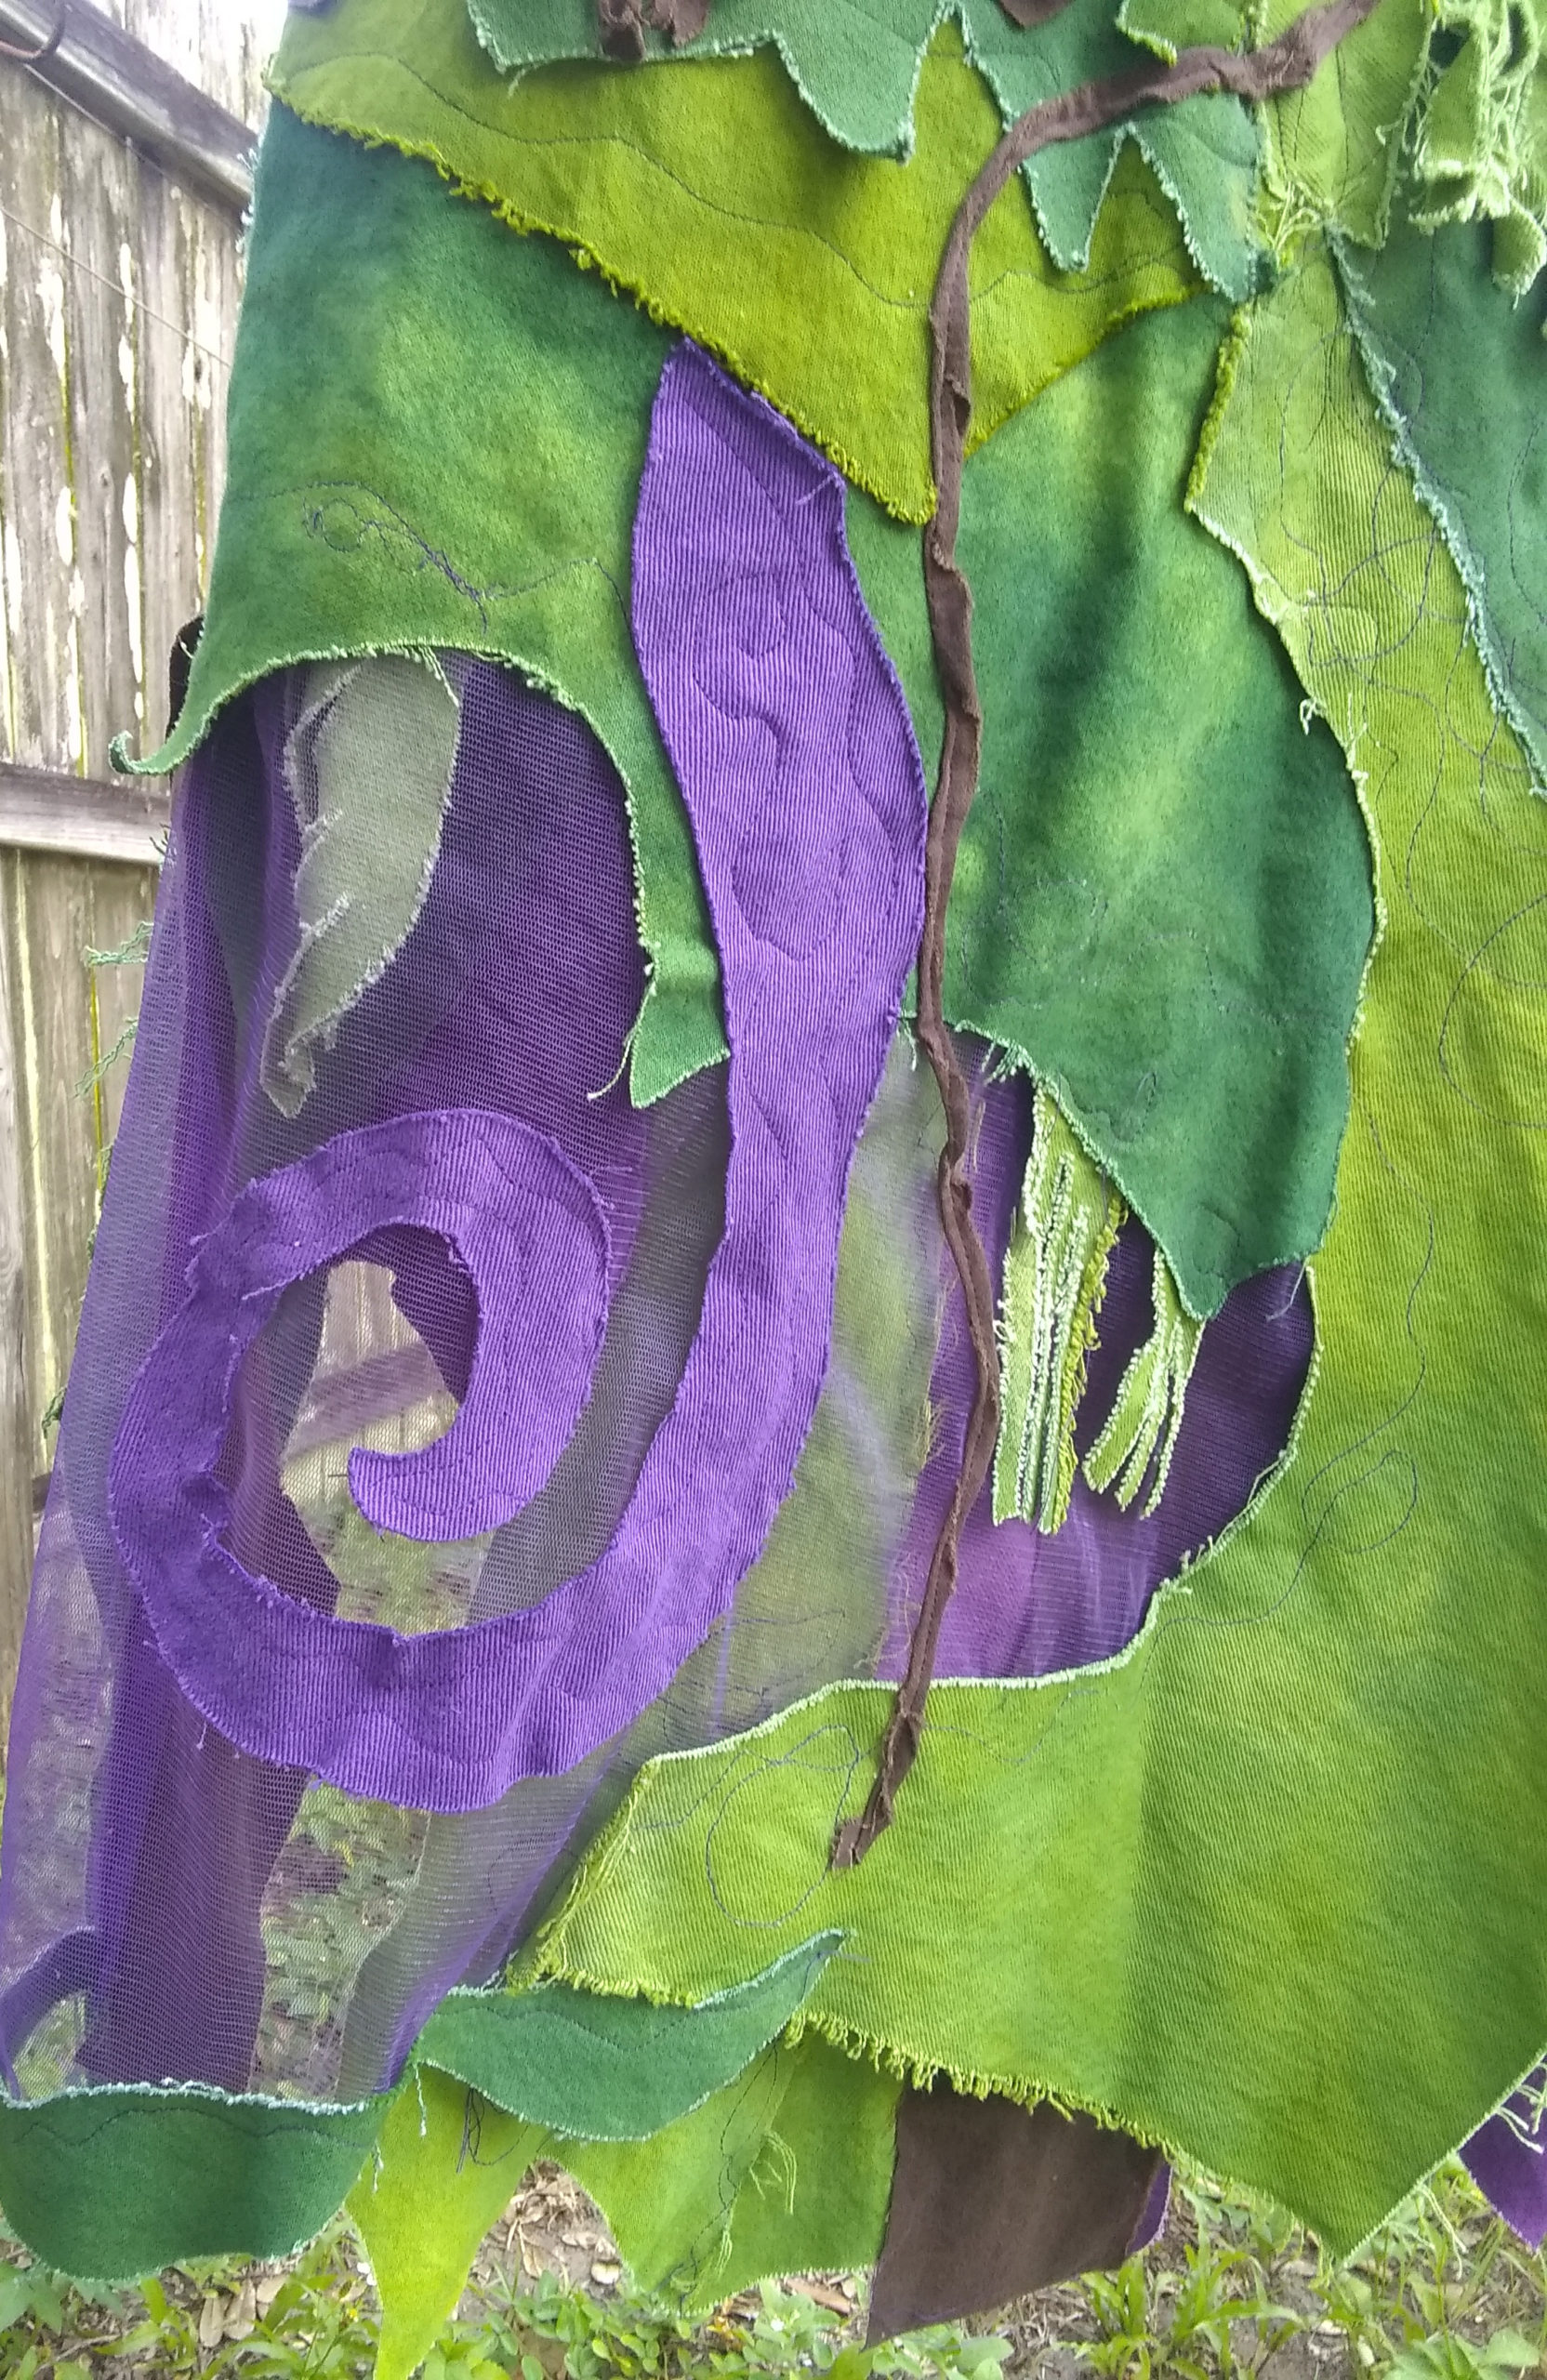
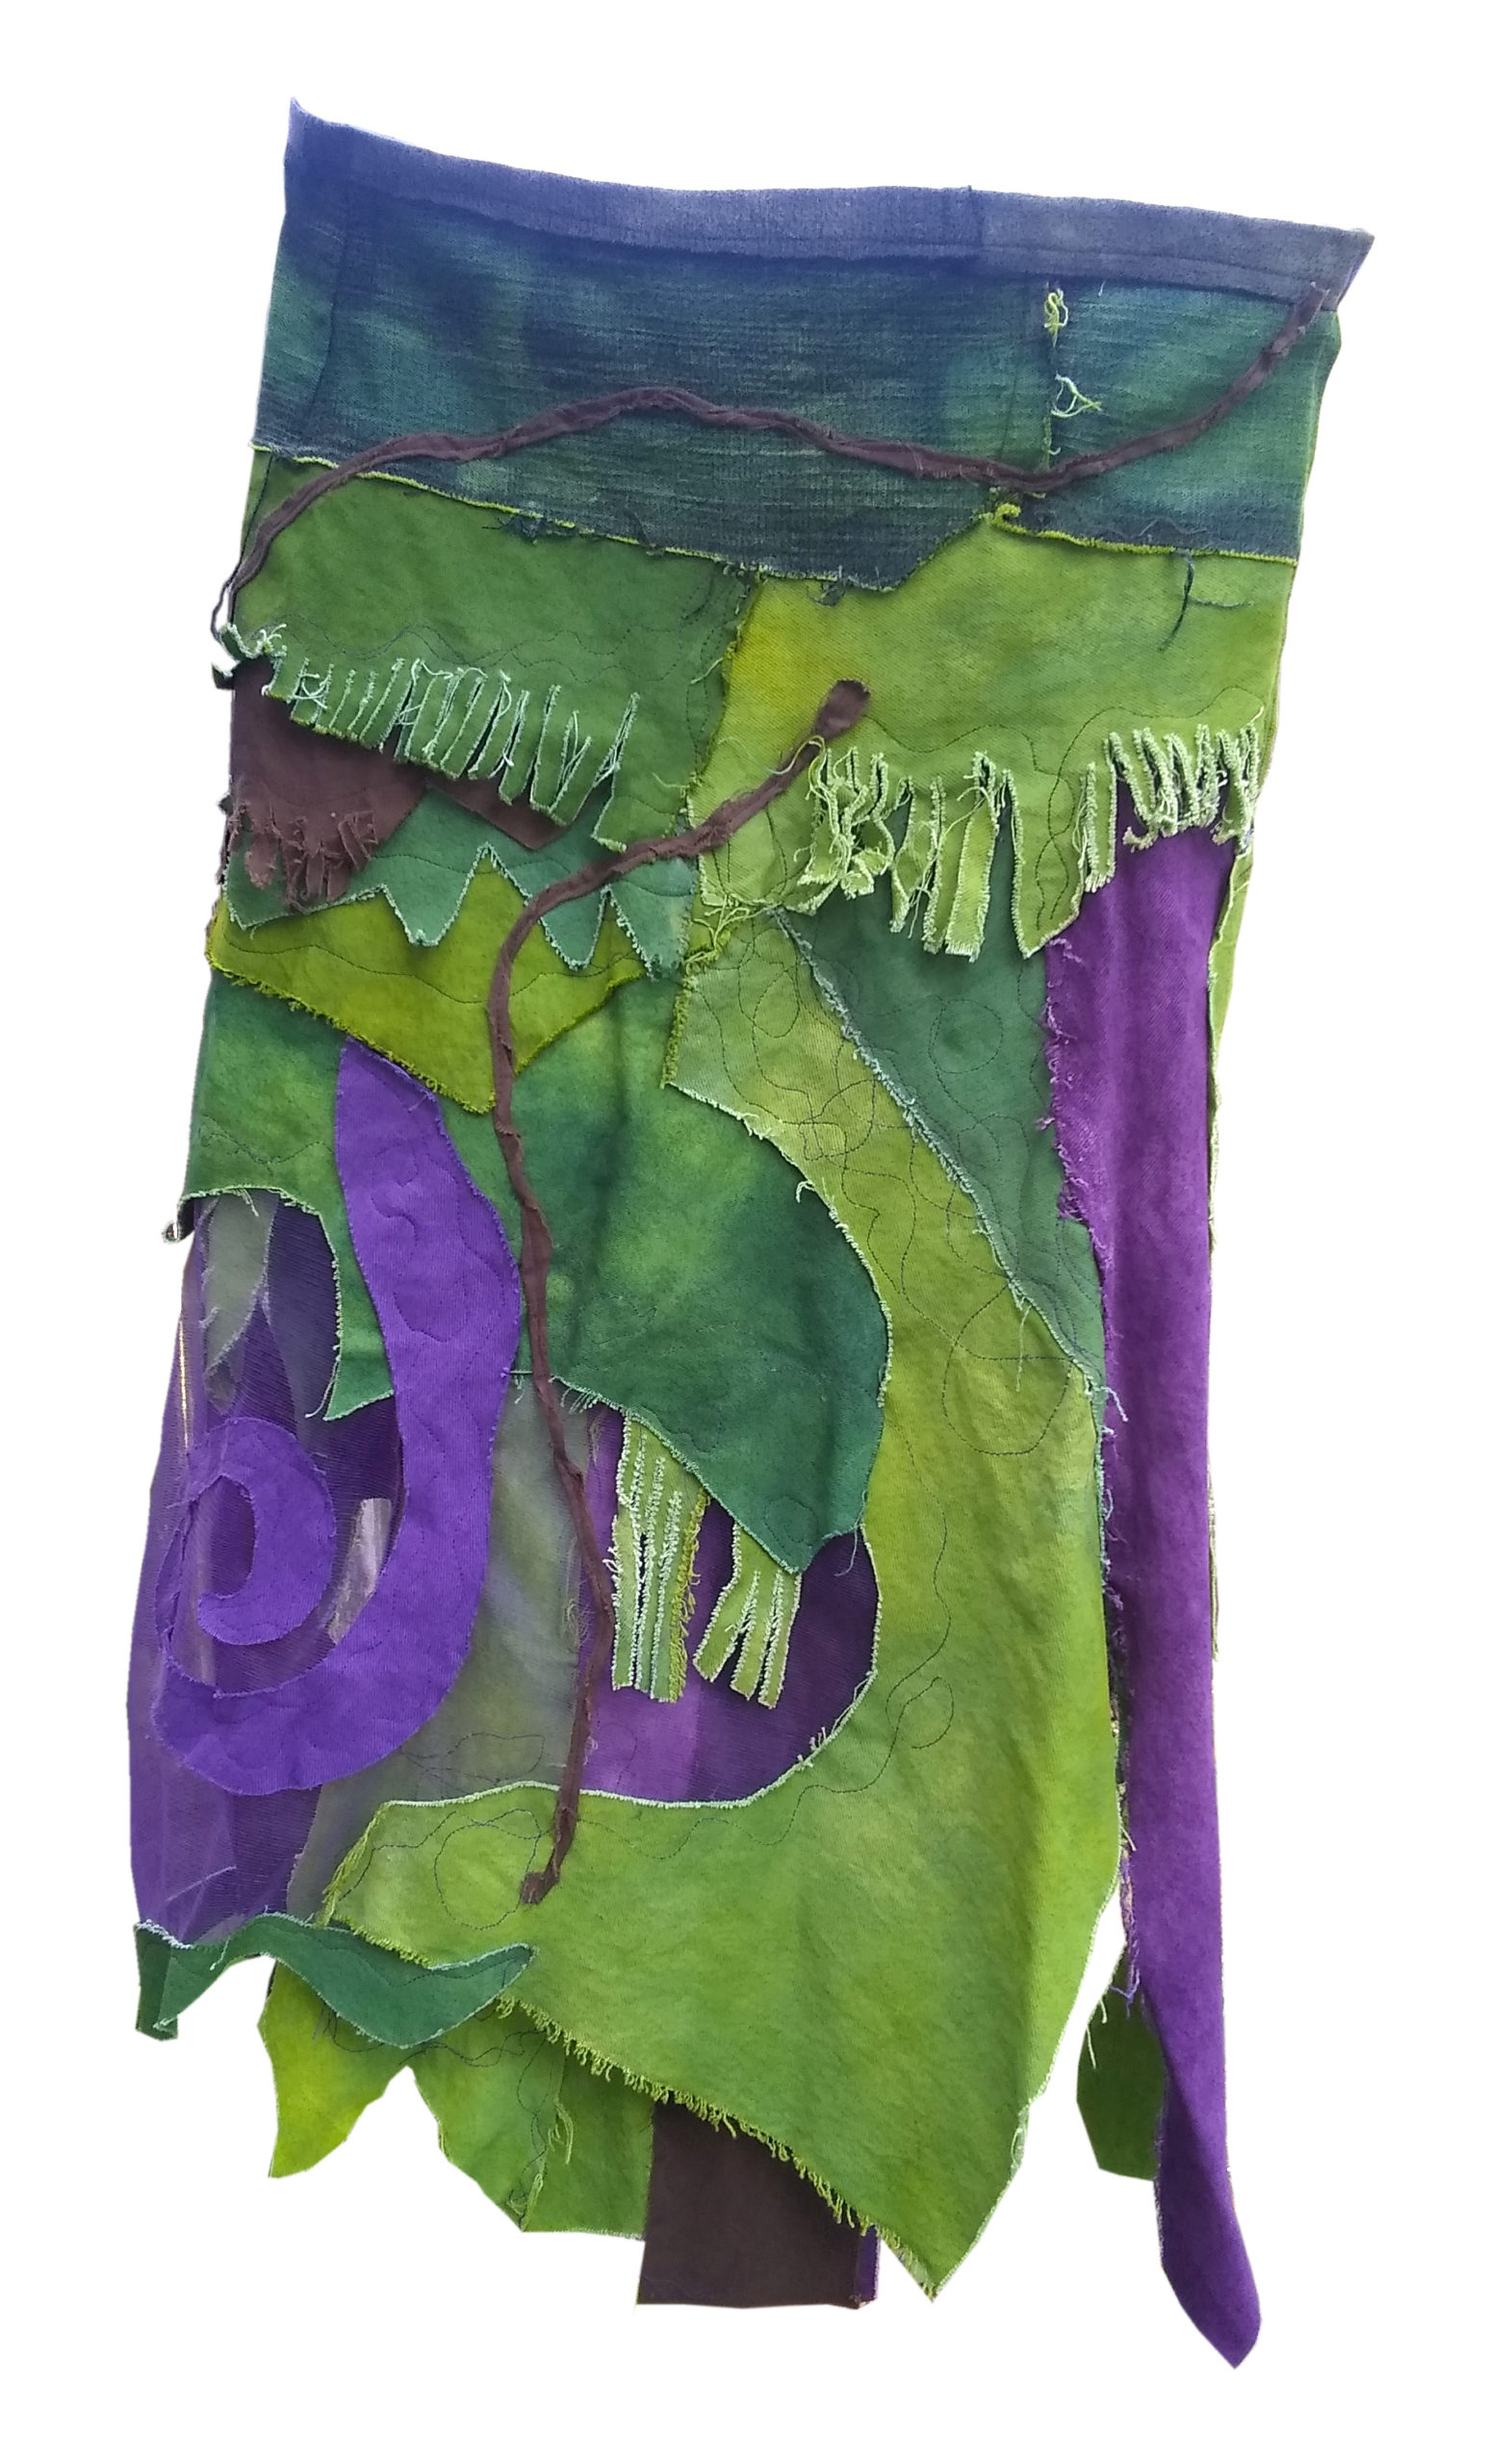
Step 9: Add in the tulle. I made a rounded curved piece to encircle the tulle, with a horizontal piece across the bottom.
Then, added, my purple whirly-gig on top of the tulle.
Finally, I added a twisted strip as a vine.
Step 10: When I sew each piece onto another, instead of straight stitching, I curl it around to be decorative.


Click an Image.


One Reply to “A Woodland Fairy Patchwork Skirt”