


Dyeing is a great way to refresh something, or totally change it.
Go along with me to see how a shirt I already had was really refreshed by dyeing. I love the change!
Hey Bohemian lovers,
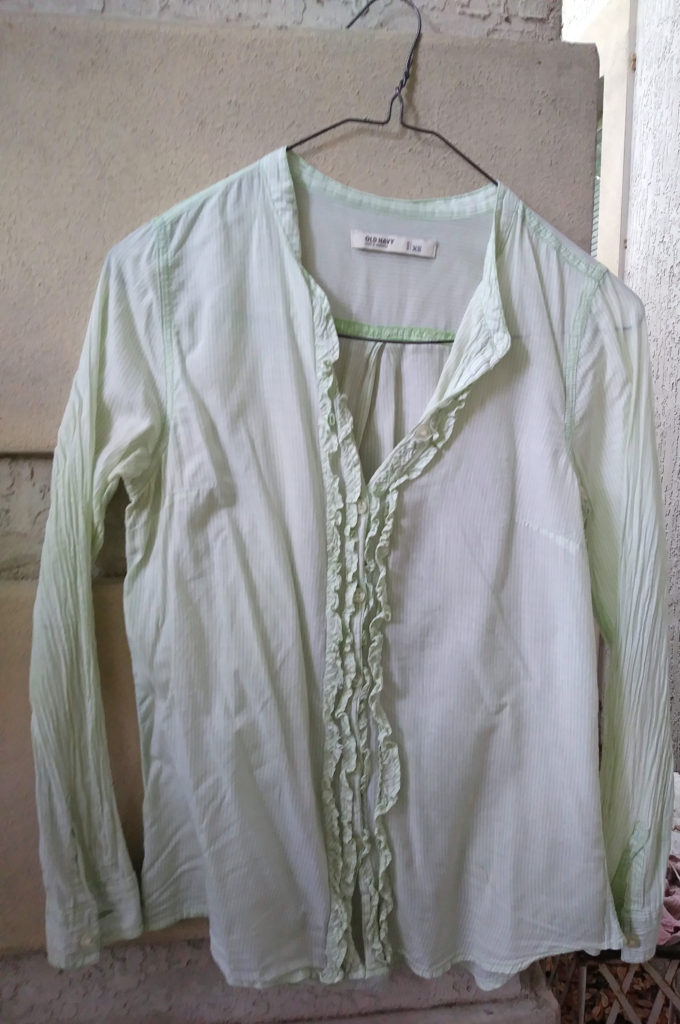
I’ve had a light green shirt in my closet for quite a while but haven’t worn it more than maybe once, but I still like it.
When I ran across it the other day, as I was looking for a top to wear, I thought, Hmmm…Think I’ll dye that.
I decided that would be my next project.
Dyeing is a great way to refresh something, or totally change it. I got this shirt because it was cotton, and because of the ruffles on the front and sleeves.
Mint green is not bad on me, but it’s really not one of my complimentary winter shades. I look better in darker colors. Mint is kinda blah on me. My green is a darker kelly green.
![]()
Dyeing is a Very Old Art
For centuries, yes, millennia, the peoples of the earth have looked for ways to bring color into their clothing.
Dyed flax fibers were found in a prehistoric cave in the Republic of Georgia 34,000 years before Christ, according to Wikipedia.
It reported that evidence of textile dyeing dates to the Neolithic period (beginning about 10,200 BC, ending between 4500 and 2000 BC) in Anatolia, also known as Asia Minor, in an area now known as Turkey. These traces of red dyes are believed to be from ocher, a natural clay earth pigment.

More than 5,000 years ago, the Chinese dyed with plants, barks, and insects.
Archeologists unearthed a piece of cotton colored by a vegetable dye in Pakistan from the 3rd millennium BCE.
Plant-based dyes of woad and indigo (blue), and madder (crimson red), and insect dyes were important as trade commodities in Asia and Europe until man-made synthetic dyes were discovered and developed, the first being in 1856. By the 1870s, the stronger-colored synthetic dyes brought the demise of coloring with natural dyestuffs in the commercial realm.
Read my article on the gypsies, who learned dyeing as they traveled through distant lands.


This is the pale green shirt (right) that hung in my closet.
Getting ready to dye:
- Wear a shirt that you don’t mind messing up, i.e. an old paint shirt;
- Pull back and secure your hair. You don’t want it getting in the way or dipping down into the dye;
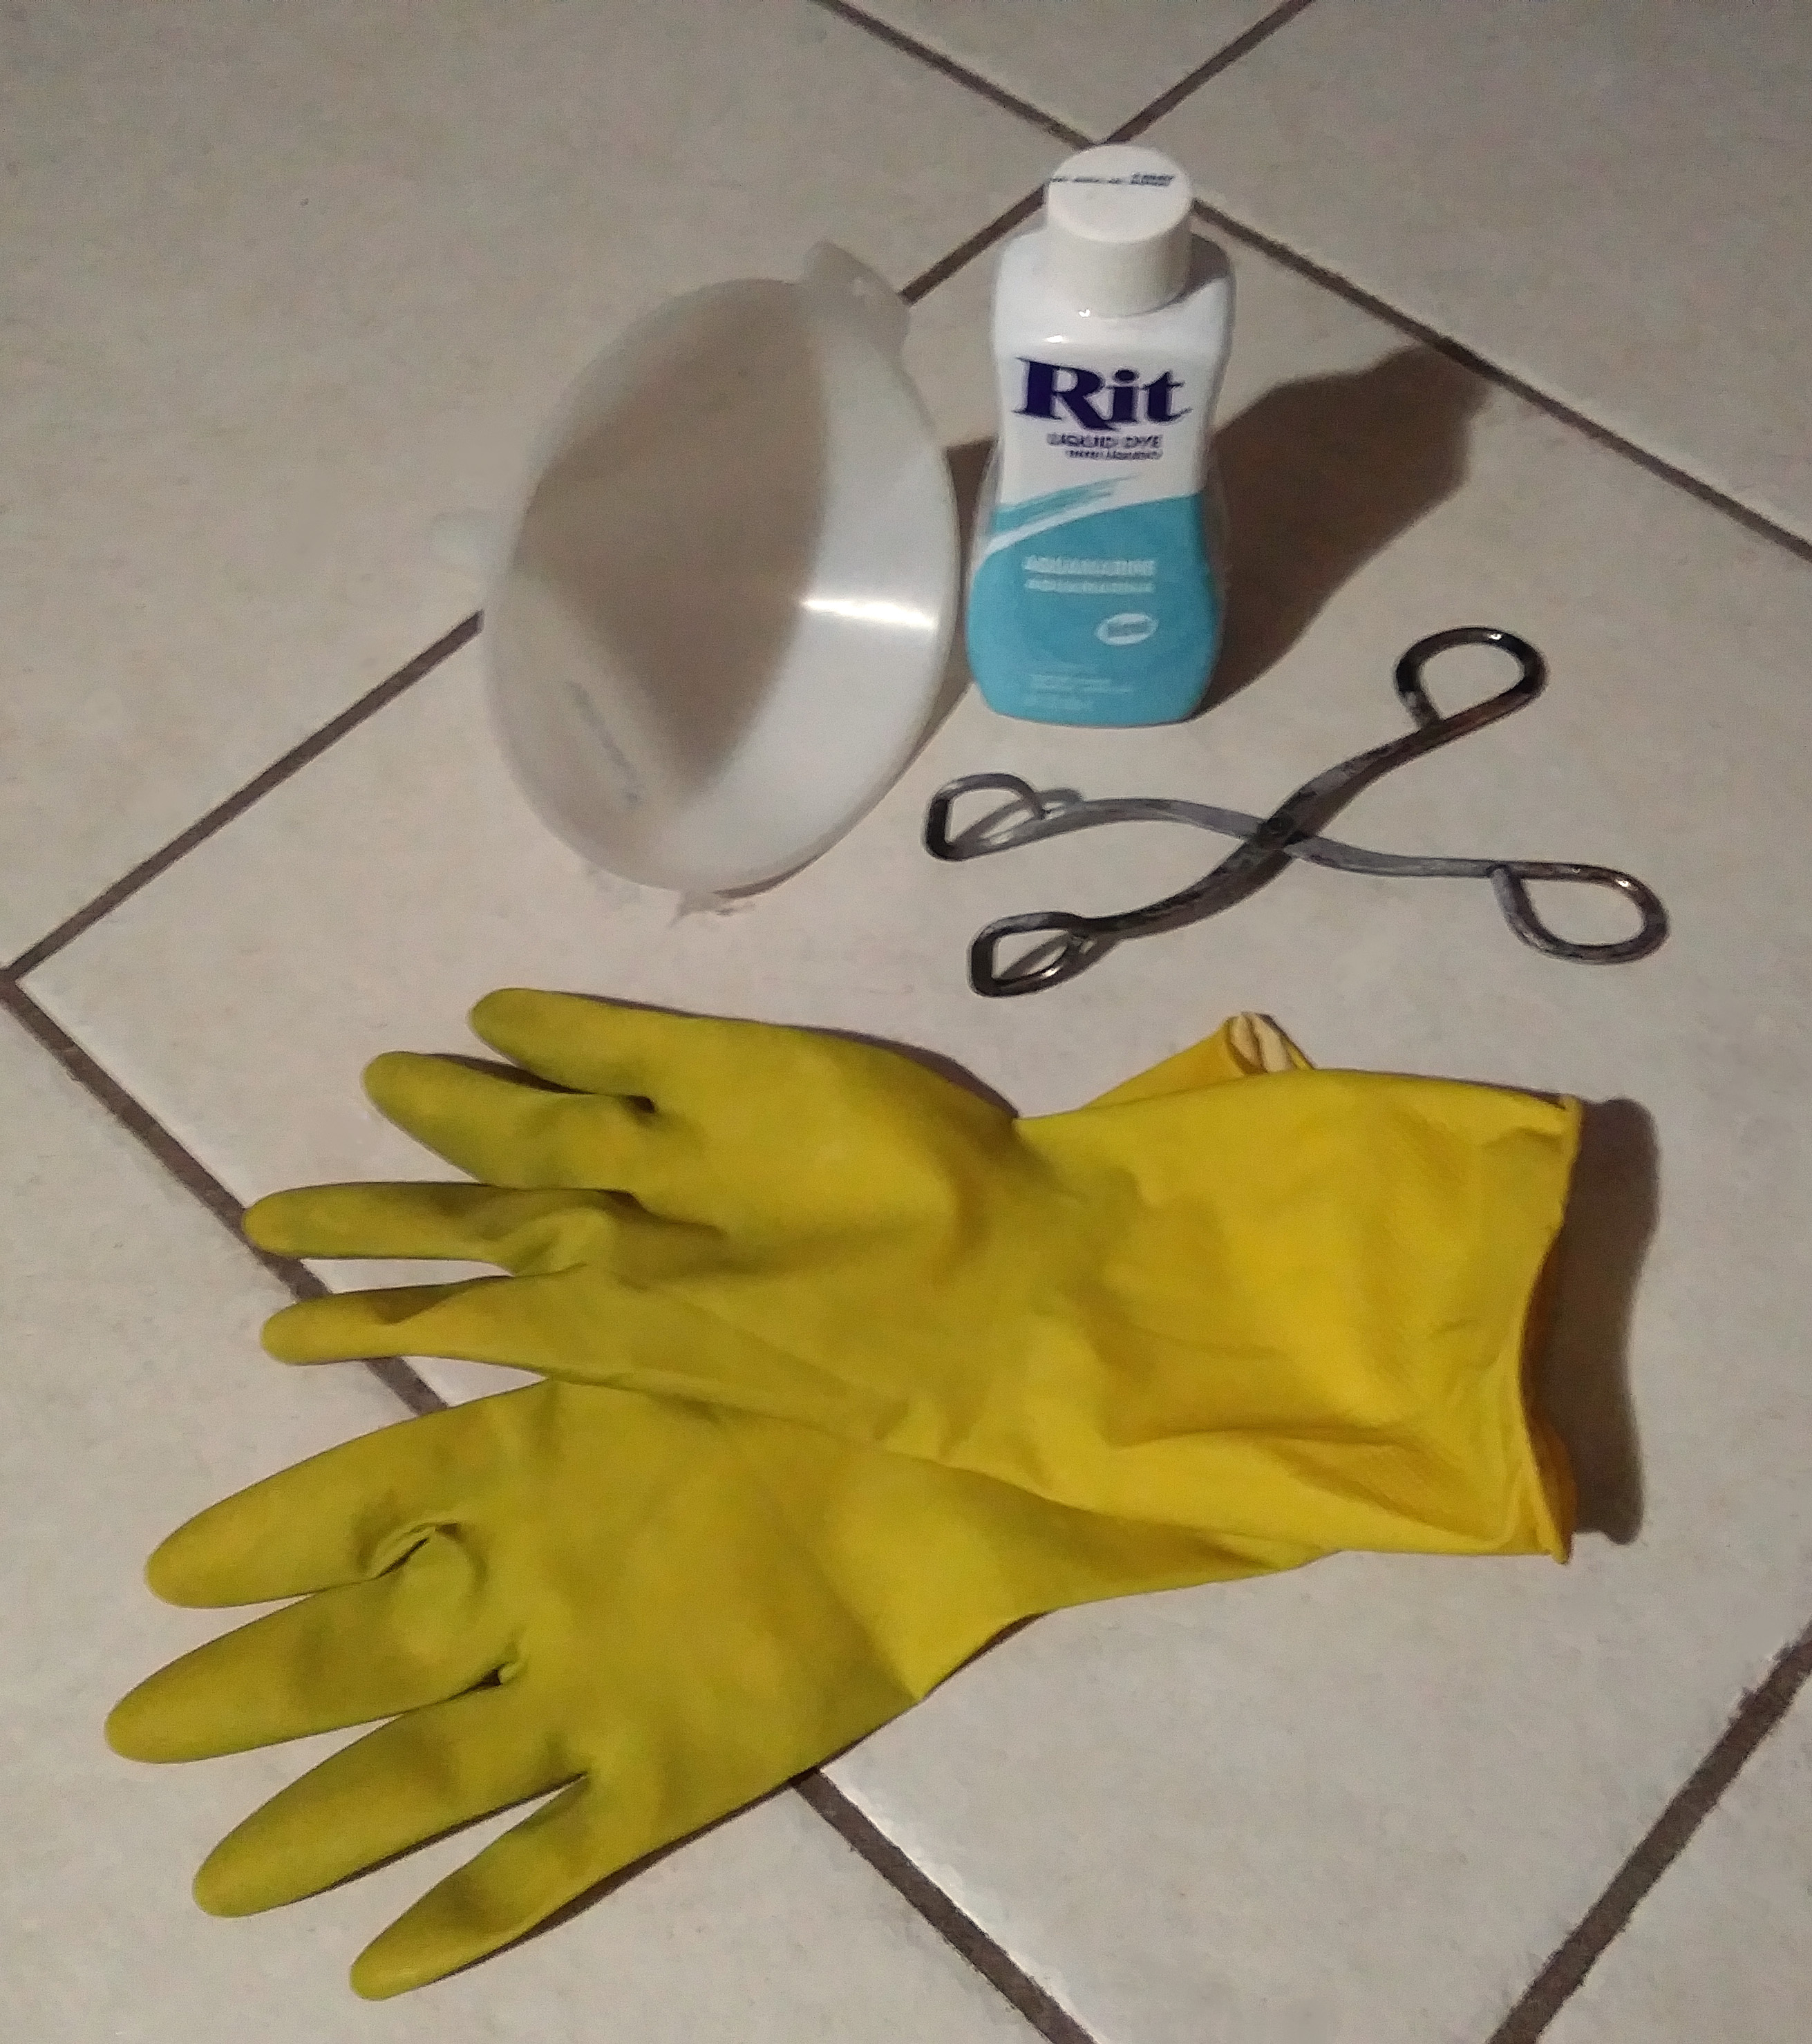
- Gather your bottle of dye, rubber gloves, tongs and spoon, funnel and an empty gallon jug, and large stainless steel pot.
Prepare your dye bath:
- Pour into your pot enough water to cover your fabric—but don’t put the fabric in the water, yet. In my case, I
used about a half gallon of water since my project was small: 2/3 of a shirt.
- Place the pot on the stove. Heat to steaming point. Reduce heat to low.
- Turn on your stove’s exhaust fan. The smell is not bad, but better to ventilate some.
- Add your liquid dye. Stir to mix. I had about 1/4 bottle of aquamarine Rit left over from when I dyed a skirt.
(You may dissolve powdered dye, but after using both, I prefer liquid dye. Besides, it’s easier to save leftovers.)
Prepare your shirt:
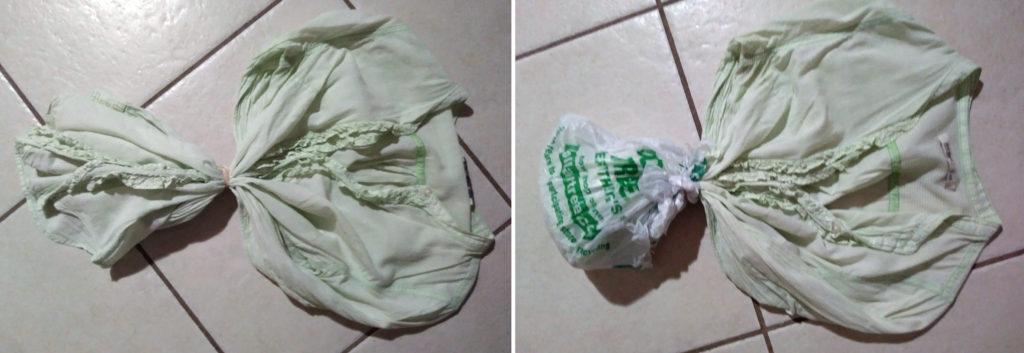
- Decide how much of your shirt you want to dye. Gather it at the dividing point and secure it tightly with a rubber band;
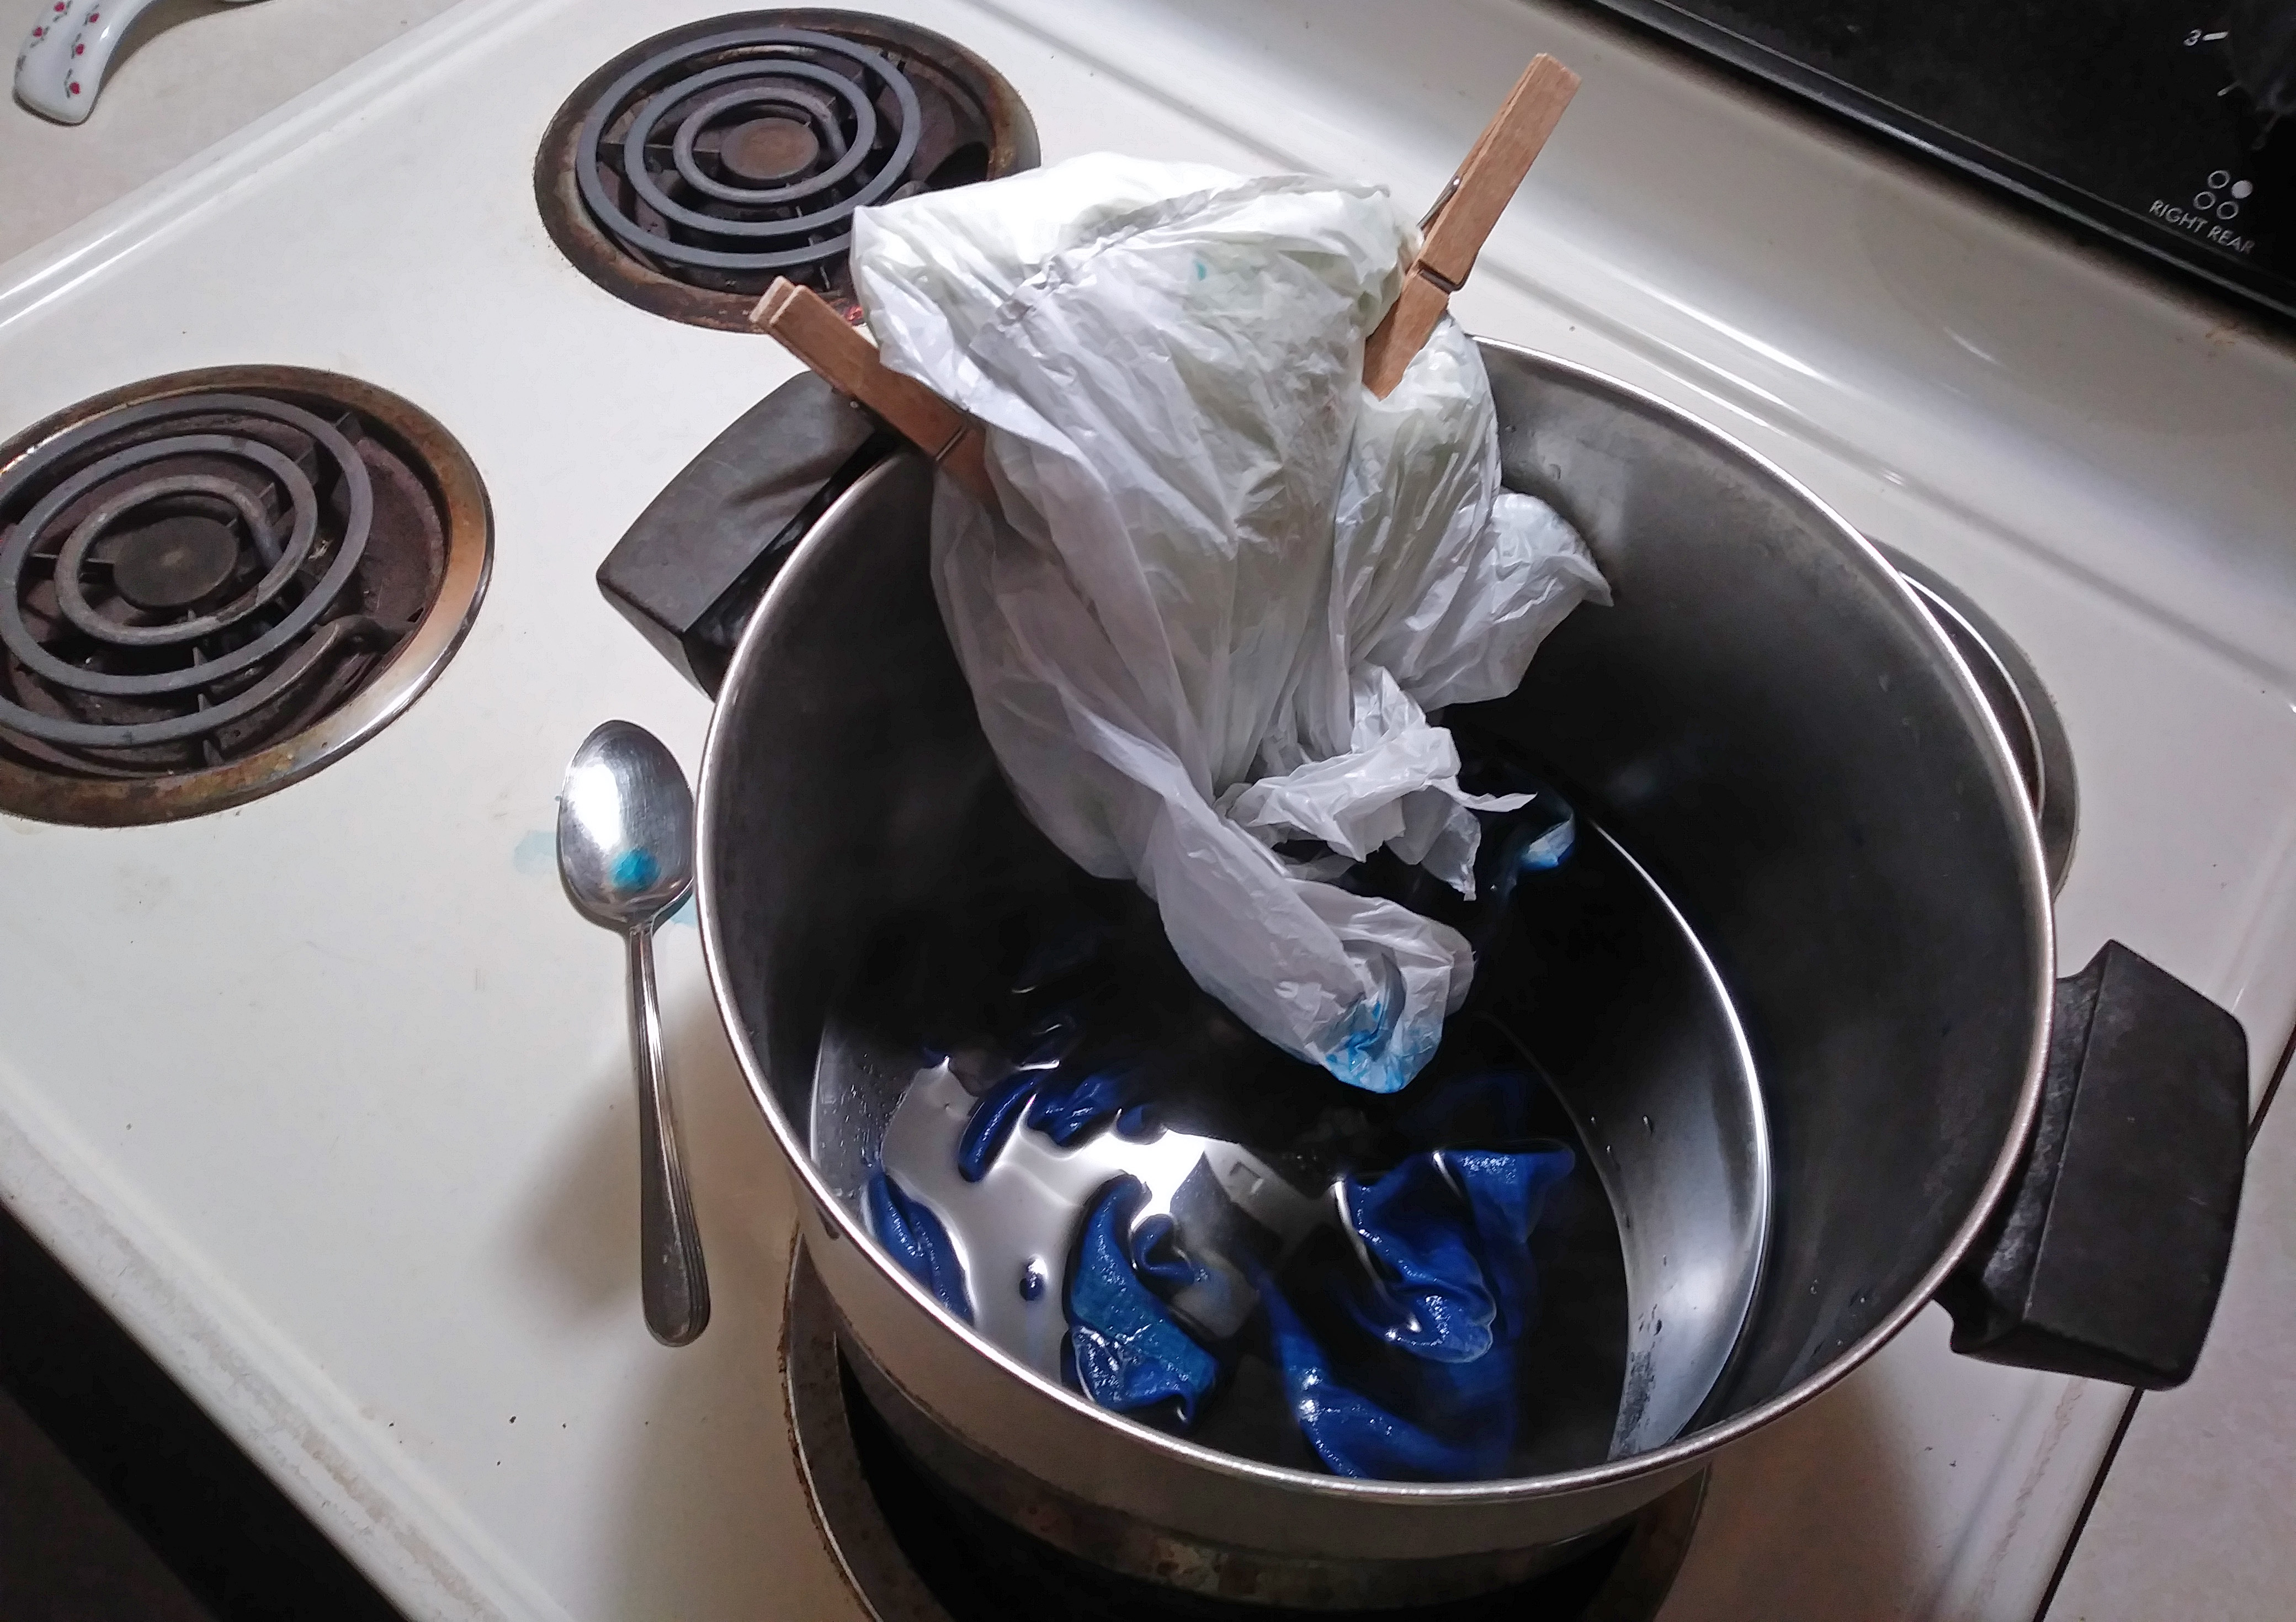
- Cover the part you don’t want to dye with a plastic bag and secure with rubber bands at the dividing point;
- Wearing rubber gloves, place your shirt into the hot dye, holding the
bagged bottom out of the dye. But, allow the top of the bag to go into the dye. Stir to be sure all the fabric you want to dye is fully saturated.
- Clip the bag to the side of the pot, so you don’t have to hold it there for an hour.
FIRE HAZZARD! Don’t let it droop down to touch the burner!
- Simmer on low one hour—set your timer, stirring frequently/ occasionally/ constantly—your choice. I stirred occasionally. It depends on the thickness of the cloth and/ or the size of the project compared to the amount of dye bath and how crowded your pot is.
- After the timer rings, using your gloves, lift out your shirt and squeeze out as much dye as you can. Be careful not to drip
on your counter—the stain may stay.
- Rinse your shirt (add a little soap) in the sink. Rinse until the water runs clear.
- Save your “pot liquor.” Use the funnel and pour your leftovers into your plastic jug for later use. The dye won’t be as strong in color, though.
Note: It gets yucky if you save it too long.
Also: Be warned: The plastic bottle begins to leak after a while.
![]()


P.S. The first time I washed this shirt after dyeing it, it bled a little, but still retained the color because, I believe, I used a mild soap and hand washed it.
When I tried it in the washer—ick!—it faded! So…I re-dyed it, then “cooked” it in Rit Color Stay. The directions say 4 tablespoons per 3 gallons HOT water. I did about 1 1/2 tablespoons per one gallon of water on the stove top at med/low. Stir constantly for 20 minutes.