Lol. And I thought I was being original!
A couple of weeks ago, I discovered a Goodwill Outlet not terribly far from my house. Previously, I had to go about an hour away to a part of town that I wasn’t crazy about being in. But, the outlet drew me there. 🙂
I love Goodwill Outlets because, there, the stuff you buy is by the pound! Just $1.39/ lb, to be exact.
This is Goodwill’s last ditch effort to squeeze a little more money from stuff donated to them.
There, you walk into a huge room filled with bin-tables with piles of stuff, stuff, and more stuff on them. Lol. It’s a veritable treasure hunt!
One reason I love this, besides the low price, is because you can find quirky stuff — stuff other people pass over! — and can usually find this and that made in India! My favorite!
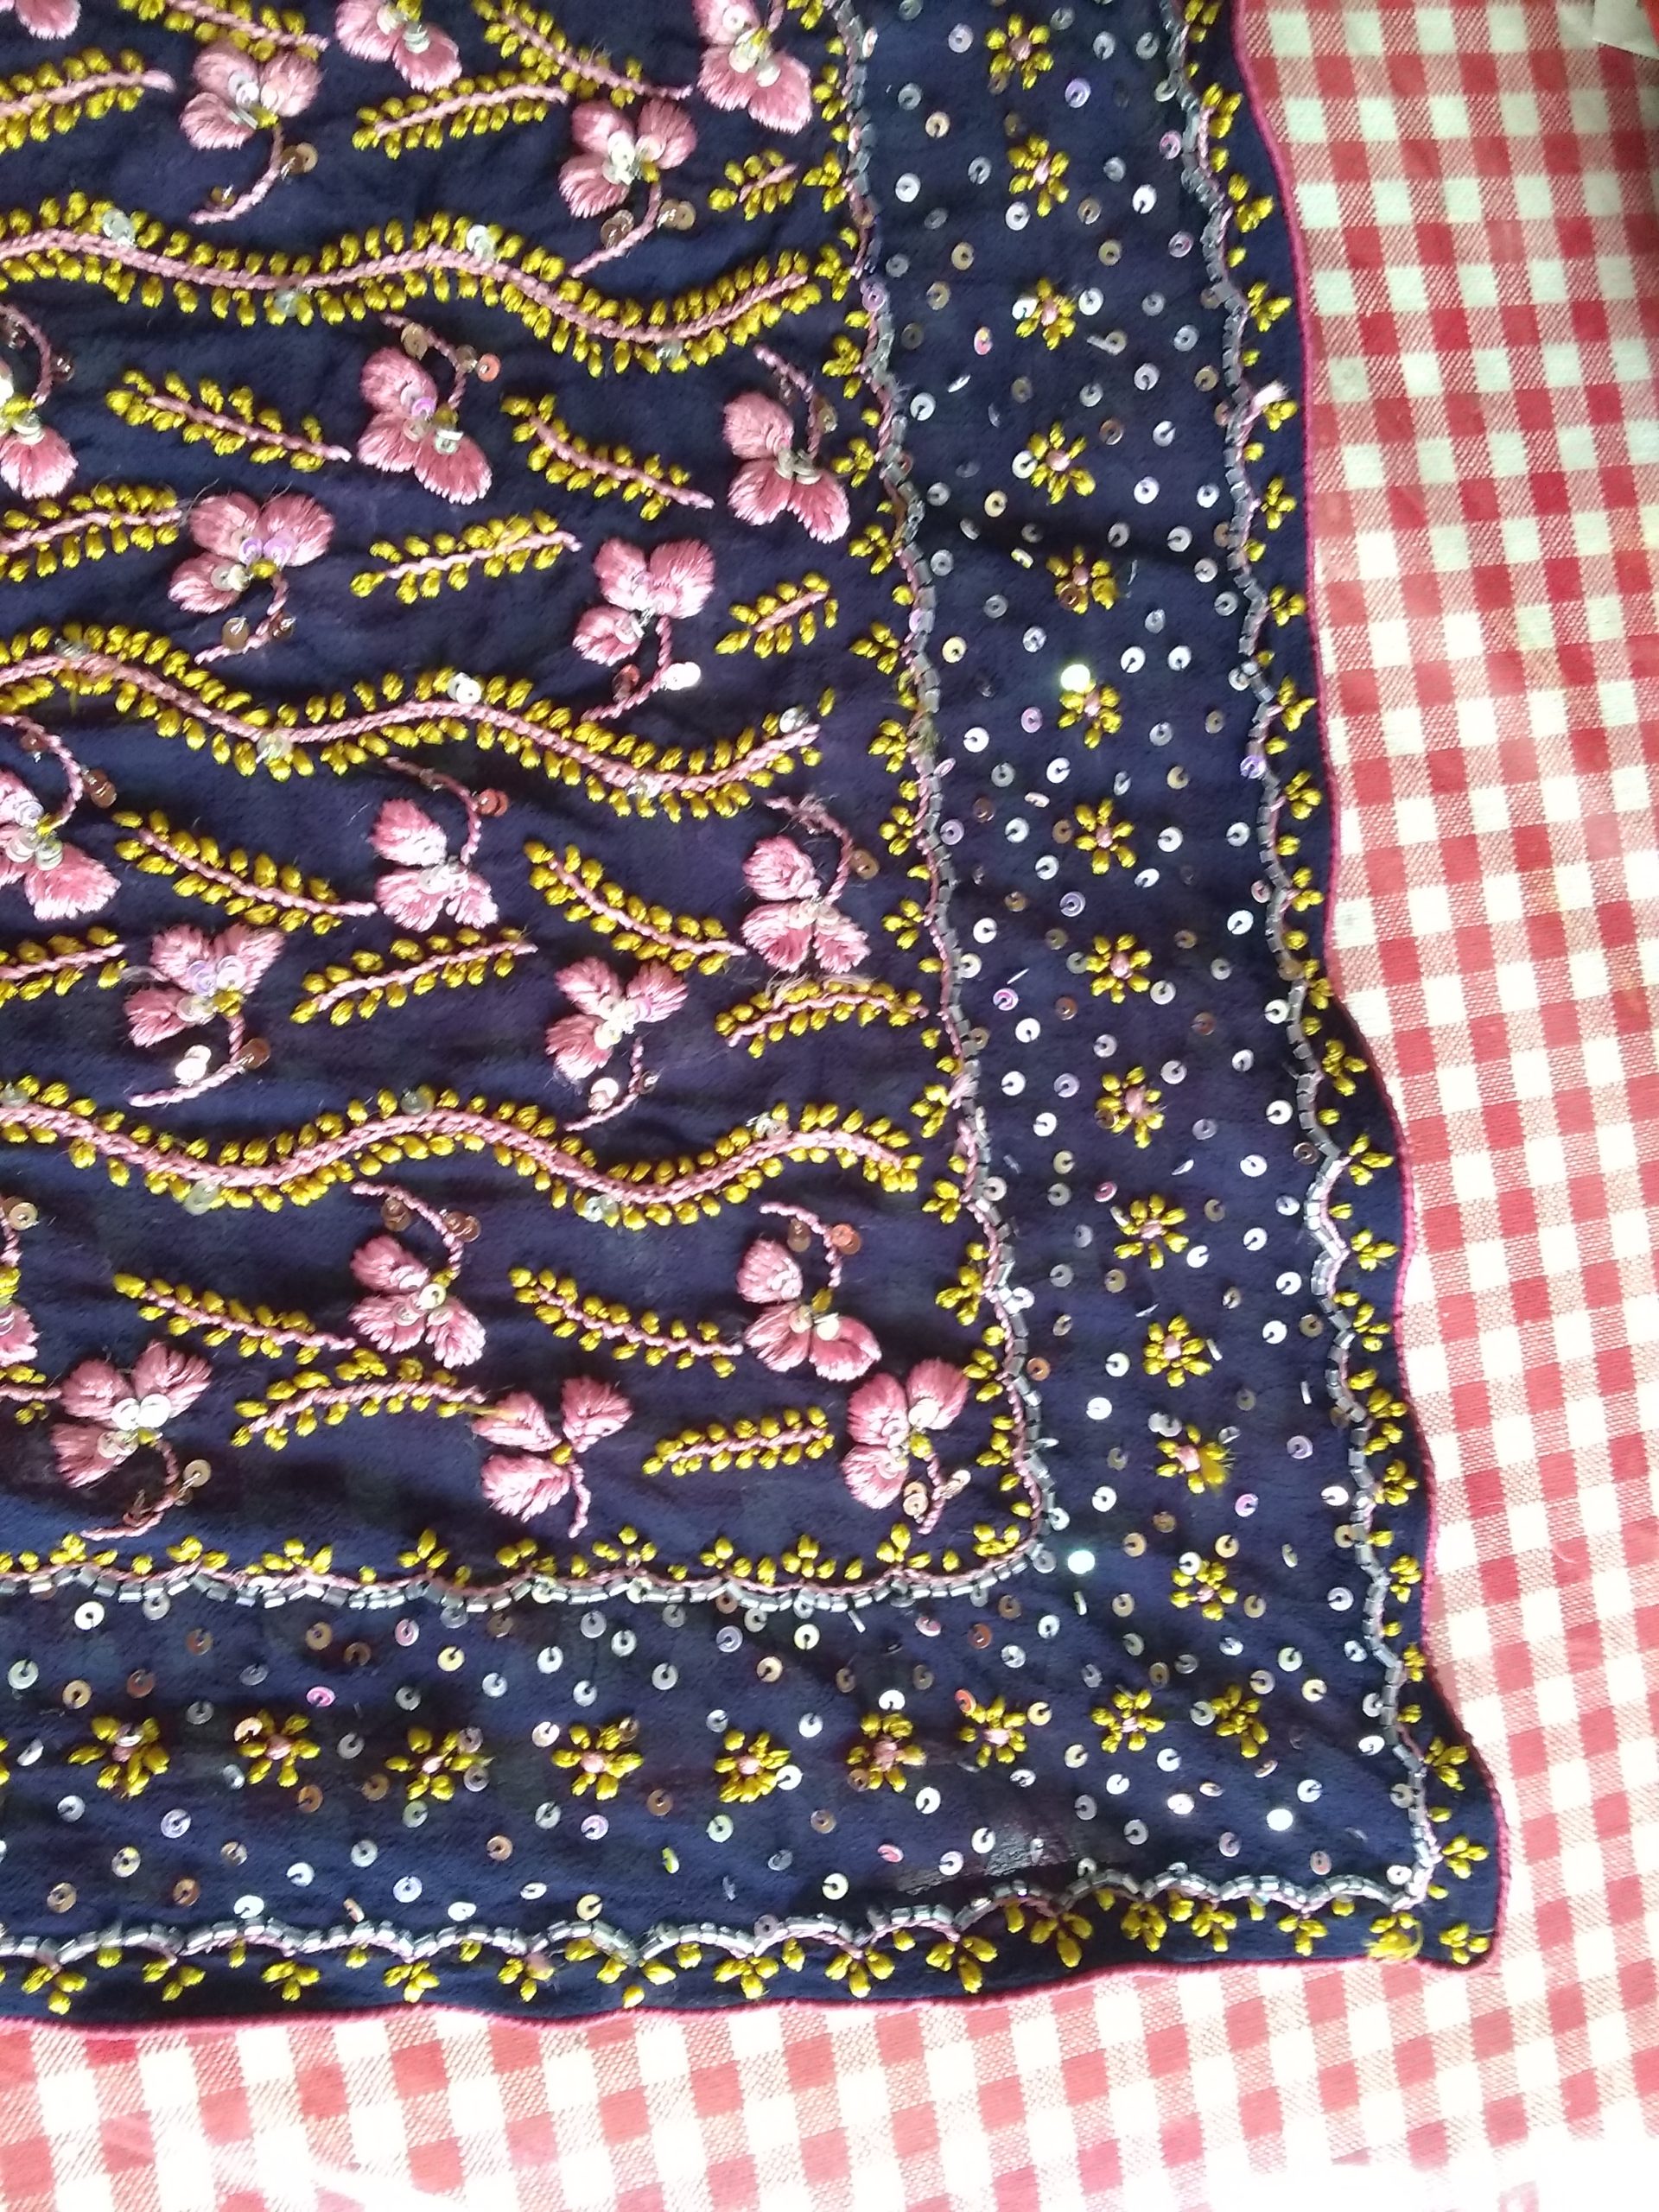
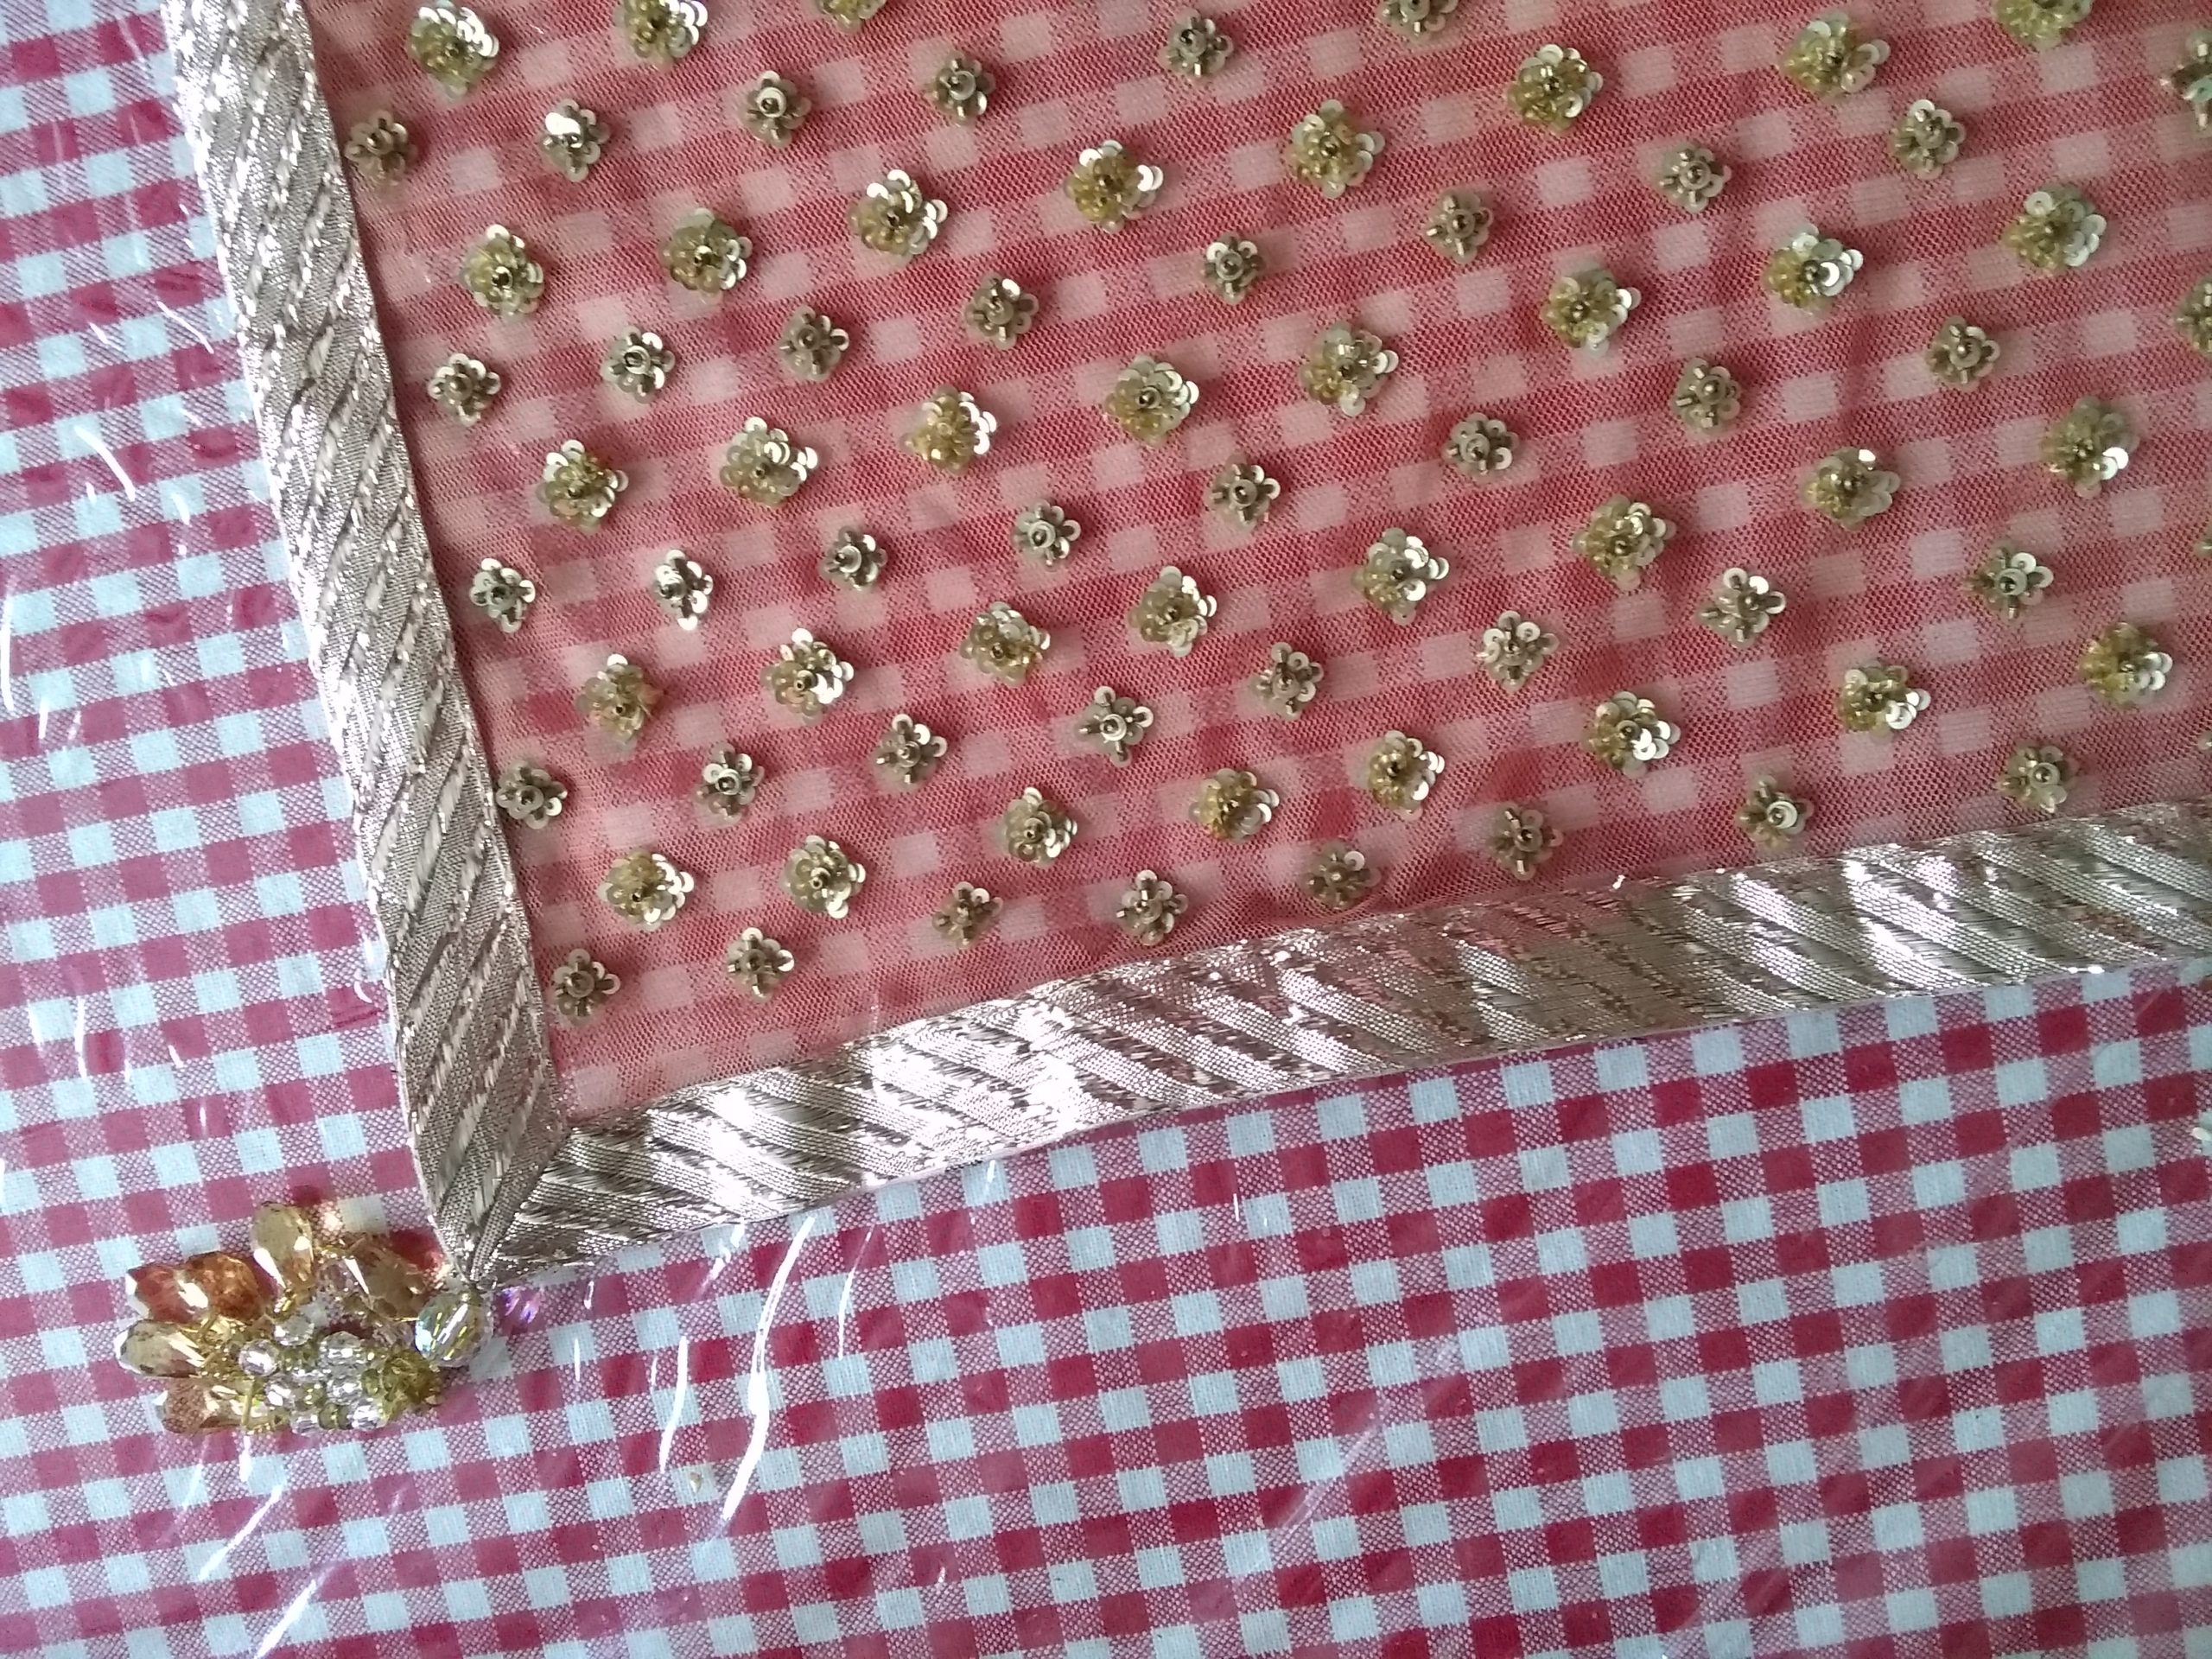
I found some cool bohemian clothing pieces that I’ll share with you in a future post. As colors and textured textiles caught my eye, I pulled them out. I found several colorful Indian saris.
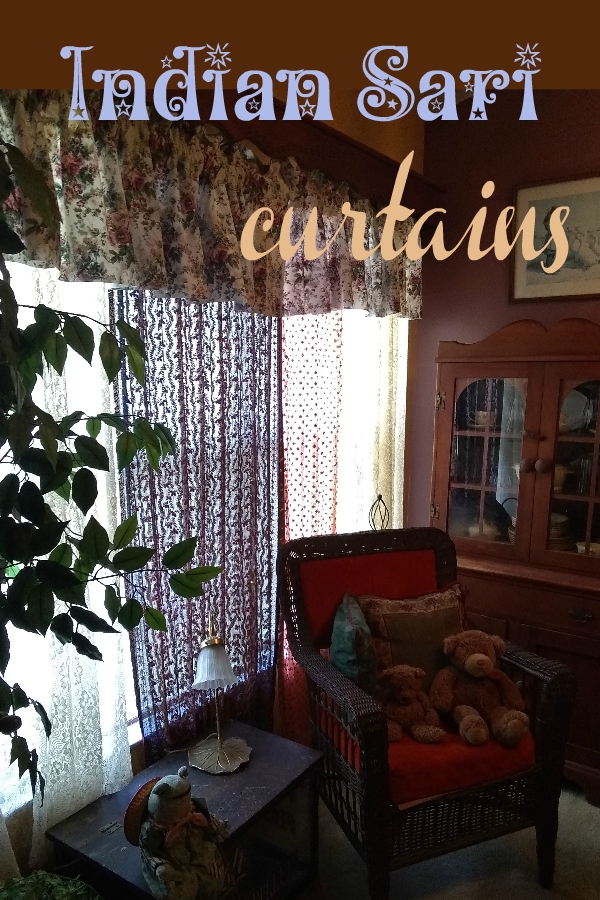
Immediately, my mind clicked: Aha! Curtain panels!!
When I got them home and gently laundered them on the delicate cycle, I sewed a line of stitches two inches from the turned over top, to make curtain-rod casings.
I really wanted to get these done quickly to get them up last Sunday, when I had just a couple of hours free.
But, in hindsight, I wish I’d put a little more time and planning into them. So, this tutorial is what I should have done. Lol.
After I thought about it, this is how I recommend making curtains from saris:
Step 1: Measure the length of how long you want your curtain panel to hang, from the top of the rod to the bottom, where you want the bottom to be.
Step 2: Measure that length on the sari, from the bottom.
Step 3: At the top of that measurement is where the fold-over will go over the curtain rod. However, don’t just fold it over, because that part will be inside out. Instead, carefully cut across the sari, from side to side, parallel to the top and bottom.
Step 4: Take the two pieces, sew them together to, once again, make it a whole sari ONLY make sure the right side of both face out, and sew the shorter top fold-over piece so that the seam is on the under side.
Step 5: To make a little stand up above the curtain rod, at the fold — on the seam you just made, measure an inch down from the seam/fold, pin across that one-inch “line.” Then, sew a line of stitches along that, removing the pins as you come to them.
Step 6: Then, measure again, only go two inches down from that first line of stitches. Pin, sew. This will be your curtain rod casing.
Step 7: Insert curtain rod.
Voila! You have a lovely curtain panel showing the pretty right side on the long piece AND the shorter piece that comes down in front of the back longer piece! In the case of the one sari I got, the beads will hang nicely as a trim.

As I said, I thought I was being original. Lol. Then, I found sari curtains online! O, well! 🙂 But, mine are way cheaper!!
Get several and make many panels of different colors!!
Thank you to those who have responded positively to my last post. All positive prayers are much appreciated.
Update: Since I wrote this a few days ago (but didn’t post yet), Jerry has gotten some better. Praise God!


Click an image.