Hey there bohemian designers!
I’ve got a fun and creative way to use up some of your scraps! And, you’ll have a cool vest to wear, besides! 🙂
Y’all know me: I don’t throw away much. Lol. When I make something, of course not 100 percent of stuff is used. So, nearly every little scrap I save. Ya never know what you’ll need ’em for!
So, now, boy am I glad I saved all those remnants! This turned out to be a really cute, fun, creative vest. Now, it’s one of my faves to wear!!
Step 1: To start, gather your scraps. I used denim pieces and upholstery fabric from a heavy drape. But, any weighty fabric would work.
Collect pieces that go together. You can even tear up larger pieces into strips or chunks.
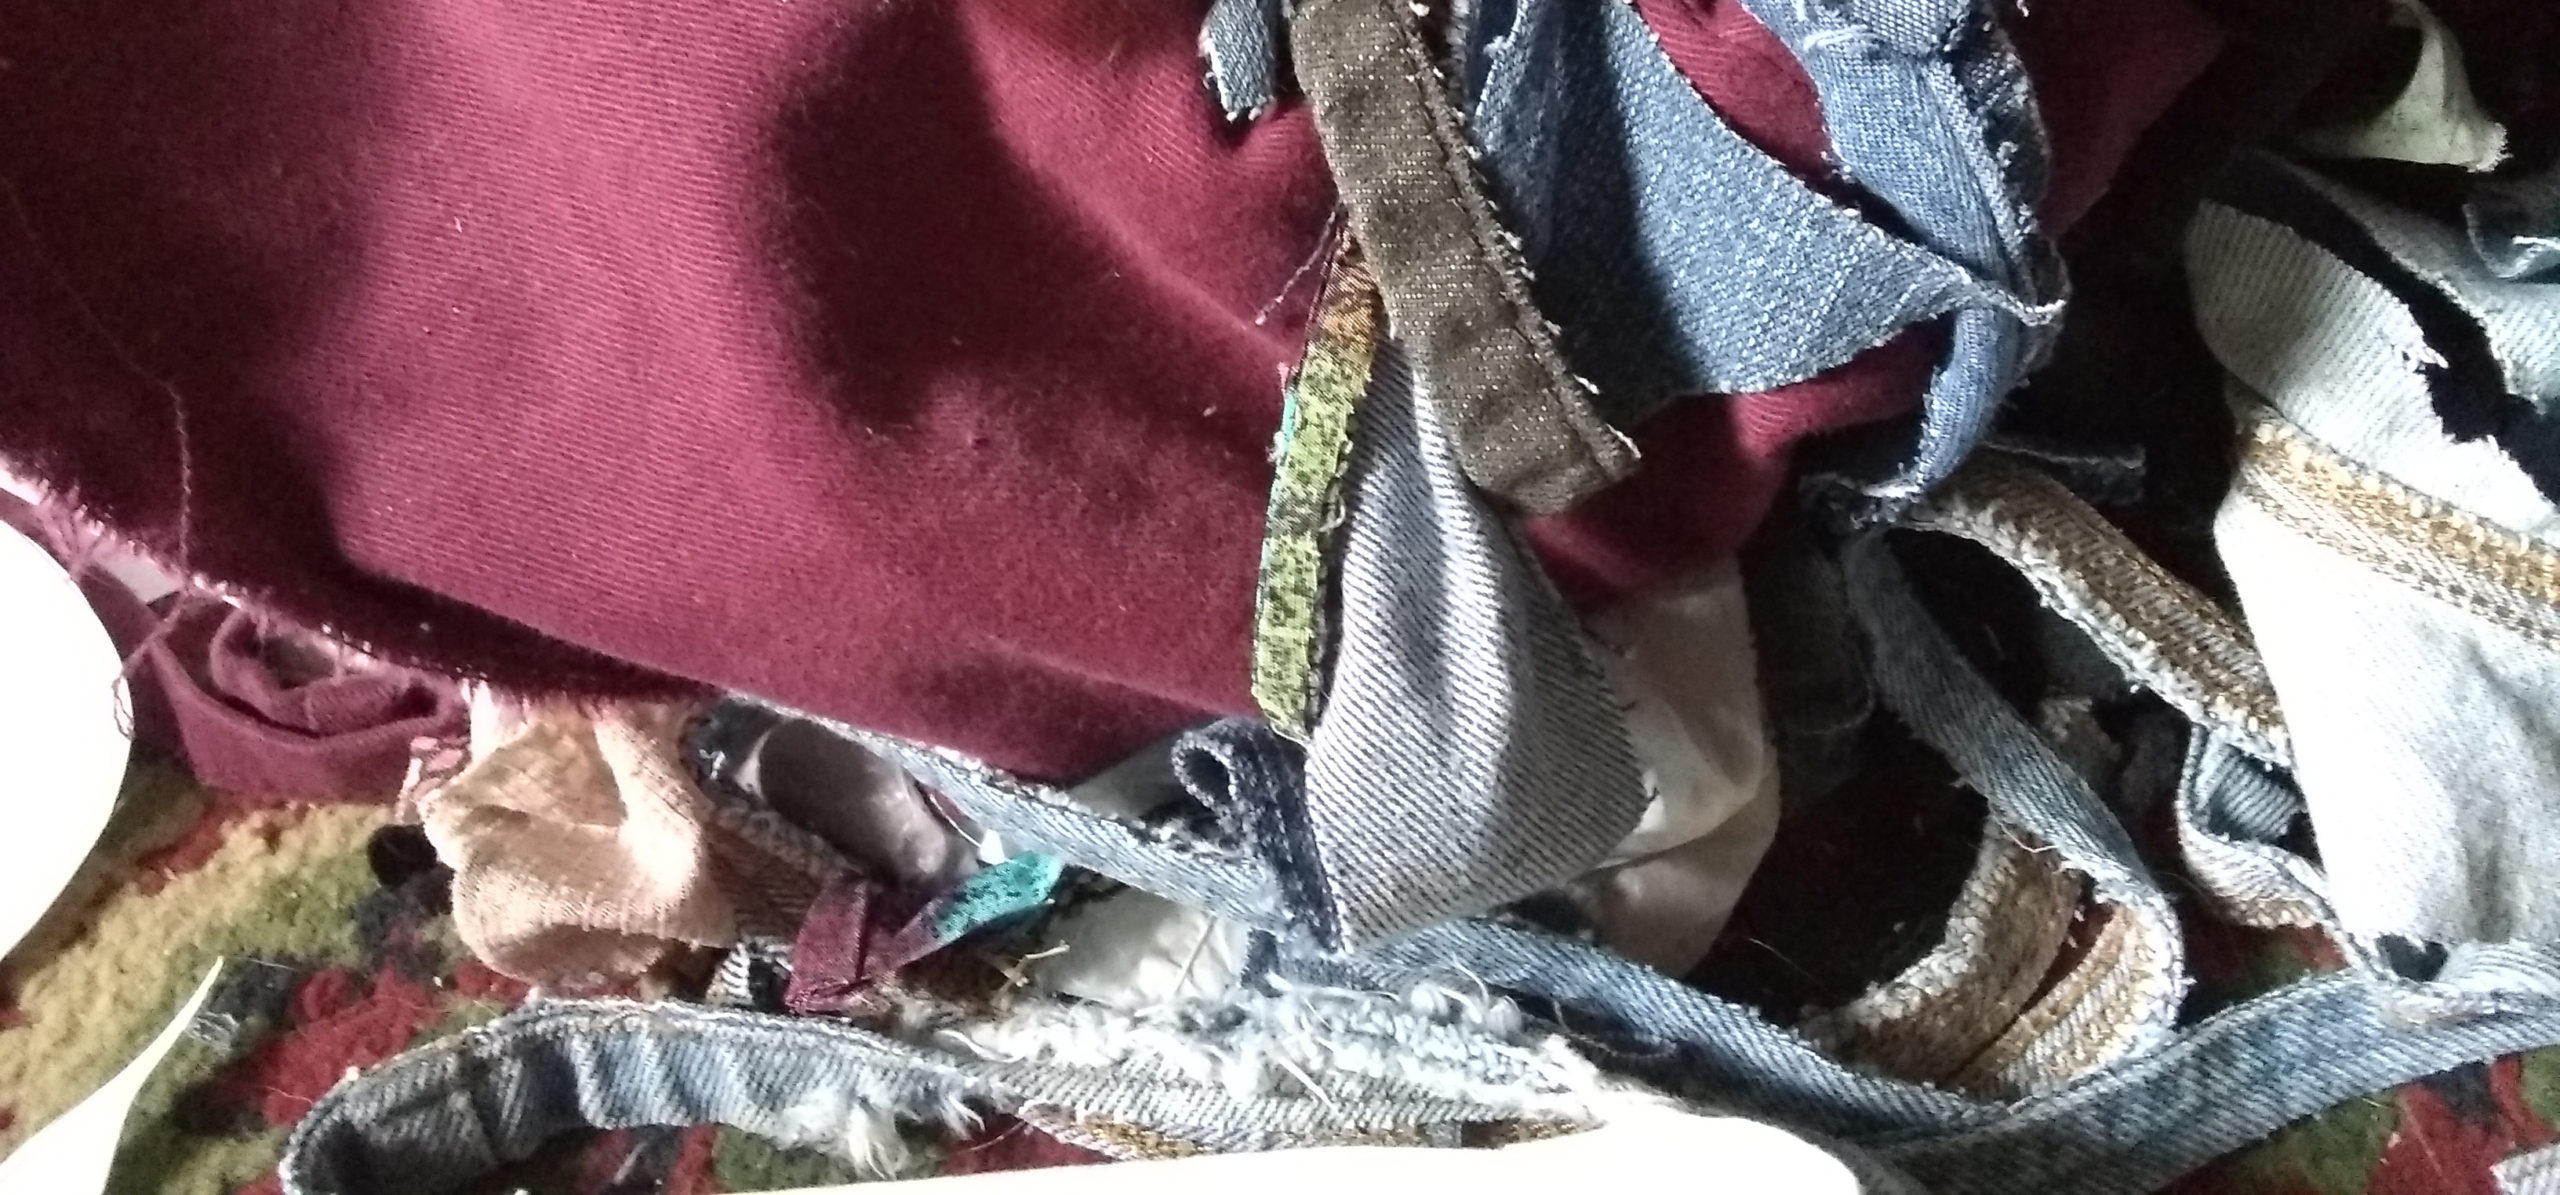
This is one of the projects I don’t worry about having raw edges on: It makes it much easier to make and I like the look, too.

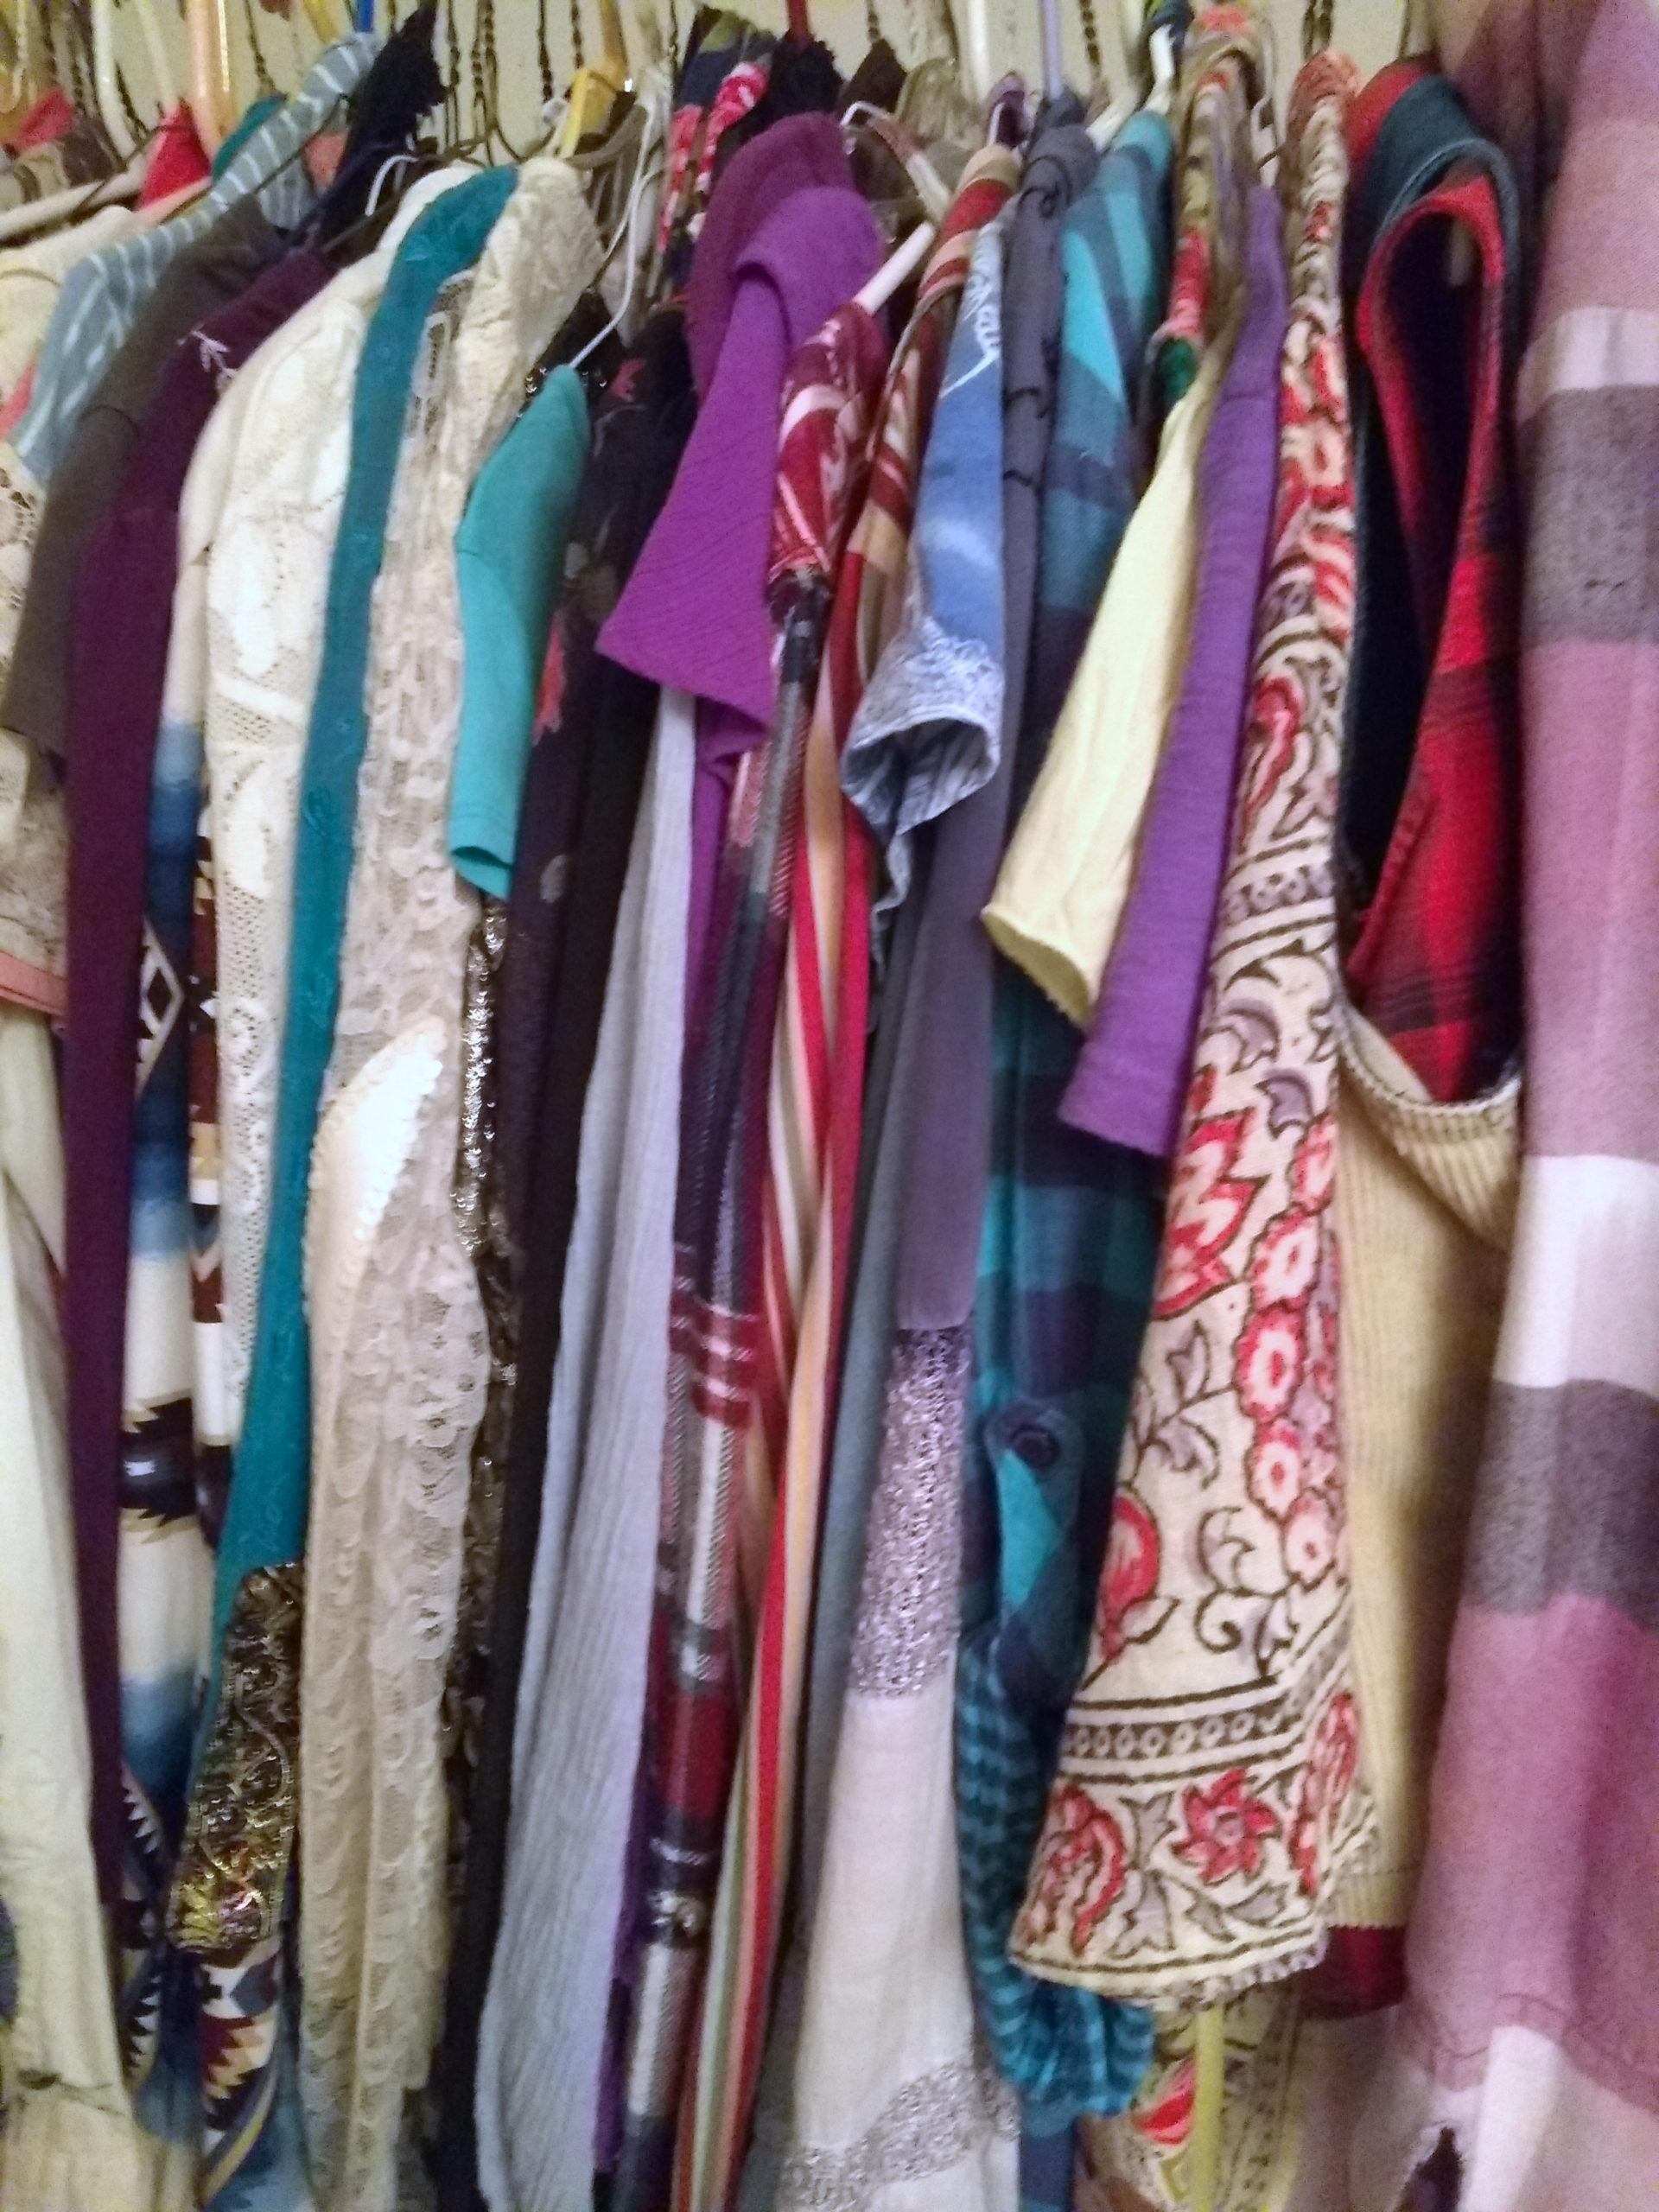
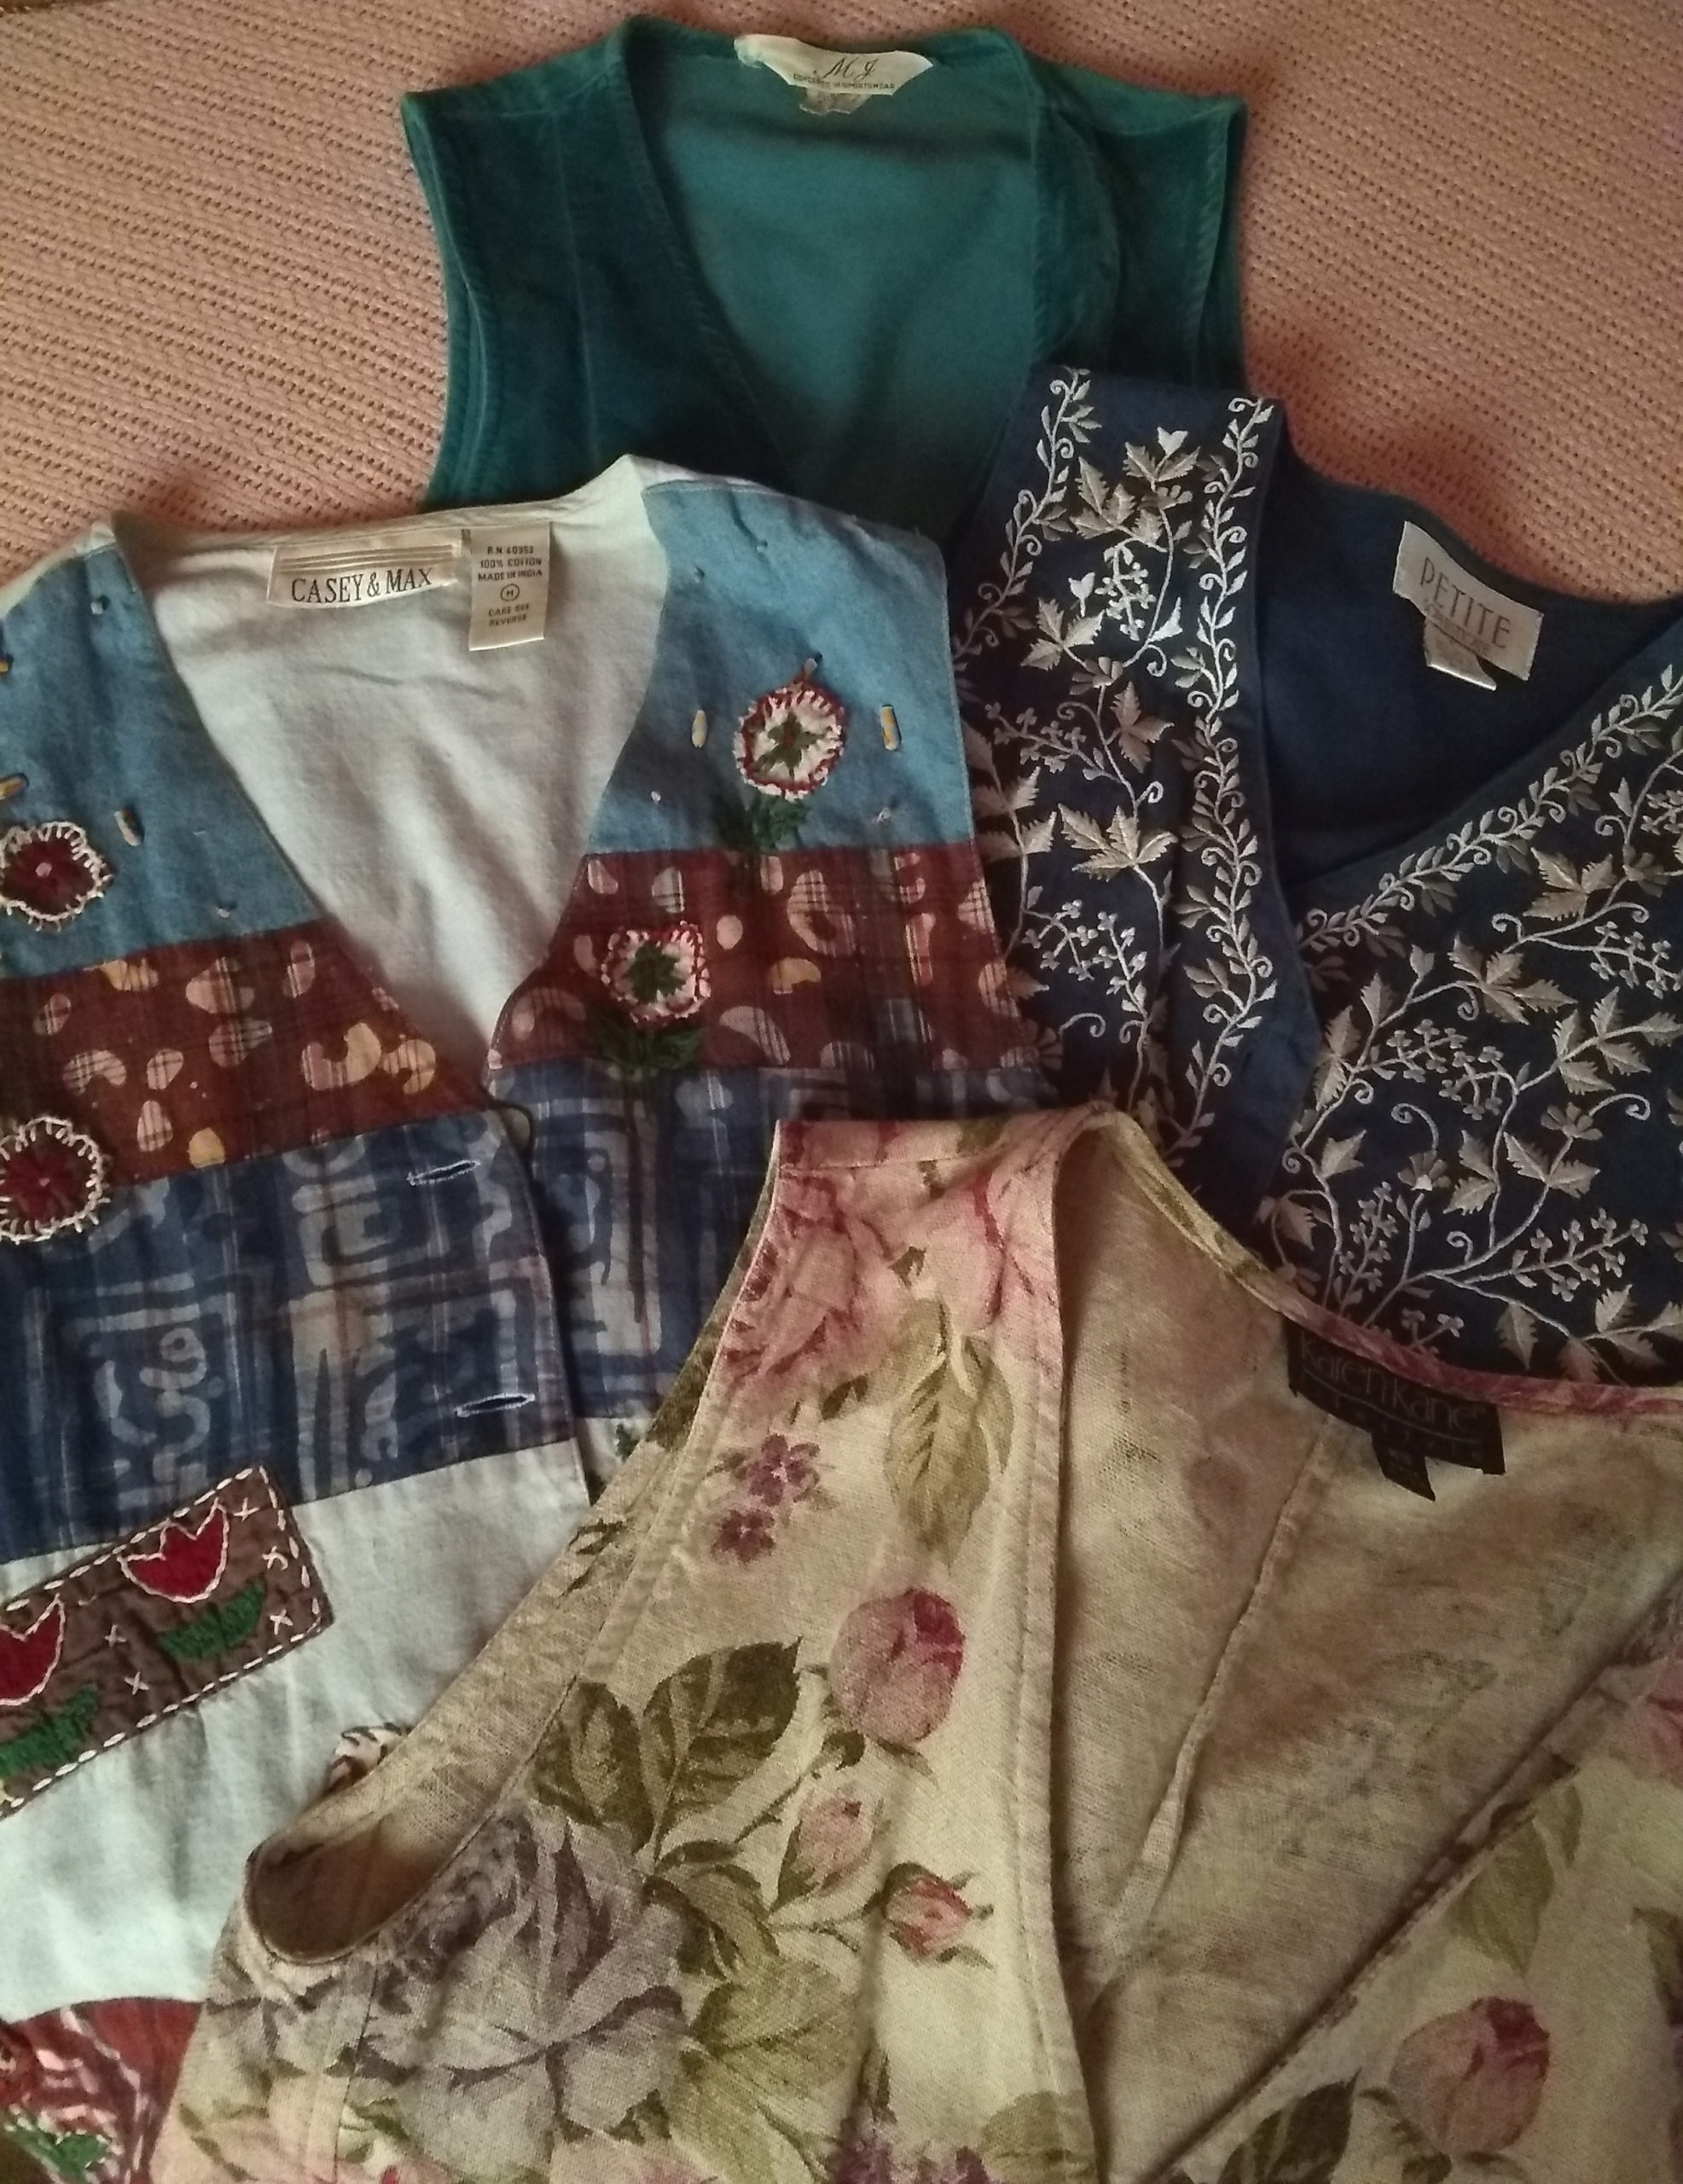

Step 2: Scrummage in your closet to find a vest which fits nicely.
If you’re anything like me, you have bunches of ’em. Lol, I have quite a stash that I’ve gathered through the years…and years!
I guess I started collecting probably about 30 years ago!!! And, since I’ve stayed basically the same size…and now that vintage is “in,” they are quite handy. Vests add a lot to an outfit!
But, you know me, even if vintage weren’t “in,” I’d still be wearing what I like! Lol.
Step 3: Use your chosen vest as a pattern.
Lay out the vest on a work area/table and simply lay strips or chunks of fabric on top of the original vest and pin pieces together, overlapping,as you go. Just make sure not to pin your pieces to the pattern vest.
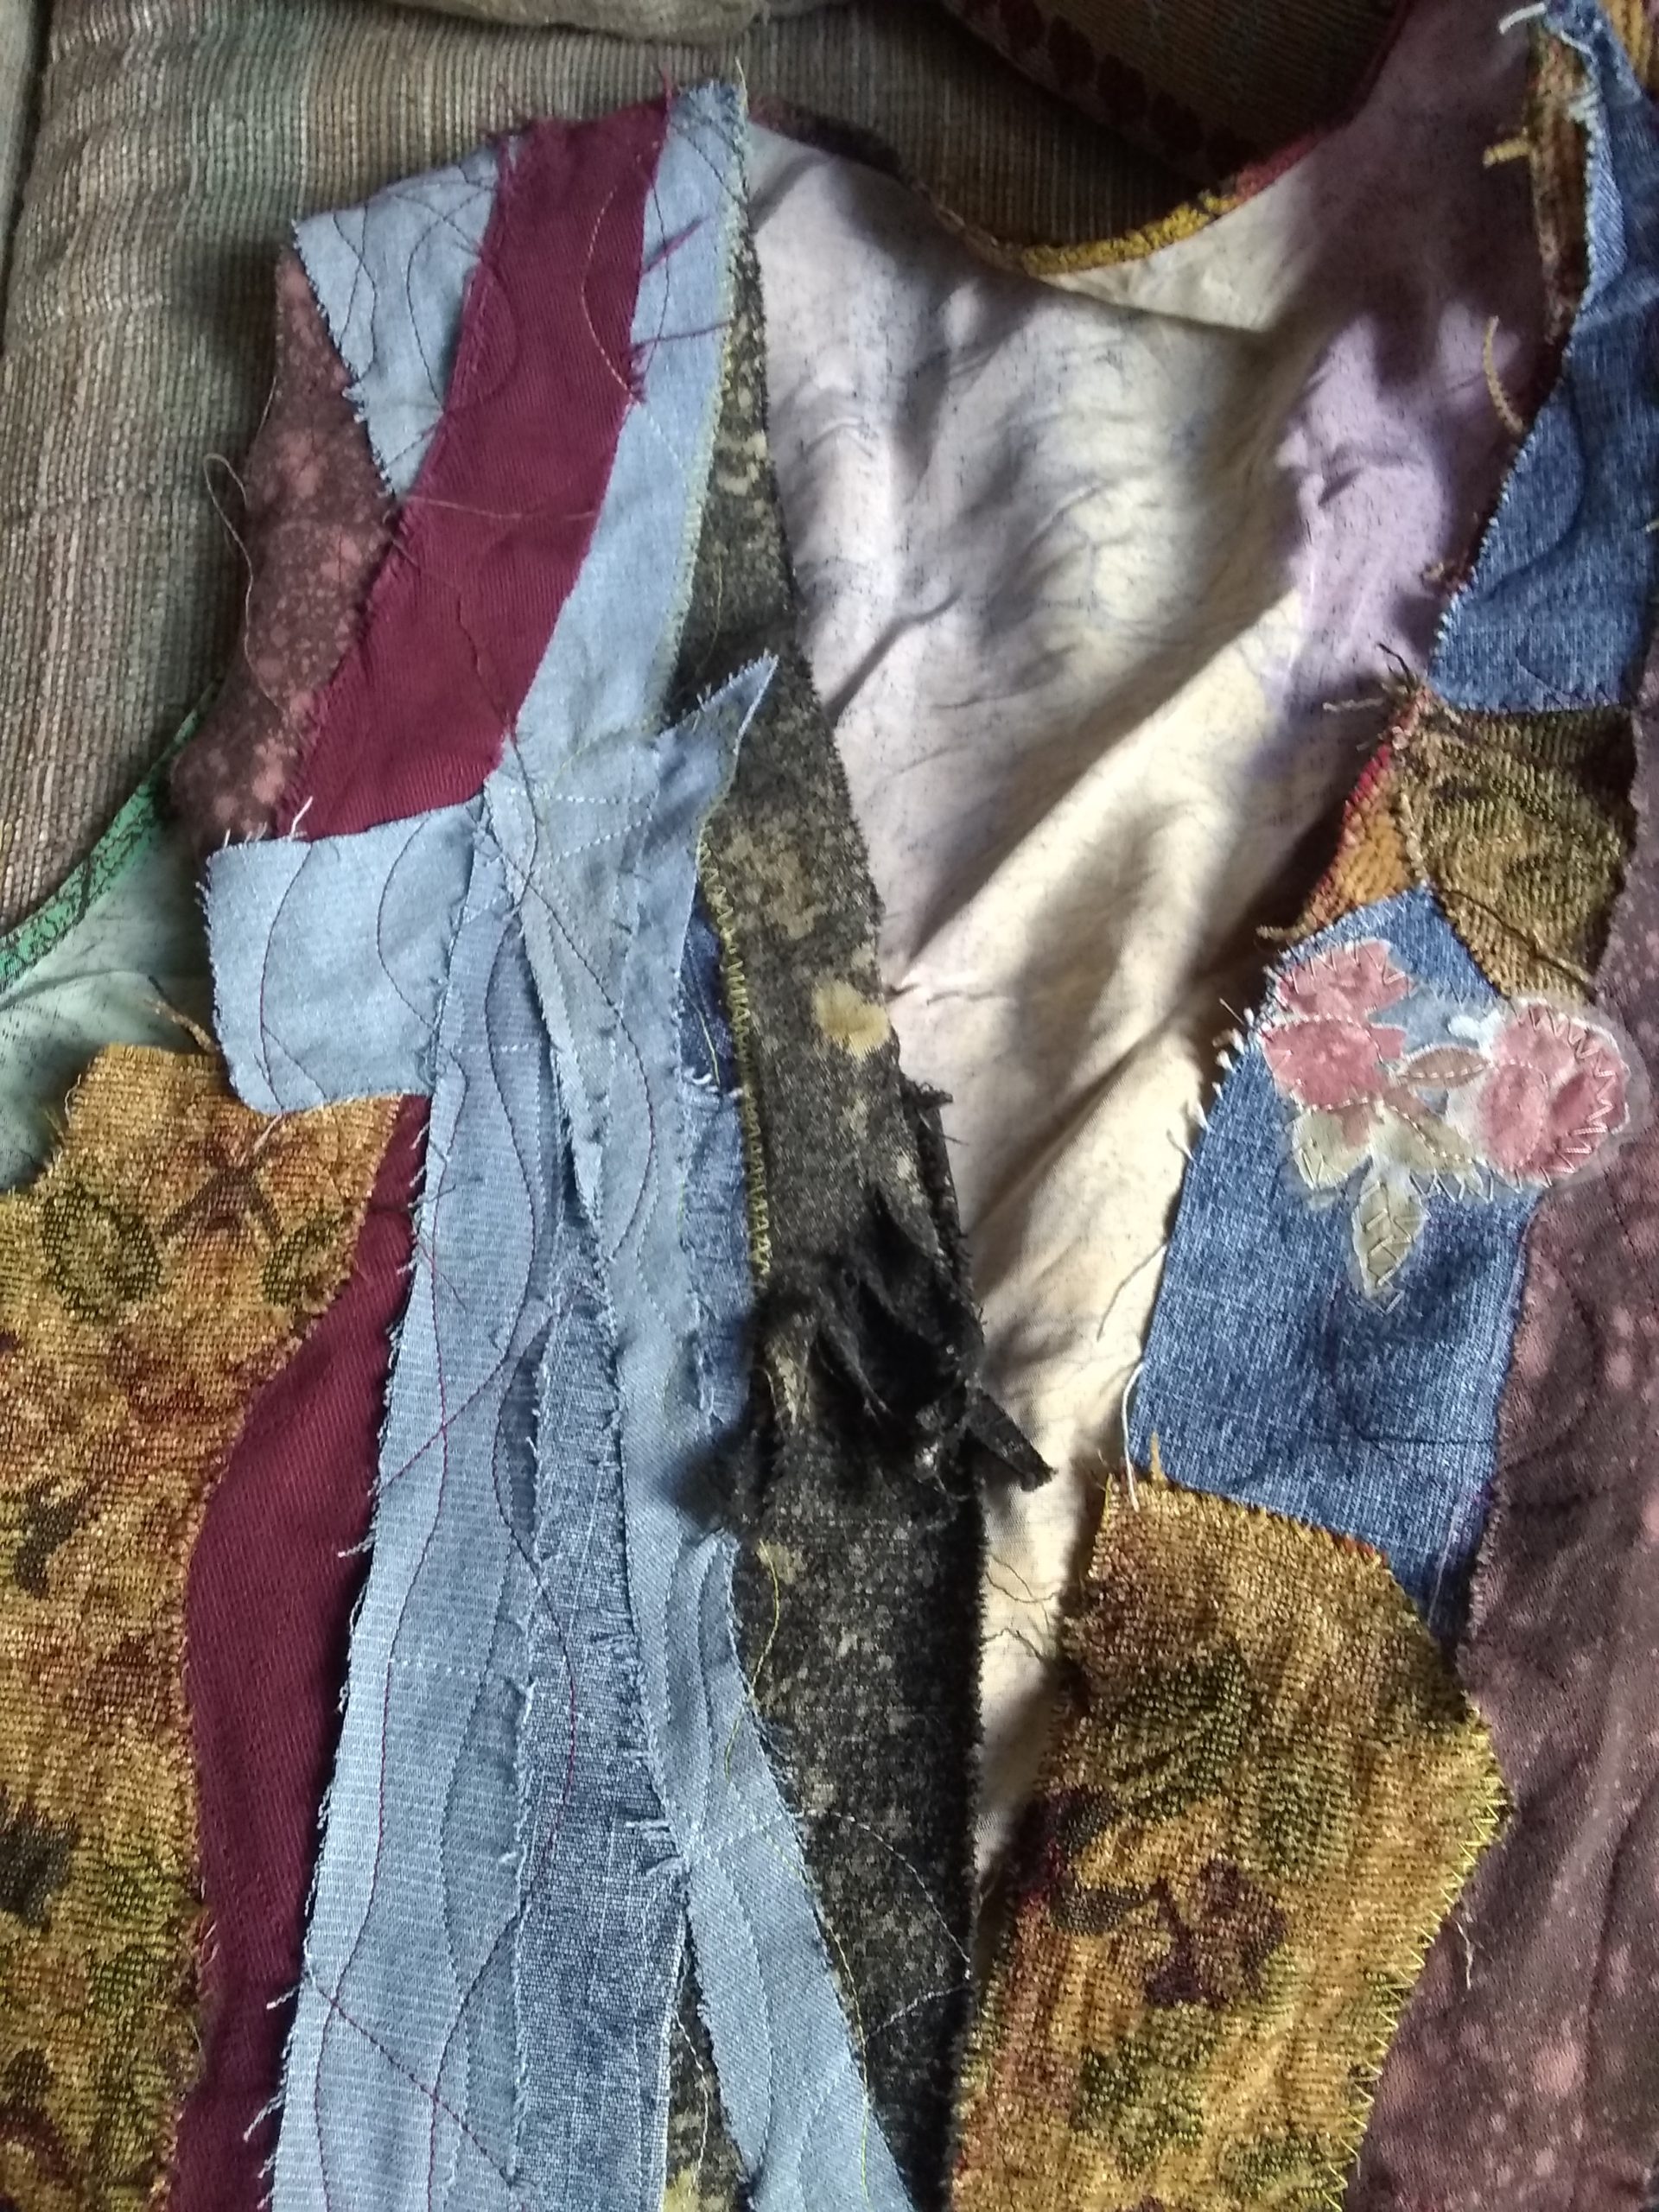
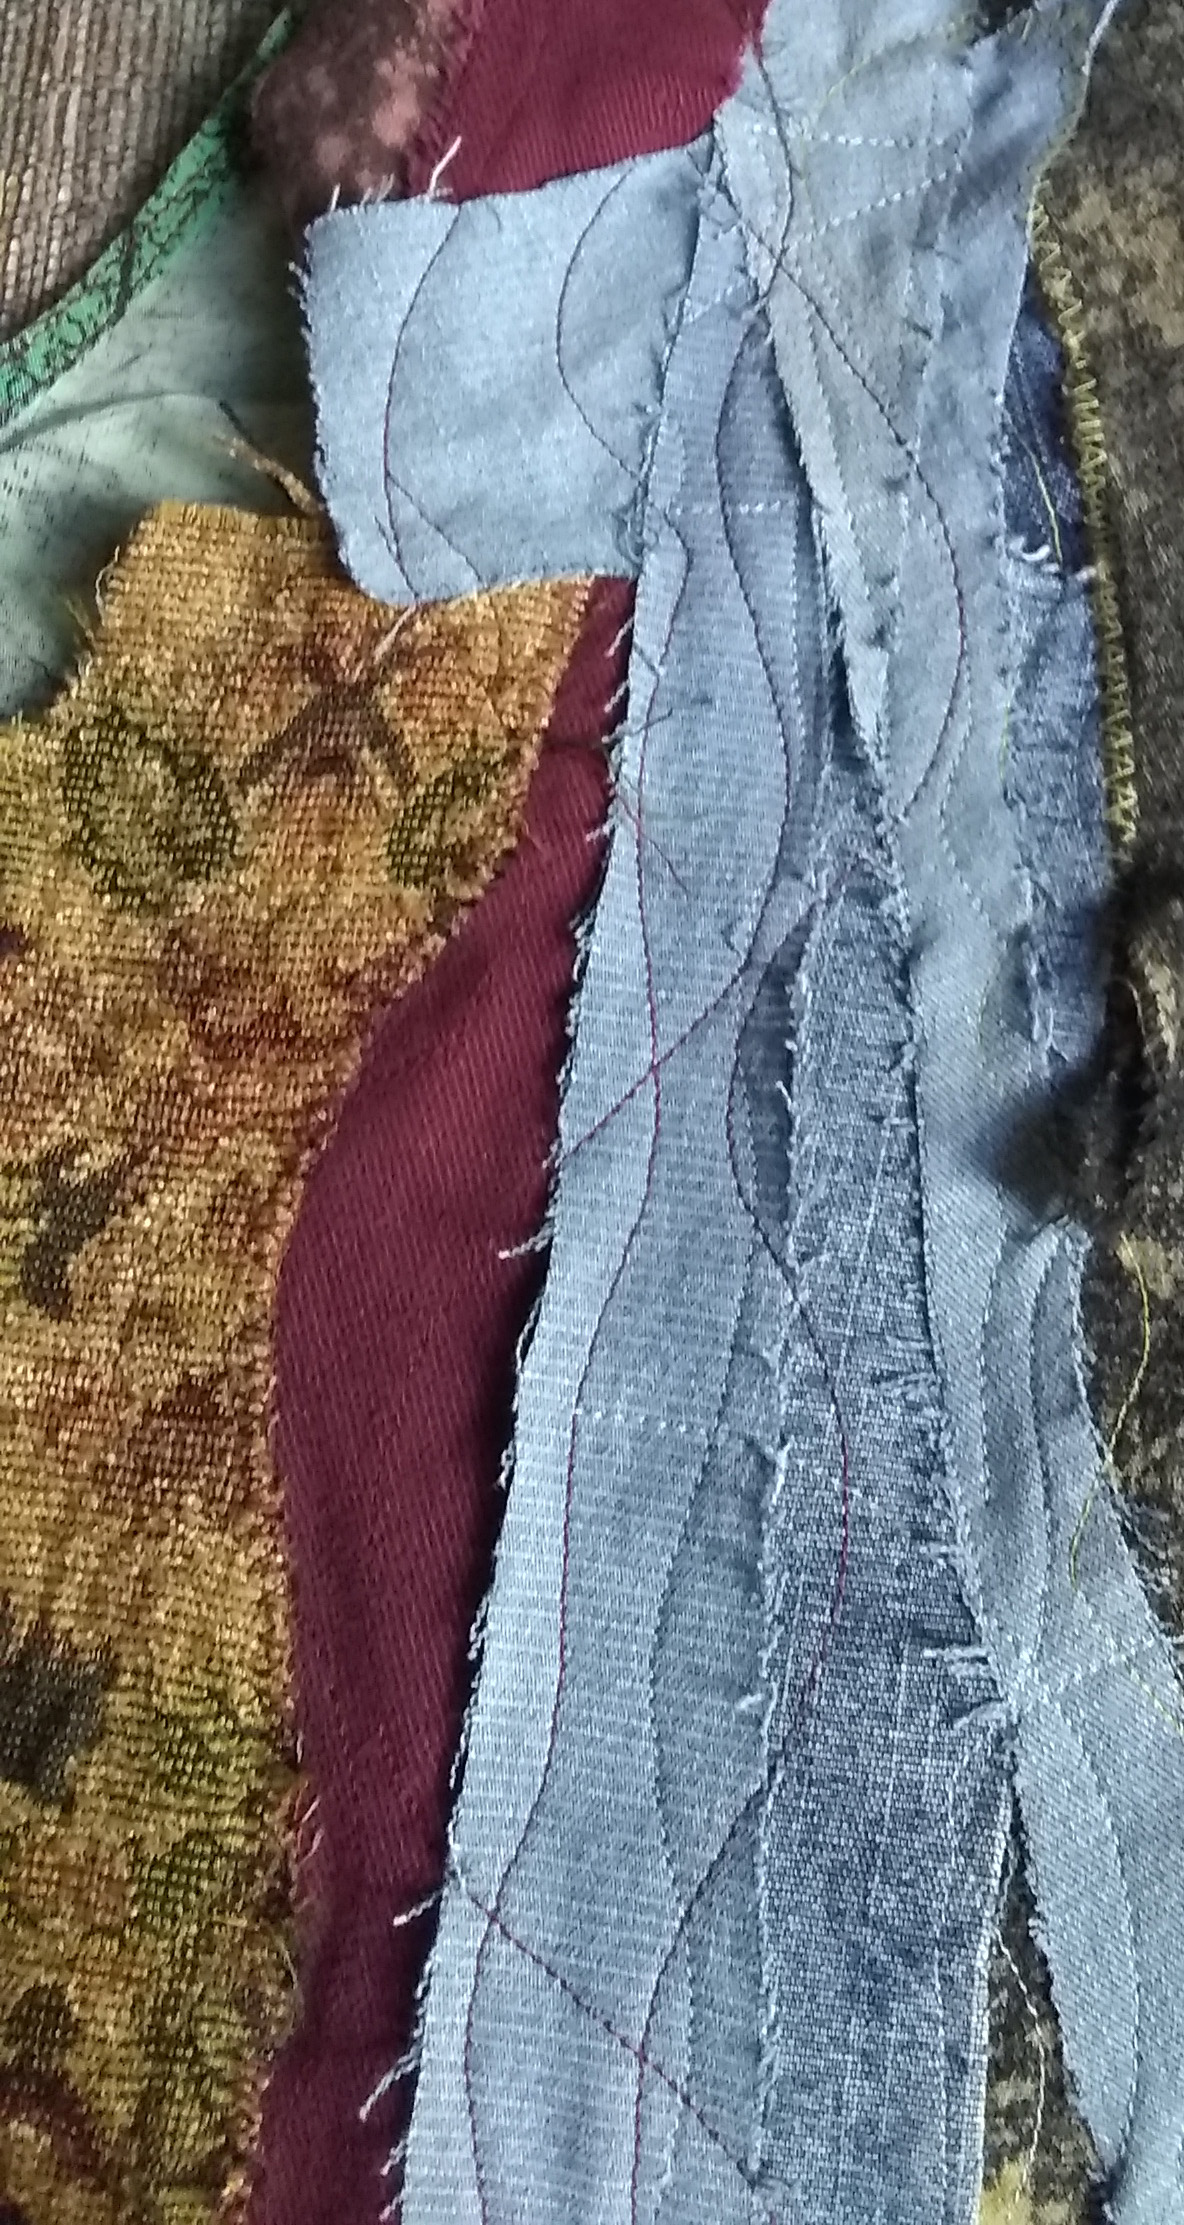
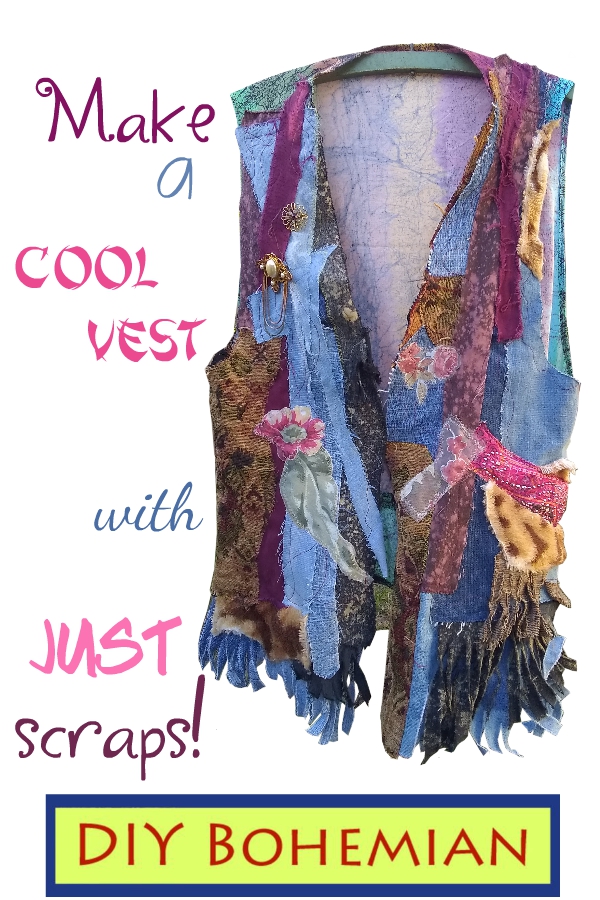
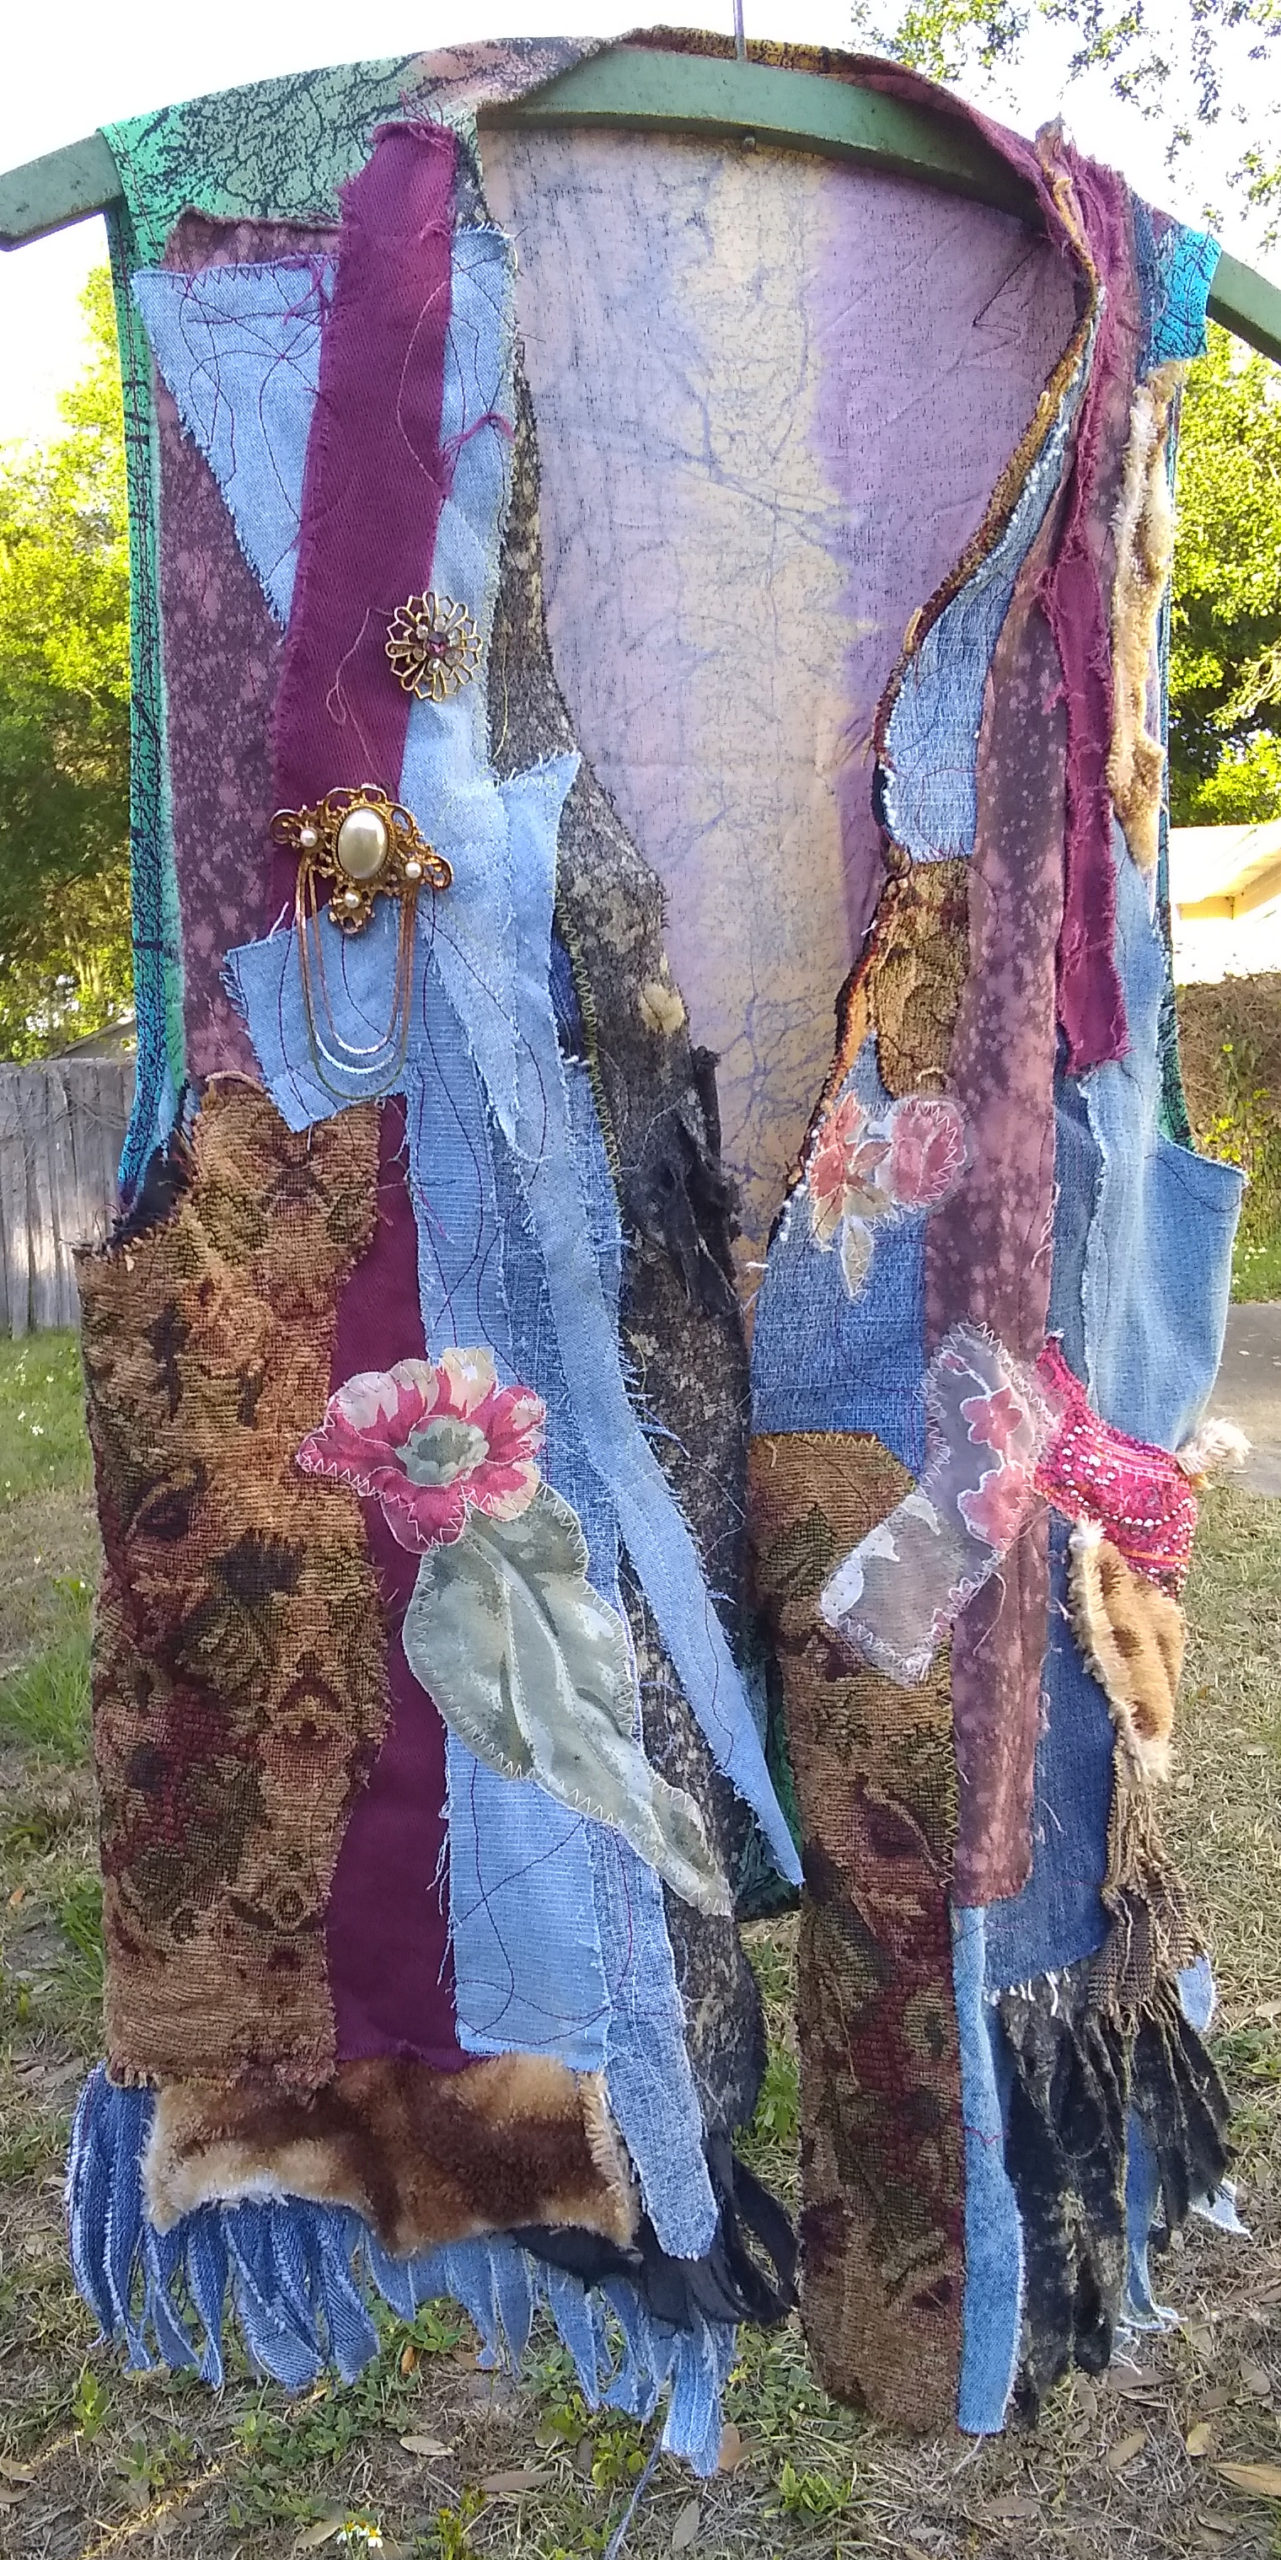
Pictured is my almost-finished vest, but you can see that I sewed together a lot of strips and pieces to make the vest front.
I decided to further sew them together by doing a little “fancy” stitching with a contrasting-colored thread, making swirls and circular lines all around.

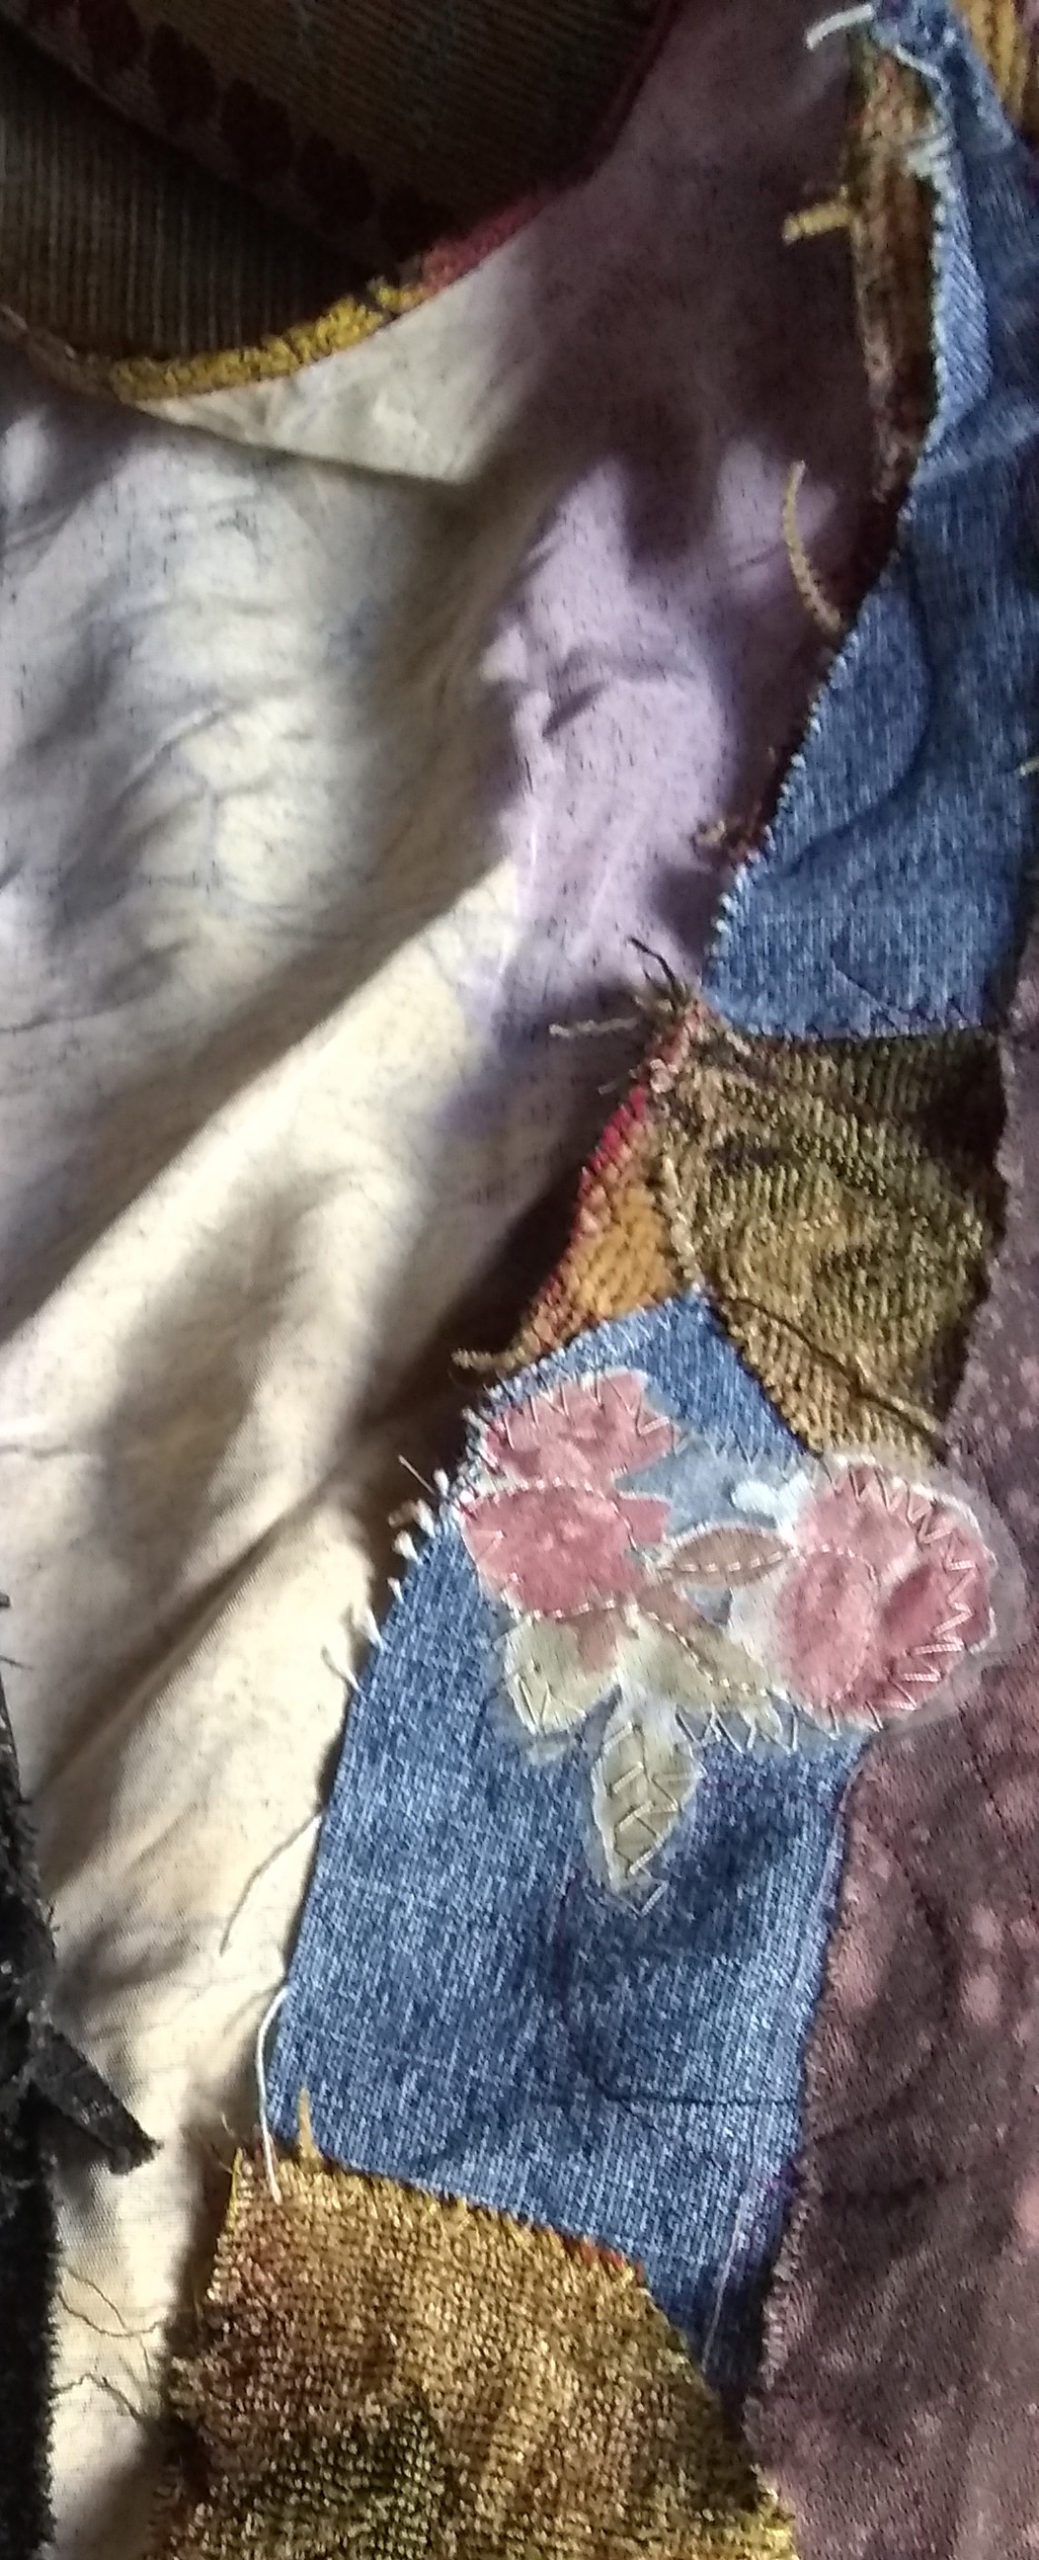
Step 4: I added some cutout flowers, small pieces from an animal print throw, and made fringe in different places. Some of the denim I spray bleached before using these pieces on the vest.
As for the cutout flowers (from a sheer window curtain and a shower curtain) I used Fray Check on the edges to “glue” the fabric threads together around the edges to prevent raveling.

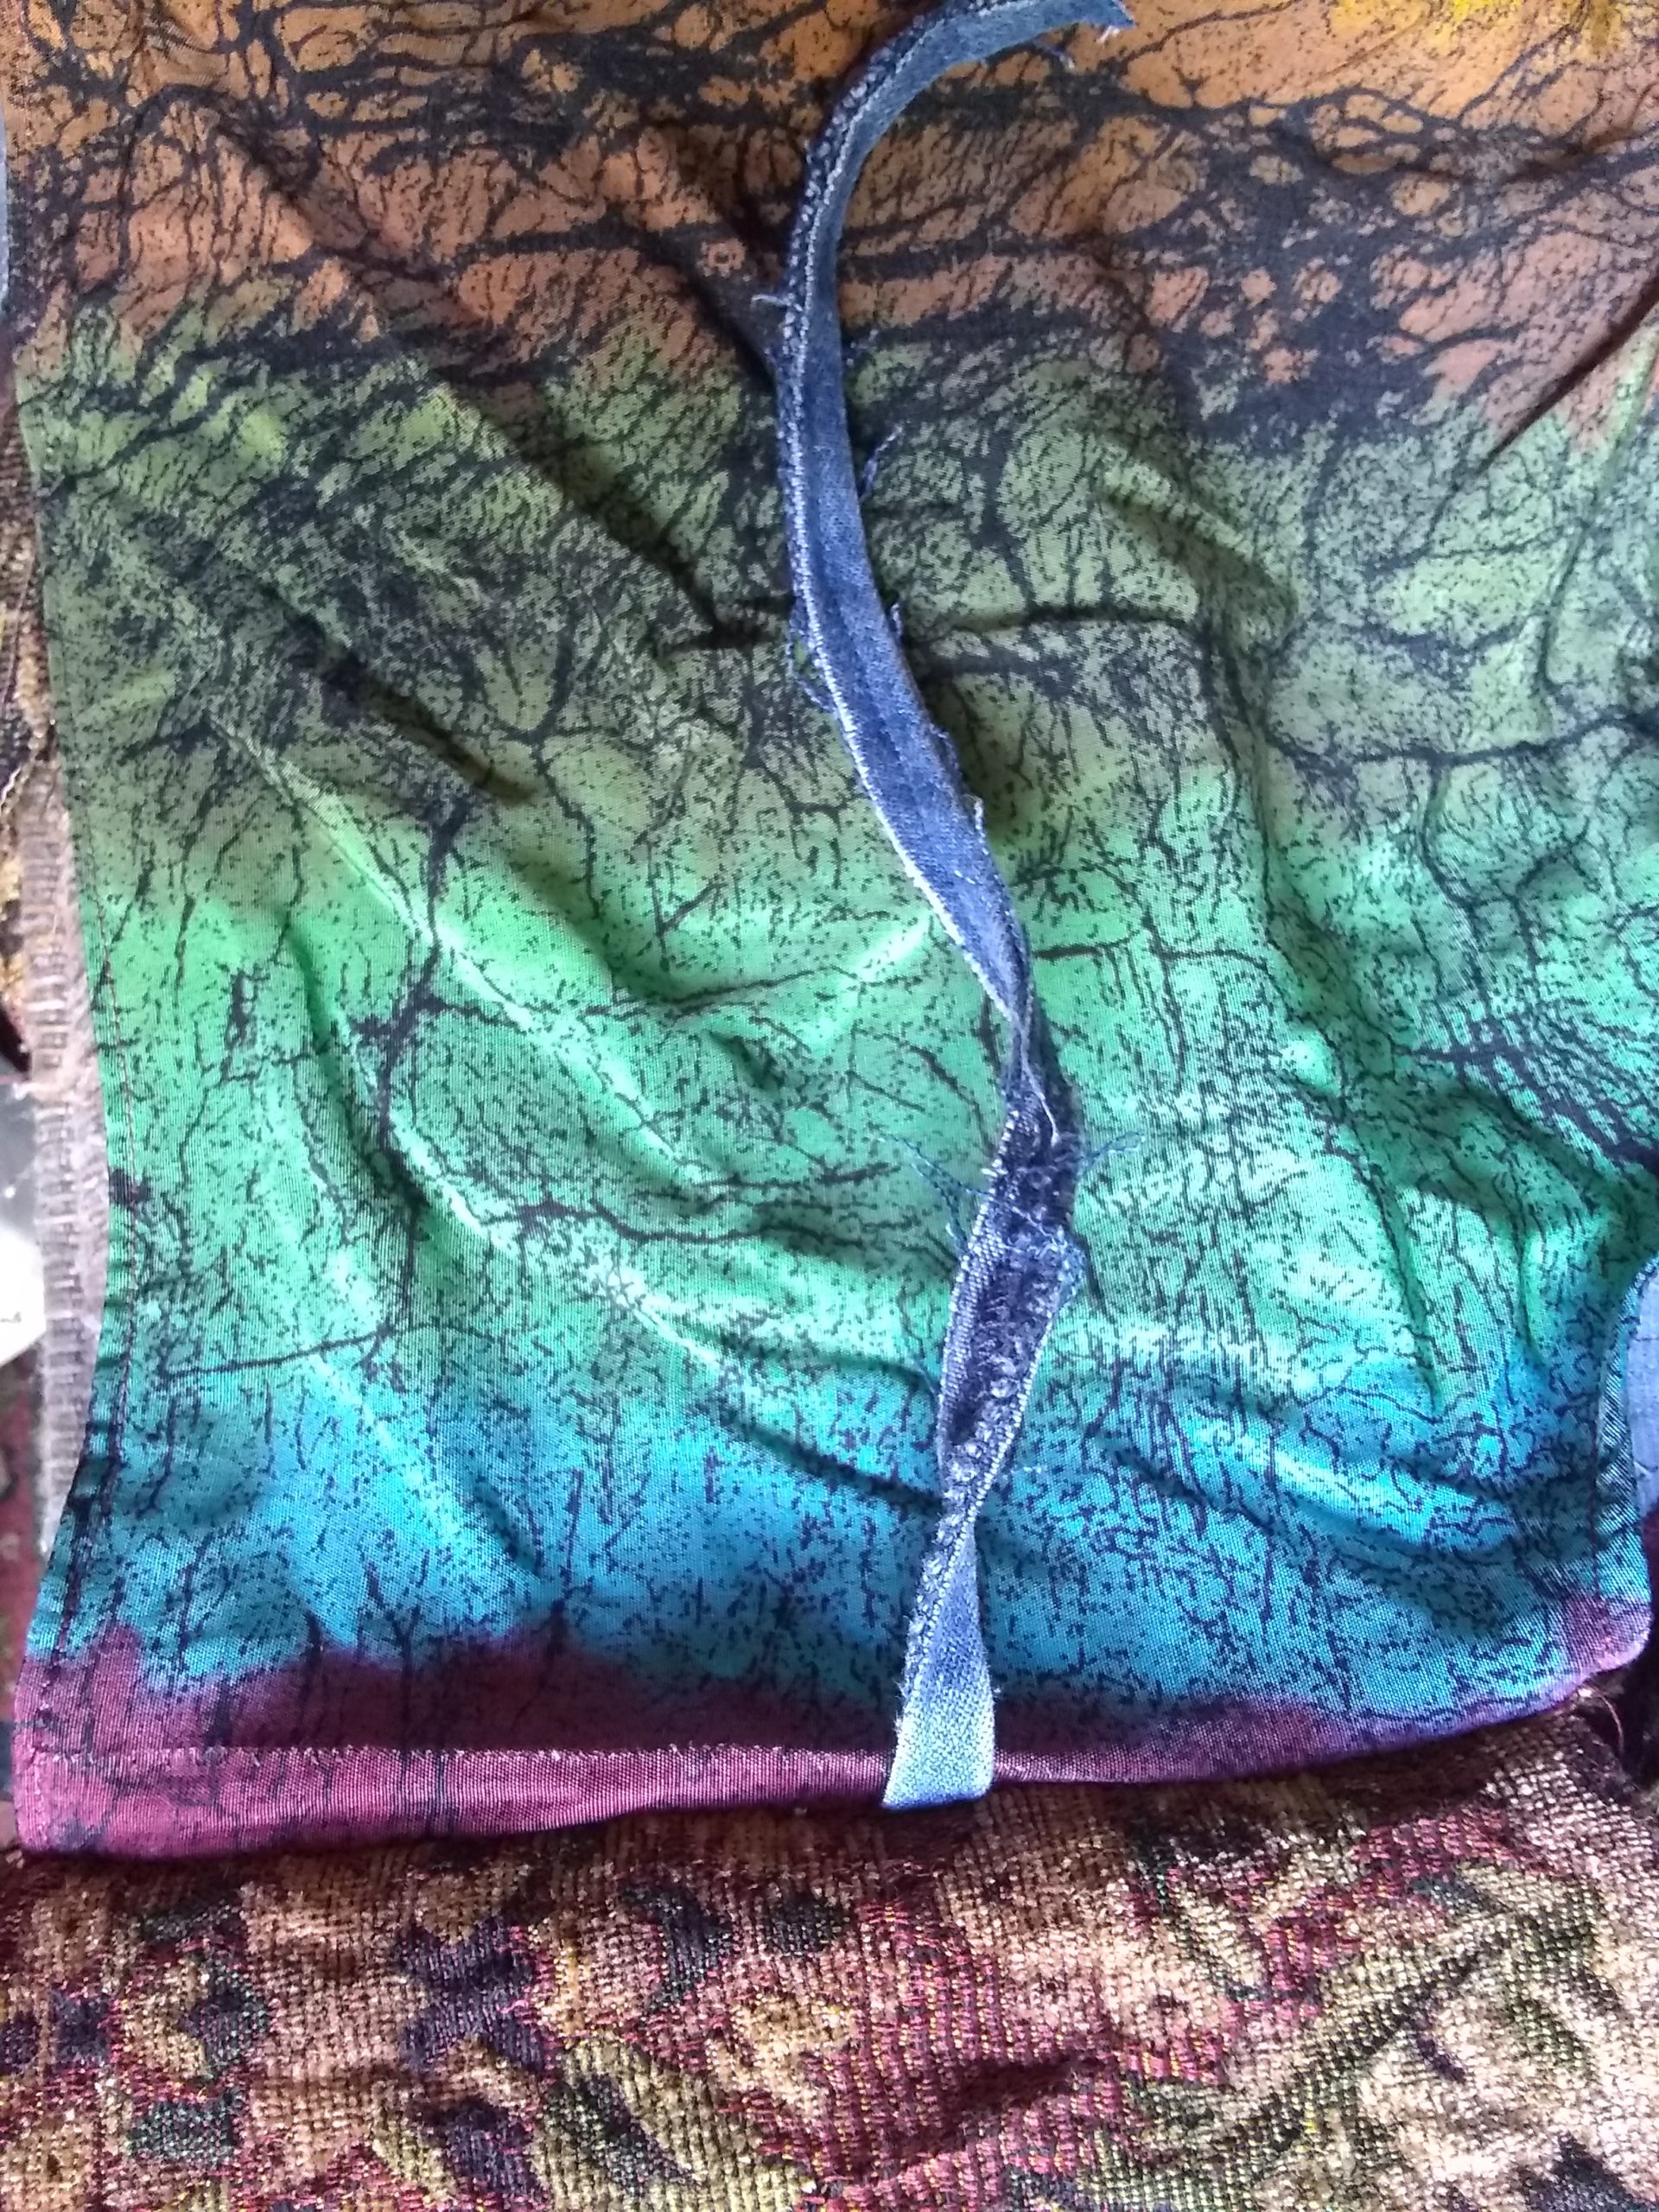
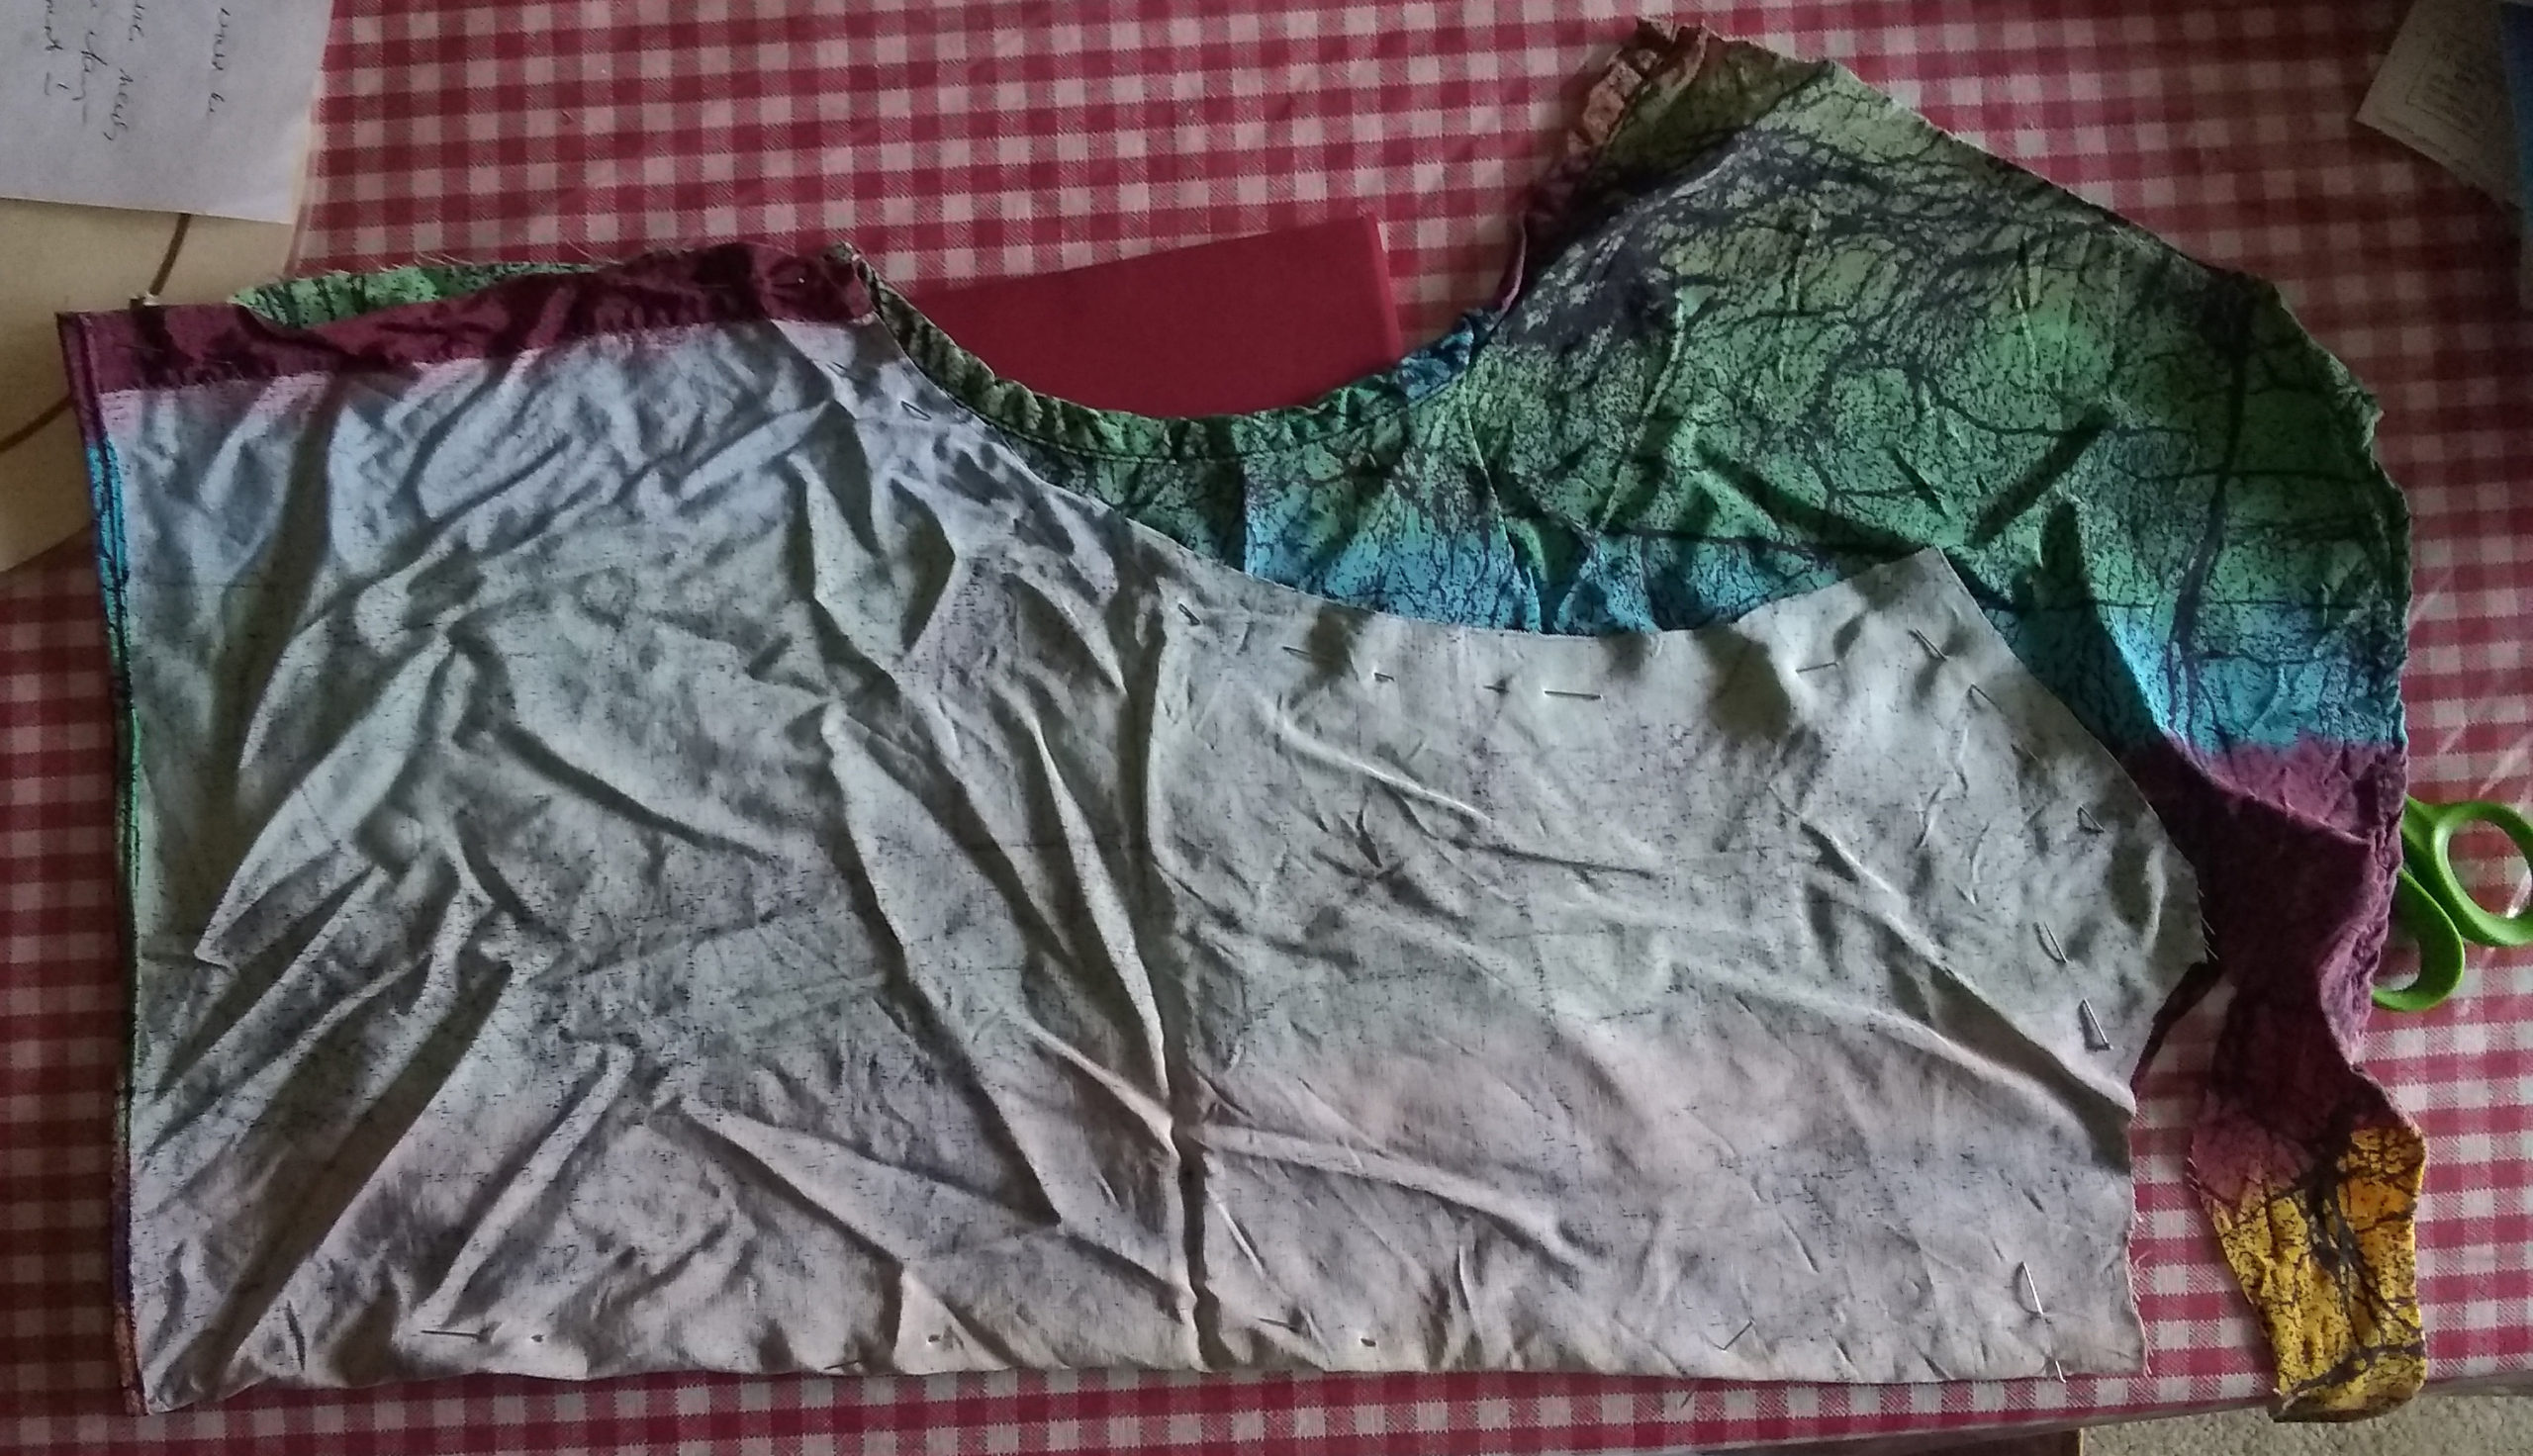
Fold it over and follow the first half for the second half, so it will be identical.
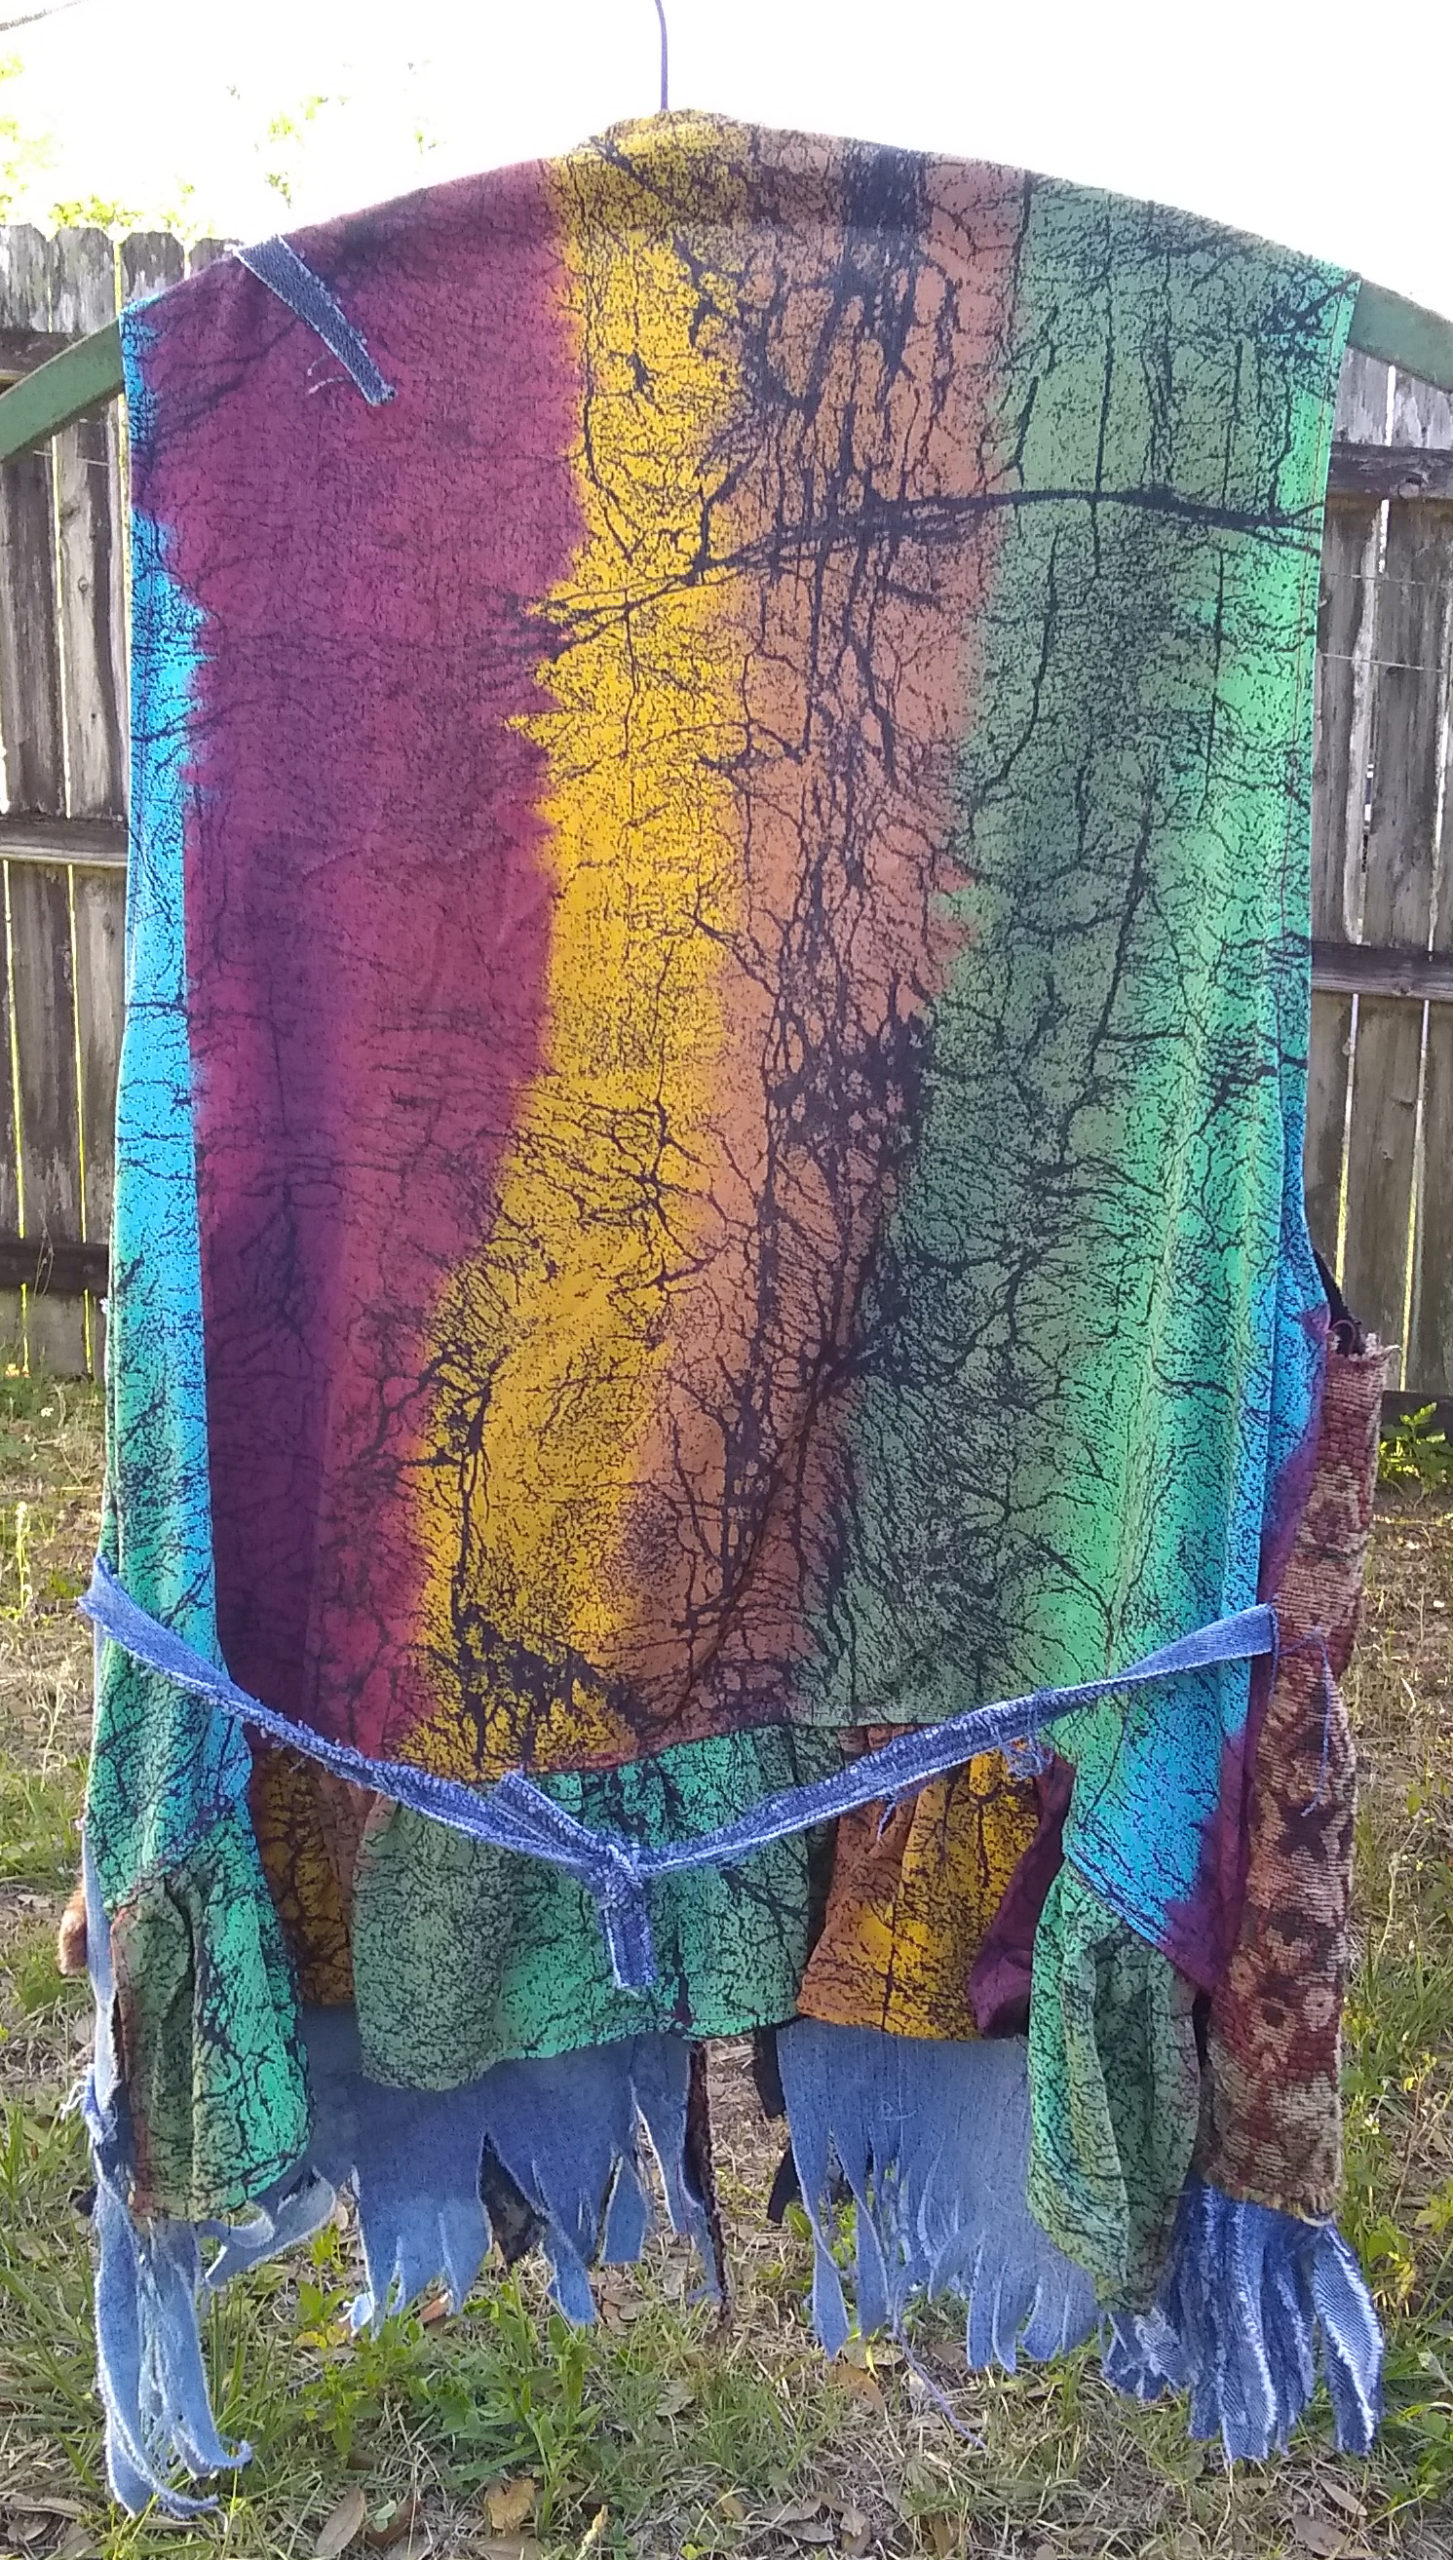
Step 5: For the back of the vest, I used a regular simple women’s top I got for a quarter! at one of my favorite thrift stores.
Originally, the stripes were horizontal, but I turned it to vertical.
Lay your pattern vest on top of what will become the vest back.
Follow half of the neck and one arm hole on the pattern vest. You can draw on the wrong side of the fabric.
Hem the neck and arm holes and the bottom.

Step 5: As you are attaching the front with the back, add in two tie strings into the side seams.

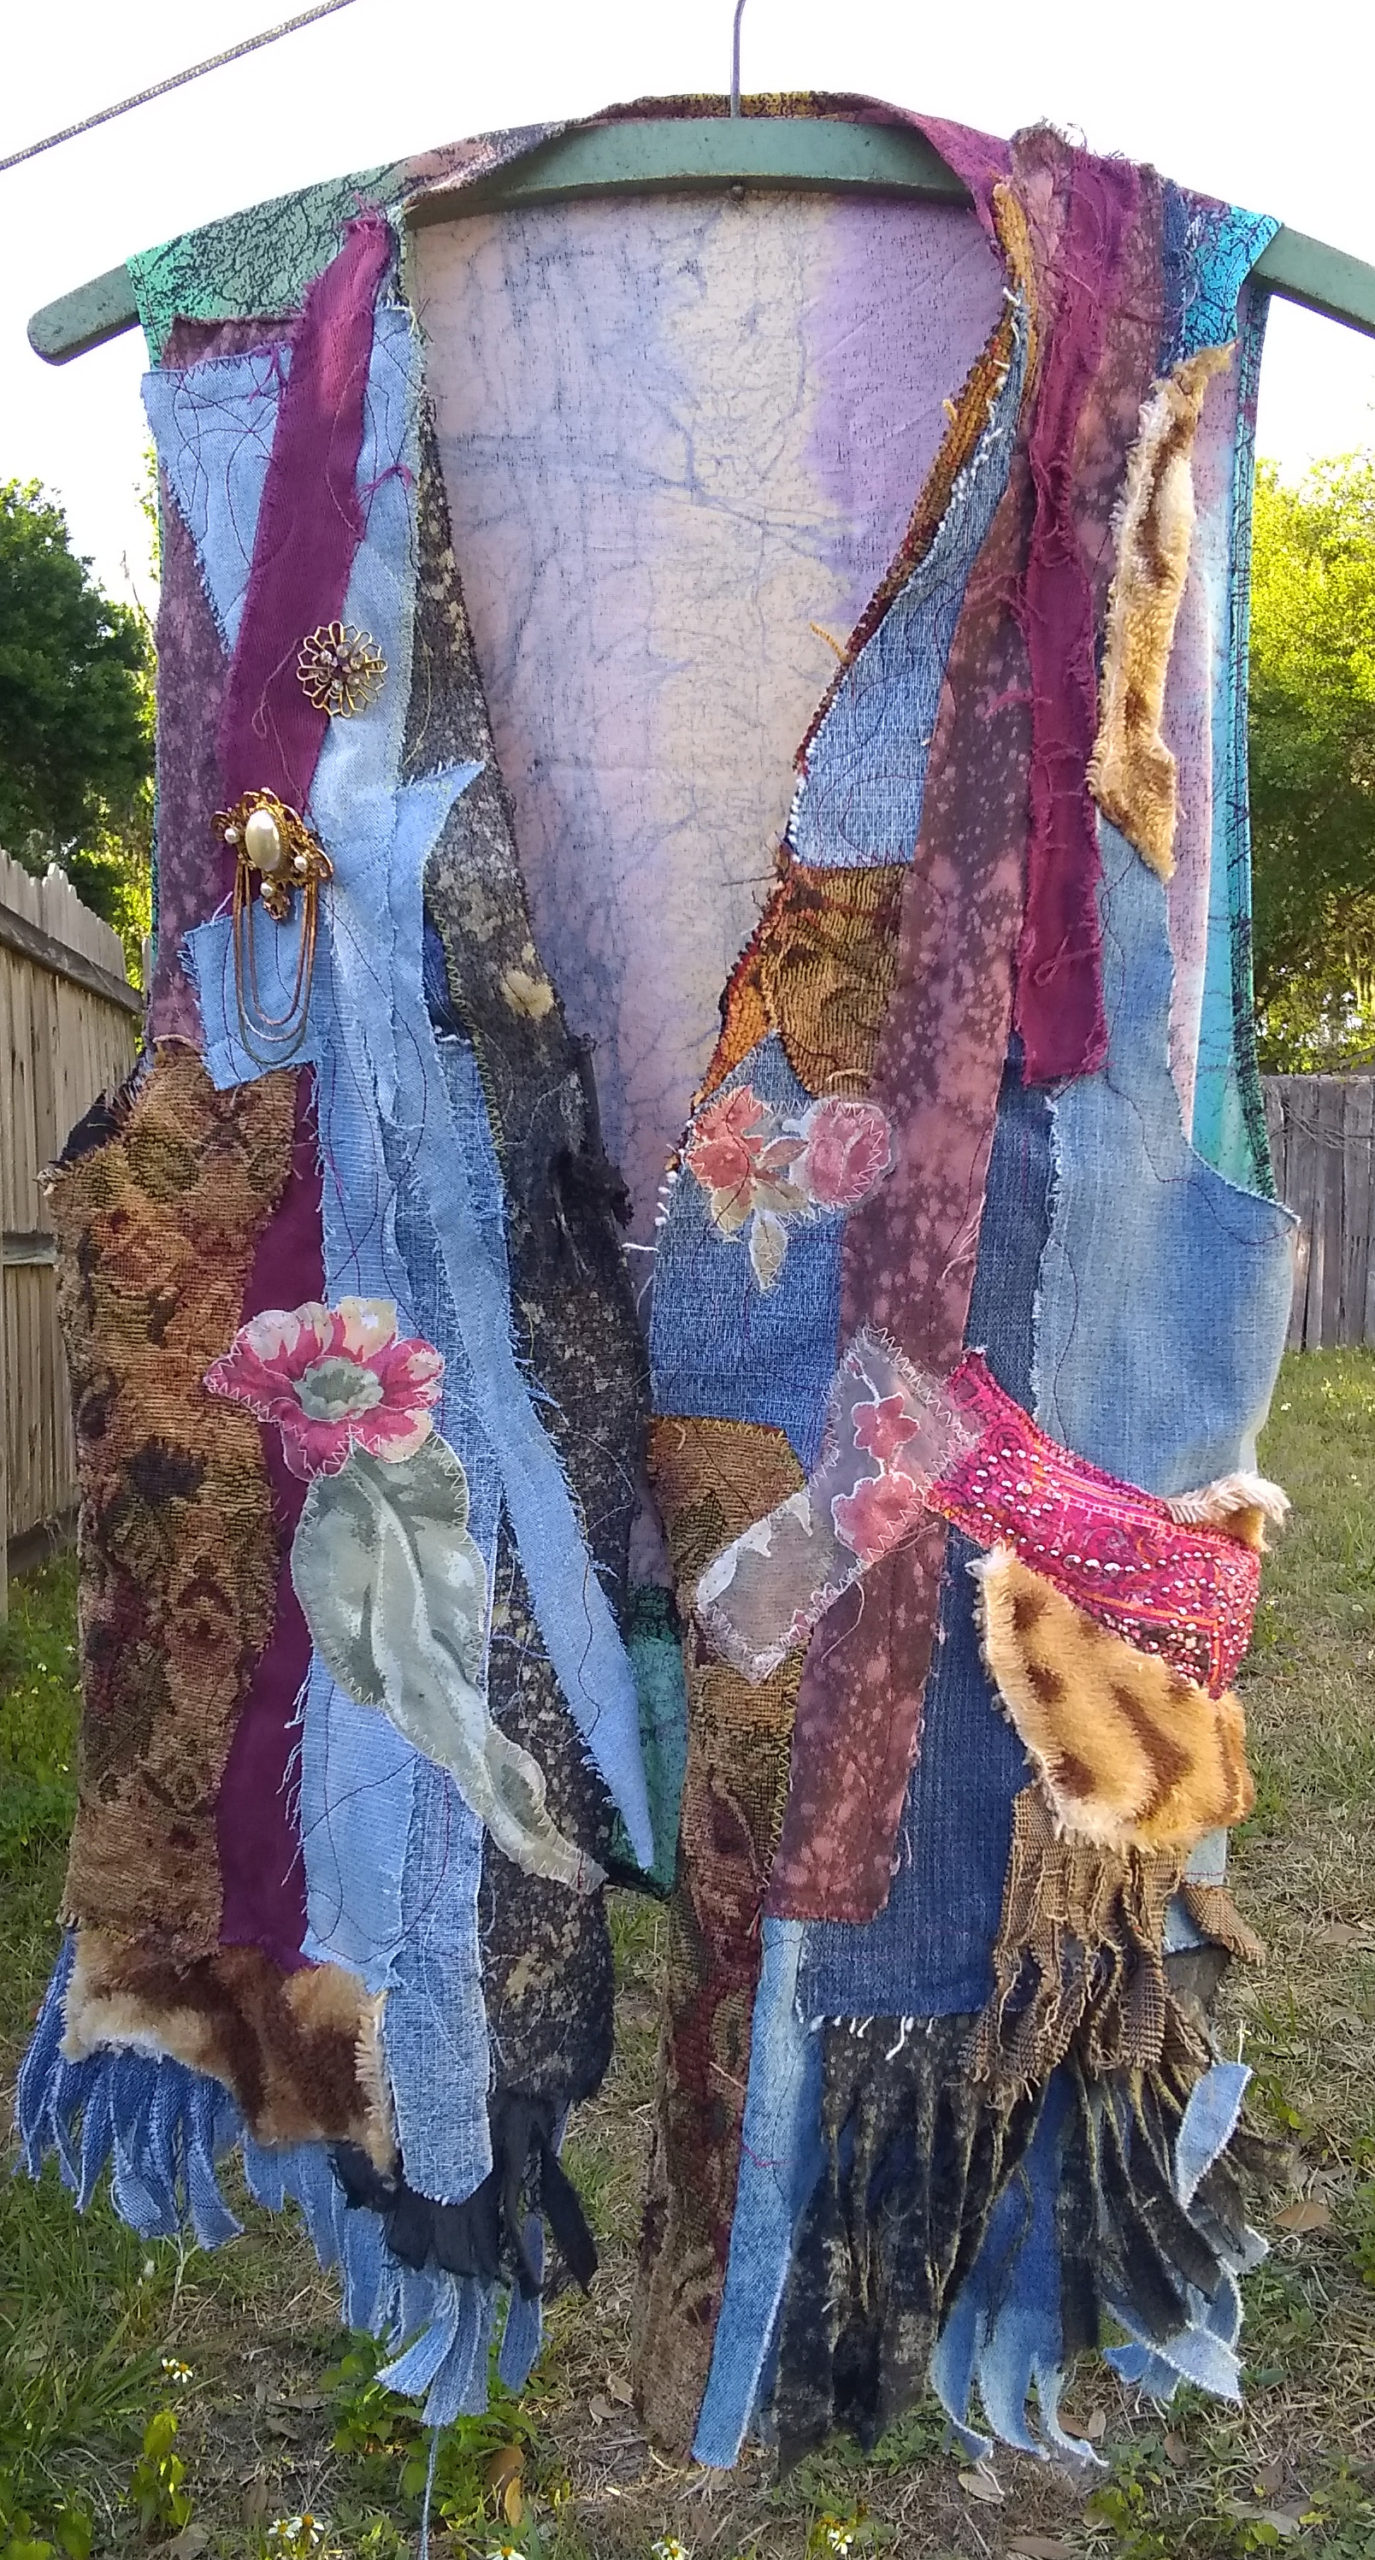
Step 6: As a finishing touch, I added two vintage pins.


I LOVE it!!!!!❤️❤️❤️❤️❤️❤️
“Dear”dre,
So good to hear from you again!!
Thank you for exploring my site.
I hope to return to being active, making things again, and writing posts. I have a couple of ideas to need to work on.
Love you! My regards to South Africa!! 😀
Be blessed,
Cindy