

If you see fabric you like, but aren’t crazy about the piece—change it!
That’s what is great about re-fashioning!
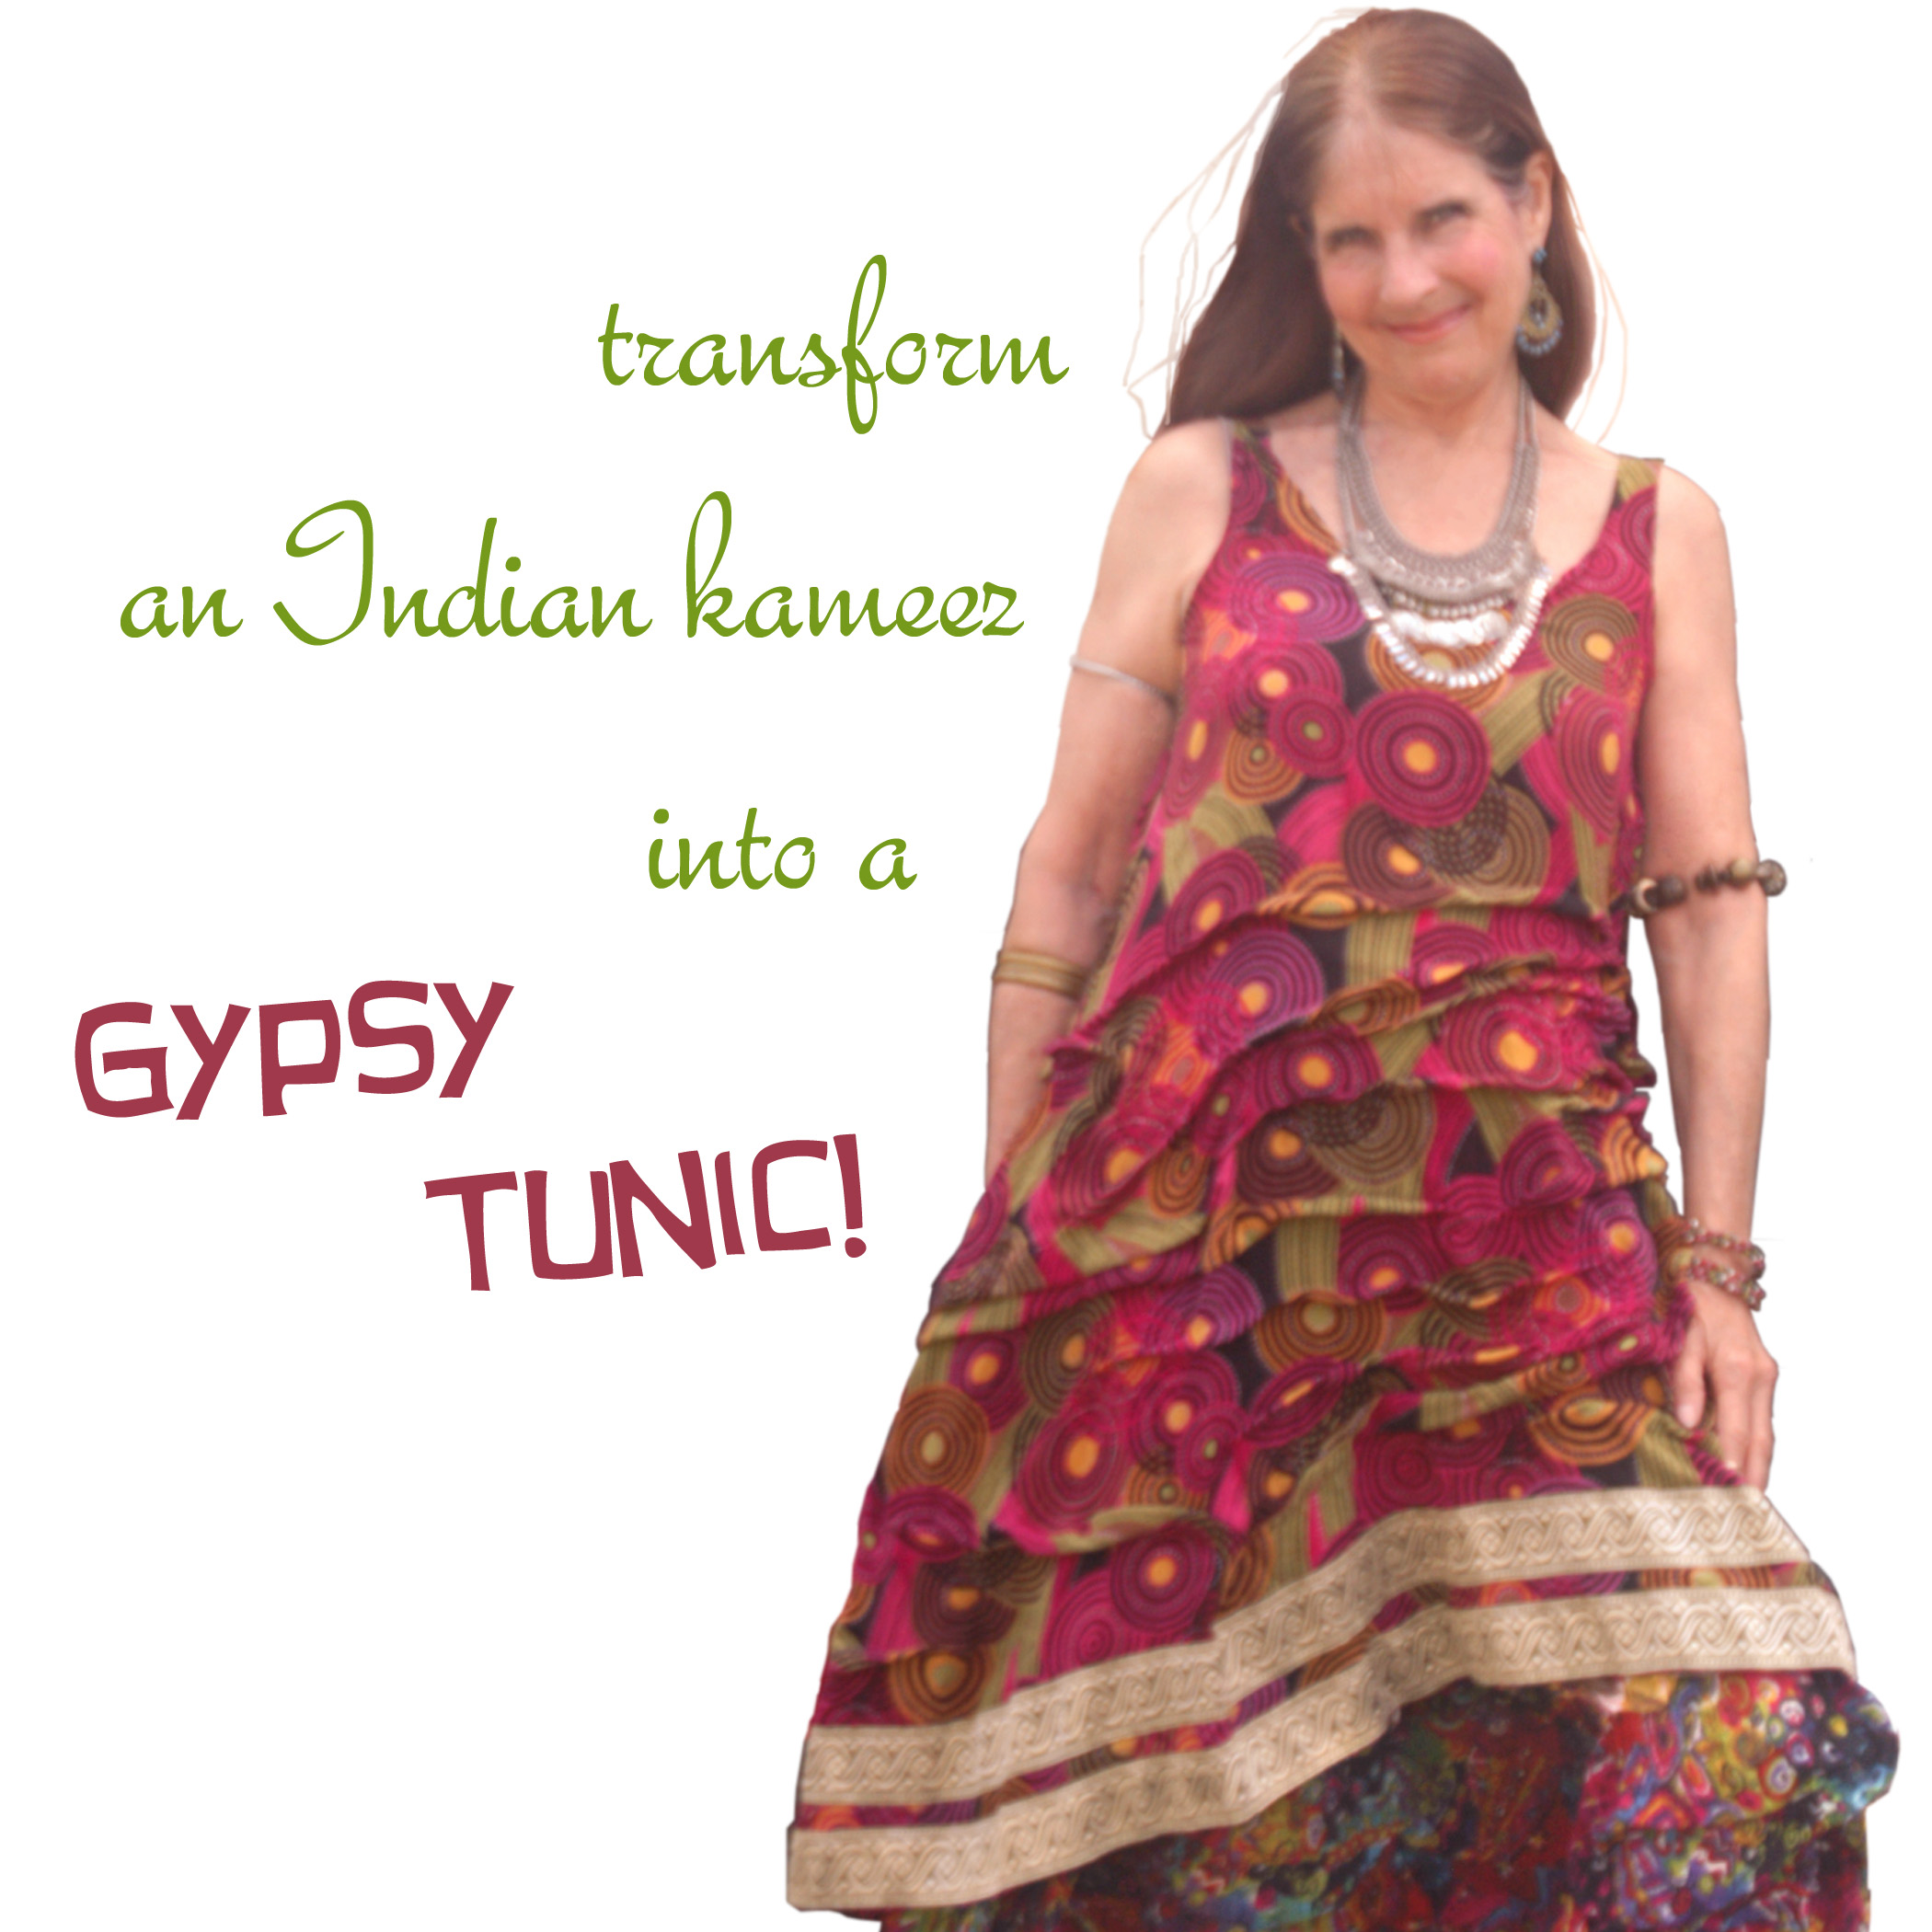
See how this rather dowdy kameez was changed into a fun tunic!
Hey Bohemians!
As I was considering what project to do next, I decided on an East Indian tunic top, or kameez, that I’d picked up at the bin outlet.
I love East Indian prints and the fabric is a nice, comfortable, easy-care rayon.
The original style is too frumpy for me. so, I changed it!
Gypsies
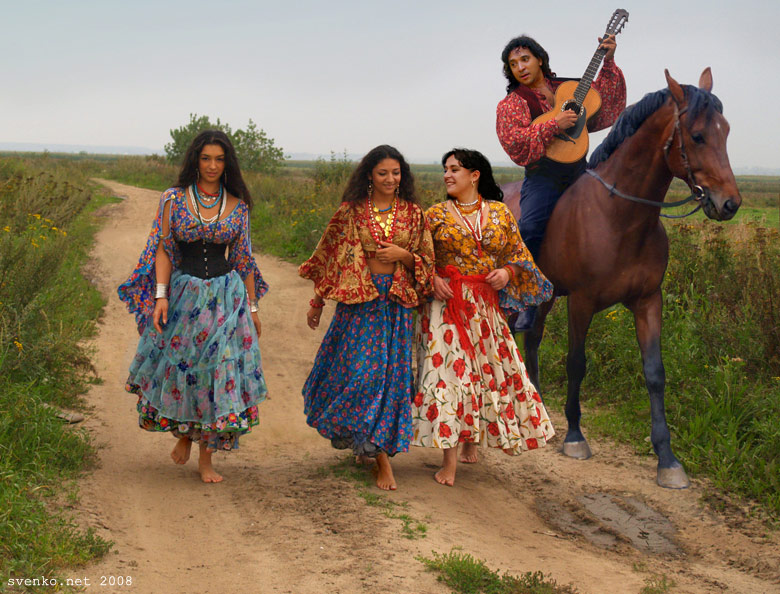
Did you realize that, according to Wikipedia, the Romani people, widely known to English-speaking people as”gypsies,” actually came from northern India?
Between the sixth and eleventh centuries, this itinerate ethnic people began to migrate to Europe and Asia. Since the 19th century, some have also come to the Americas—north and south.
During the International Roma Conference in 2016, the Indian Minister of External Affairs called the people of the Roma community “children of India,” so isn’t it appropriate that those of us who love the “bohemian style,” also have an affinity for things of India?
P.S.: The French named the Romani people bohème, or, bohémien—incorrectly believing them to have come from the Kingdom of Bohemia.
This is a Simple Project, but I Would Have to Call it of Moderate Difficulty.


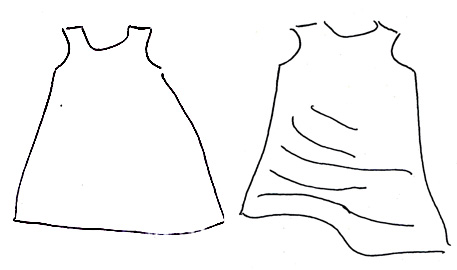
This colorful kameez, left, was originally too big for me. But, I really love things made in India, and I couldn’t resist it, knowing I could do something with it!

- First off, I wanted a sleeveless tunic, so I used a tank top I made previously for the pattern.
Lay your pattern top, centered, on the piece you’re working on,
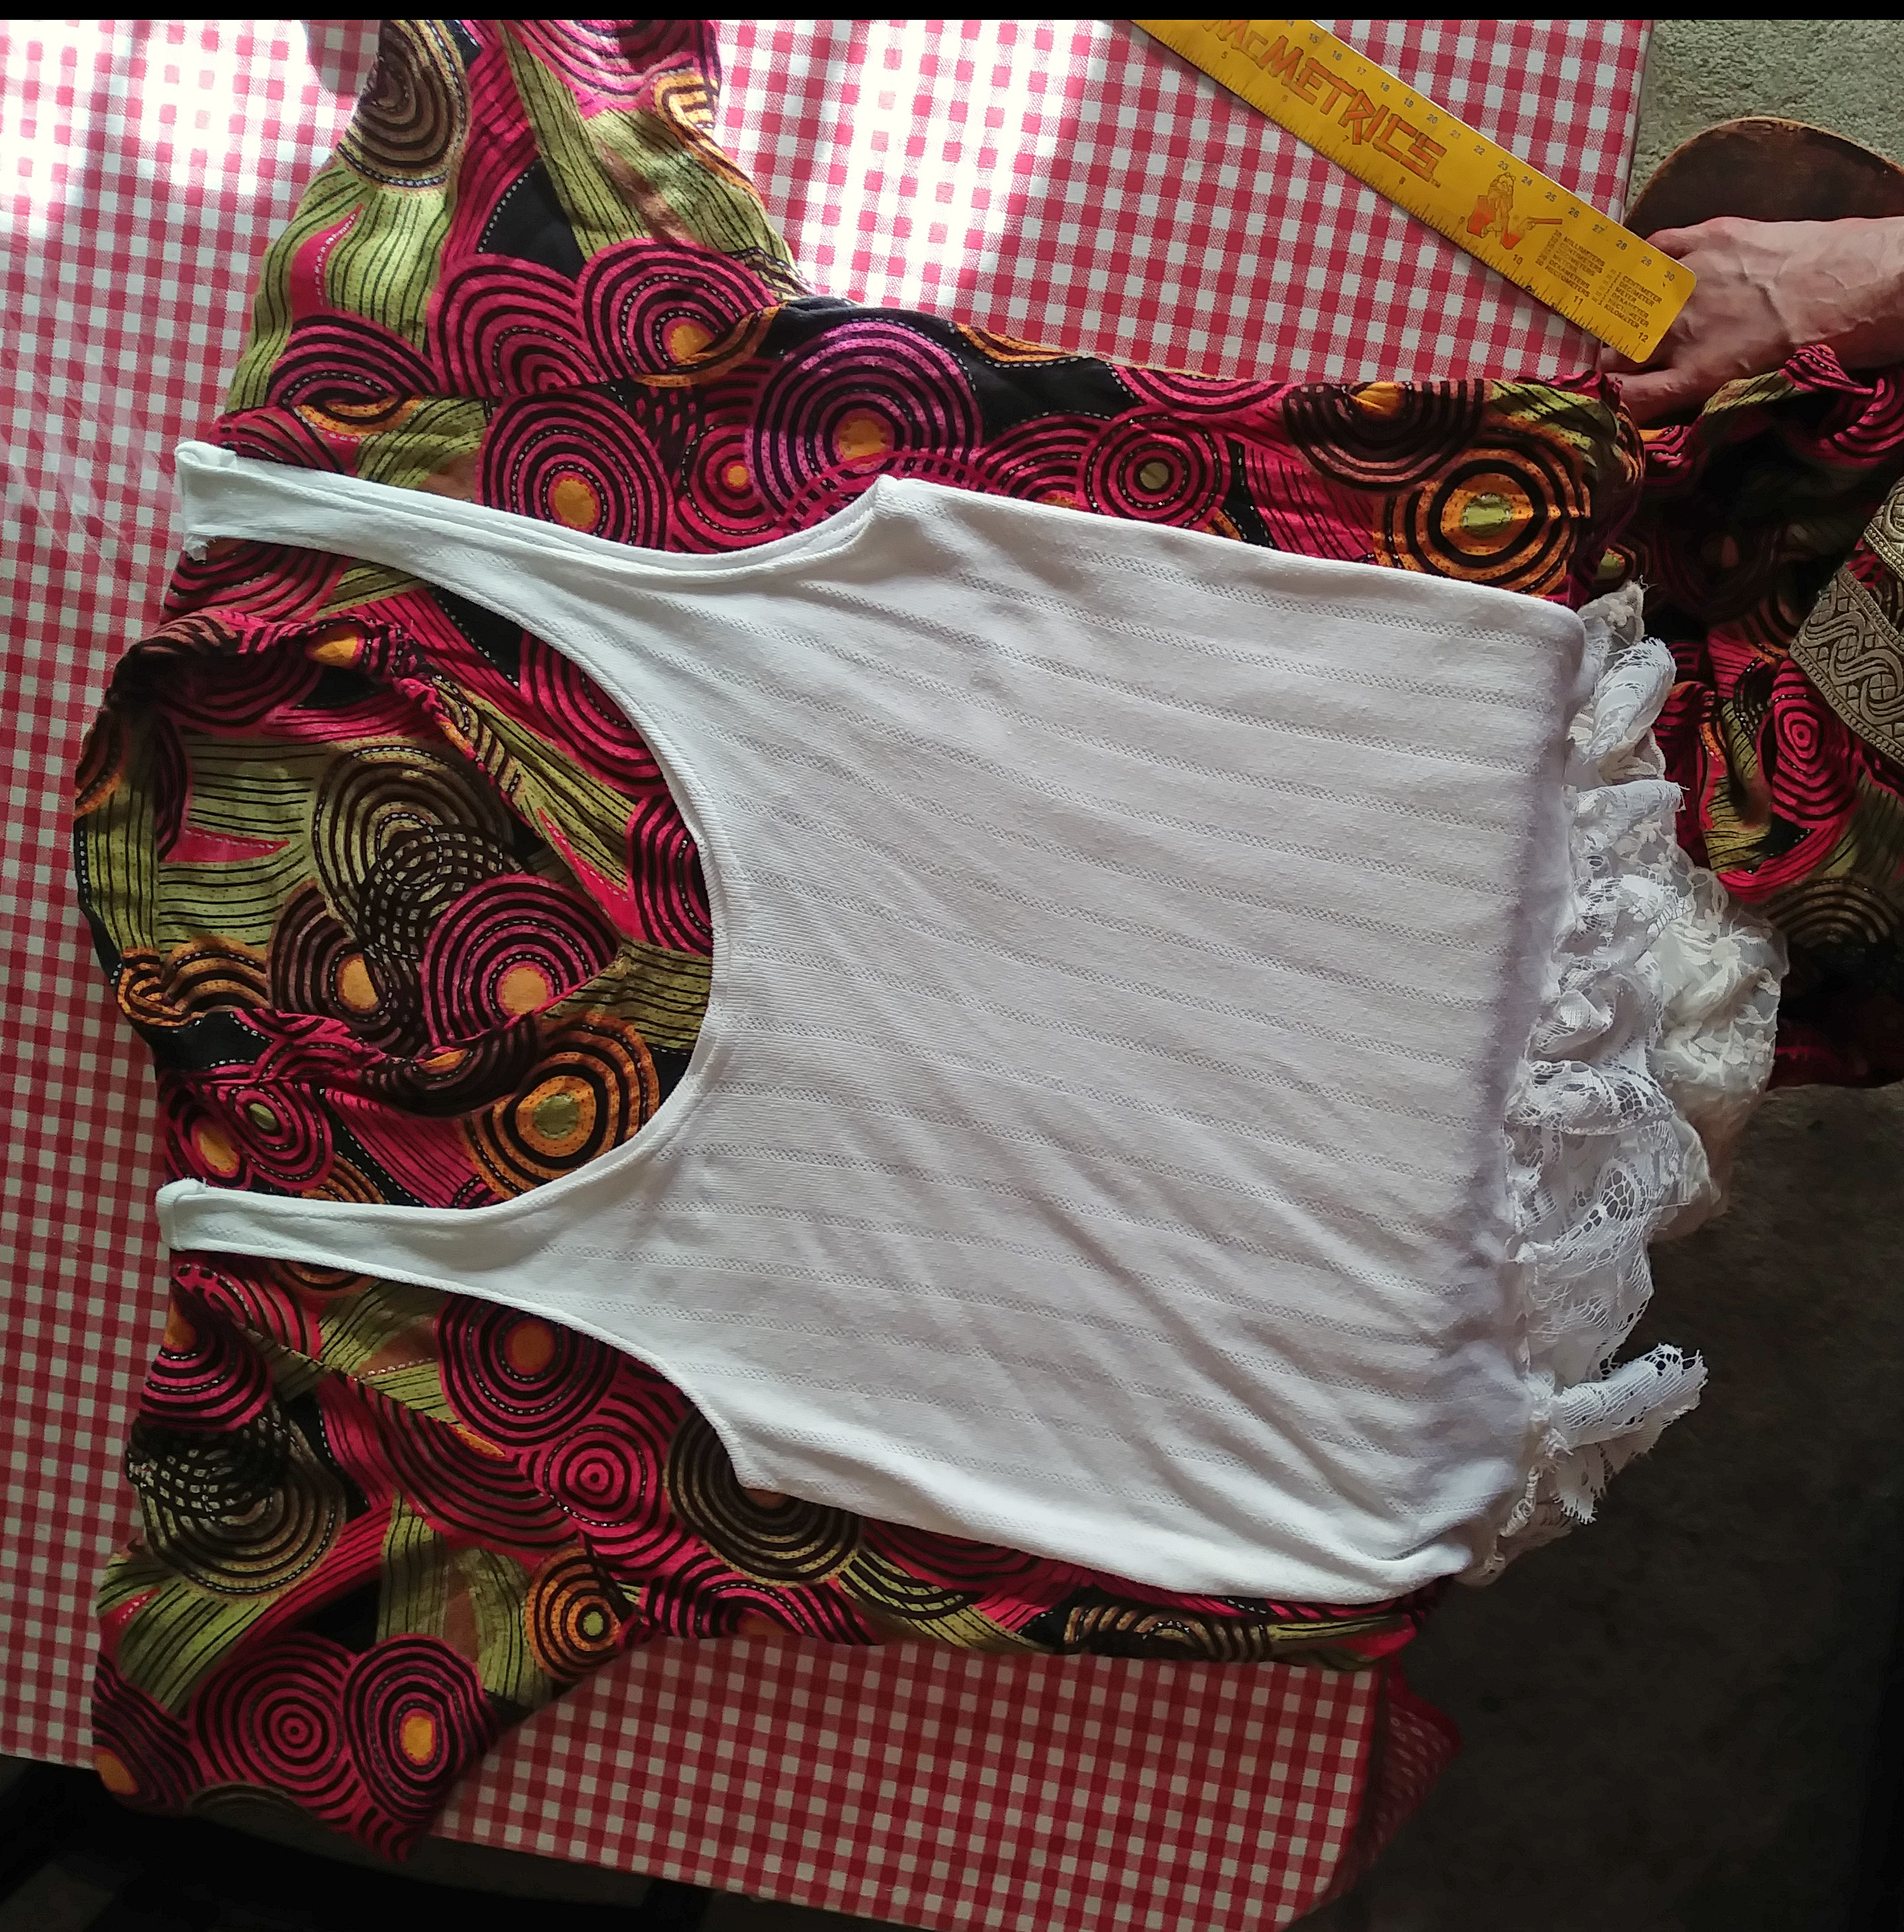
making sure the shoulders of each match.

- Pin it down all around.
Now, this is for making the same scoop in back, as well as, in front.
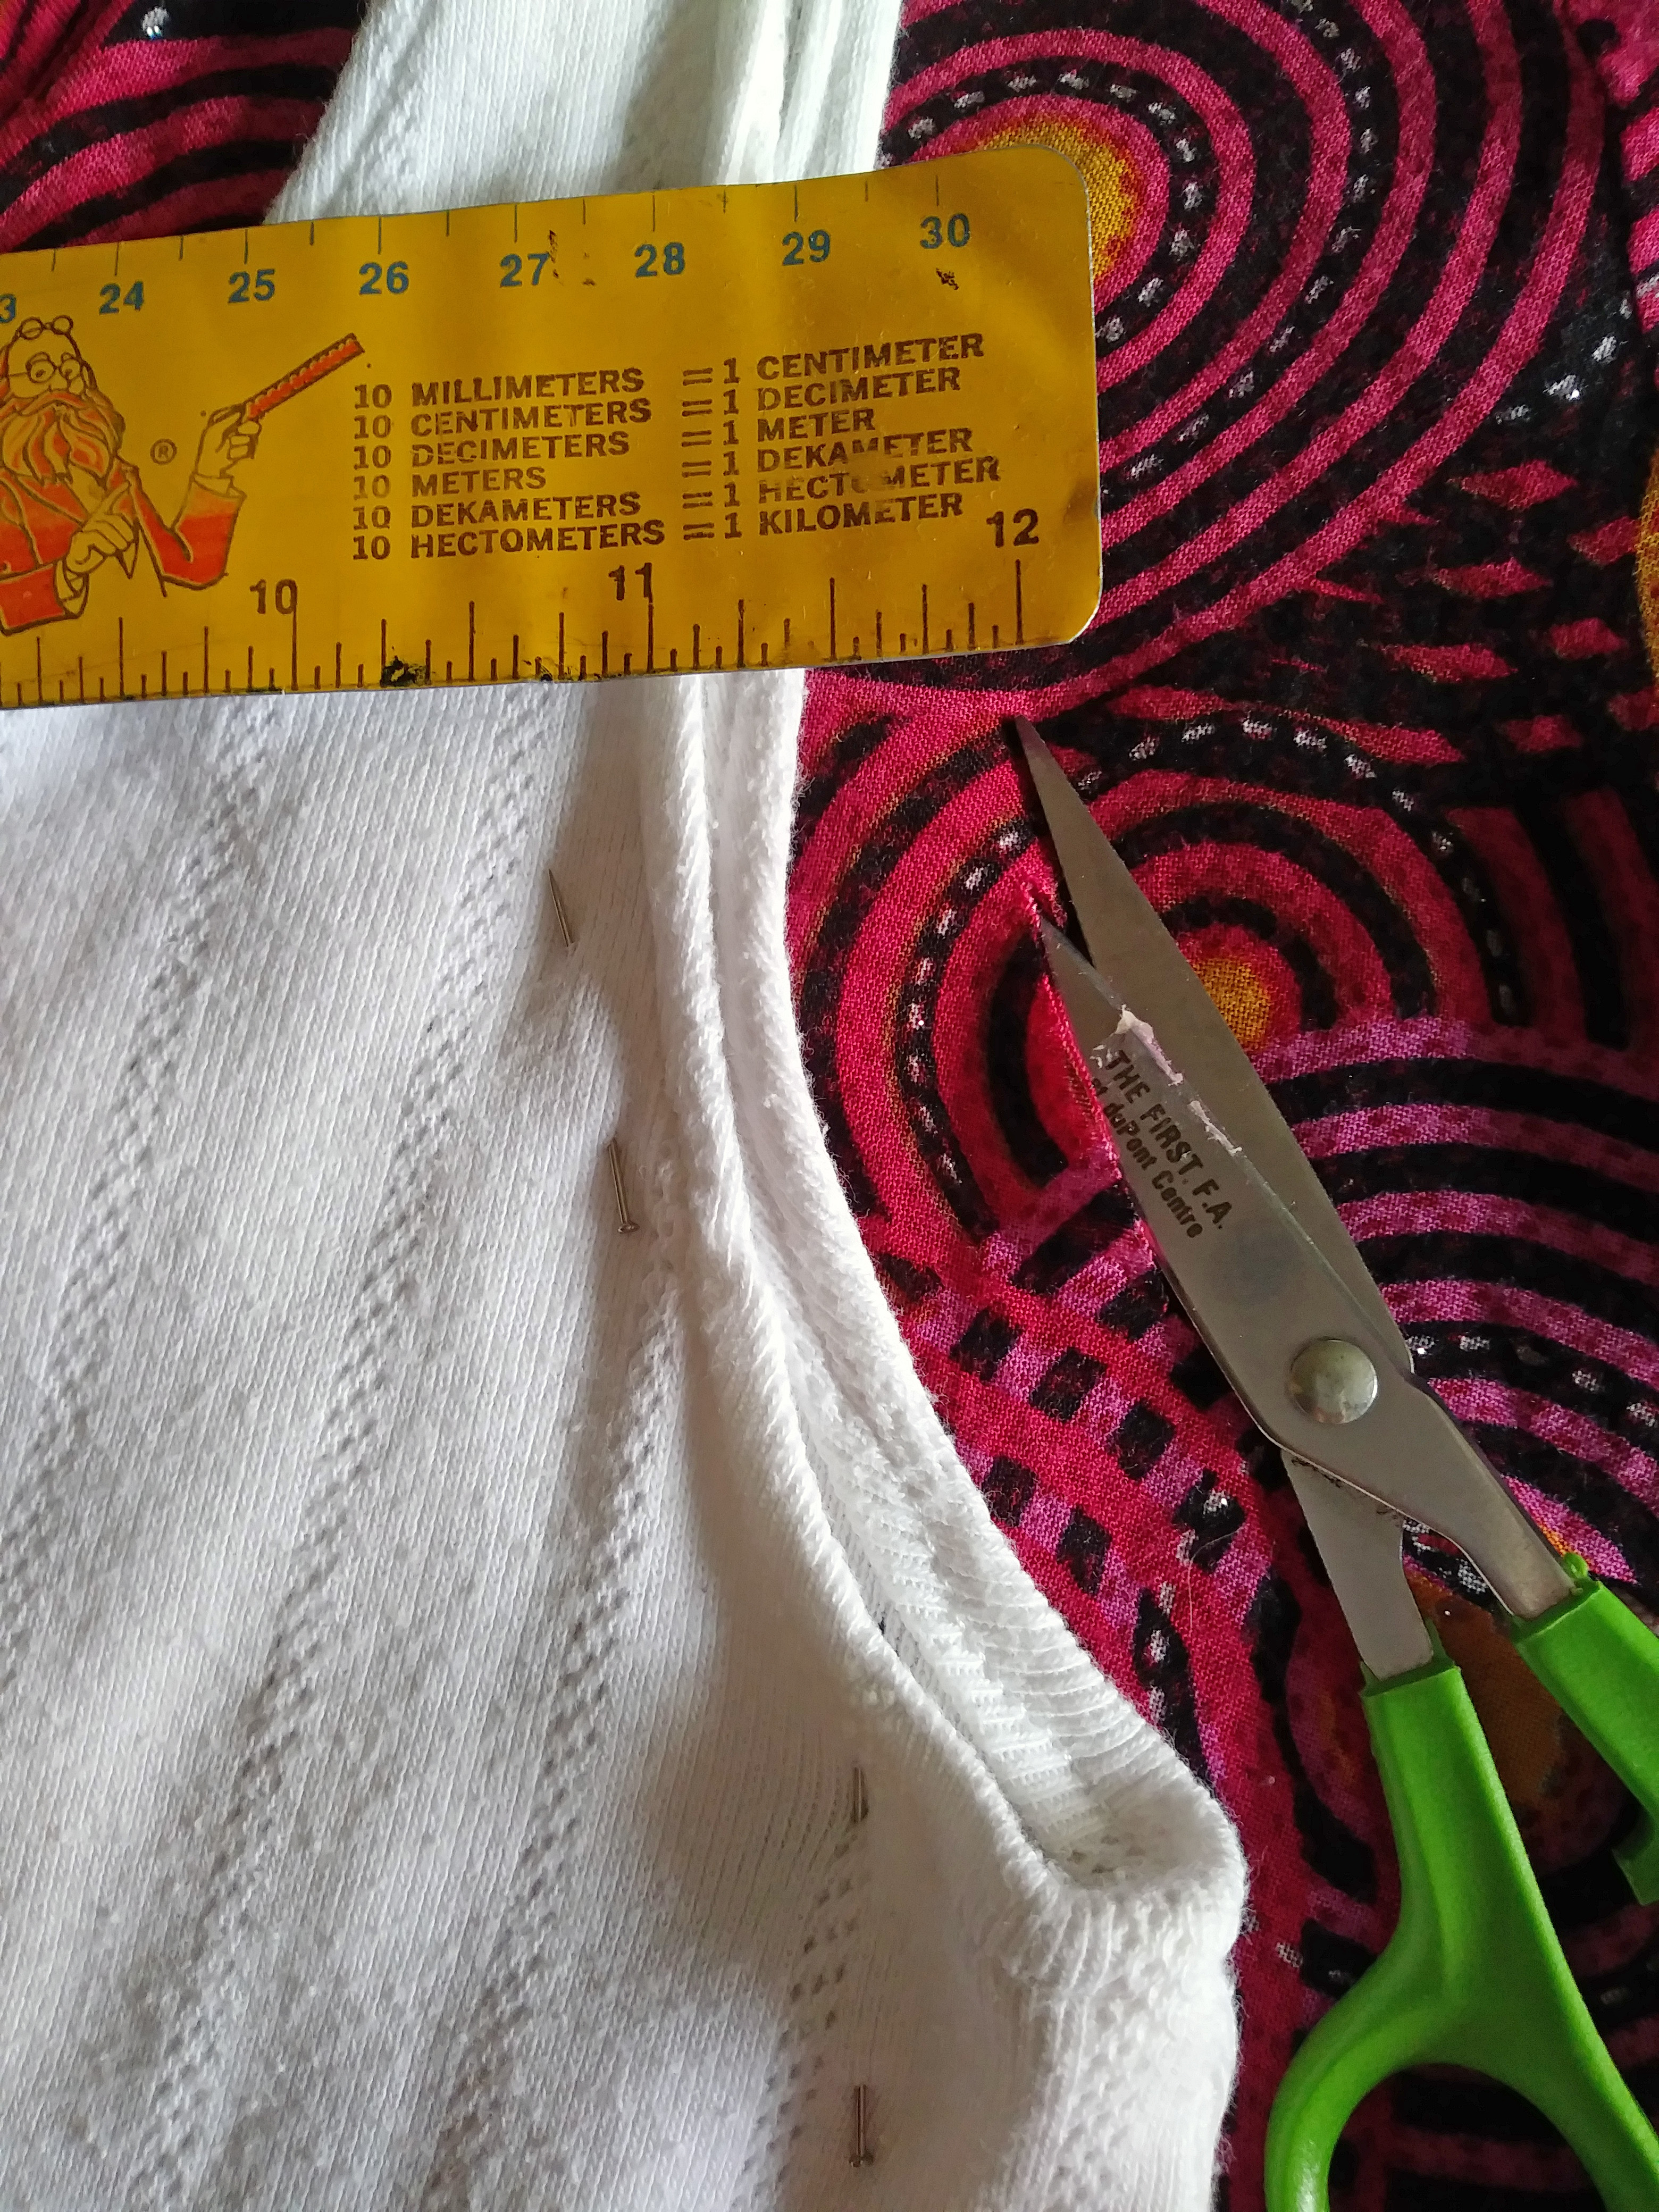

- Just go ahead ‘n’ cut! Leave a 1/2-inch border for a 1/4-inch seam—that’s two folds, so the raw edge is in the second fold.

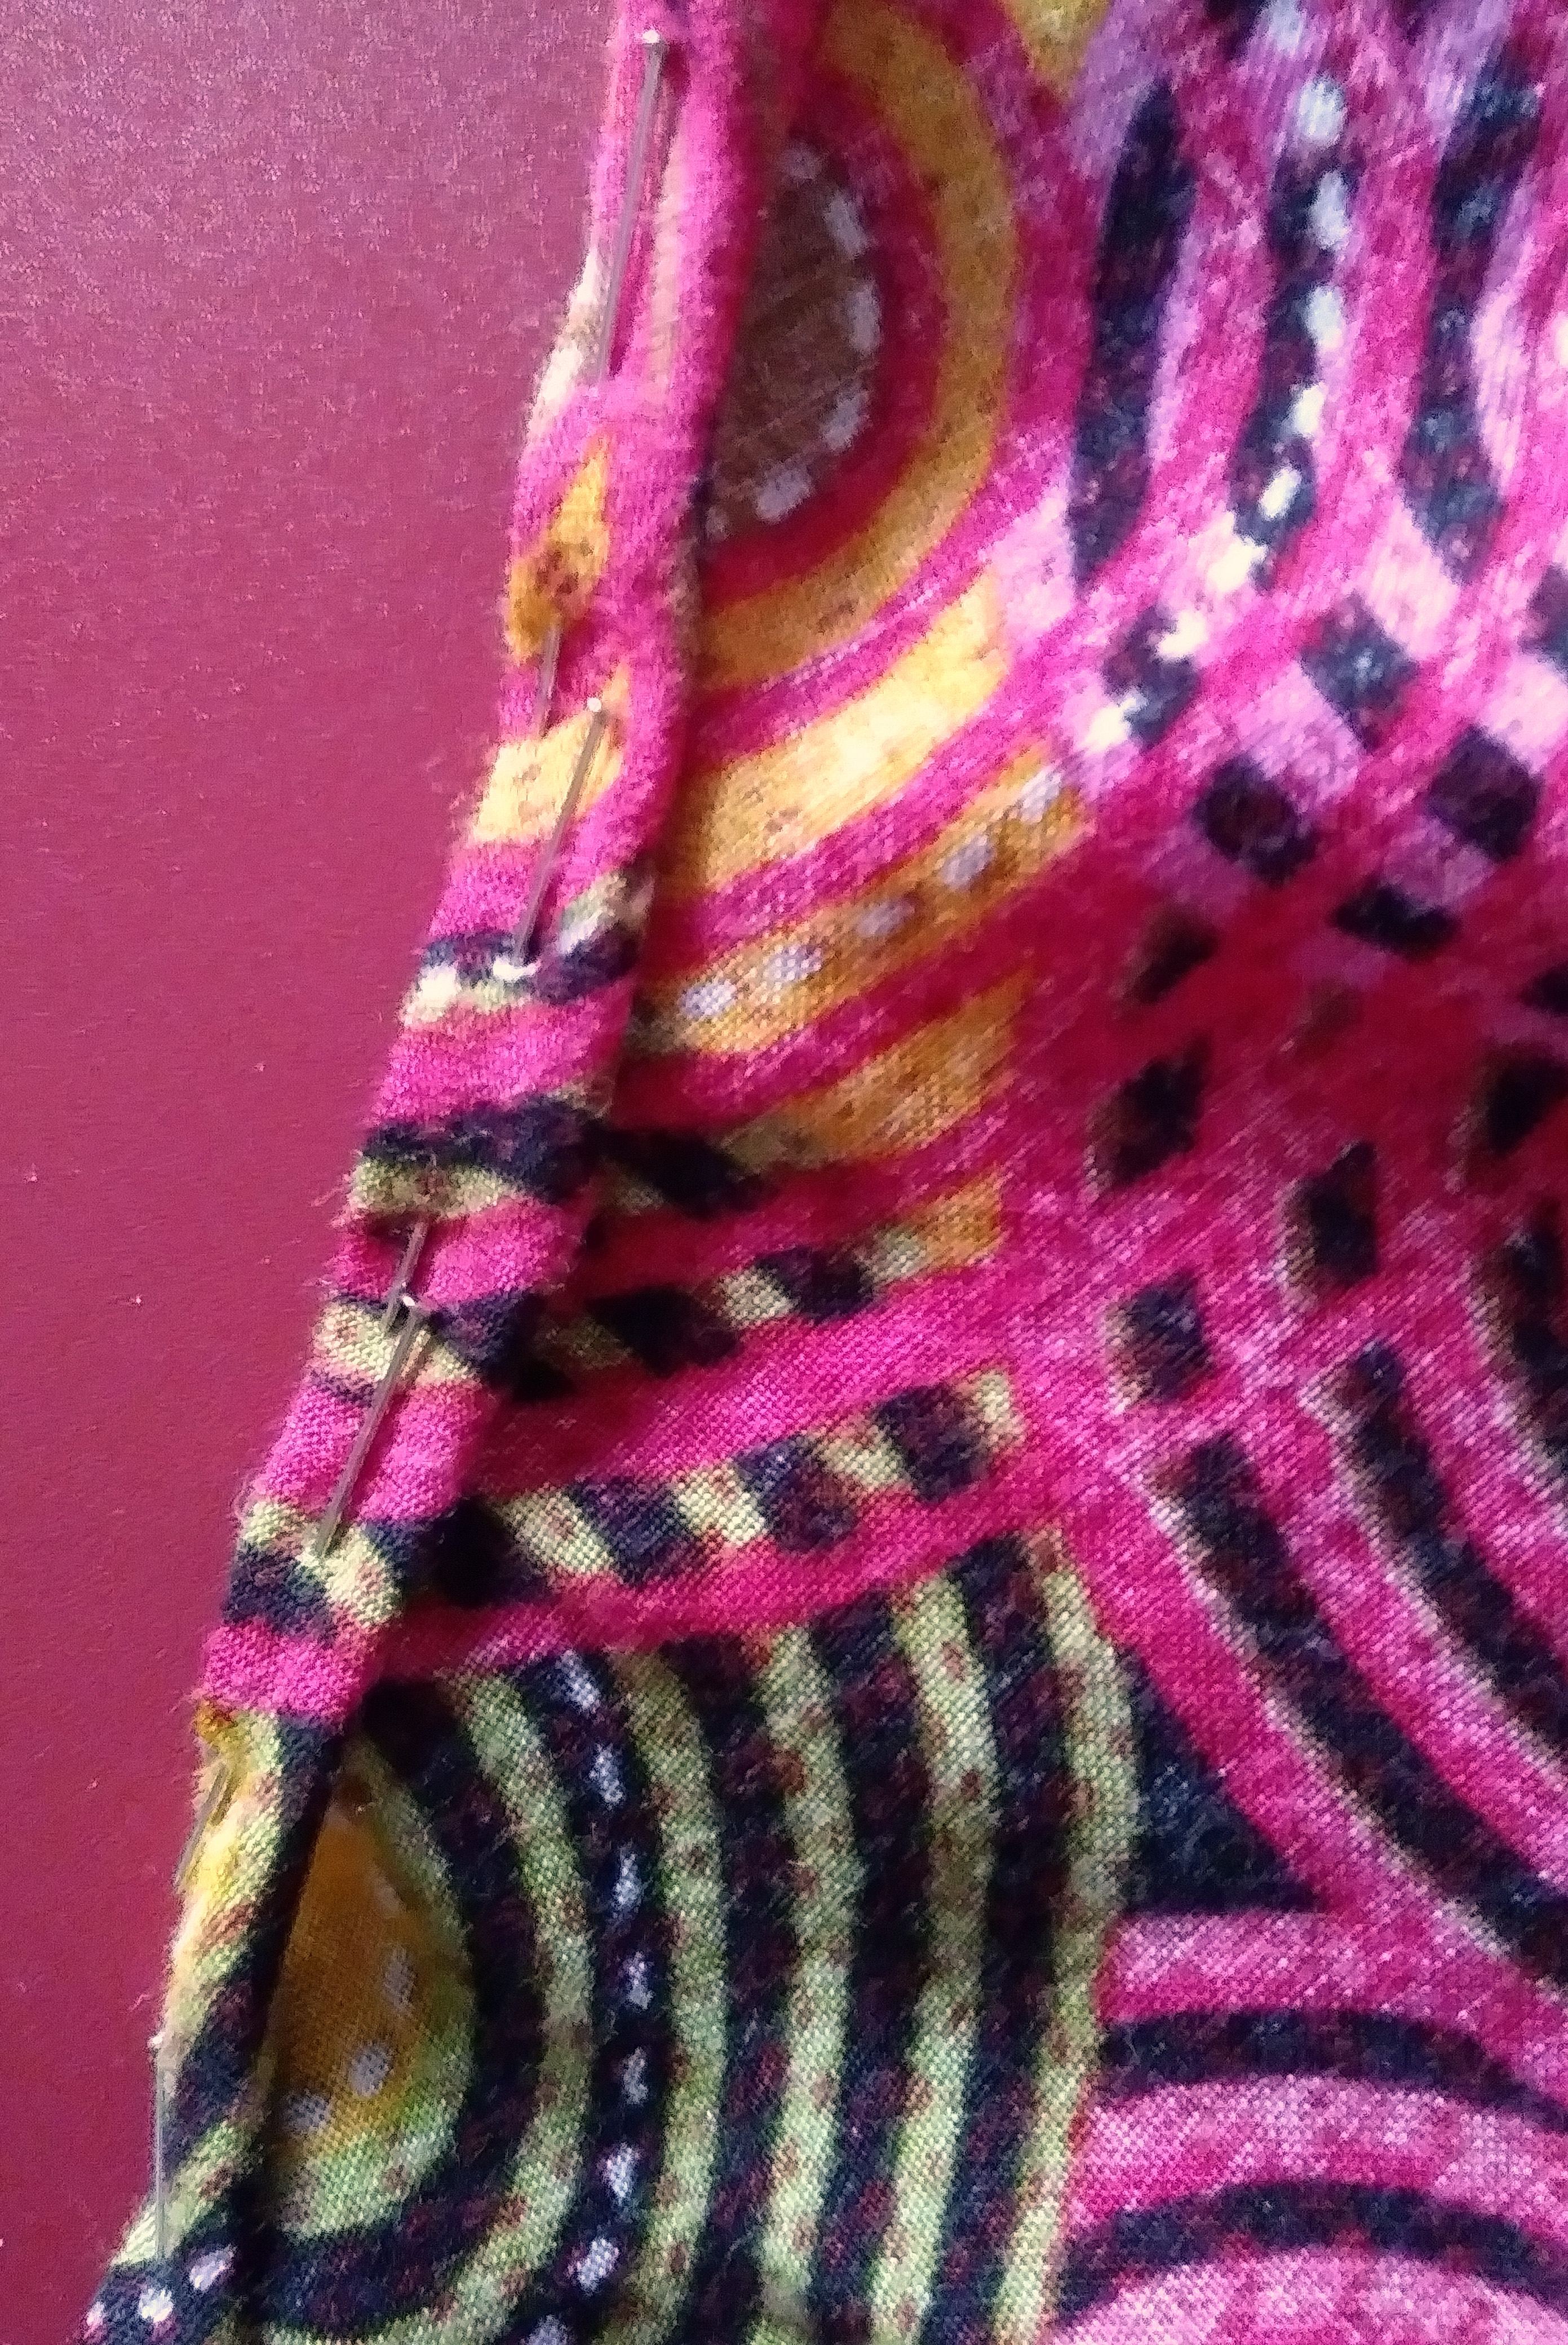
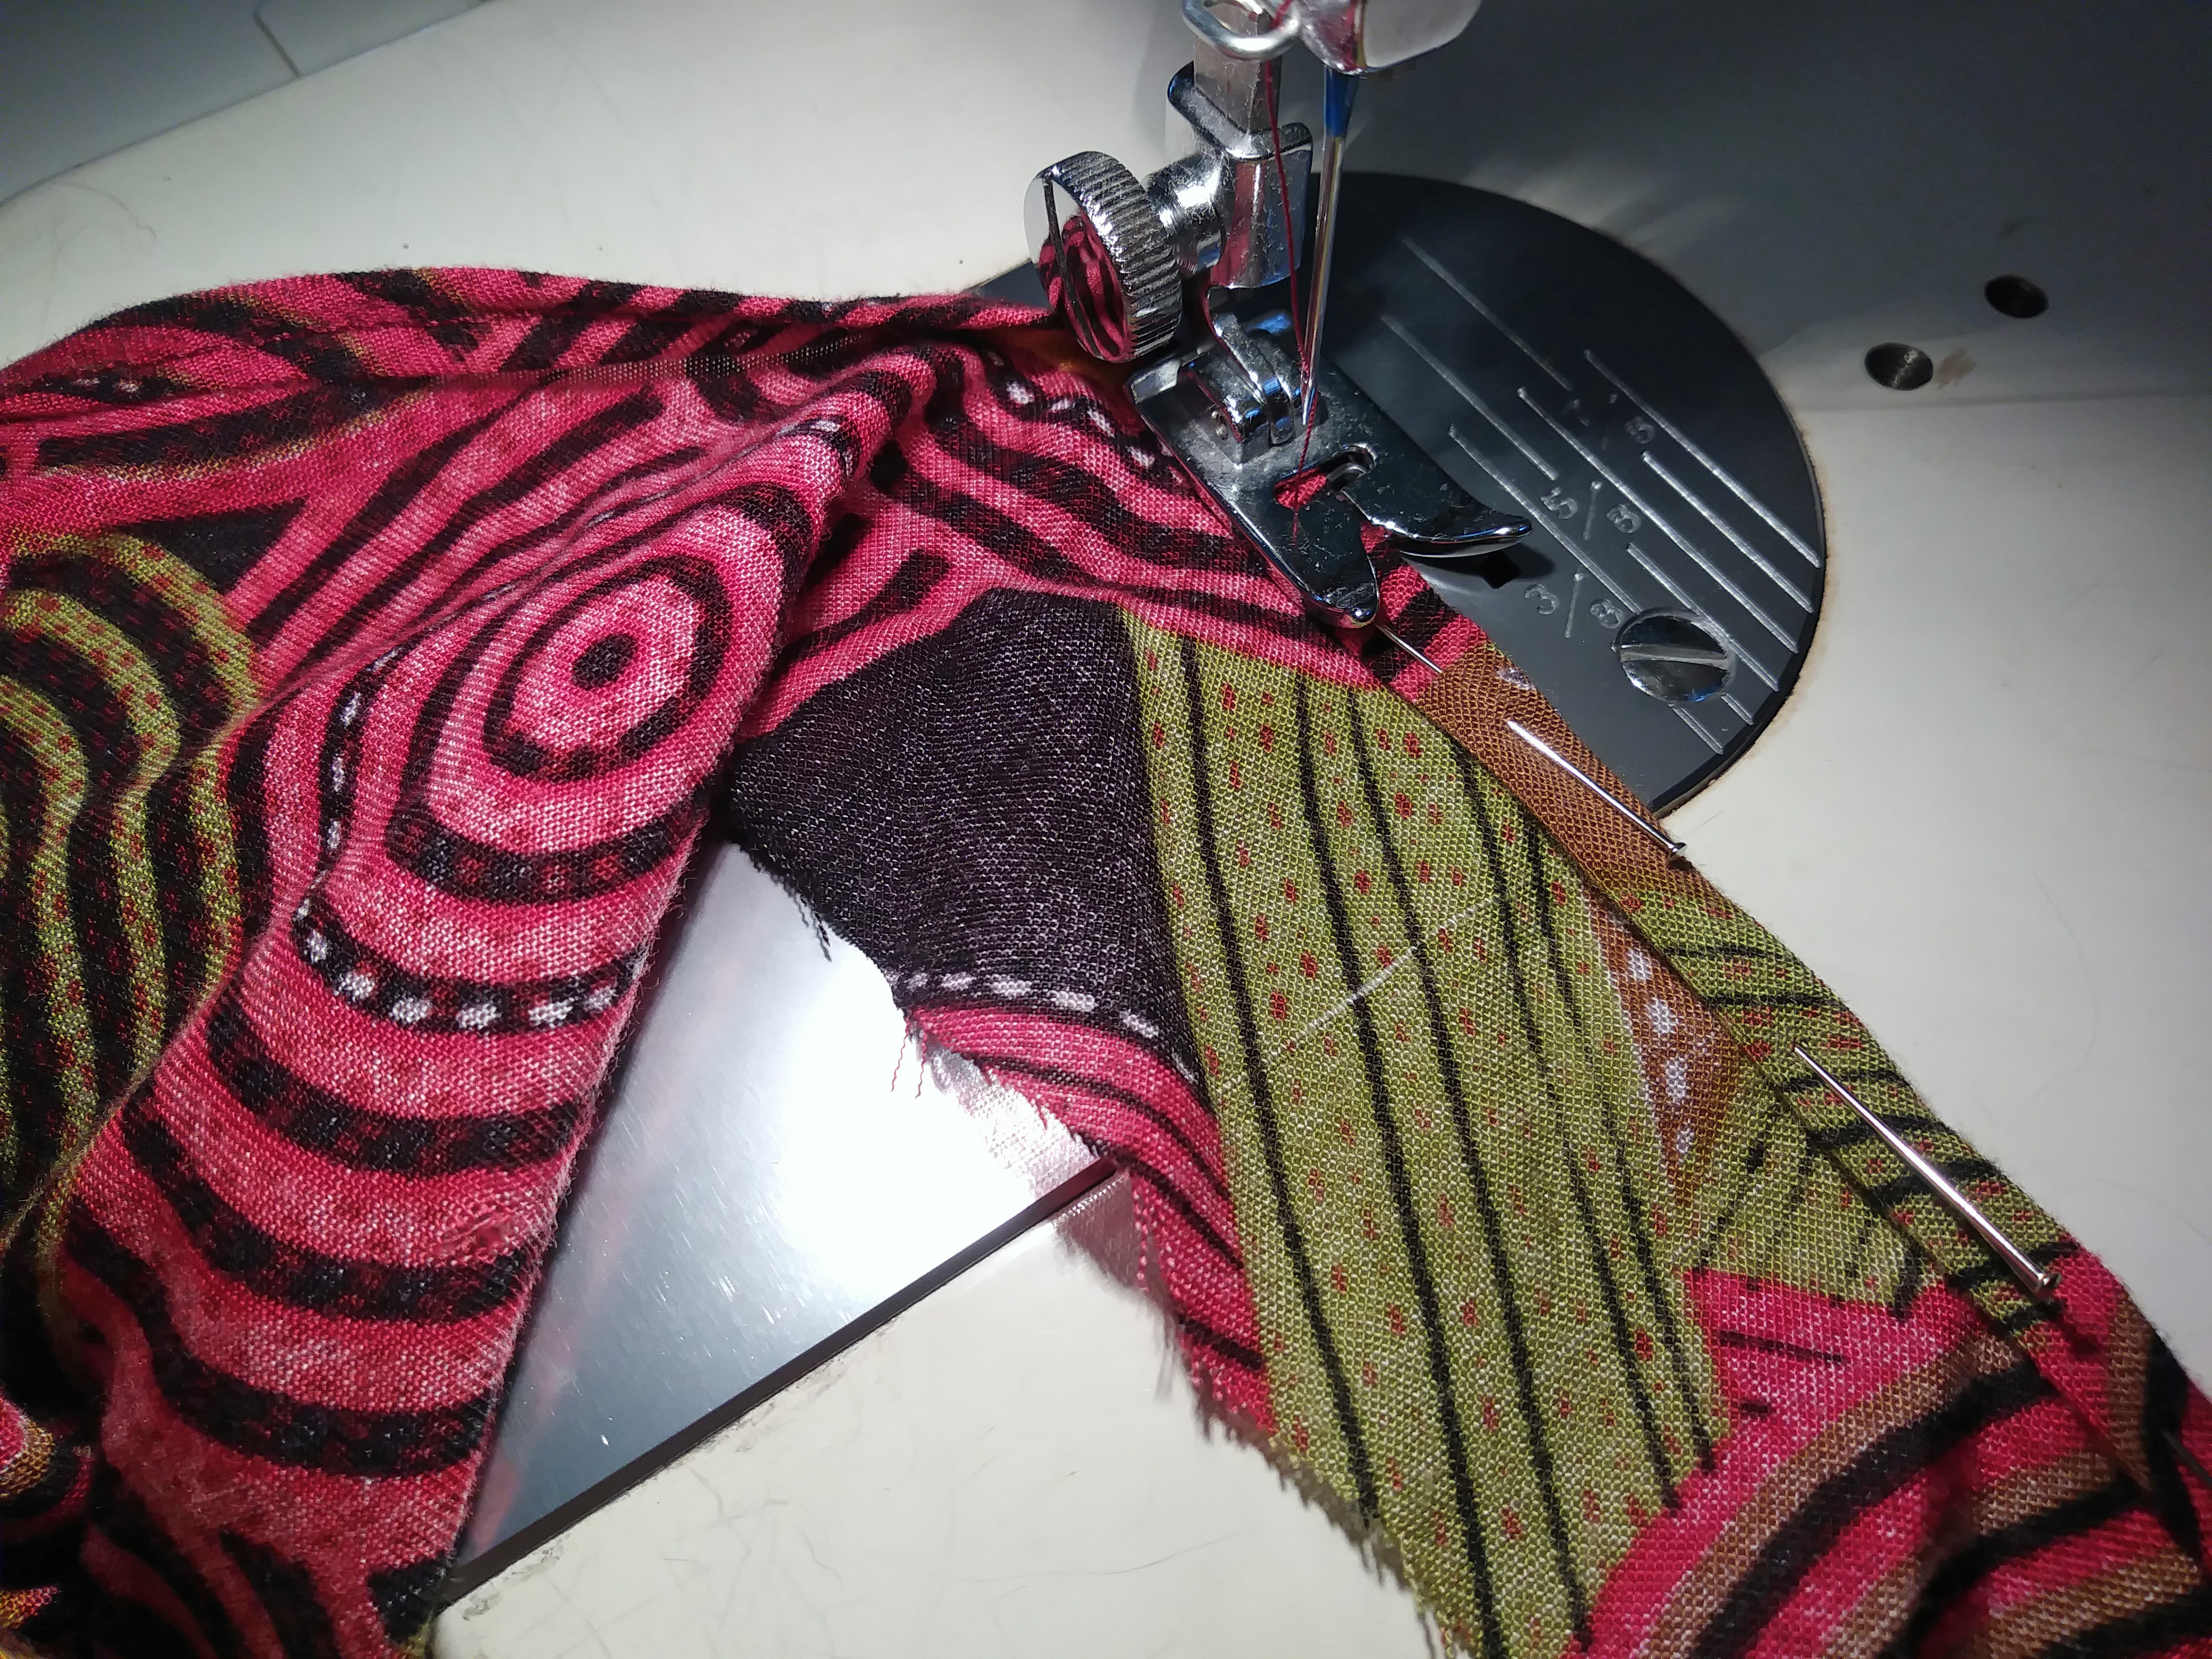
- Pin down your seam, sew it down, then, go on to the next.
I did one at a time, instead of pinning all and sewing all.
I seemingly misjudged in my cutting, making the straps too long, so I had to cut off some at the top—but it didn’t really affect the project. I also, because the piece was large on me, had to take up some under the arms (made it more narrow under the arms). I sewed a short seam on the sides under each arm to make it more fitted at the top, and, especially, to reduce the size of the armholes.

- Now for the fun part:
You’re going to make many horizontal tucks. I started at the bottom. I wanted an assymetrical “bottom line,” so I did my tucks accordingly: intentionally drawing up one side more than the other.
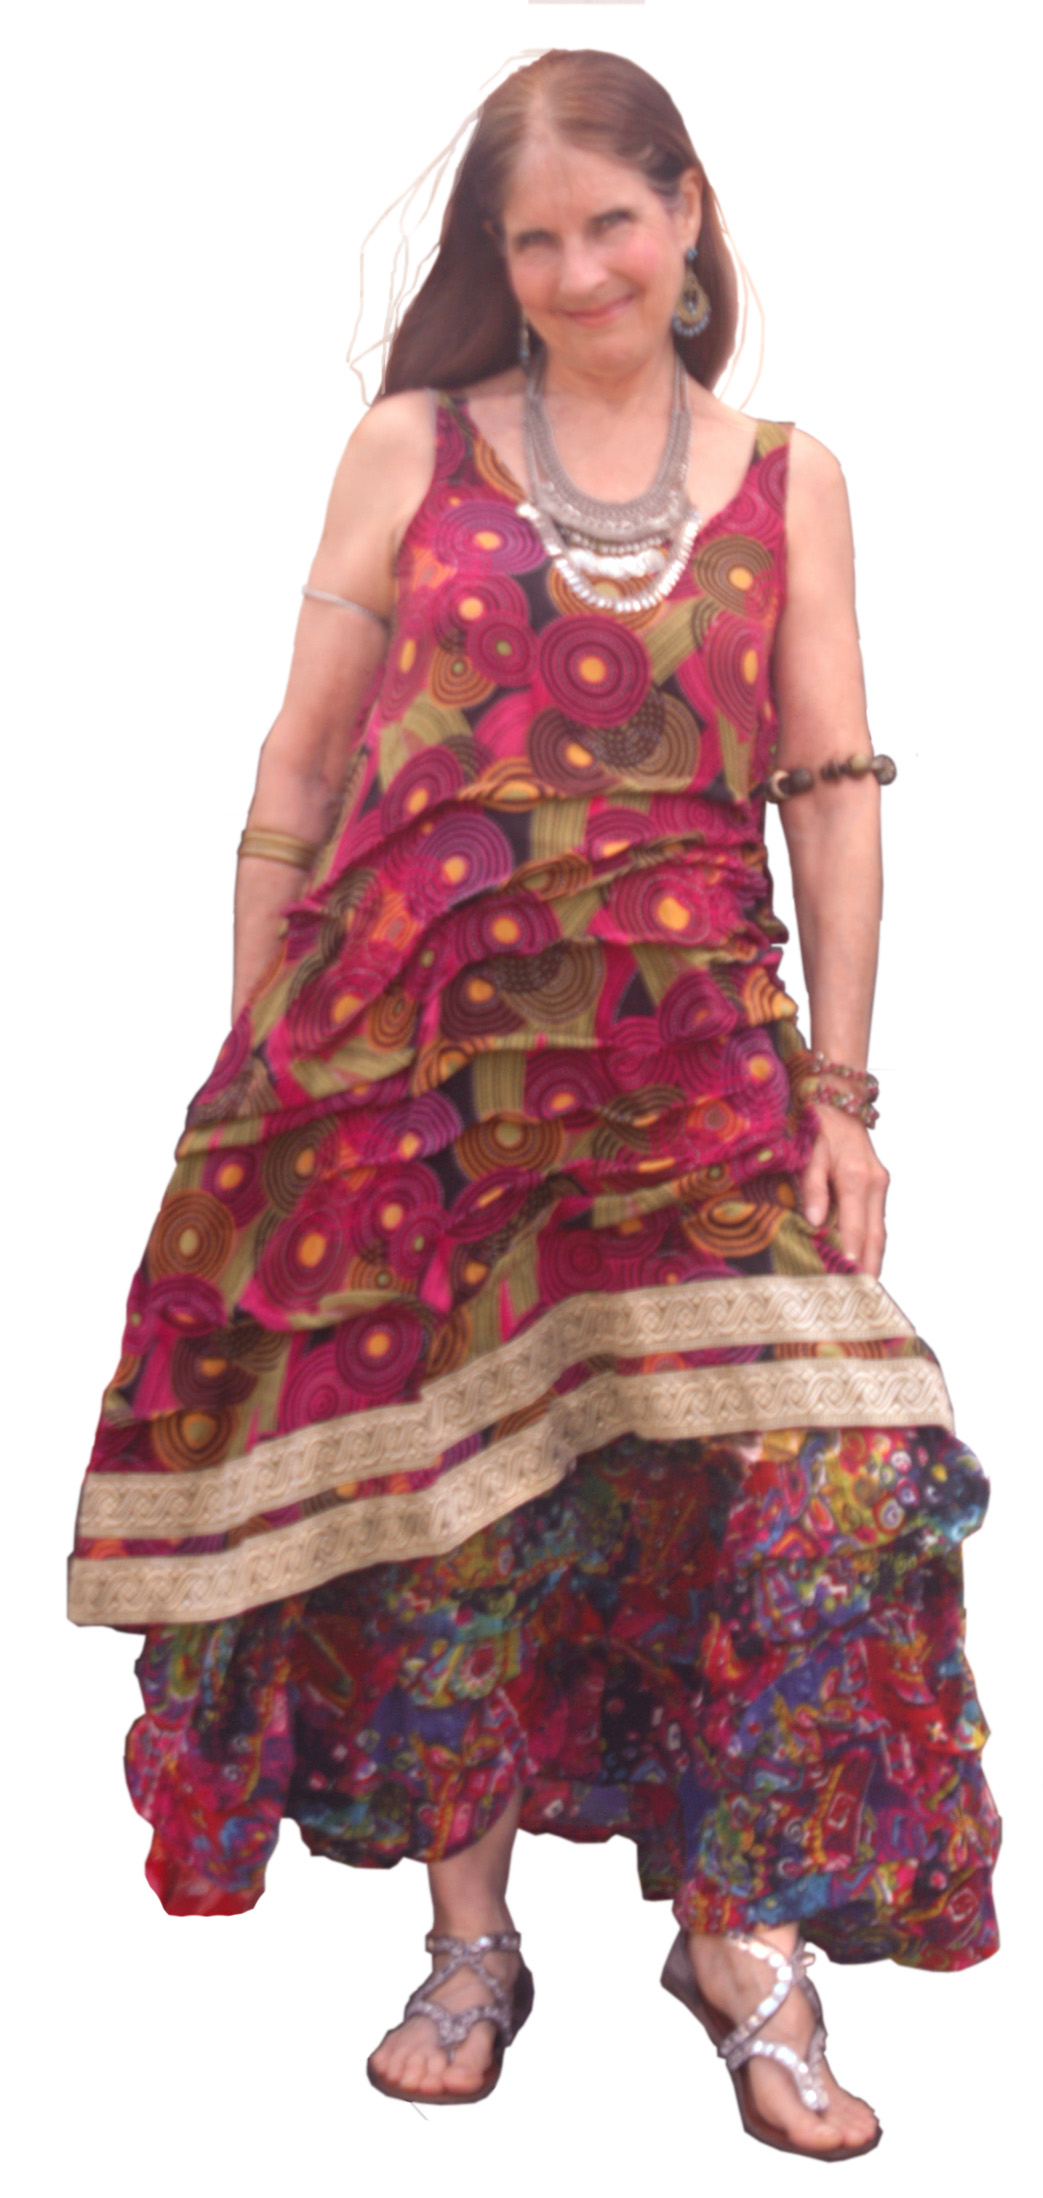
Here it is!
It pairs nicely with my skirt I recently did in much the same way.

One Reply to “Ruffled Gypsy Tunic”