Hey y’all,
You can get pants at a thrift for cheap and make really cute boho hippie bags outa them.
Here’s how…

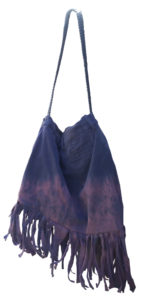
Create a hippie-dippee Boho Bag!

READ ALL INSTRUCTIONS BEFORE BEGINNING
This project uses chlorine bleach for an effect.
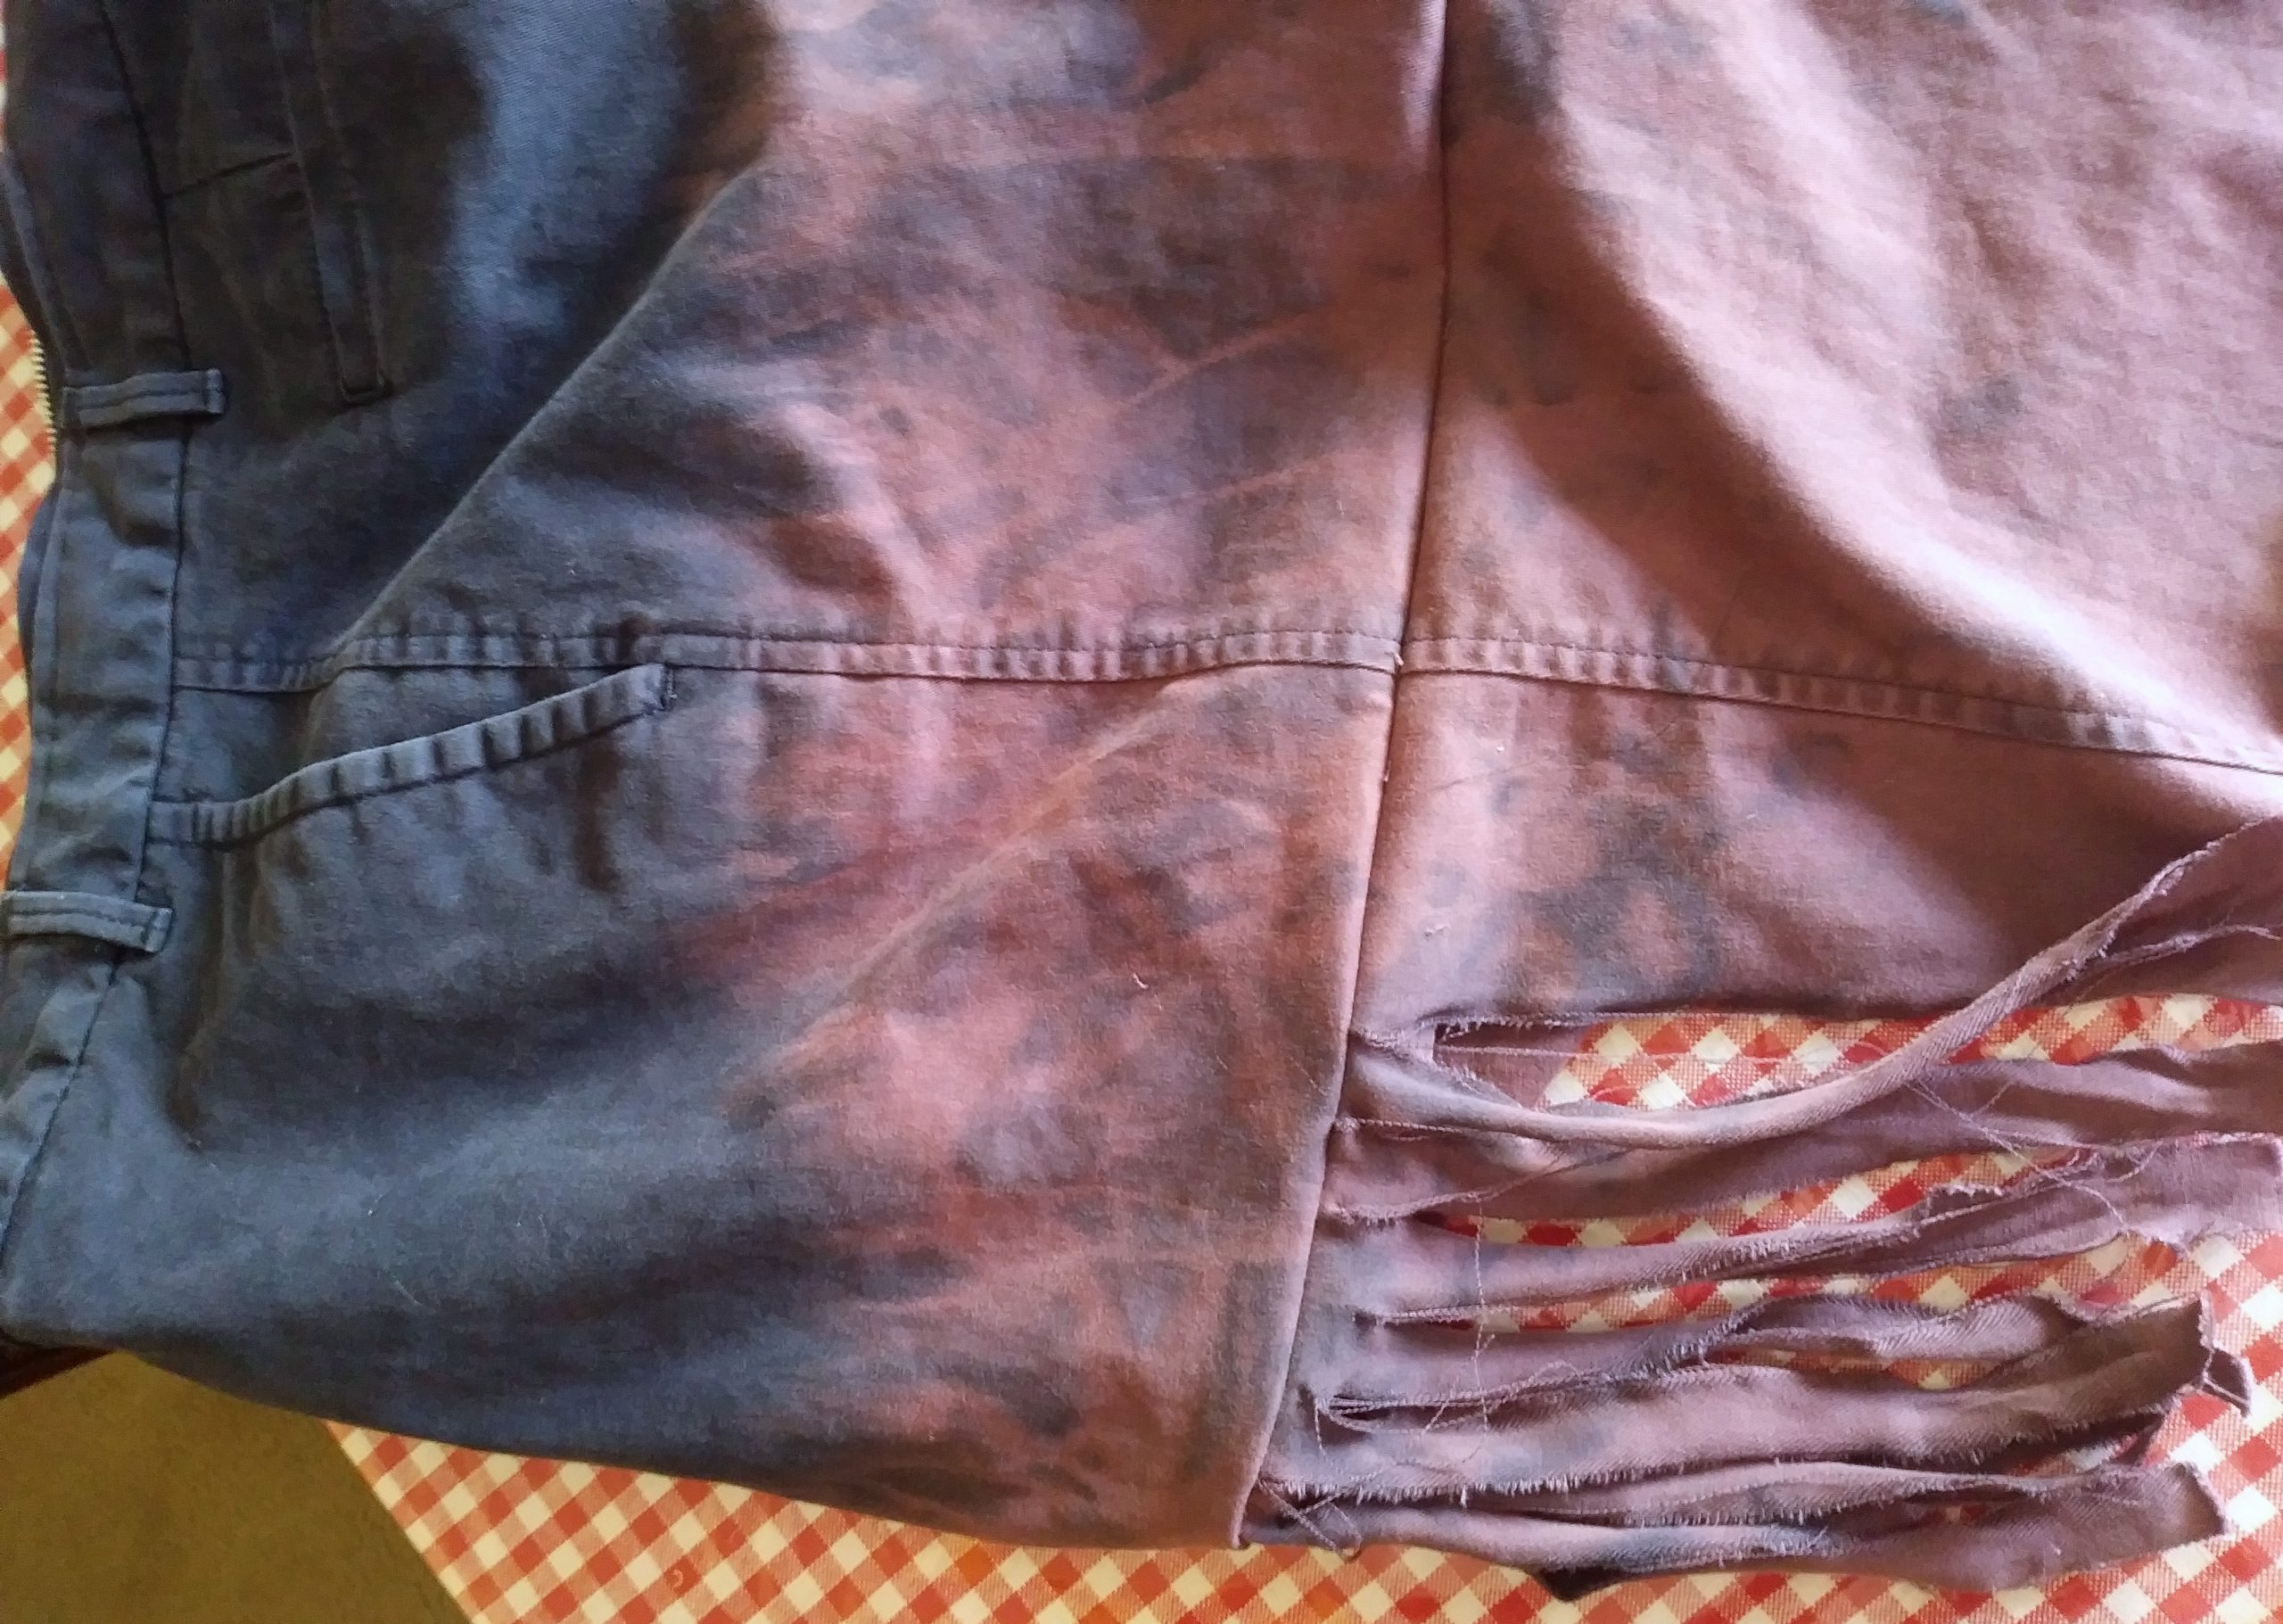
Bleaching black cotton fabric reveals a nice light brown or reddish-brown color. The navy-blue pants I bleached, revealed a dark reddish hue. Some colors will simply get lighter. But, it’s a cool effect—almost like dyeing!
Wear rubber gloves!
Also, put on an old paint shirt, in case you get a little bleach on it.
- First off, go to a cheap thrift, get a pair of sturdy 100% cotton pants, and launder and dry them.
I went to one of my faves and got a few pairs on sale for 25 cents a piece!
But, now comes all the work!

- Open the pants by cutting along the inner seam from the bottom of one leg up across the crotch area and down the inside of the other leg.

- Lay the pants on your table with the fly zipper to one side.
Or, you can leave it in the front. I’m making bags both ways. It kinda depends on the style of the pant.
For this tut, I’m showing you with it on the side.
You’ll do the next
step regardless of where the fly is:

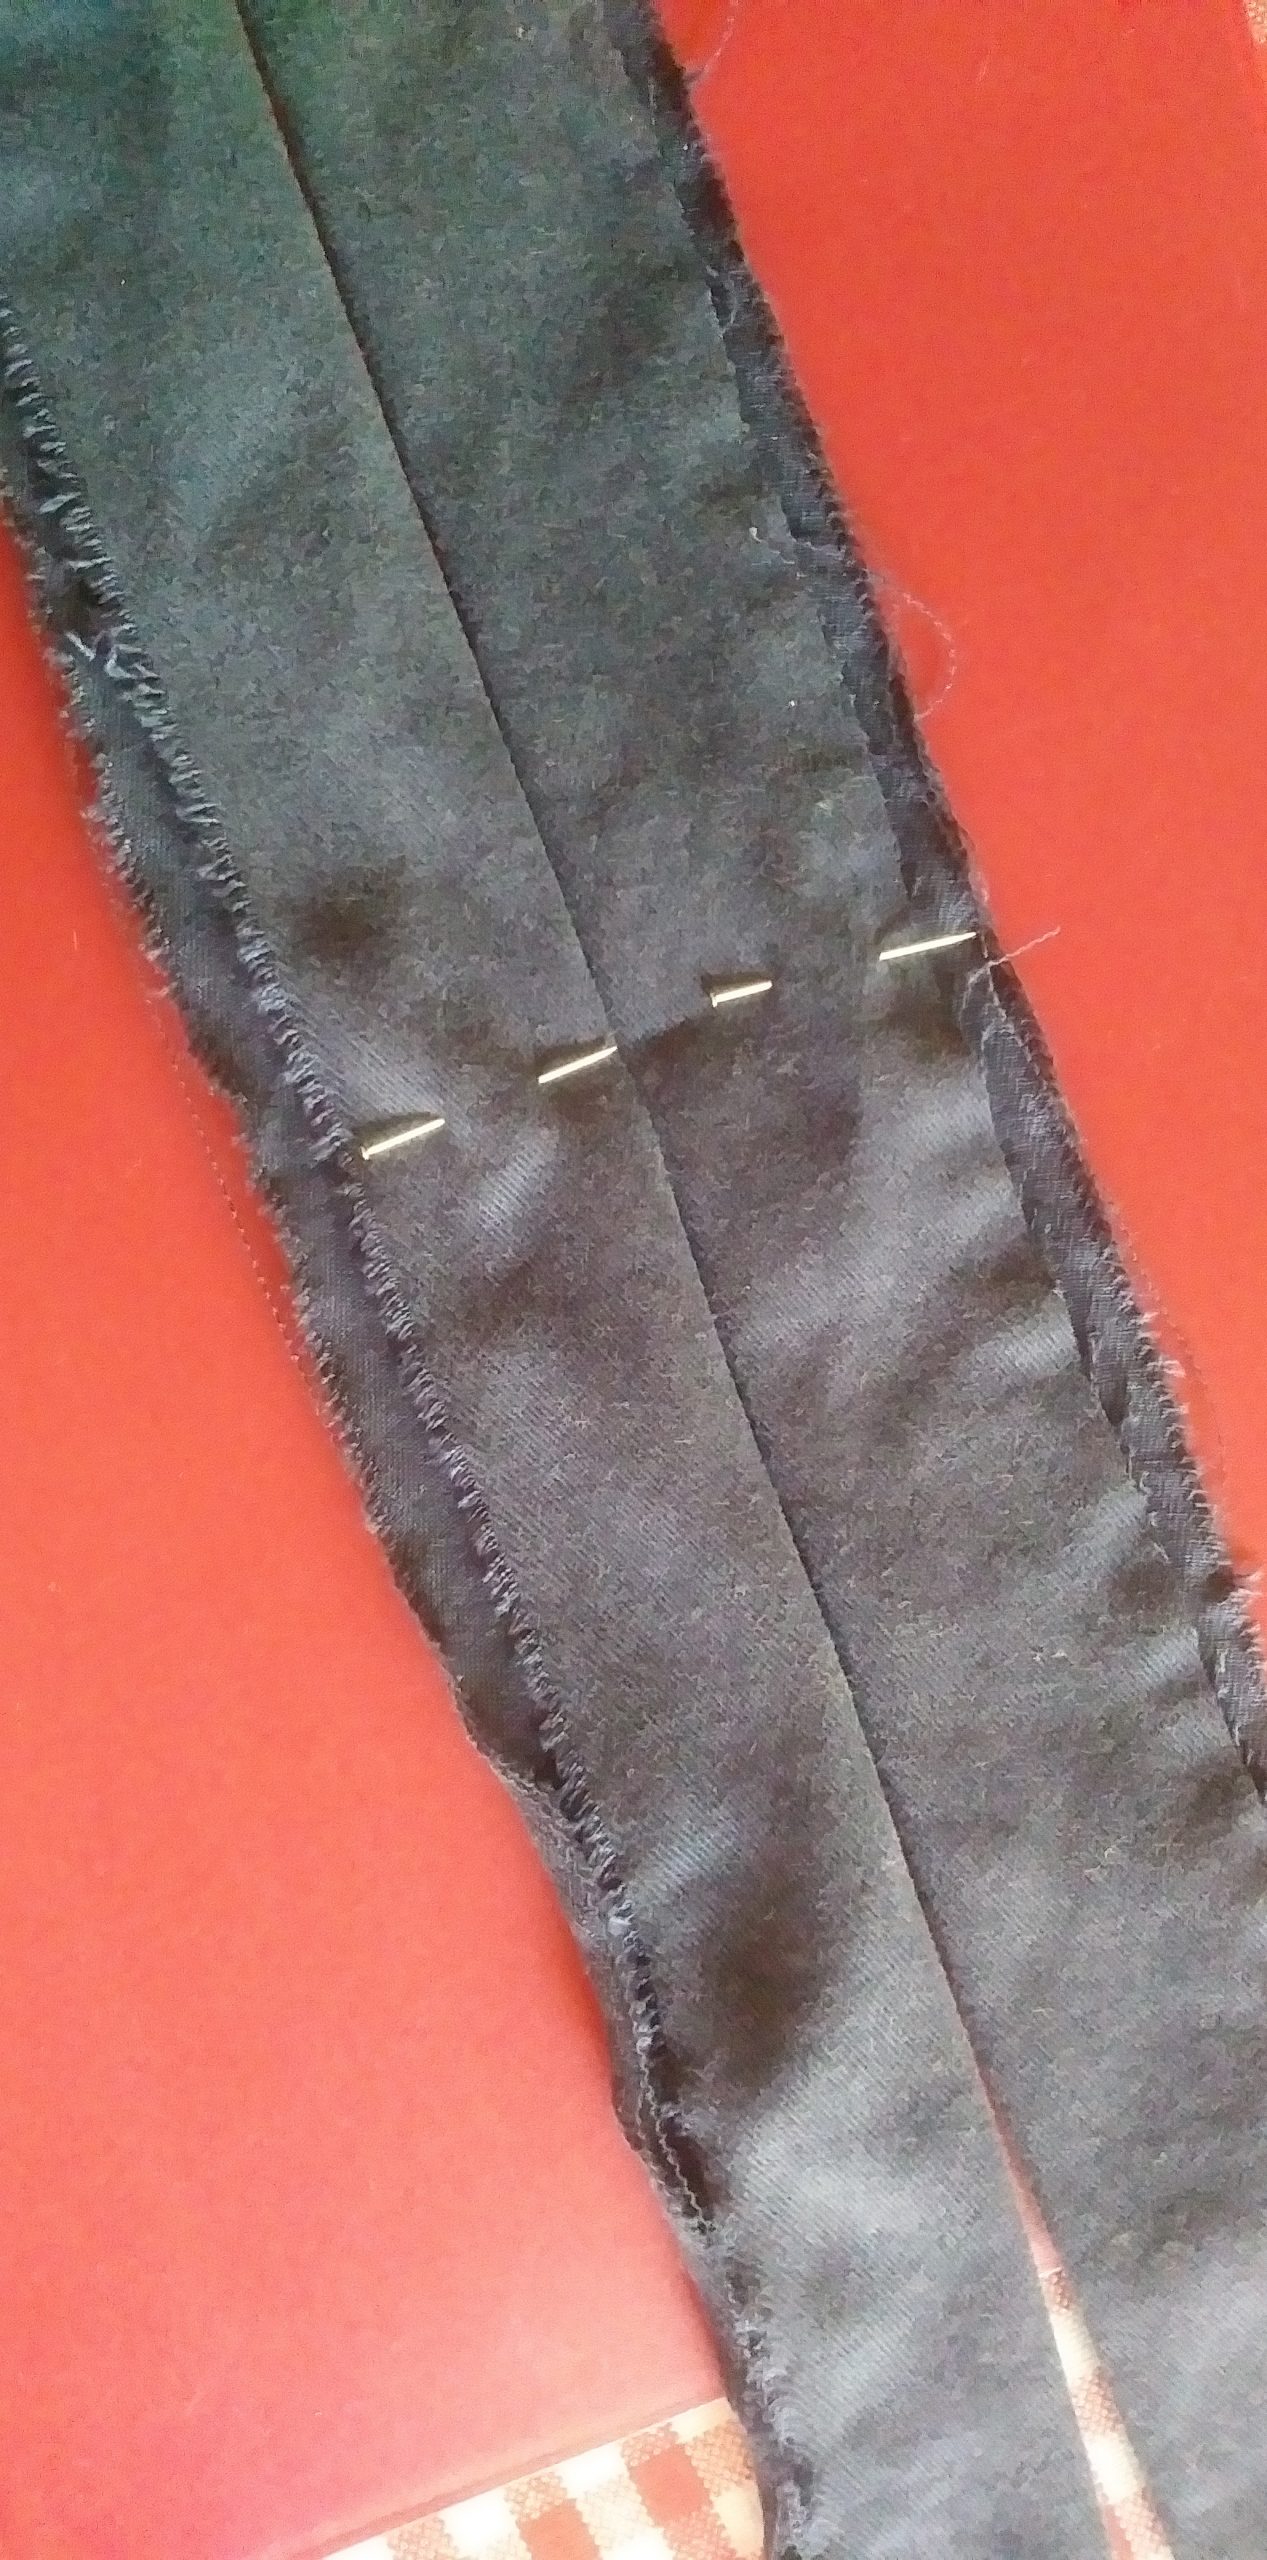
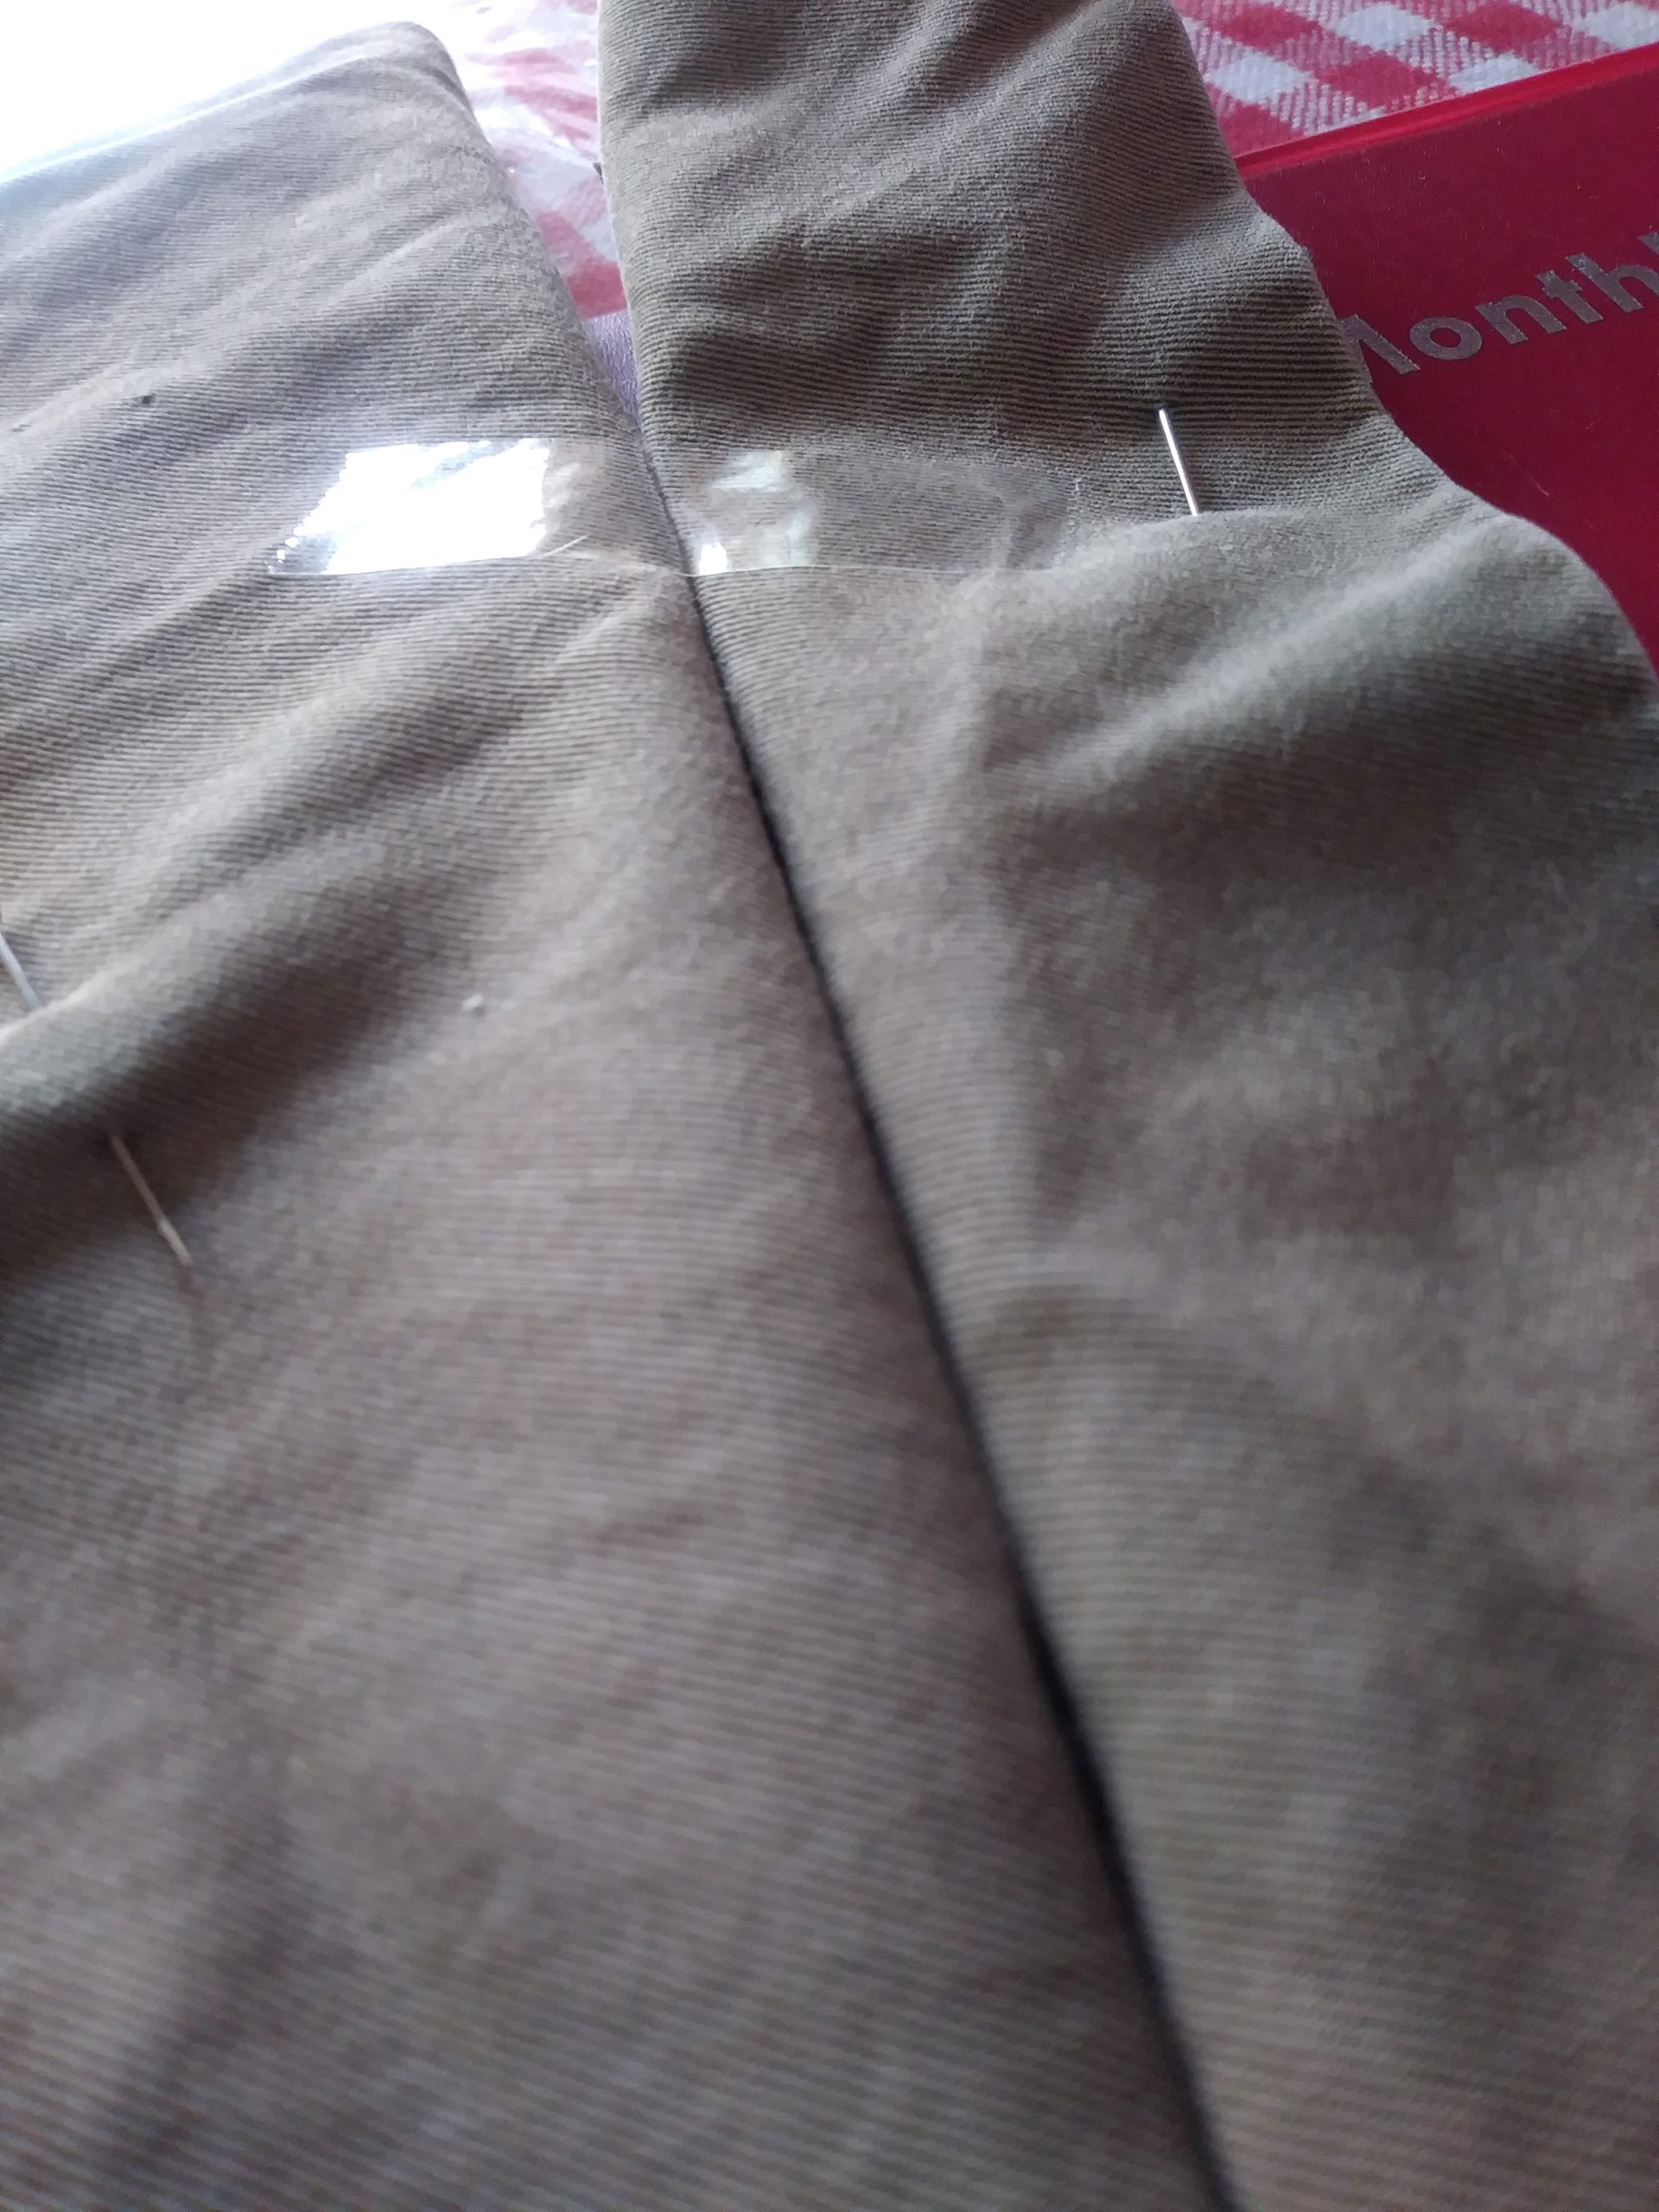
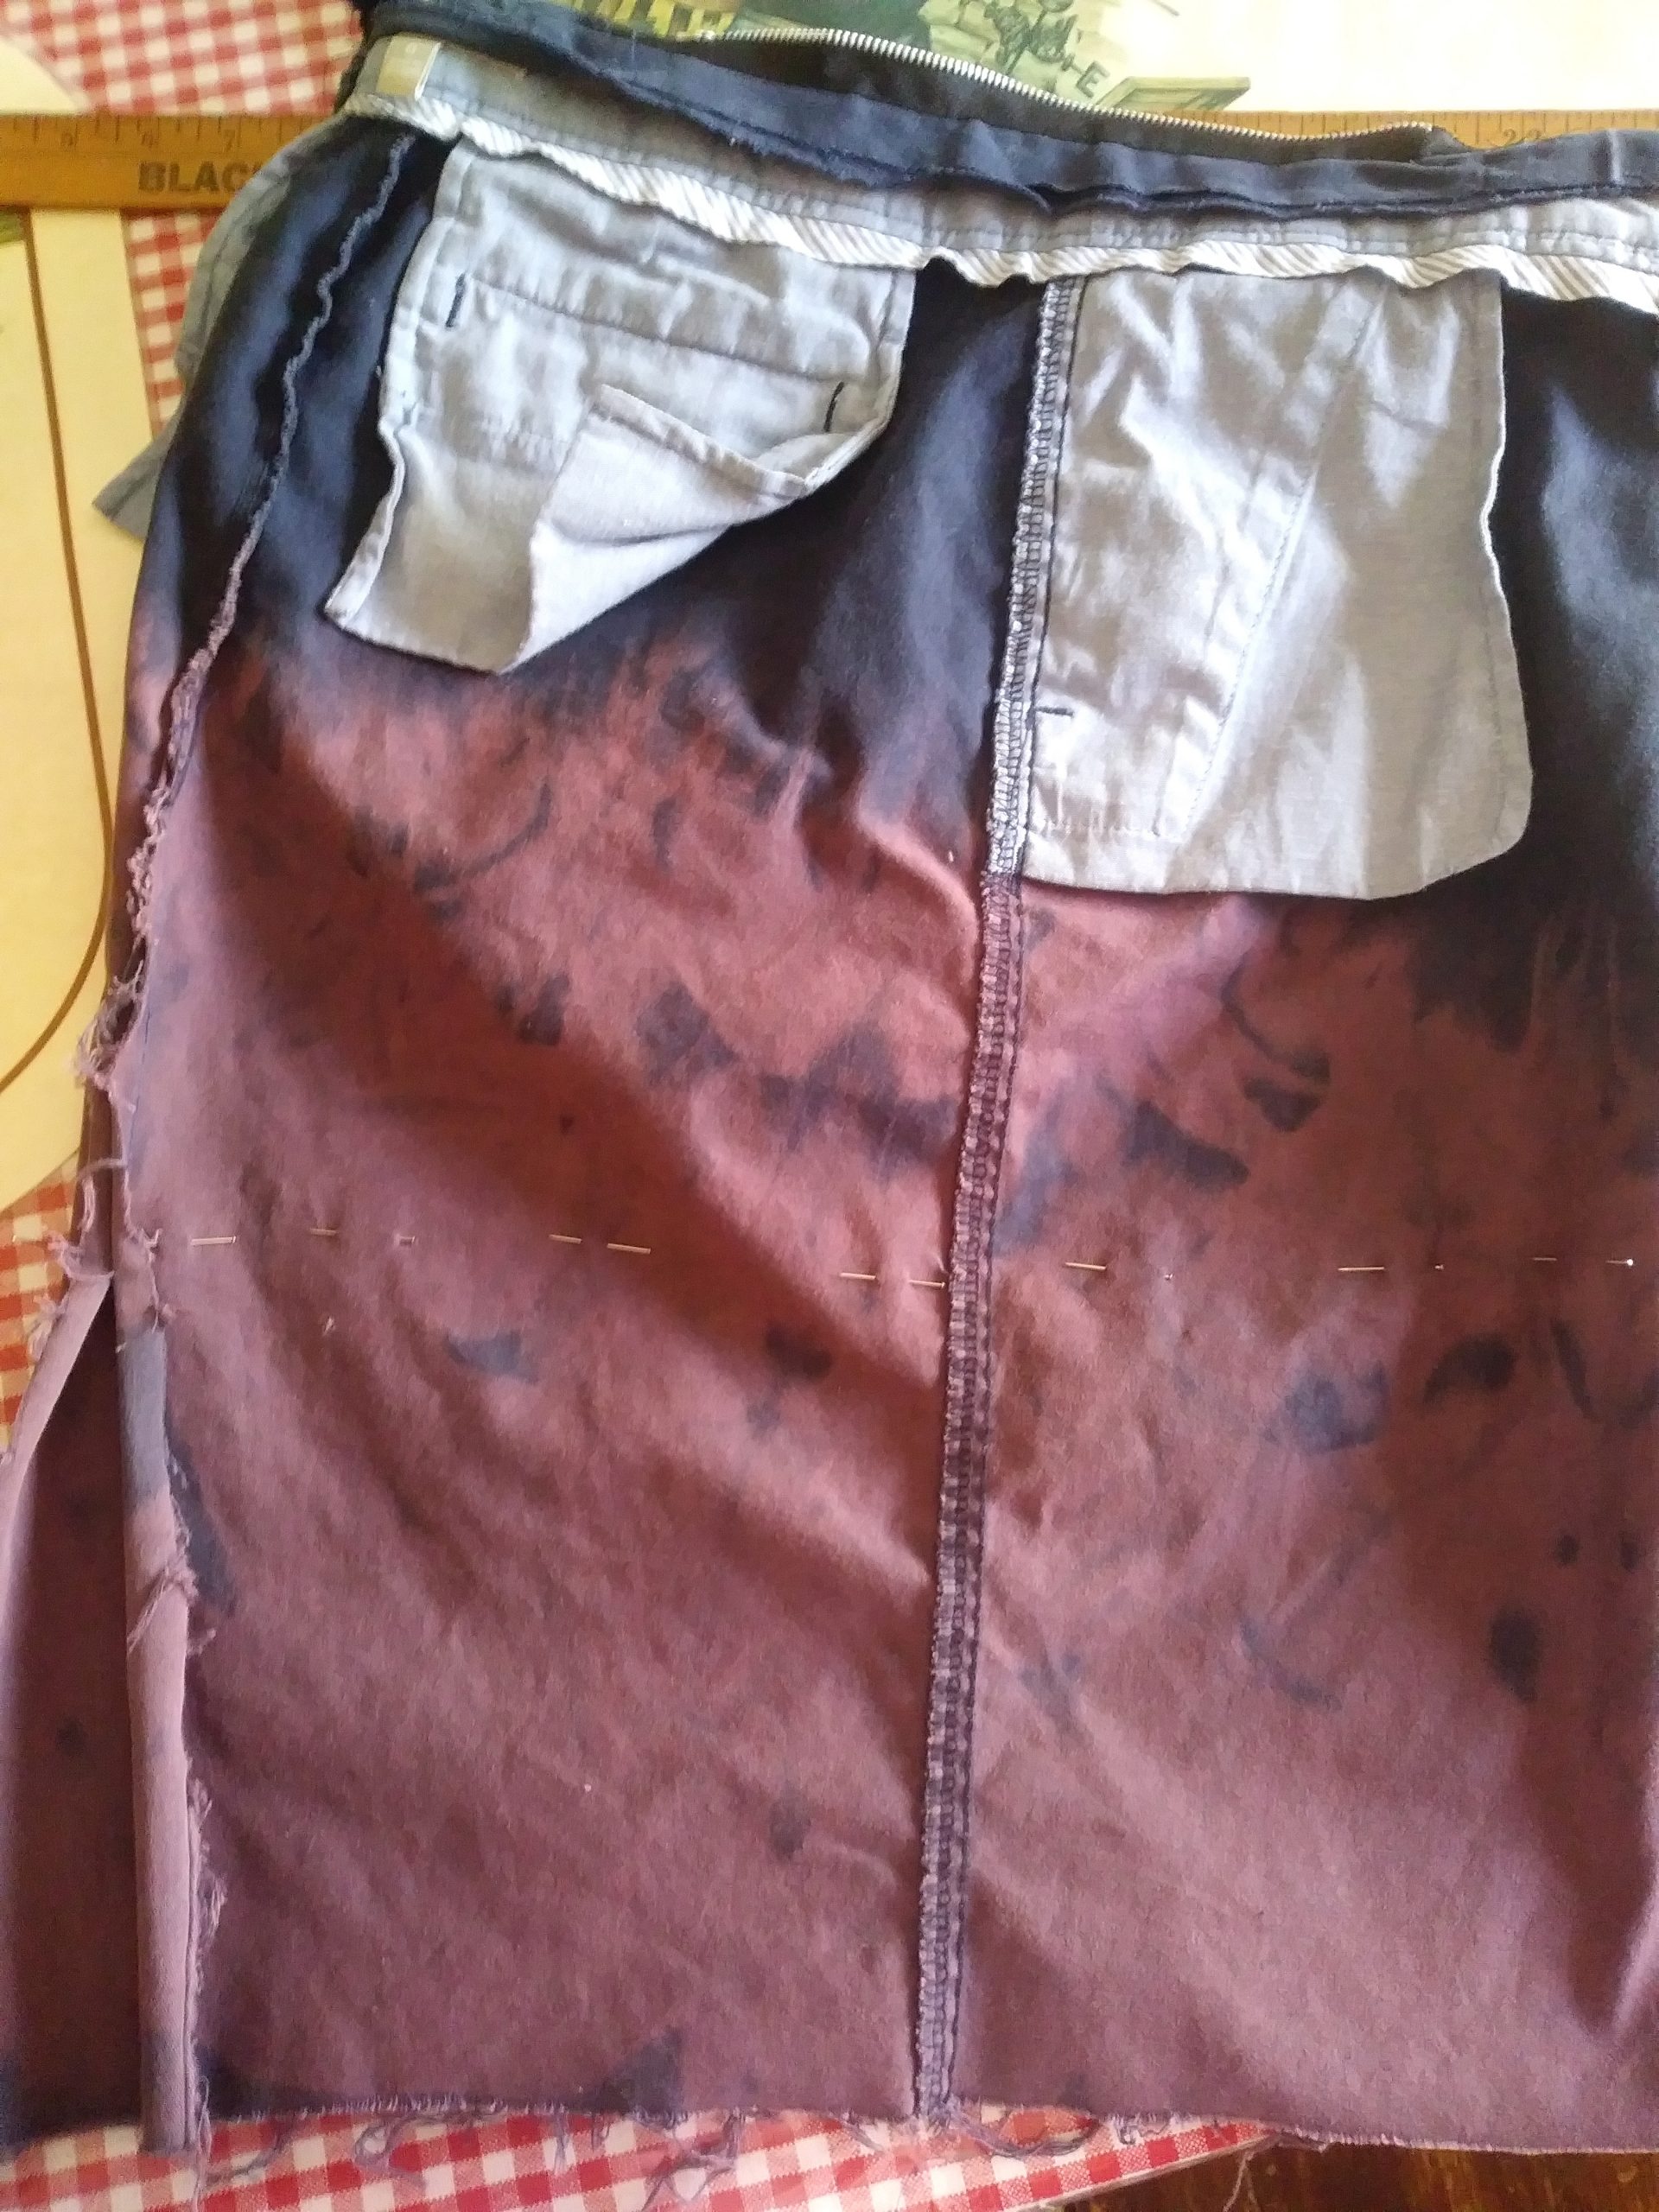
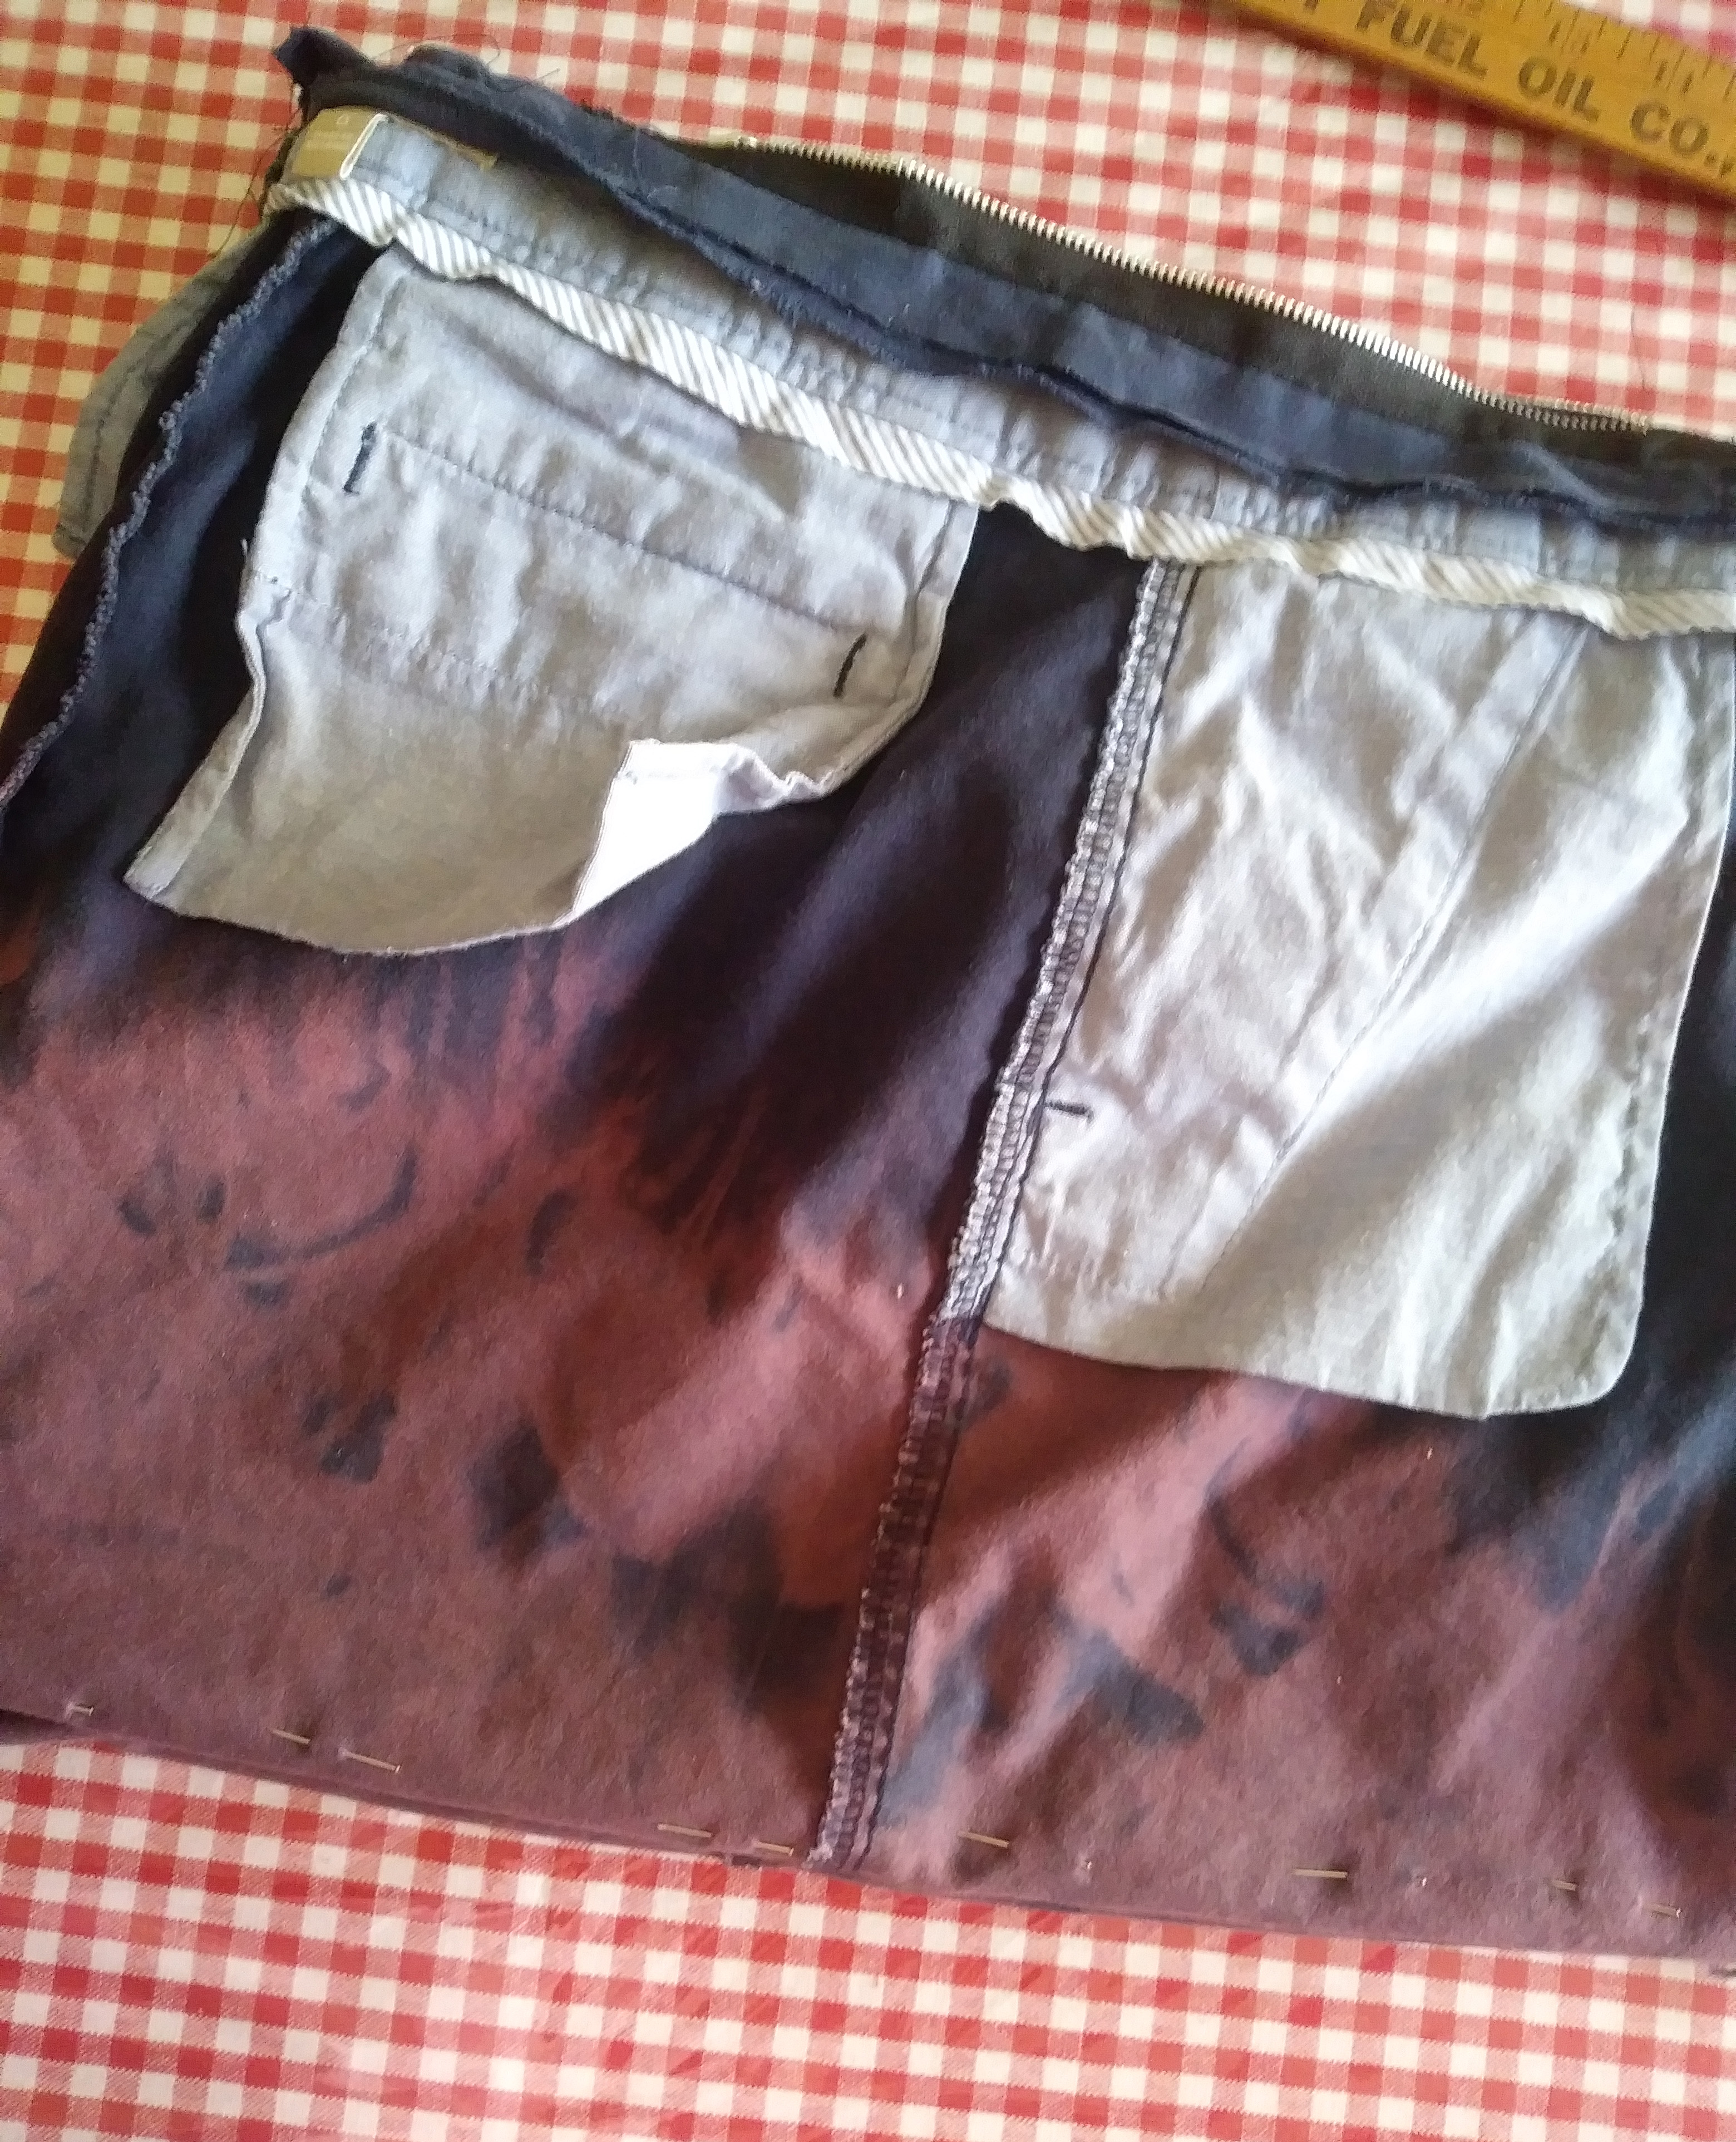
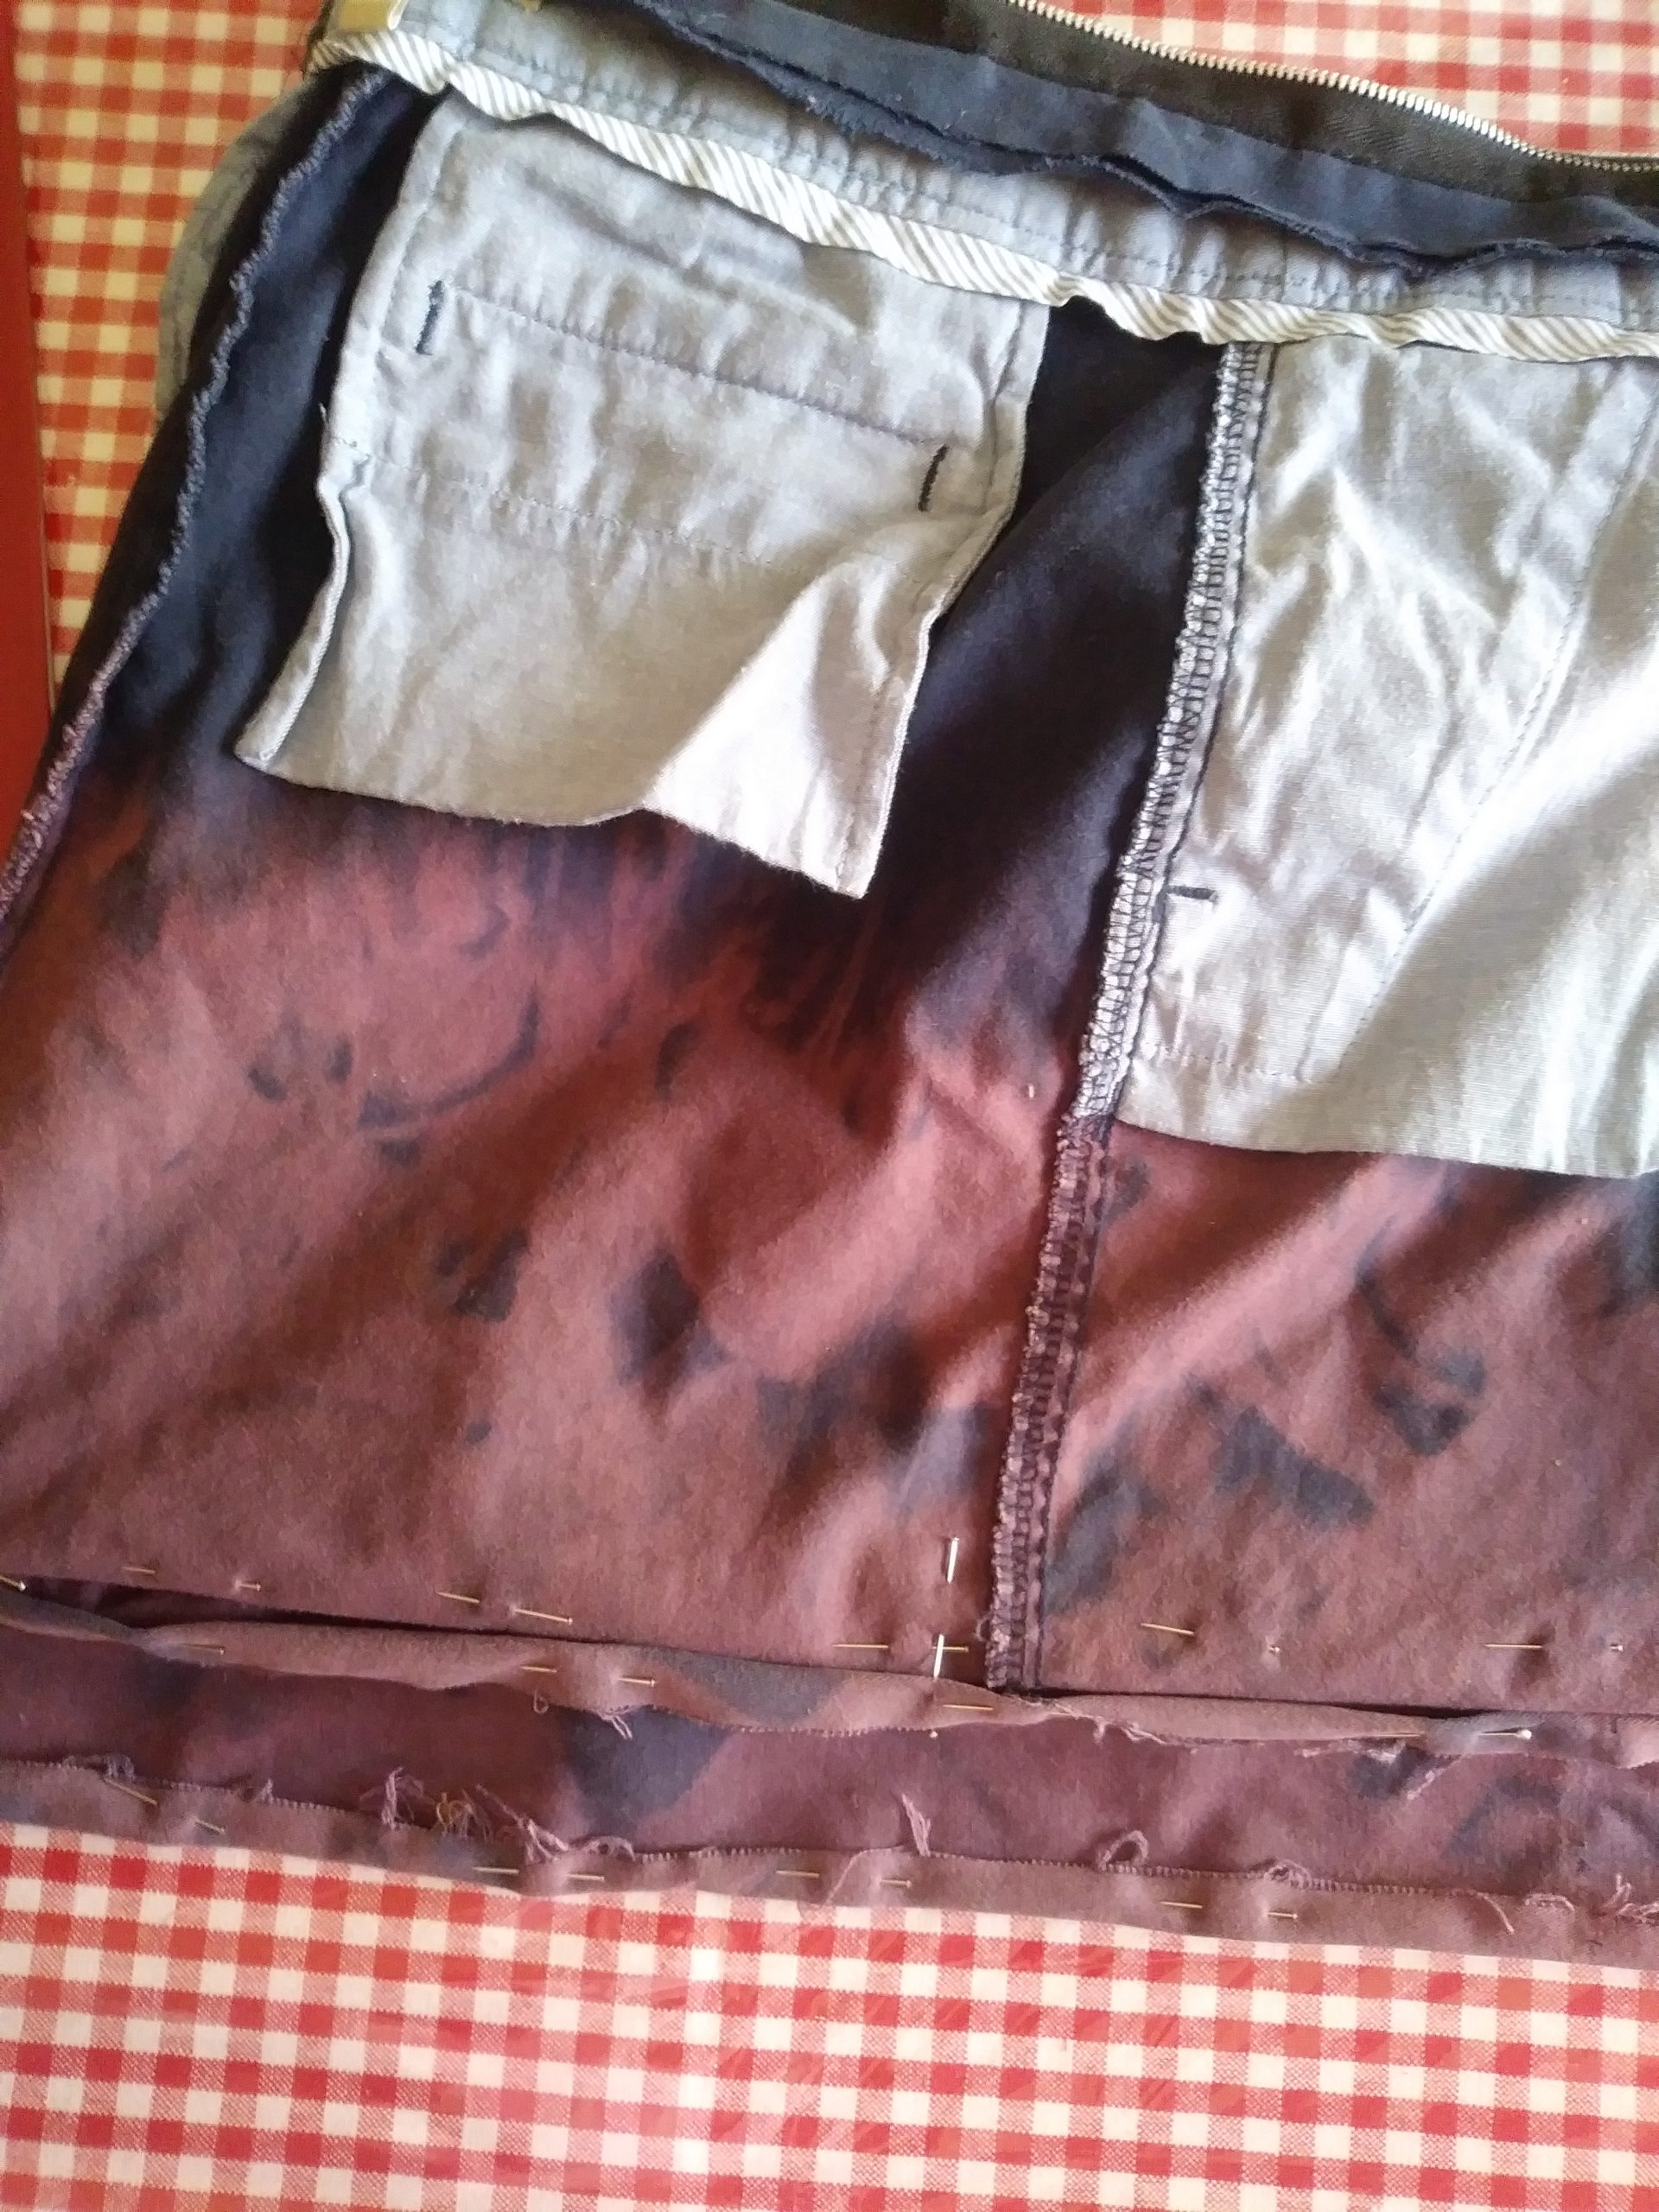
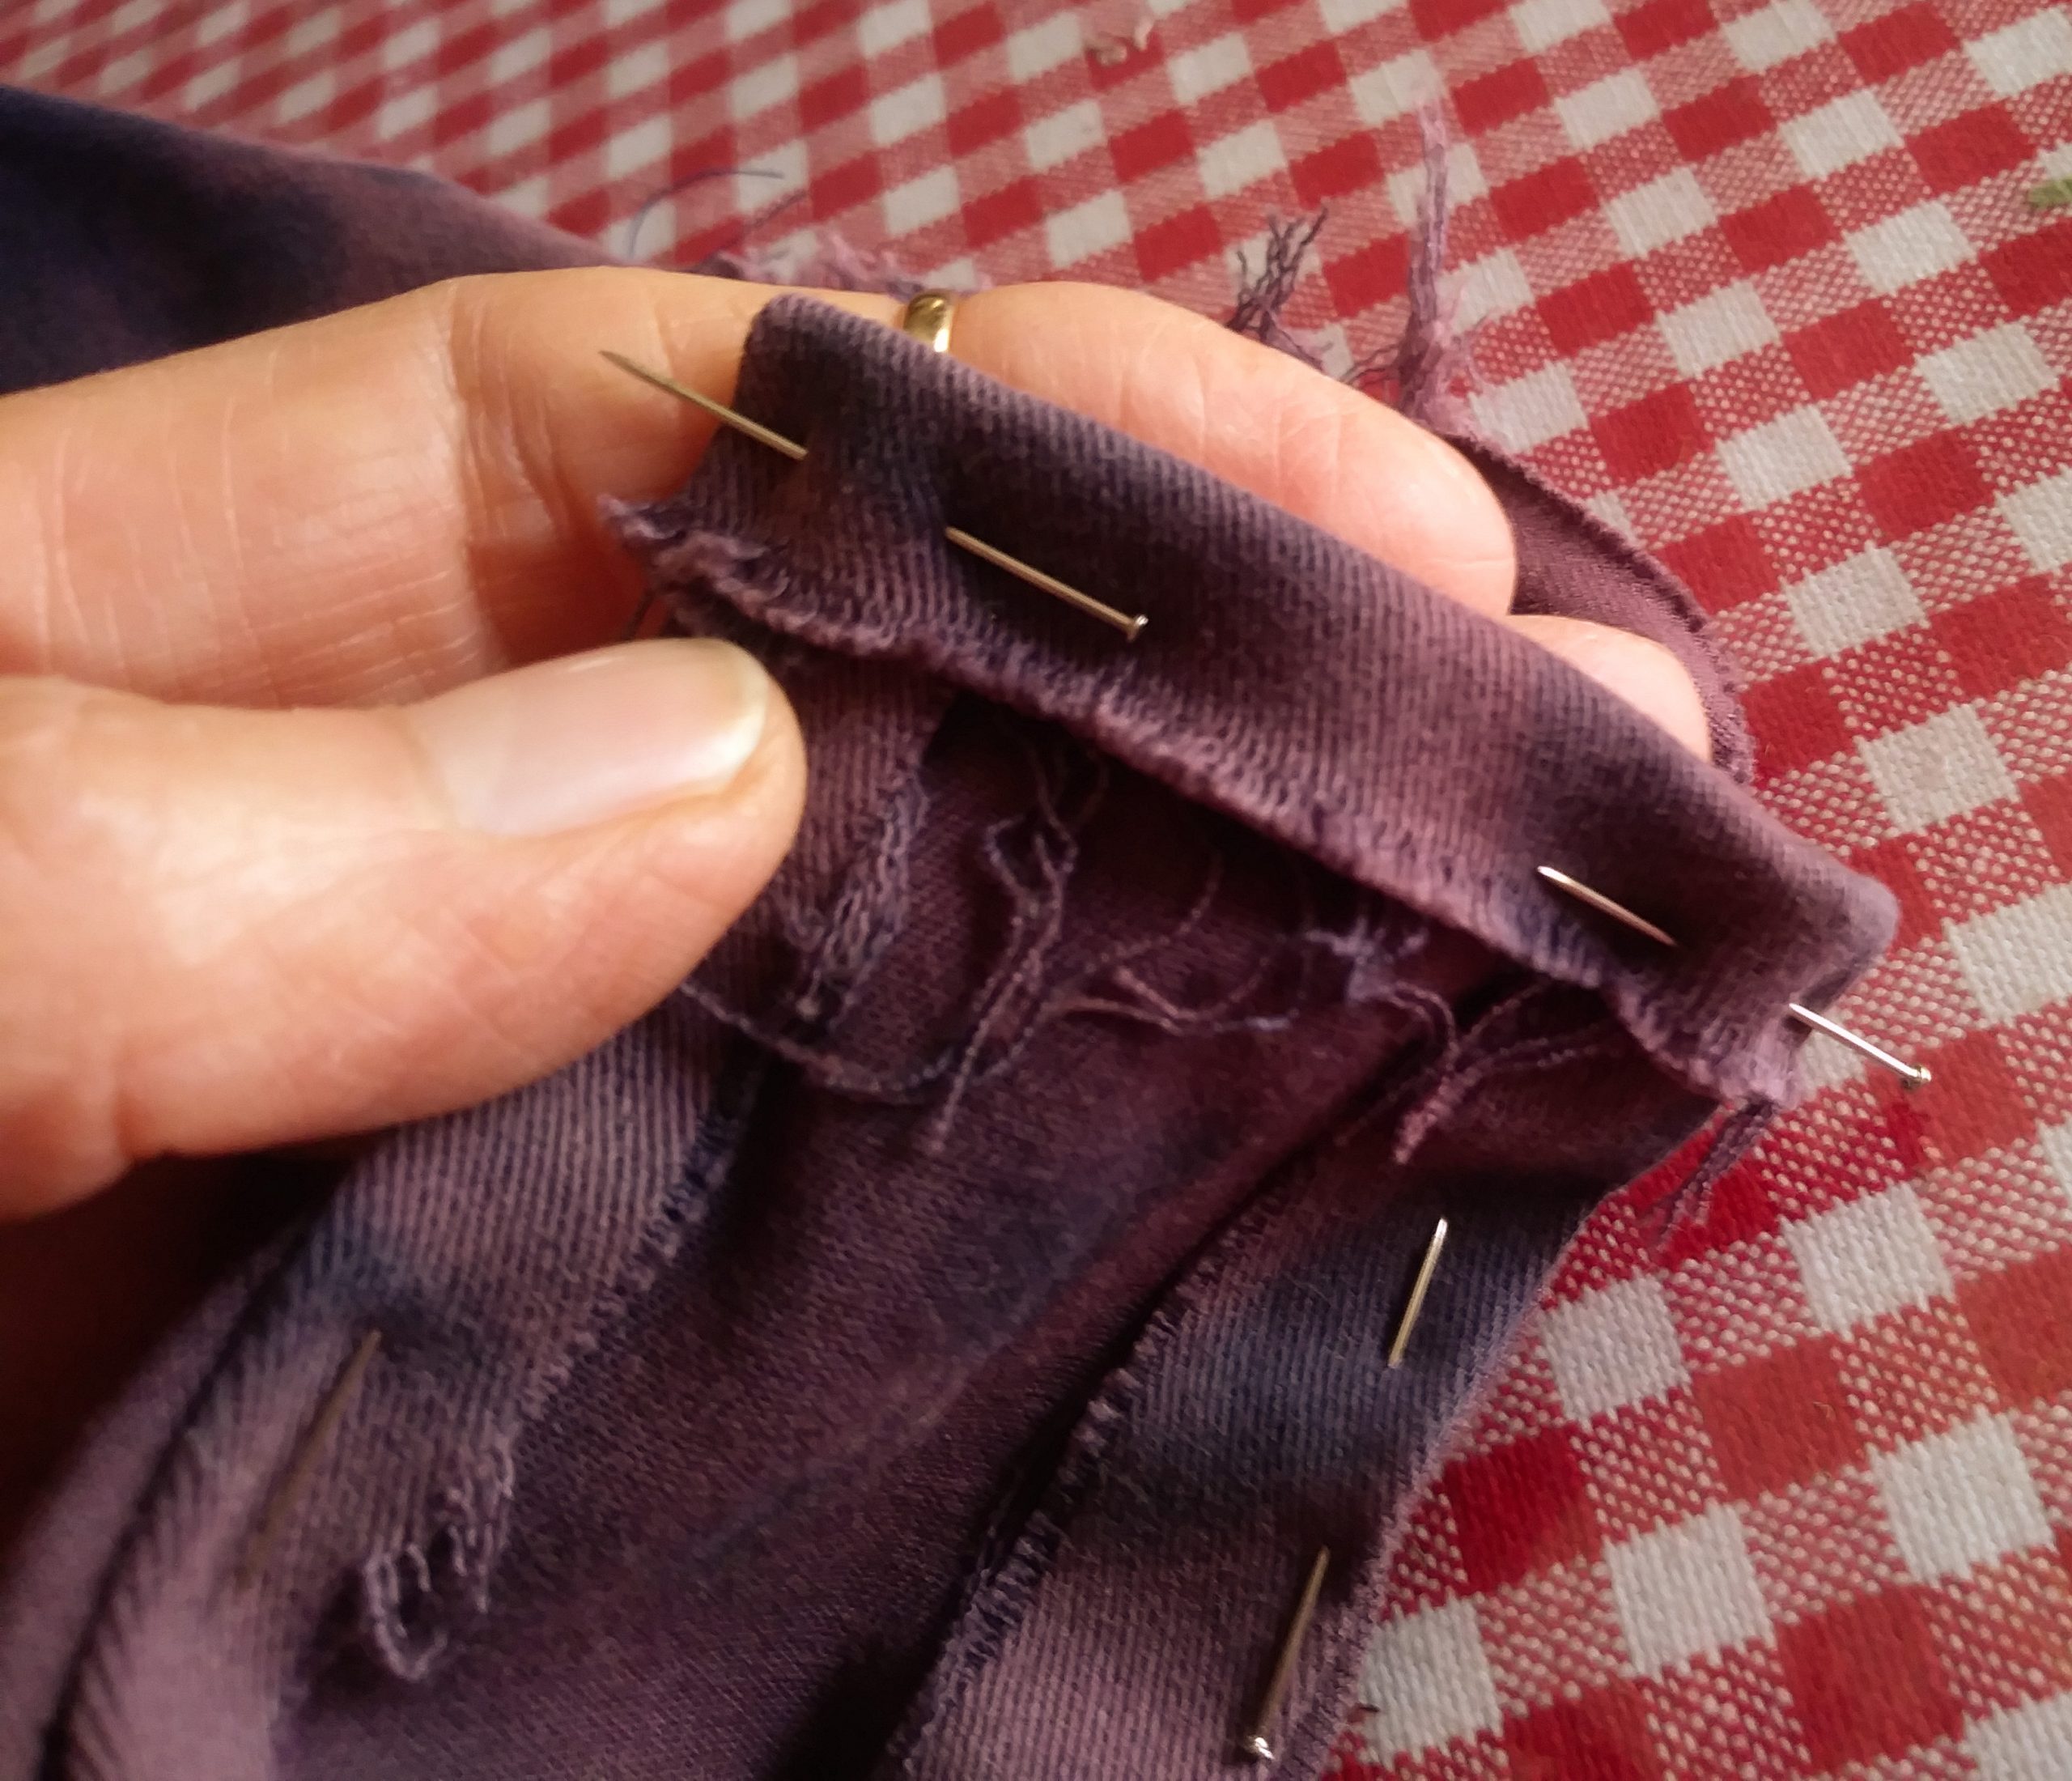
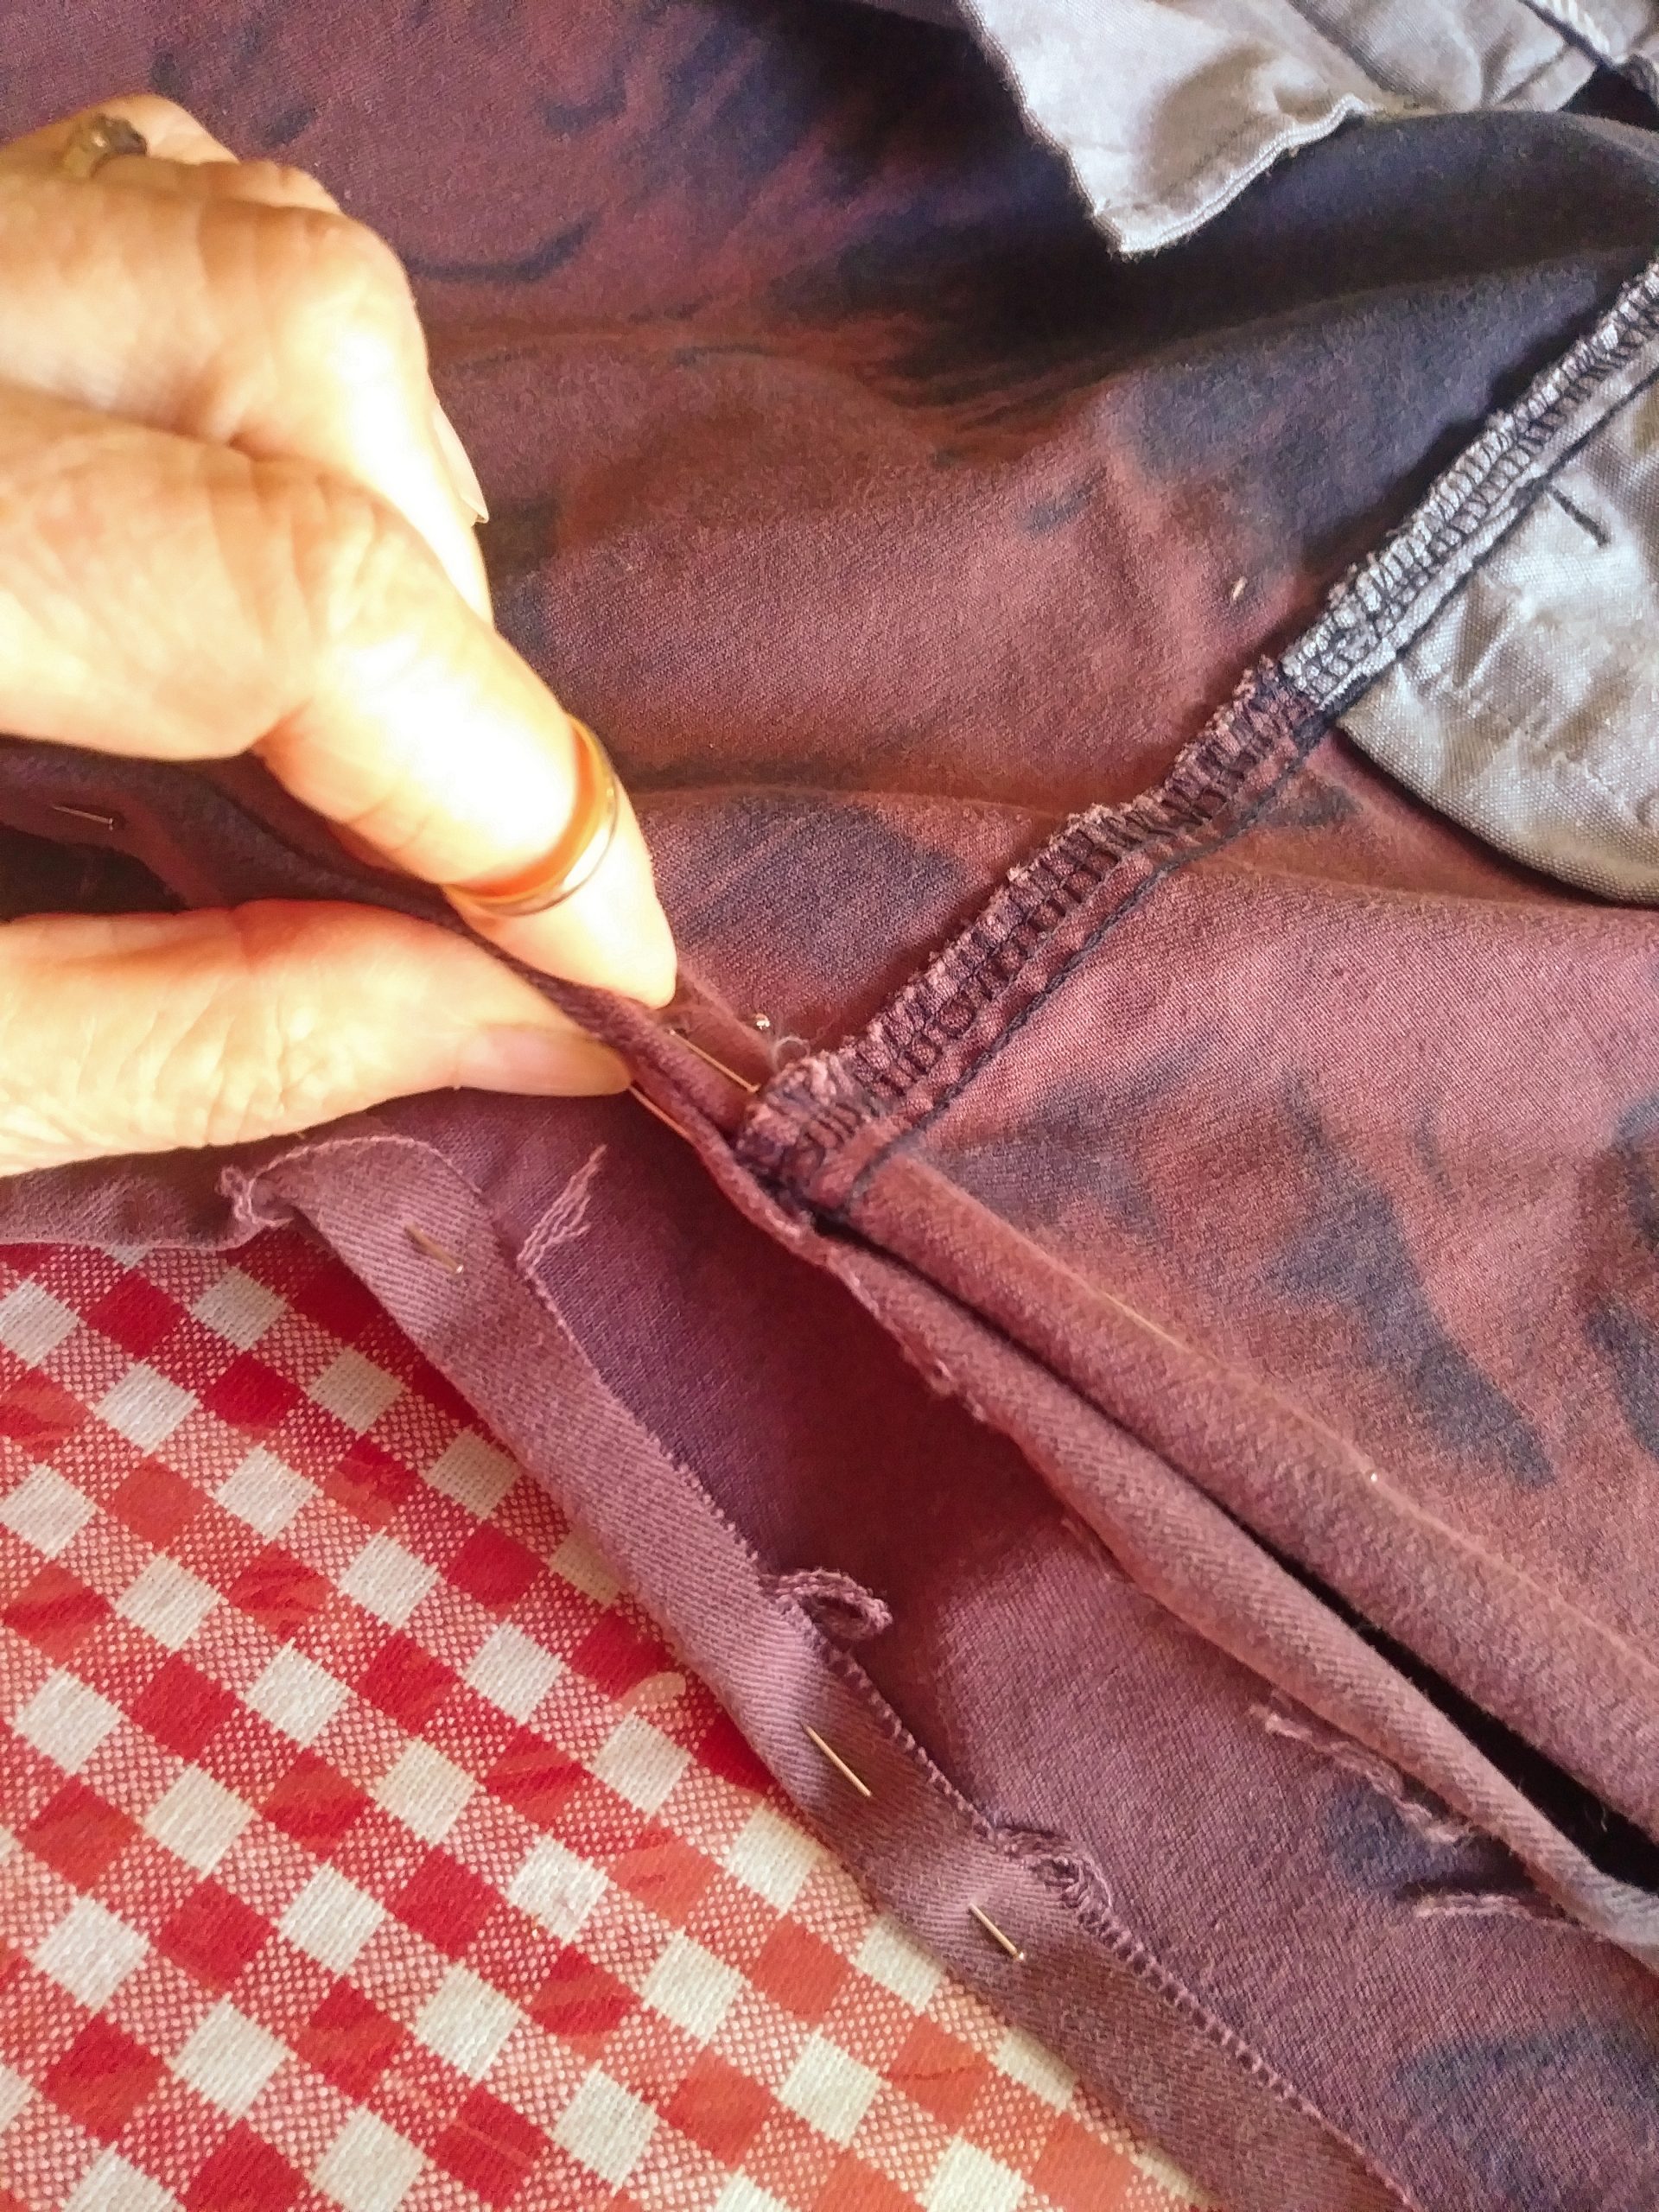
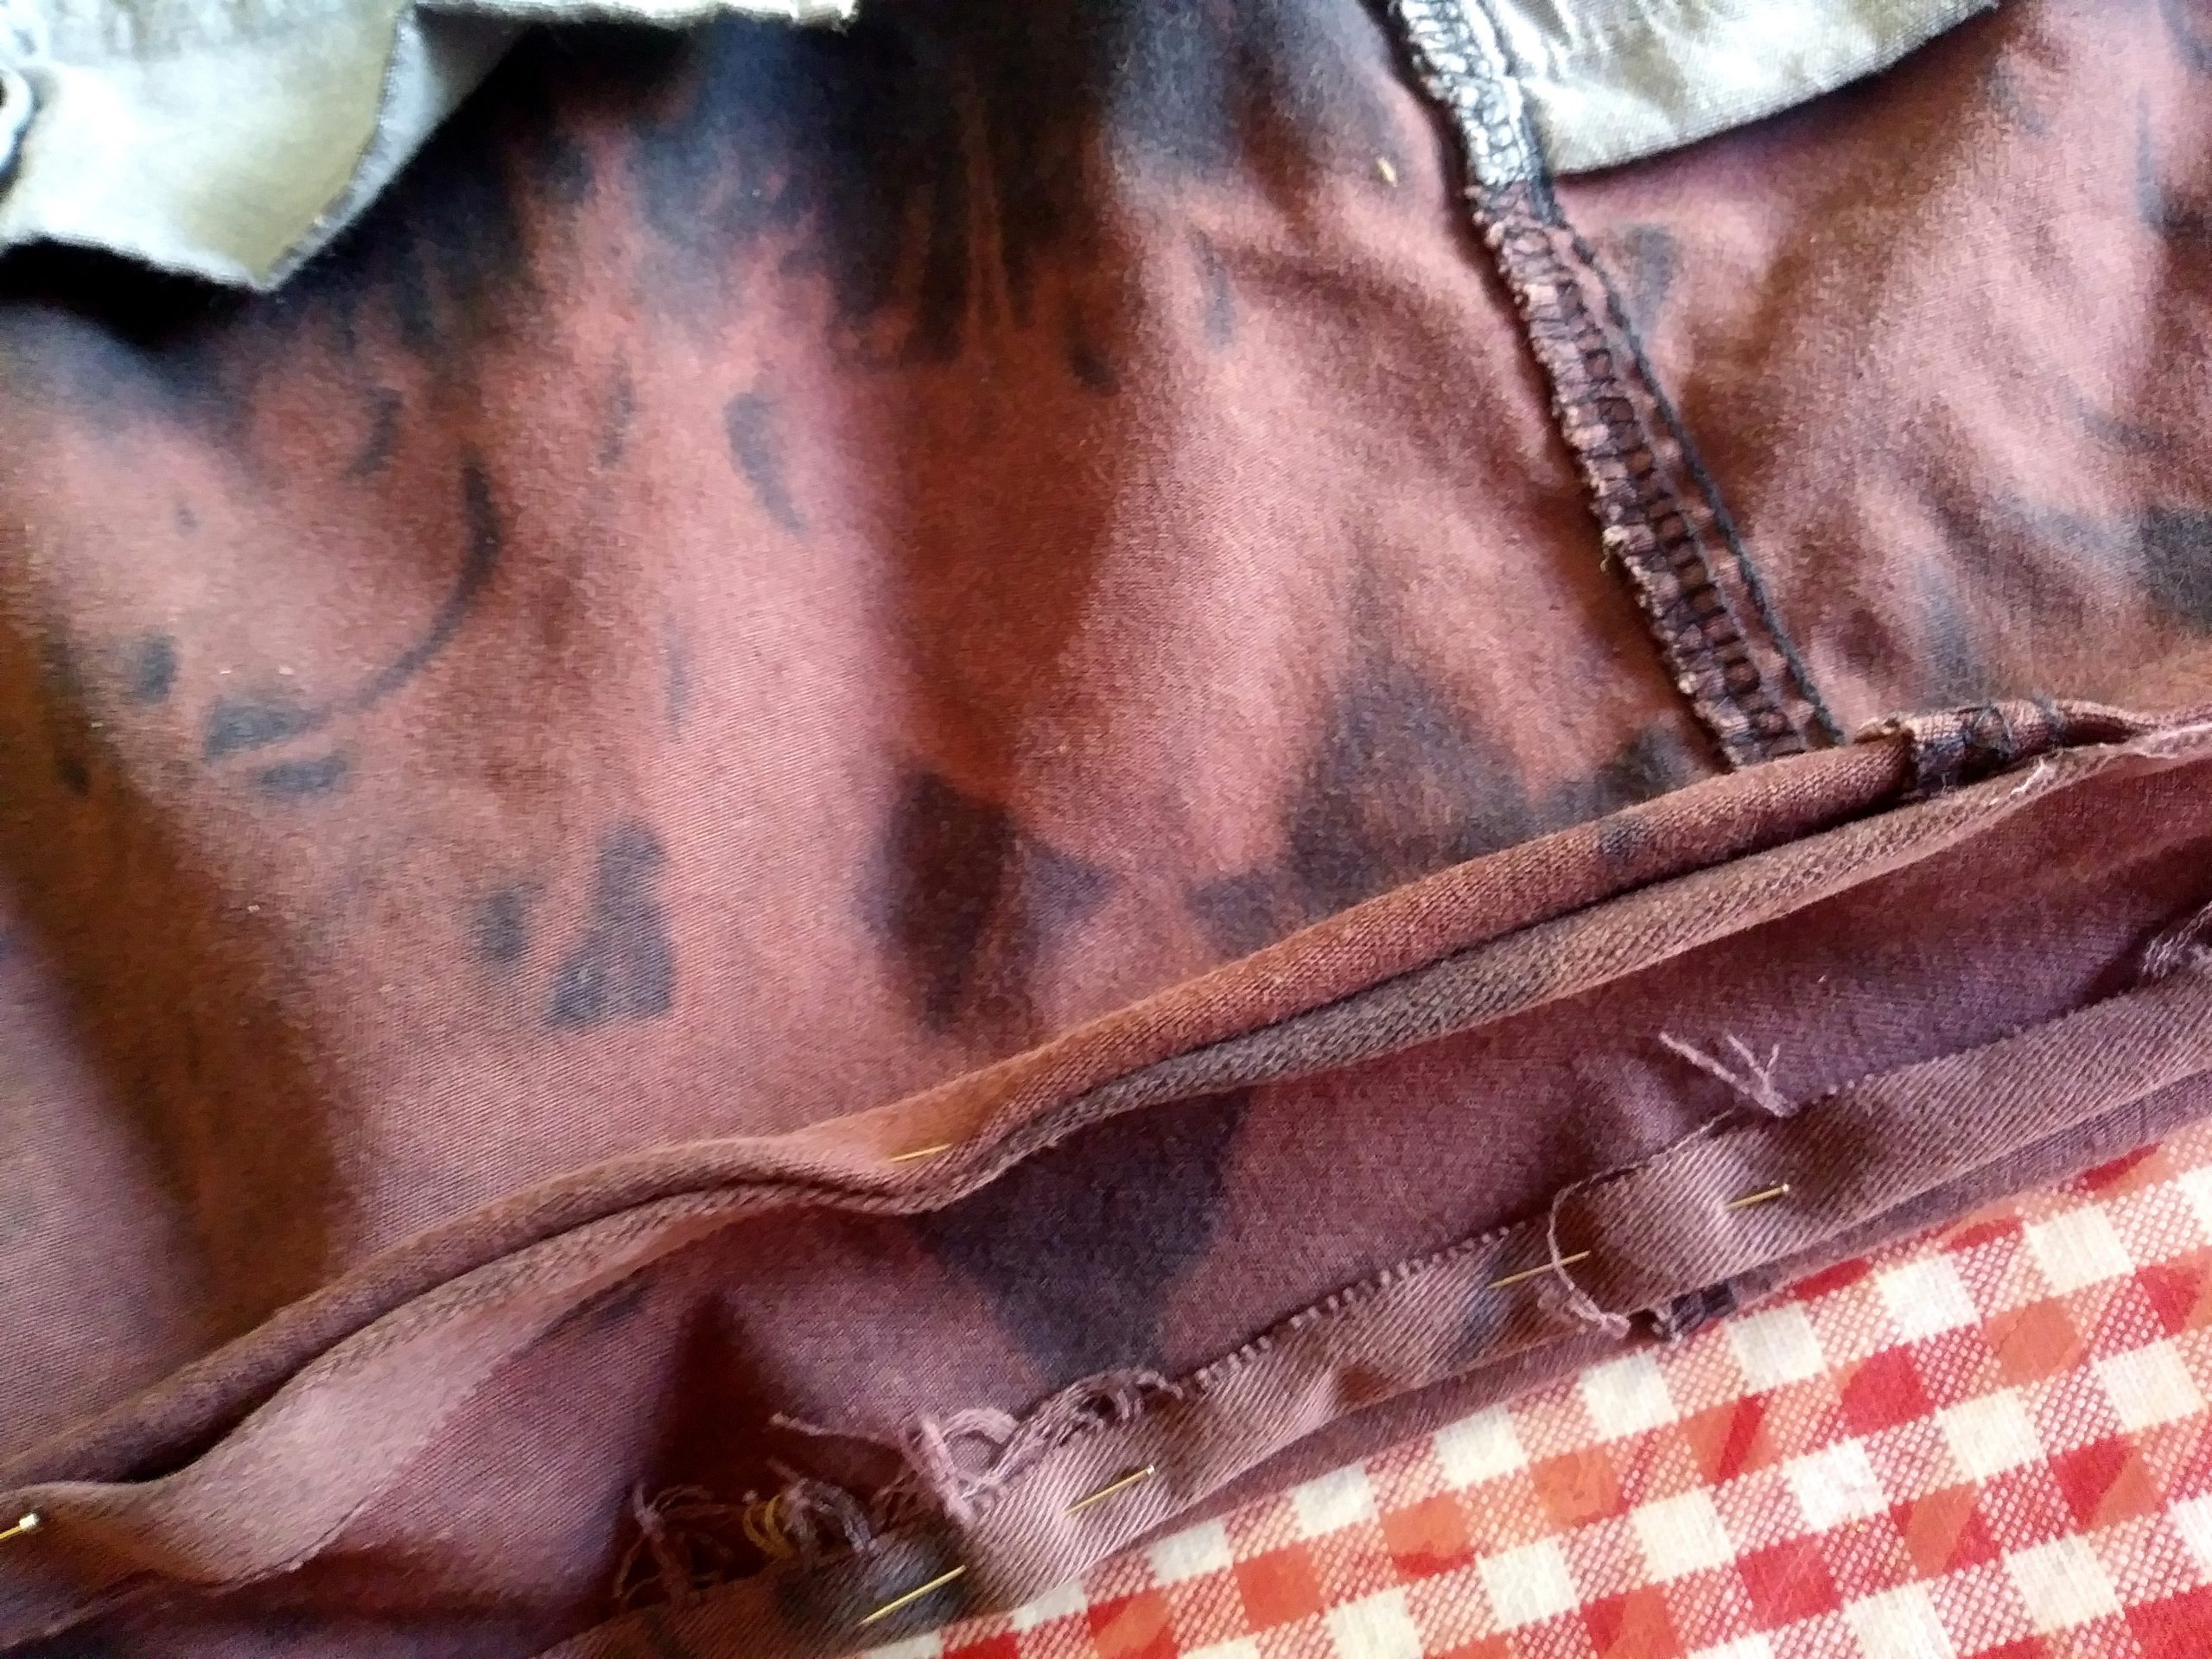
- With the pants inside out and the fly on the side, pin straight lines to make the sides smooth without the crotch. Then, sew the side seams following the pins, removing the pins as you sew. Cut away the extra crotch, allowing for 1/2-inch seam, and zig-zag along the raw edges.

- From the cut-off pant legs, cut the fabric for the strap (if not using a belt), also for the bottom piece.
See the instructions for each, farther down.
The strap will be
the darker color—like the top of the bag; the bottom will be the lighter color—like the bottom of the bag. So, you’ll need to bleach the bottom piece when you do the bottom part of the bag-to-be.
- Put a plastic bag over the top part, say, to the bottom of the fly zipper. Secure tightly with a rubber band.
- Put on your gloves and paint shirt.
- Mix some bleach water in the sink (maybe half cup bleach to a couple
gallons water—you can also check the bottle), and soak the pants up to the rubber band, keeping the bagged part out of the bleach, for 10-15 minutes.
- Rinse thoroughly and let dry.
- Turn the pants inside out. Measure down from the top of the waistband about 20 inches and pin a straight horizontal
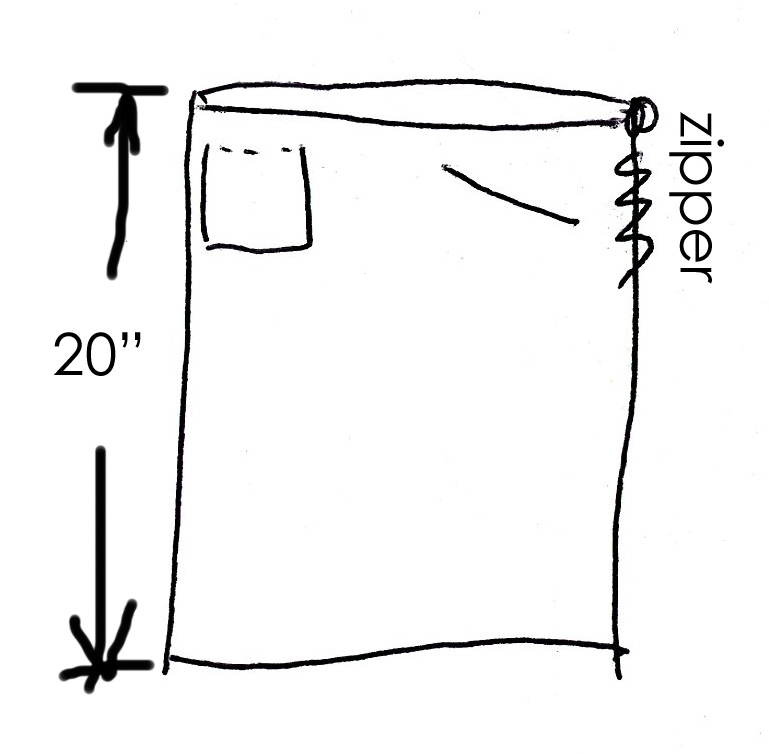
line across, side to side. This will be the bottom of the fringe.
- Cut along the pin line.
After you have your bag the size you want it, the first thing you will do is to put in the strap.
Either make the strap, as I will show you, or, use a belt. I’ve done both.
Making the Strap
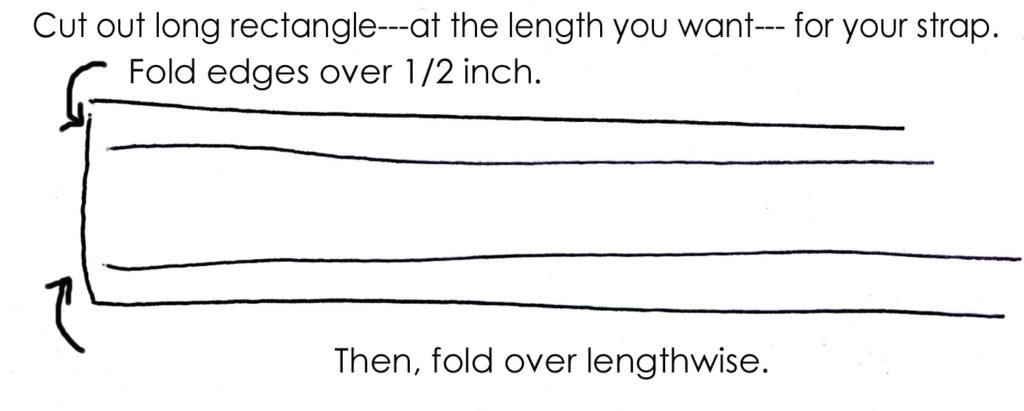
- Measure how long you want your strap, i.e., where you want your bag to hang on you. Then add six inches to that length: three inches on each end will be sewn inside the bag for strength.
- Cut out a long rectangle: the length
you want plus the six inches x the width . Bear in mind, you will be hemming the strap.
If you need to, cut two shorter lengths and sew them together.

If you’re combining two shorter lengths, hem the ends, with 1/2-inch hems, before you sew them together to make a long strap. Overlap them, after hemmed, about an inch.
- Hem the sides of the long strap rectangle by folding over the long edges 1/2 inch, pinning, and sewing down. Be sure the ends are hemmed. too. Then fold it over lengthwise and sew.
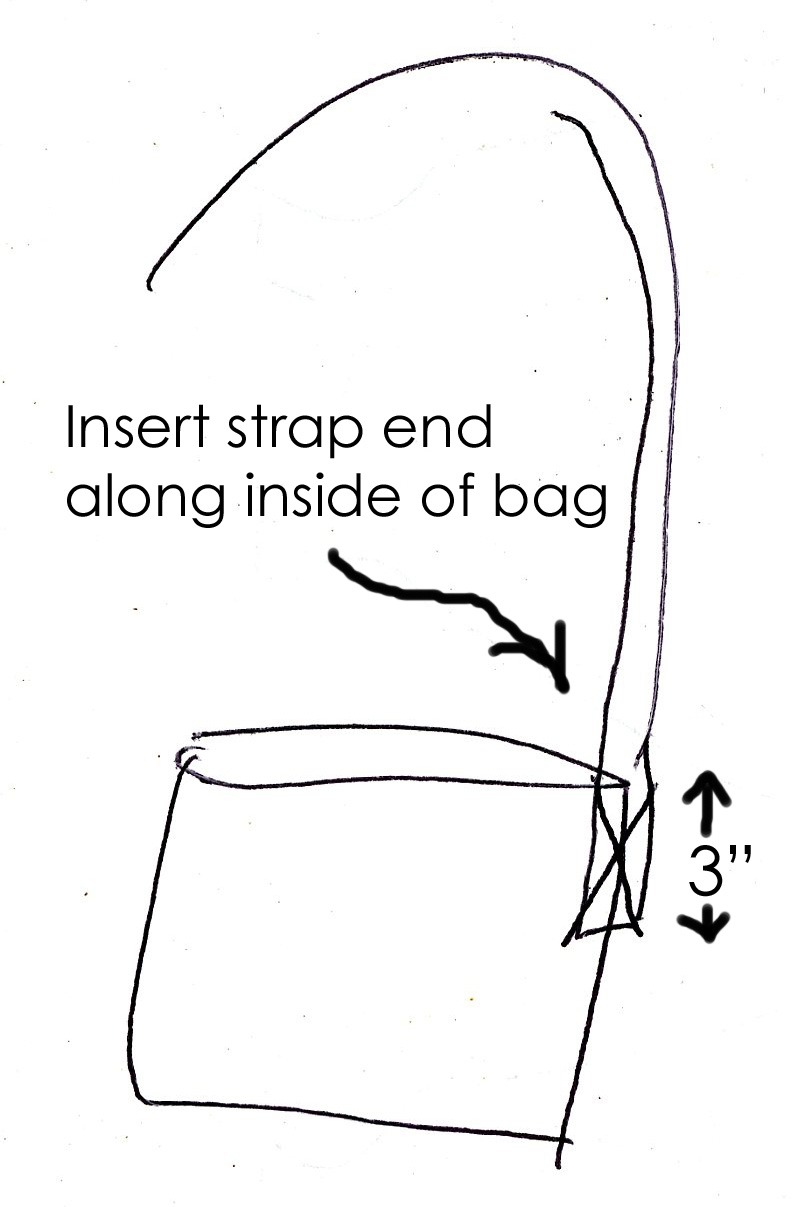
- Insert one end of the hemmed strap three inches down into the inside of the bag-to-be along the side seam. Pin it on the inside. Sew an X on the strap, attaching it to the inside of the bag, plus sew around the edges for strength.
- Do the same for the other end, making sure it’s not twisted.
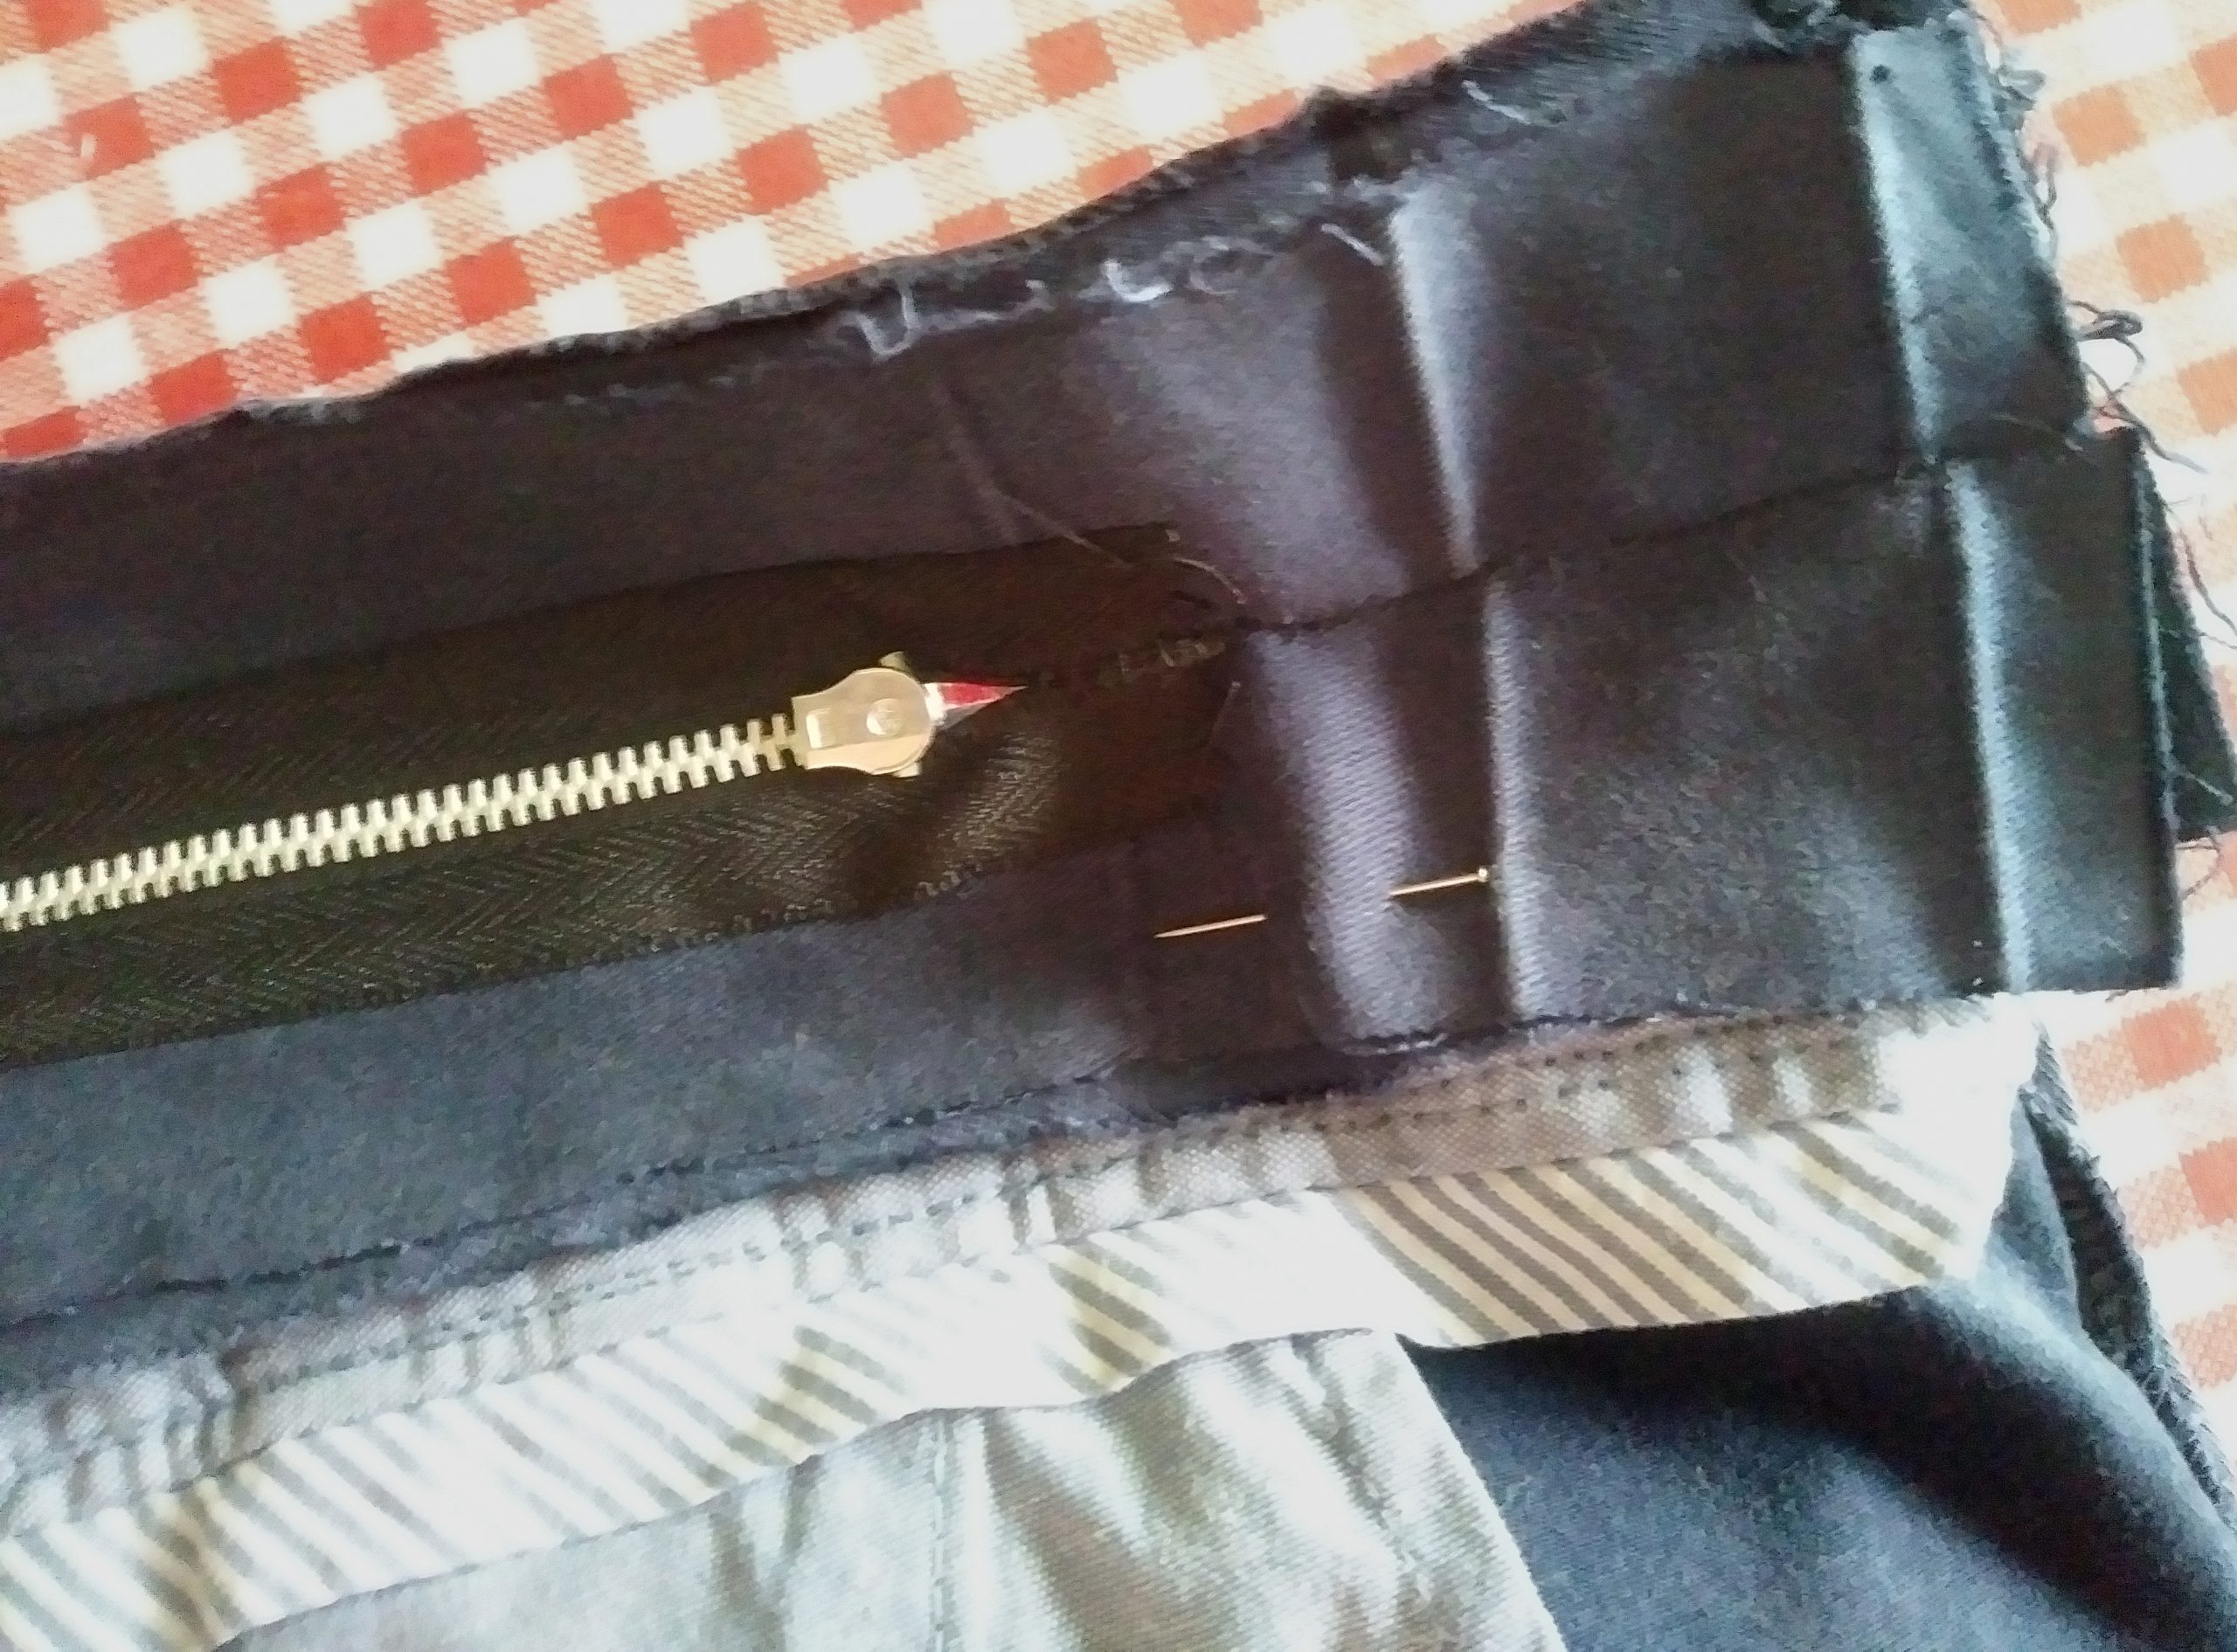
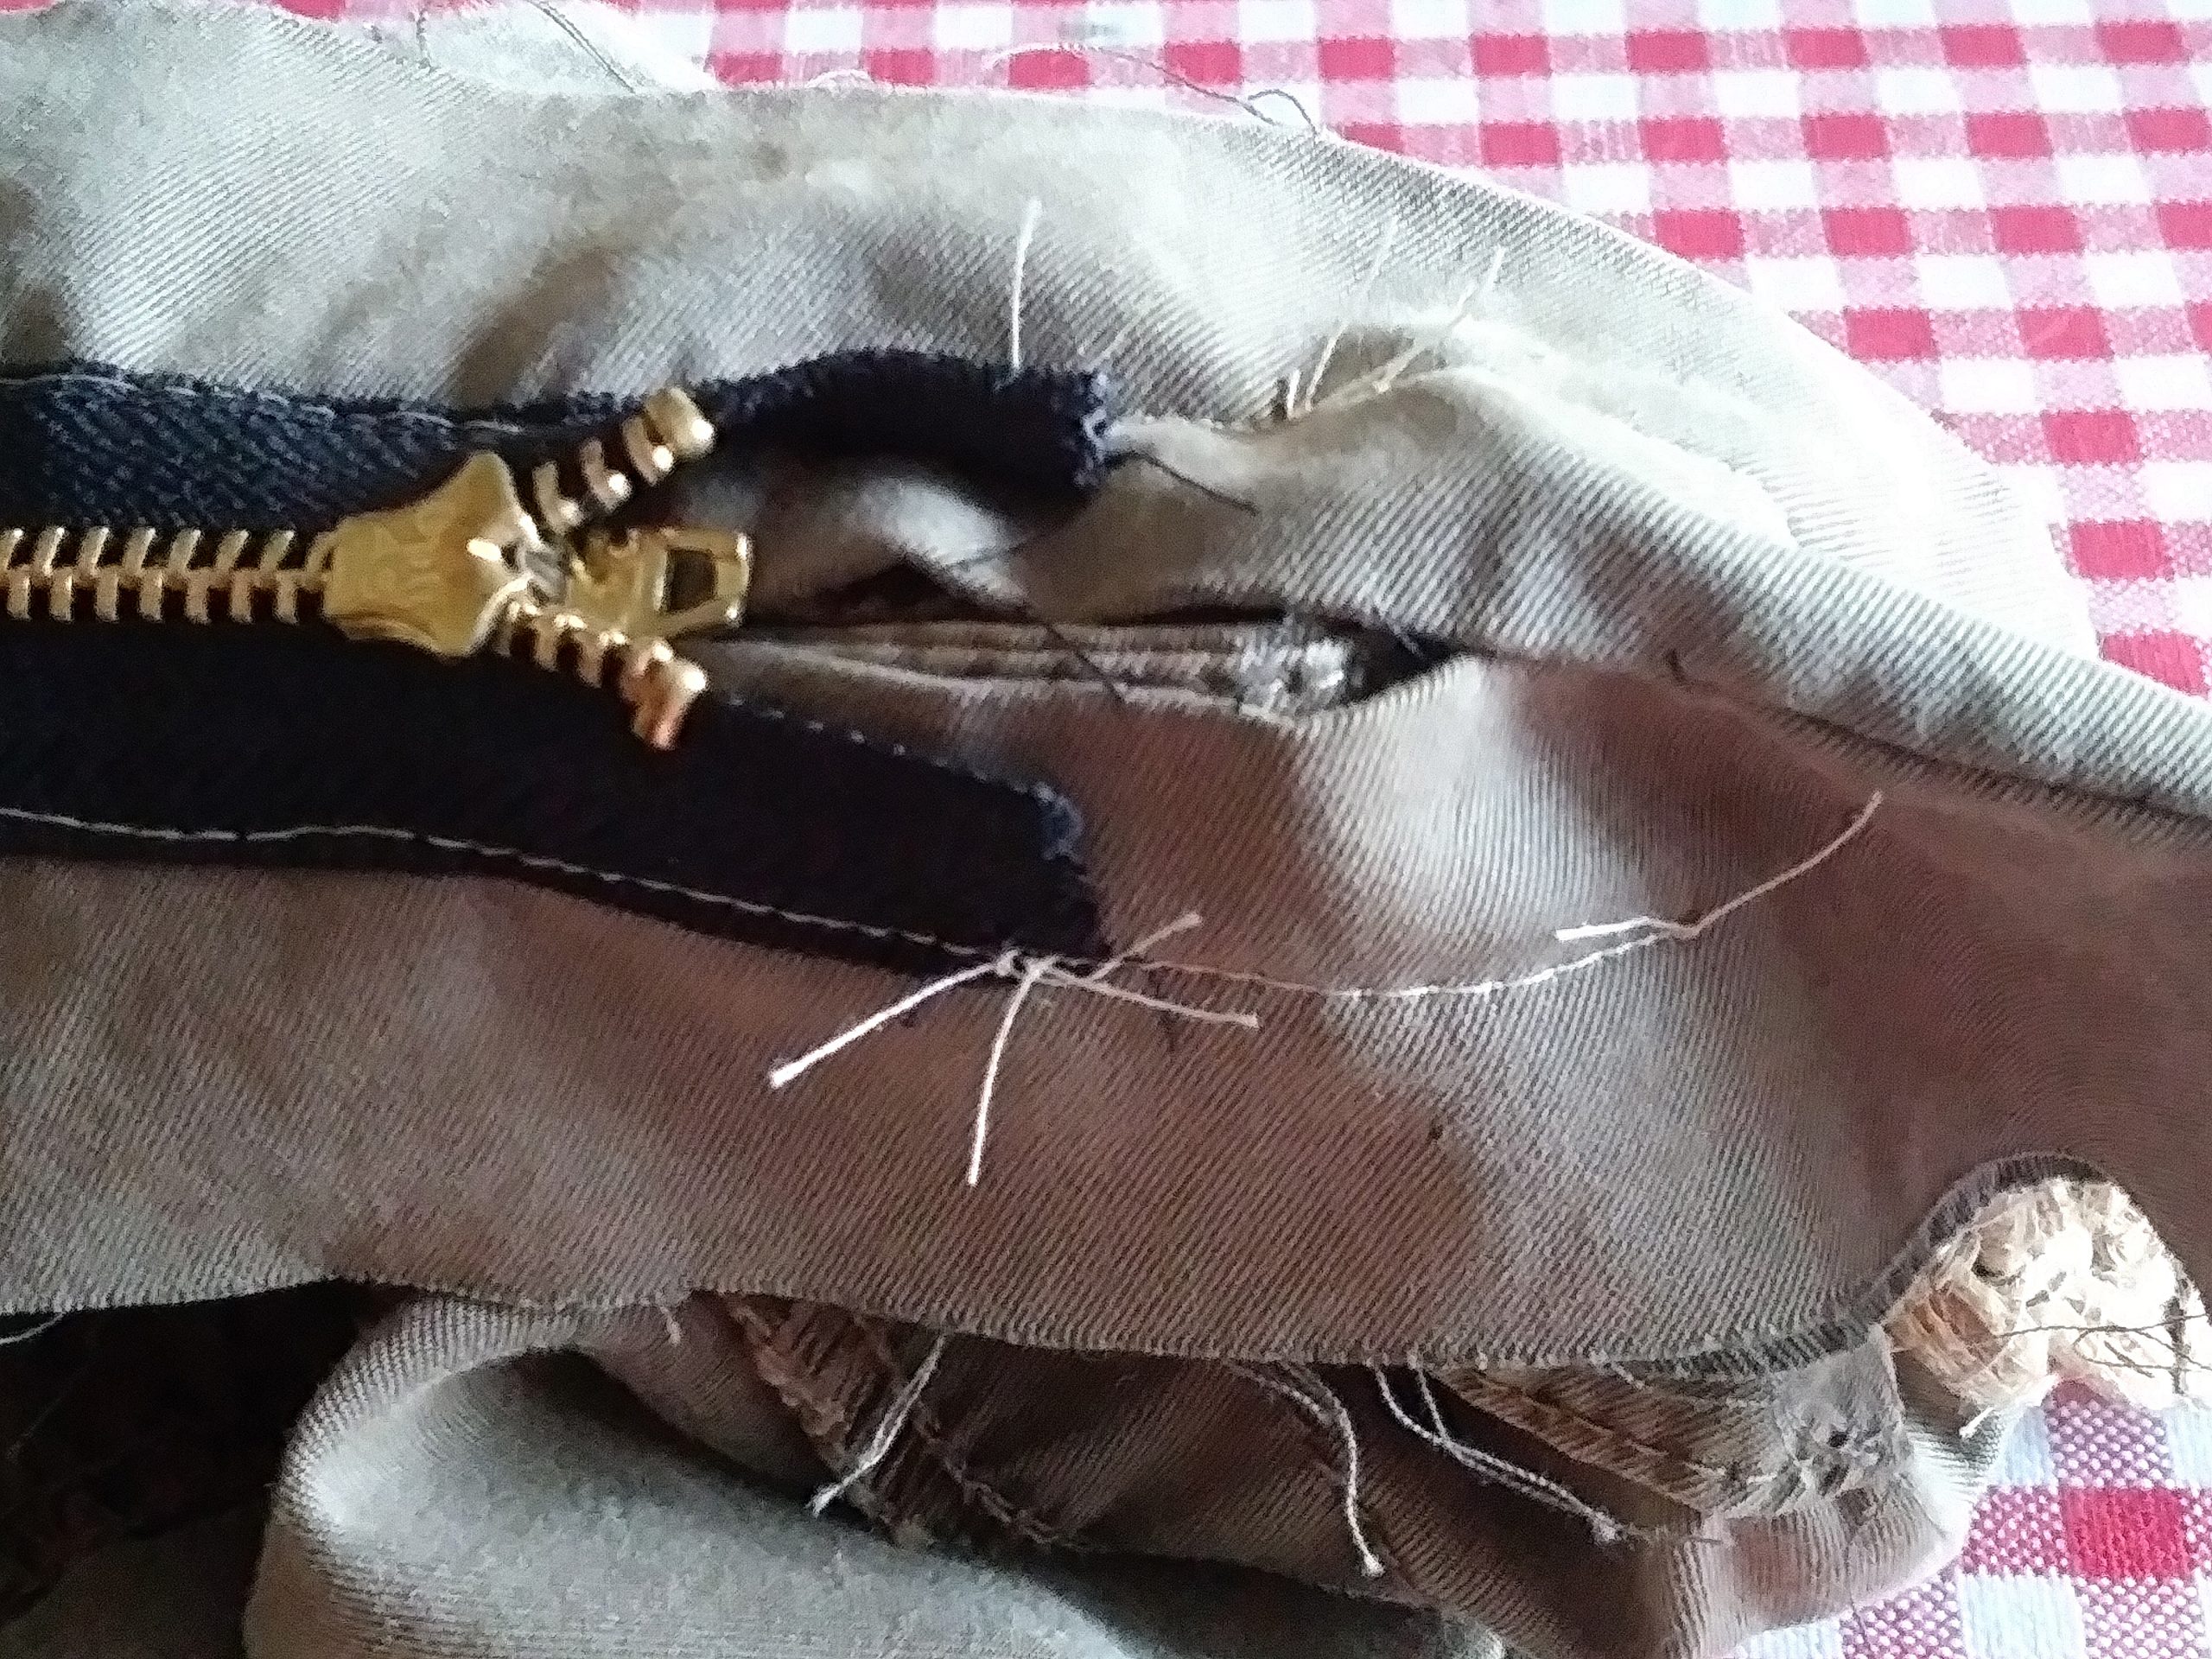
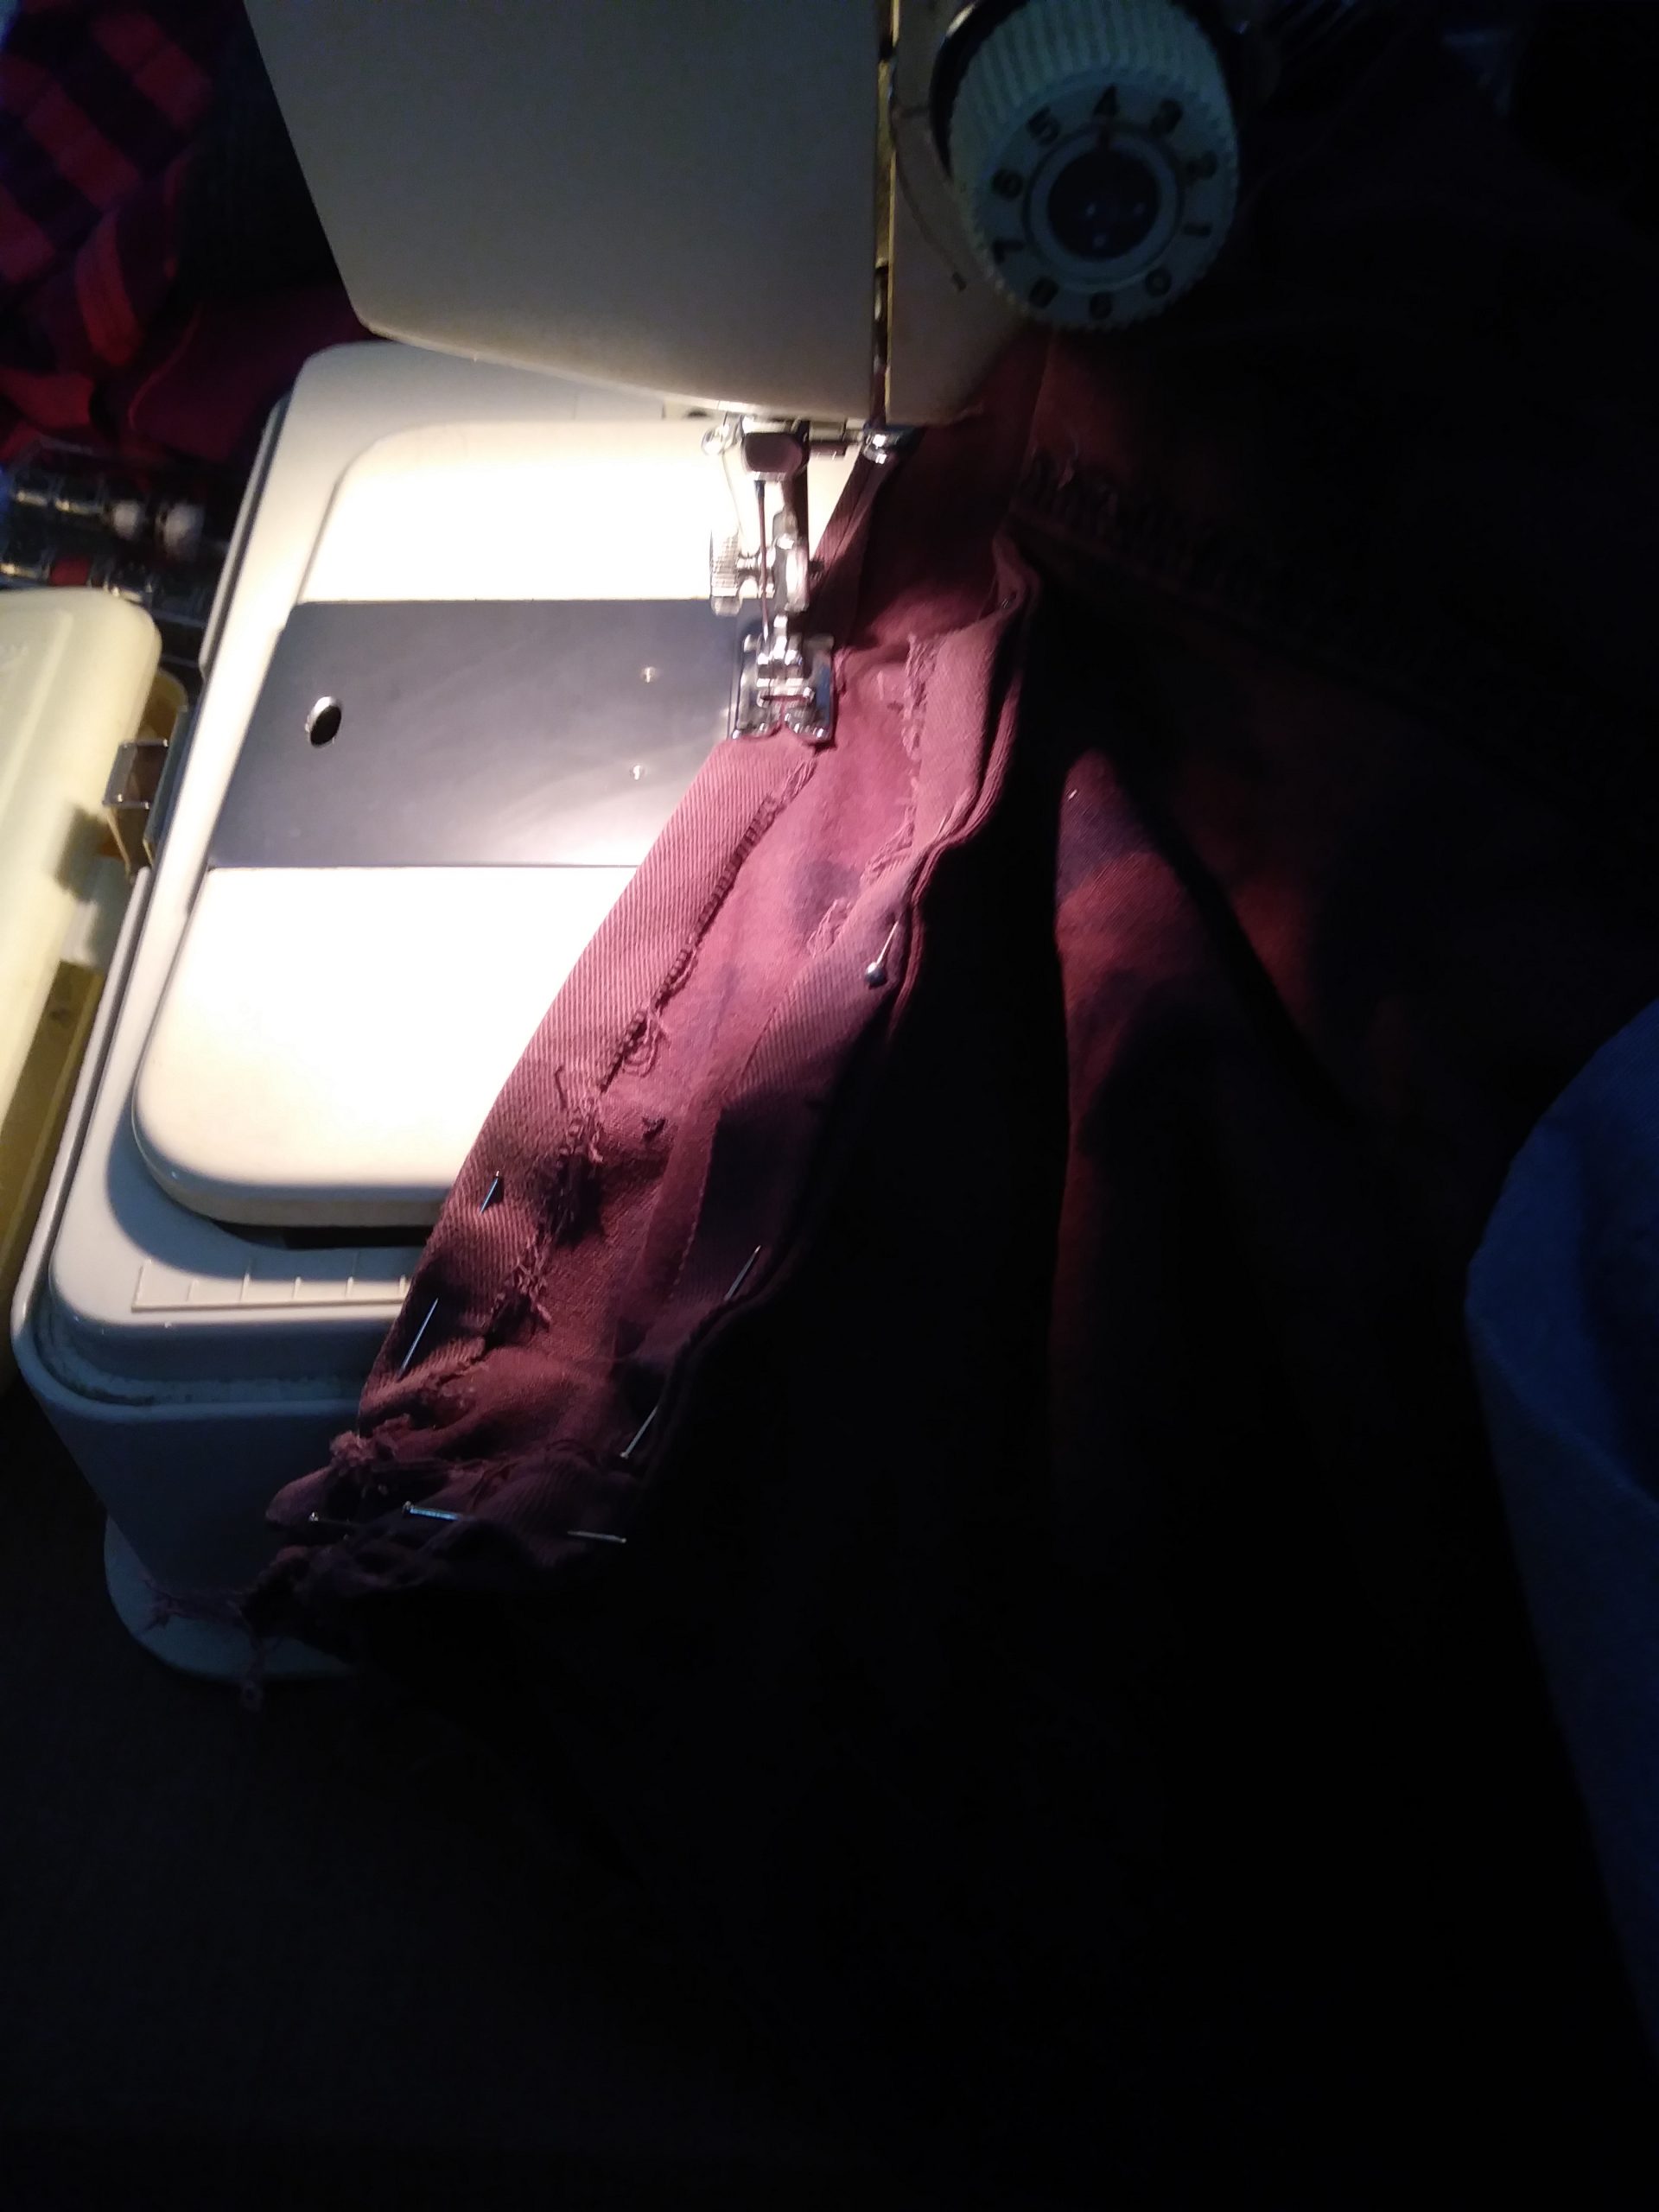
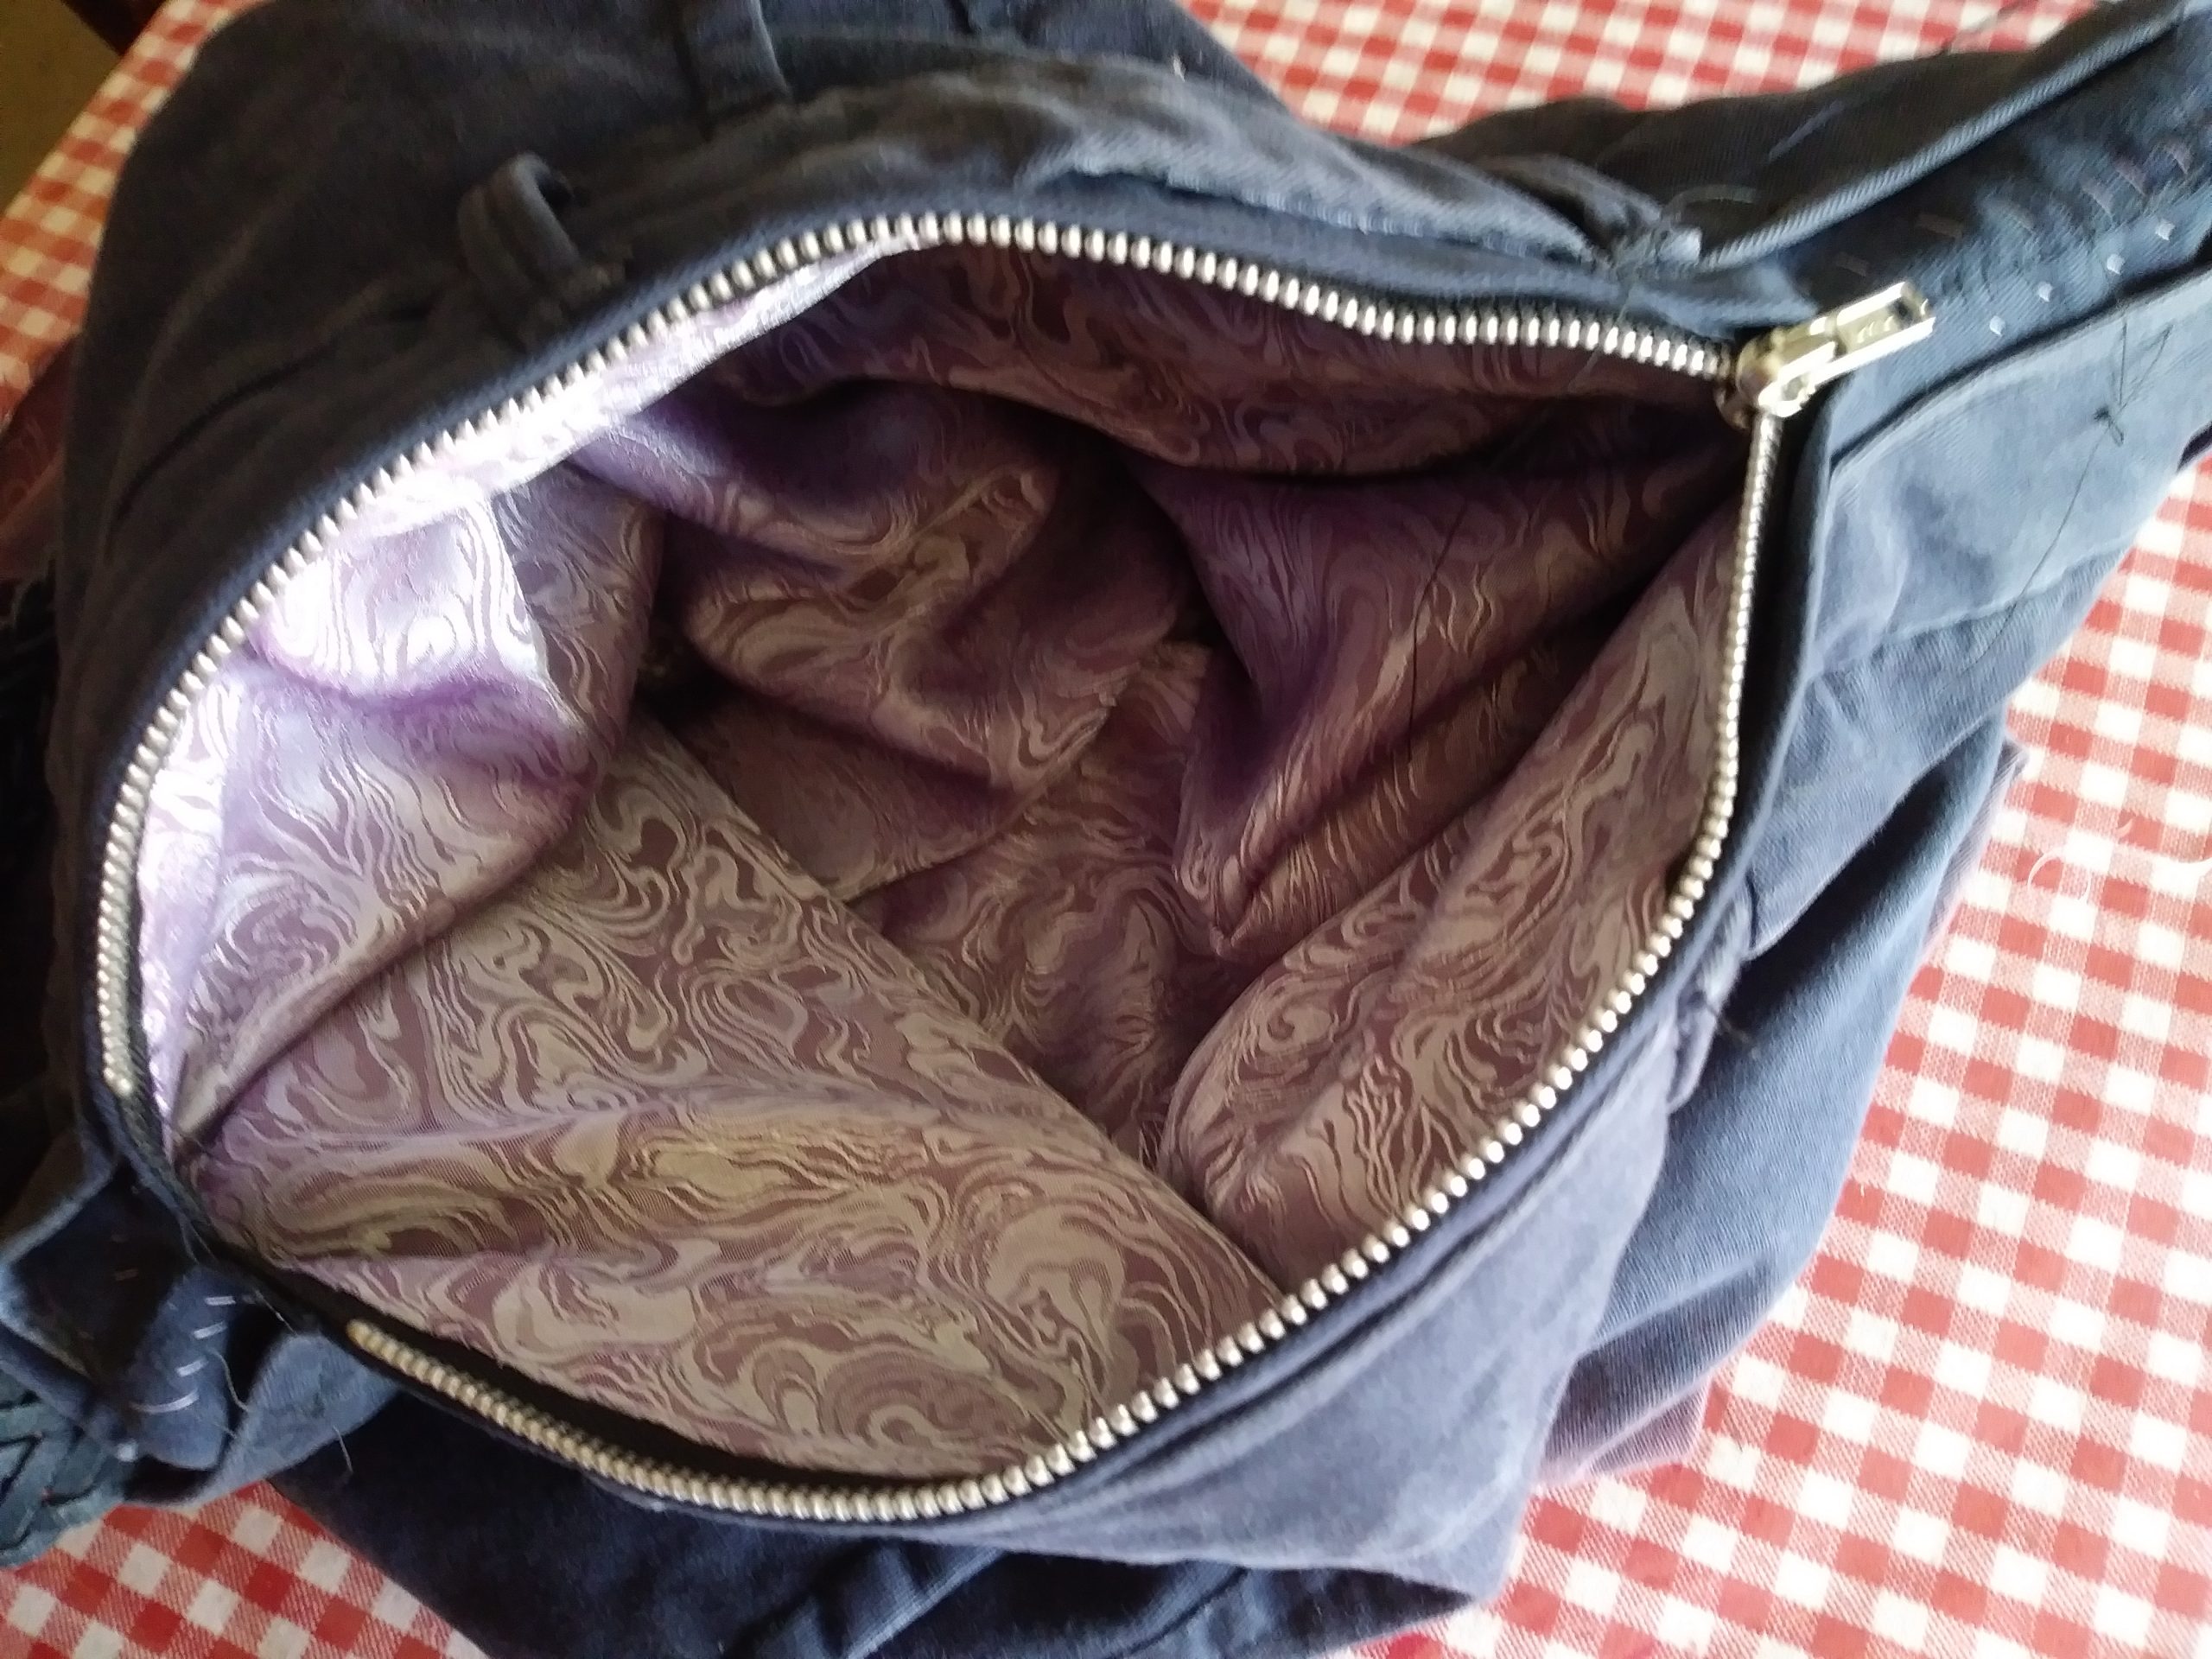
Inserting the Zipper
Putting in a zipper is the trickiest part.
I couldn’t find the right length zipper for the opening, so the following is what I devised. Actually, it looks quite nice when finished.
Even if you get the right-sized zip, I believe you would still need to do this step because the zipper alone is not wide enough—and you need it a little longer because of the way it fits.
- Measure the width of your bag-to-be, add a little extra.
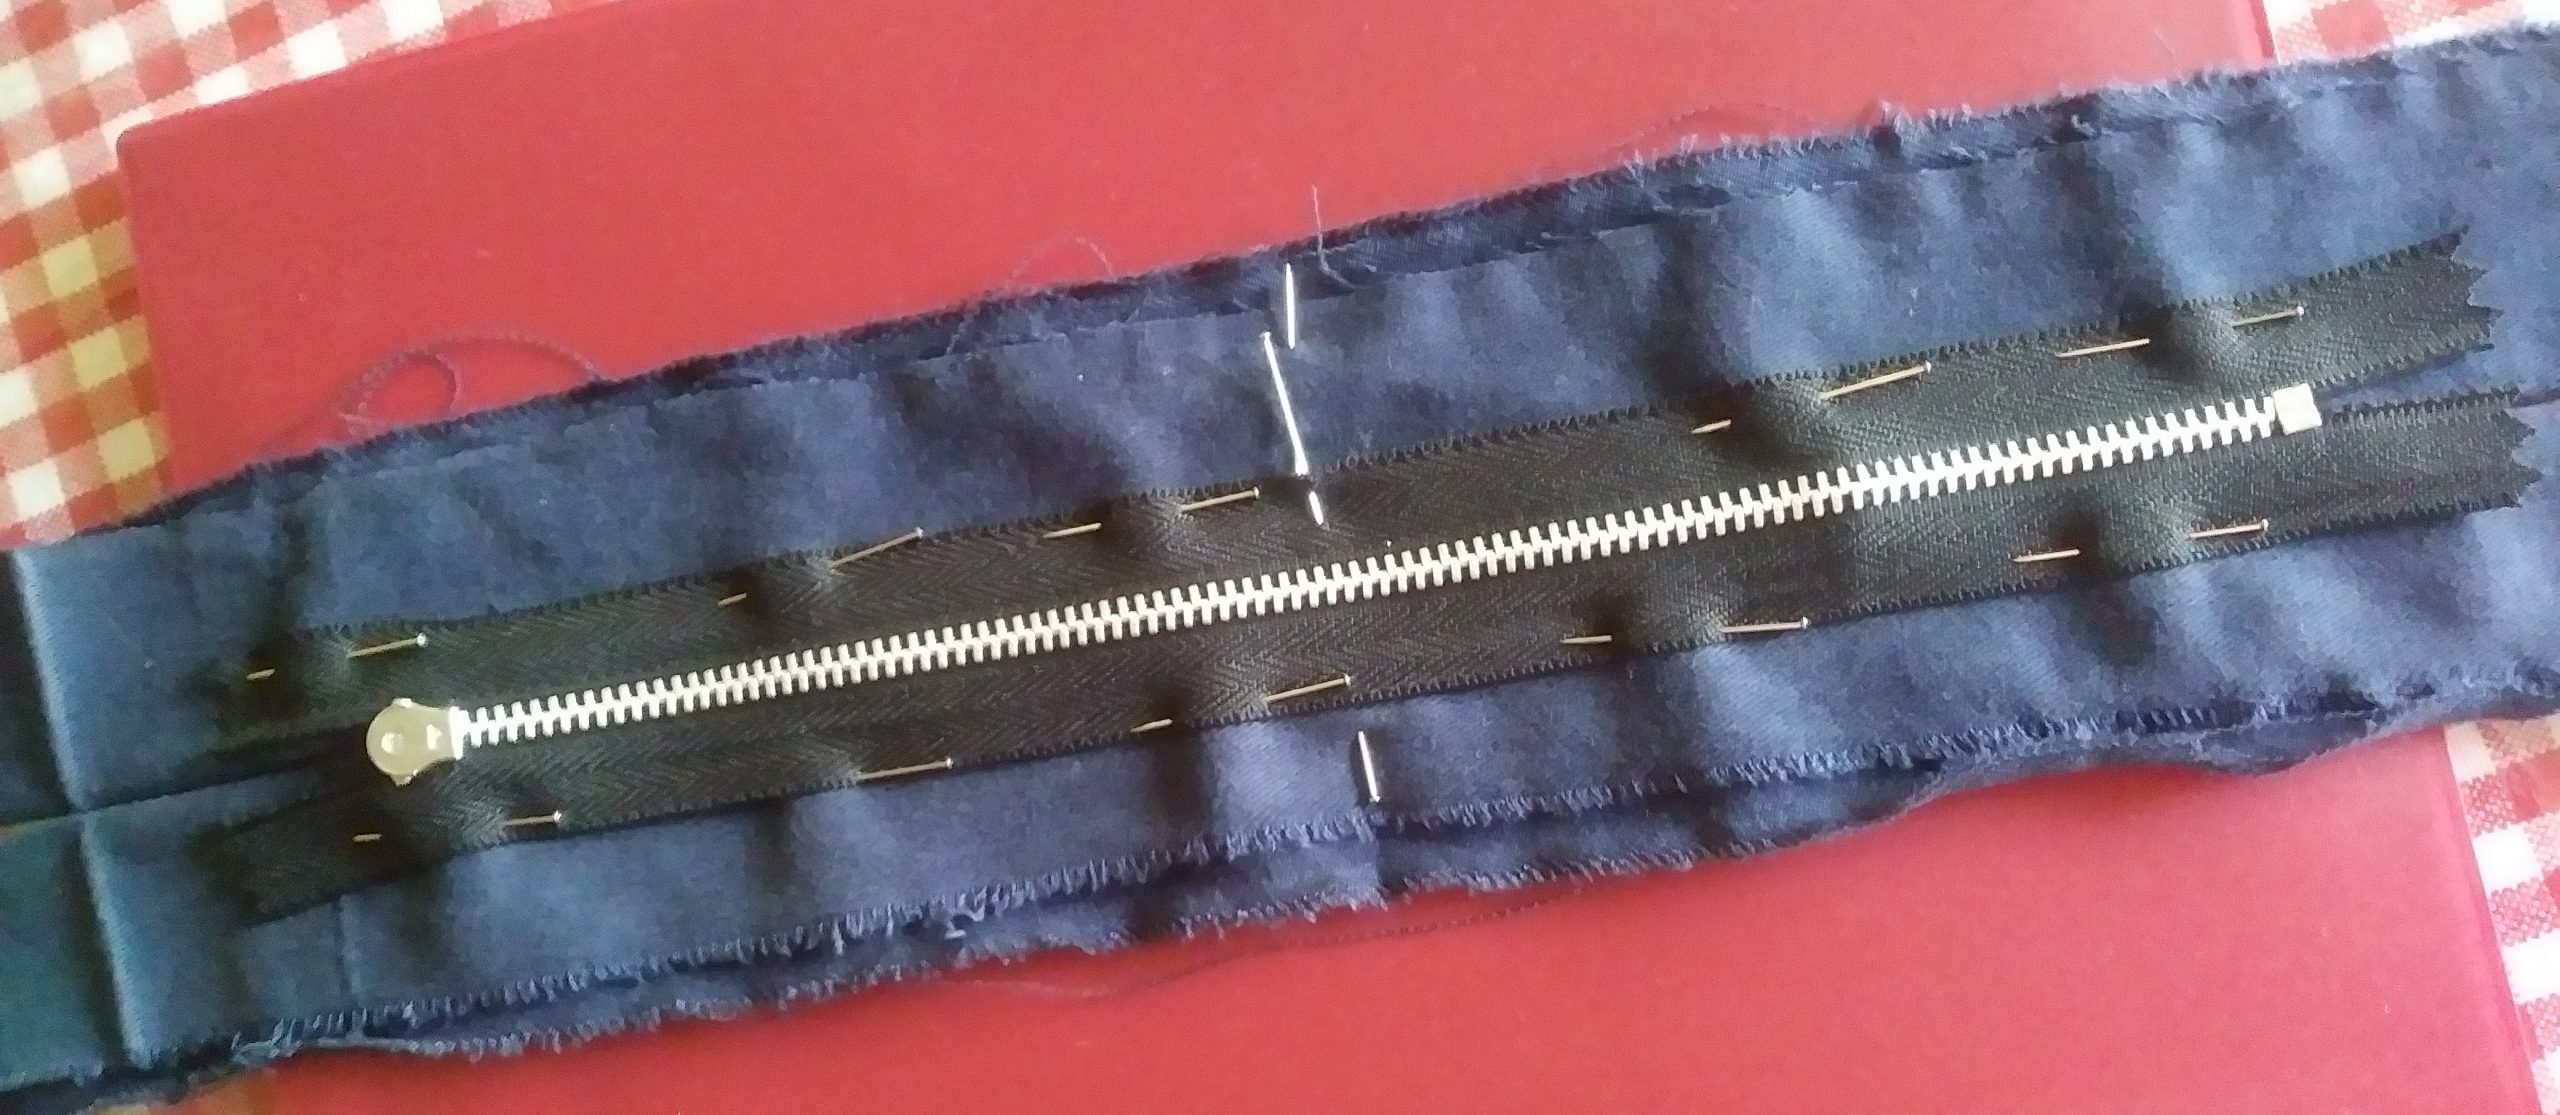
- Cut two long rectangles the length of your measurement x about three inches wide.
- Fold each lengthwise. Press with iron or pin.
- Determine center points. Match.
- Tape folded edges together in place.
- Determine the center point on the zipper. Pin mark.
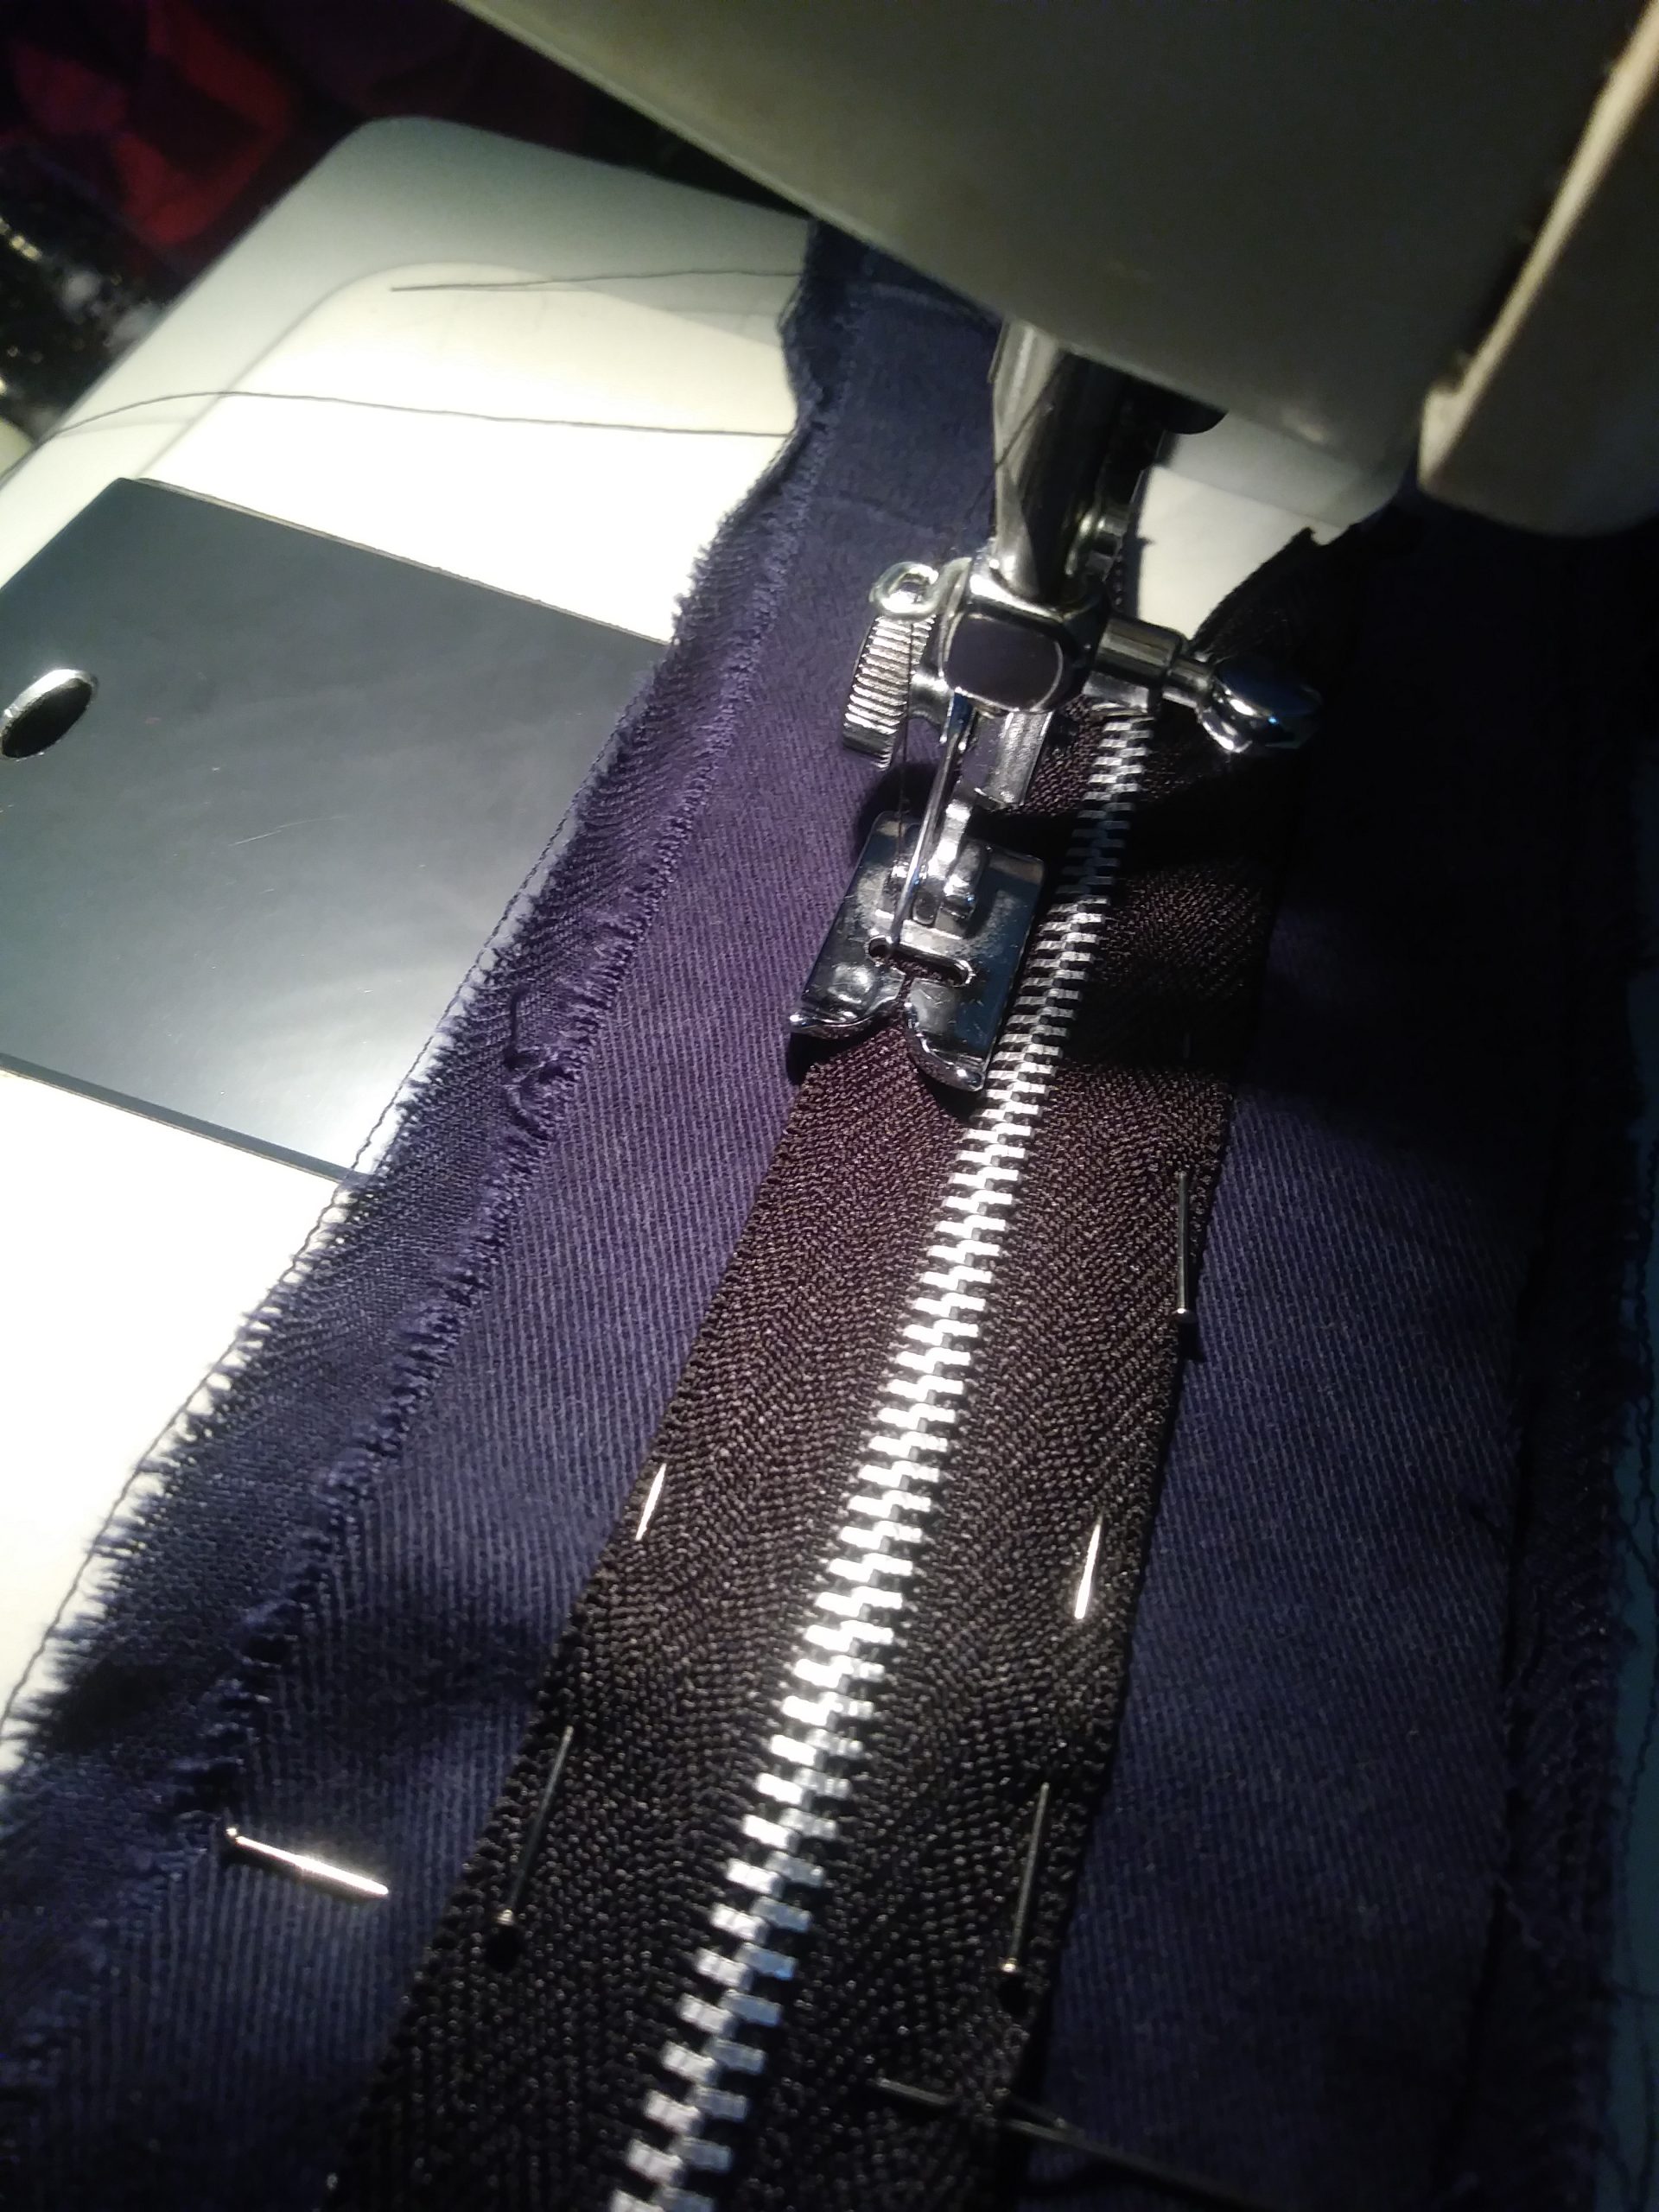
- Lay zipper upside down on the taped-together pieces, with the zipper lying on top of the crack between them, centering the zipper lengthwise.
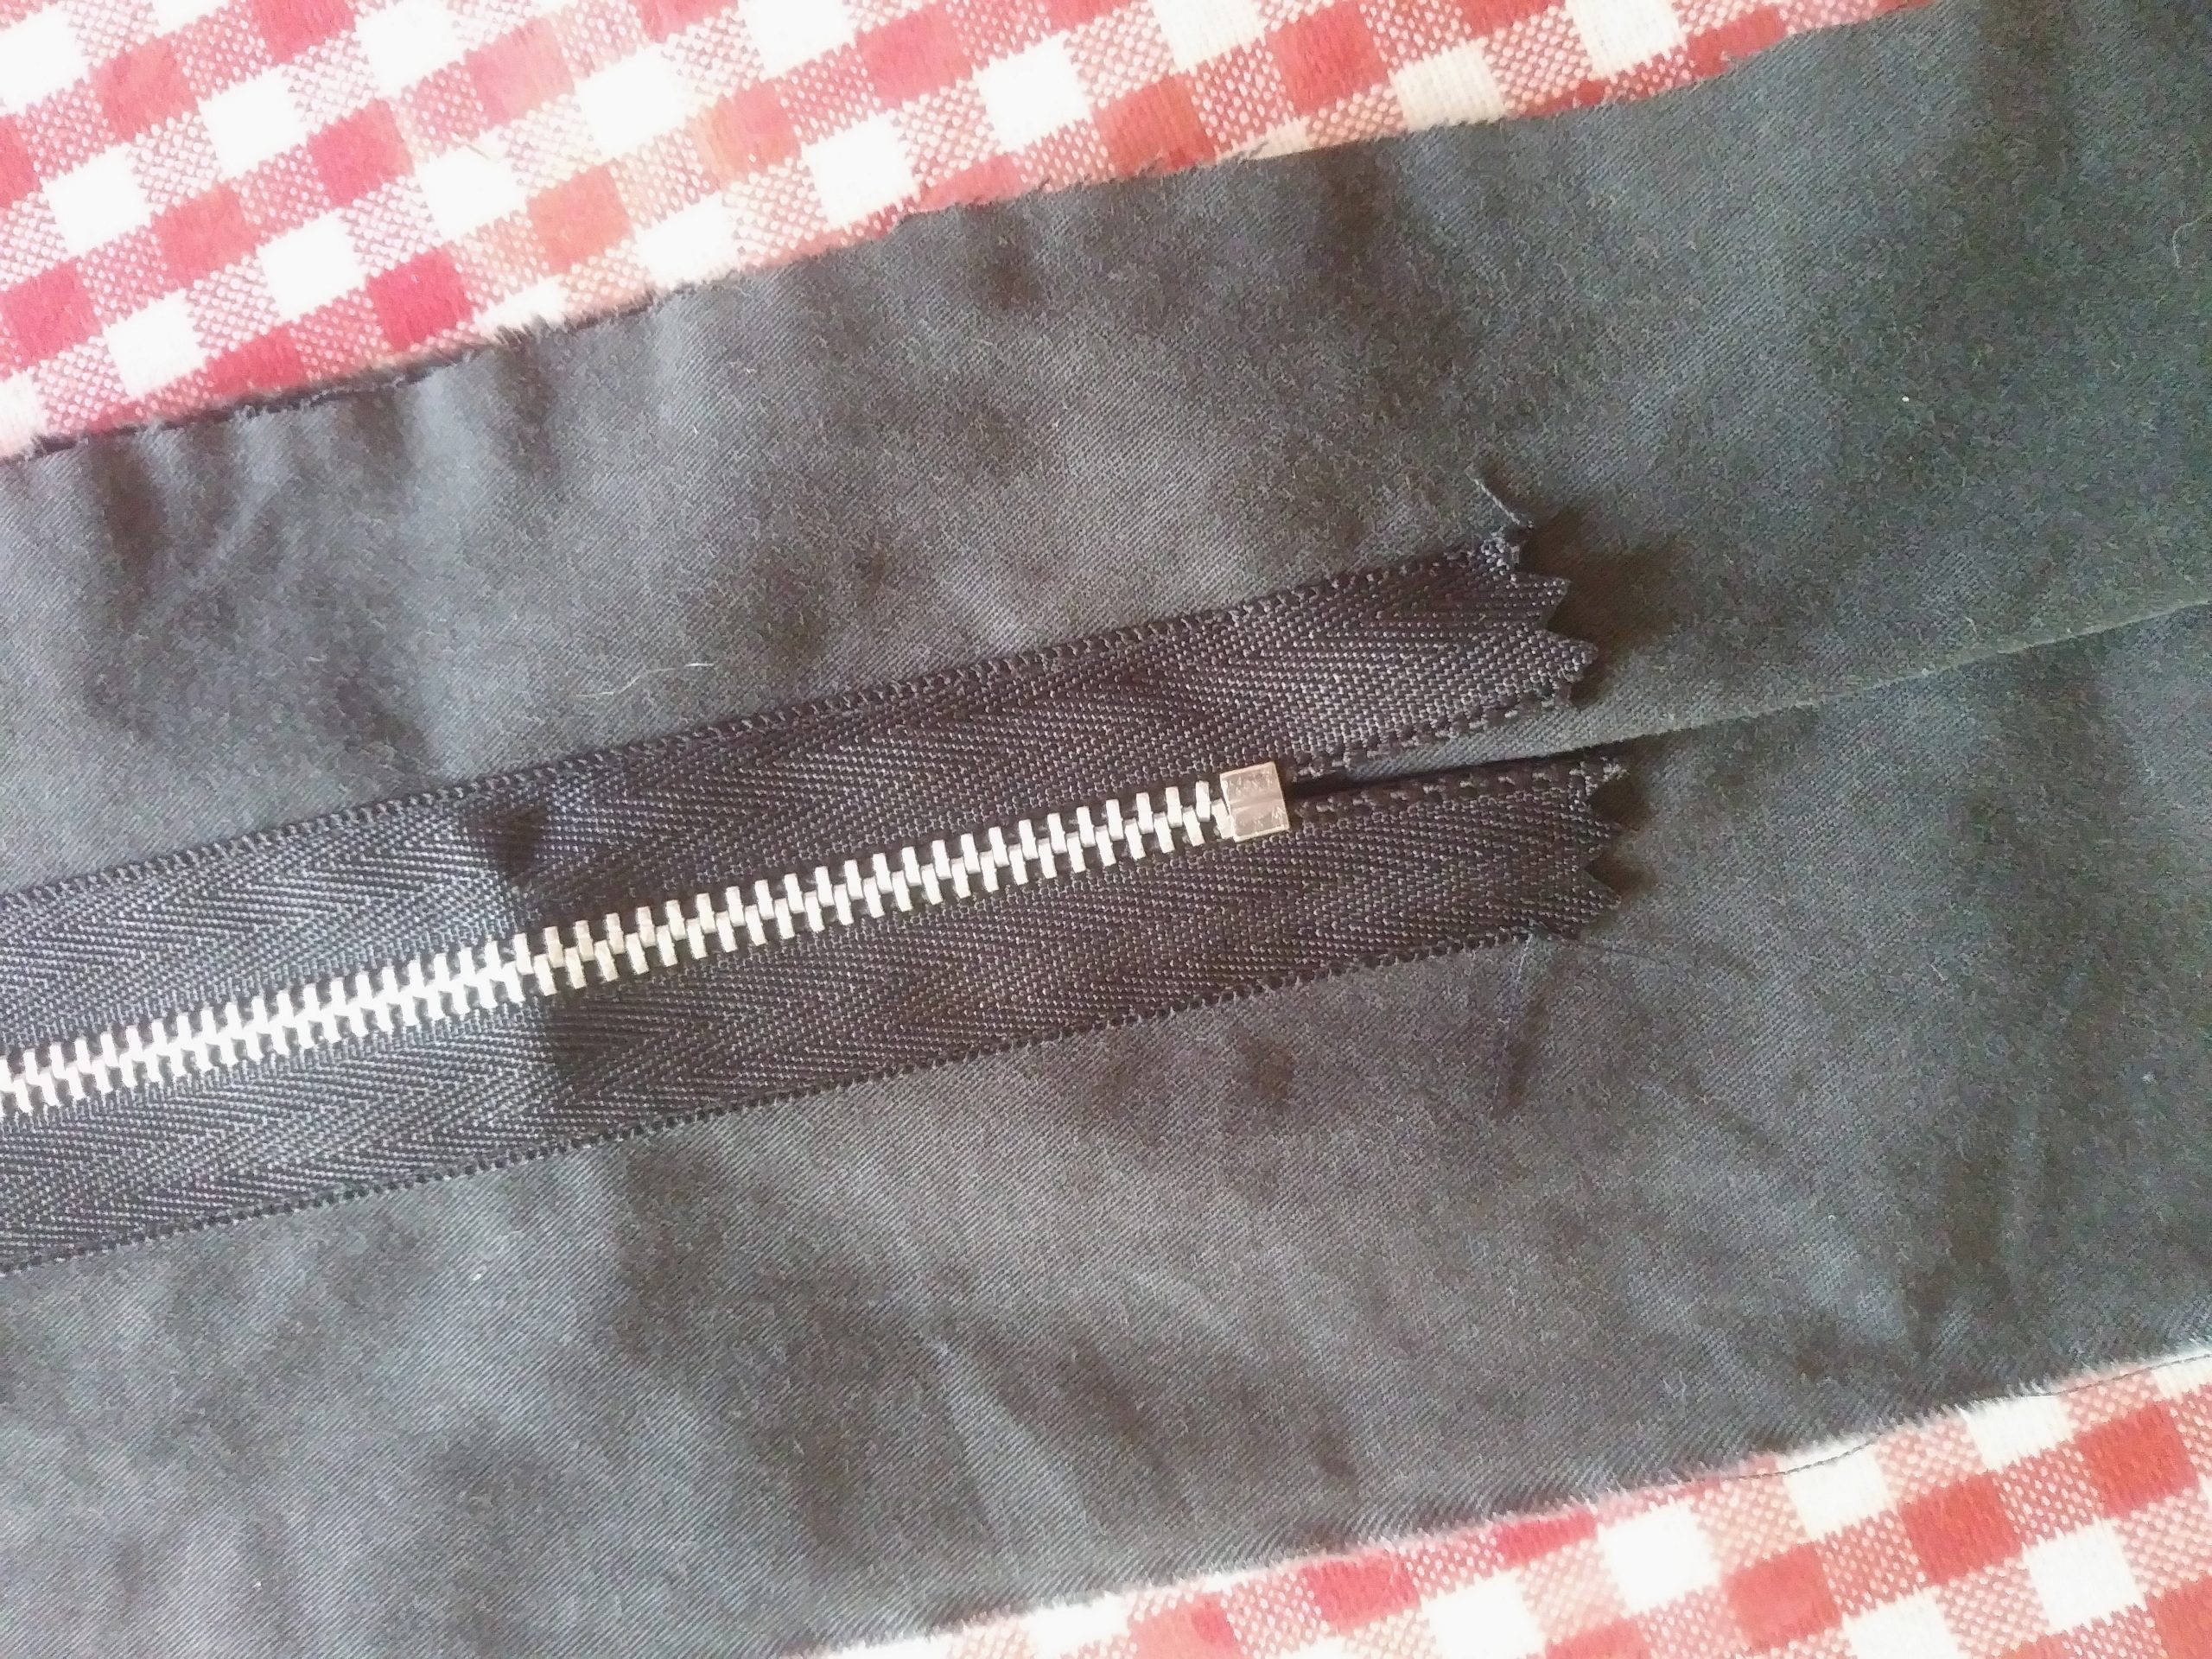

Center zipper lengthwise. Pin zipper down to fabric pieces.
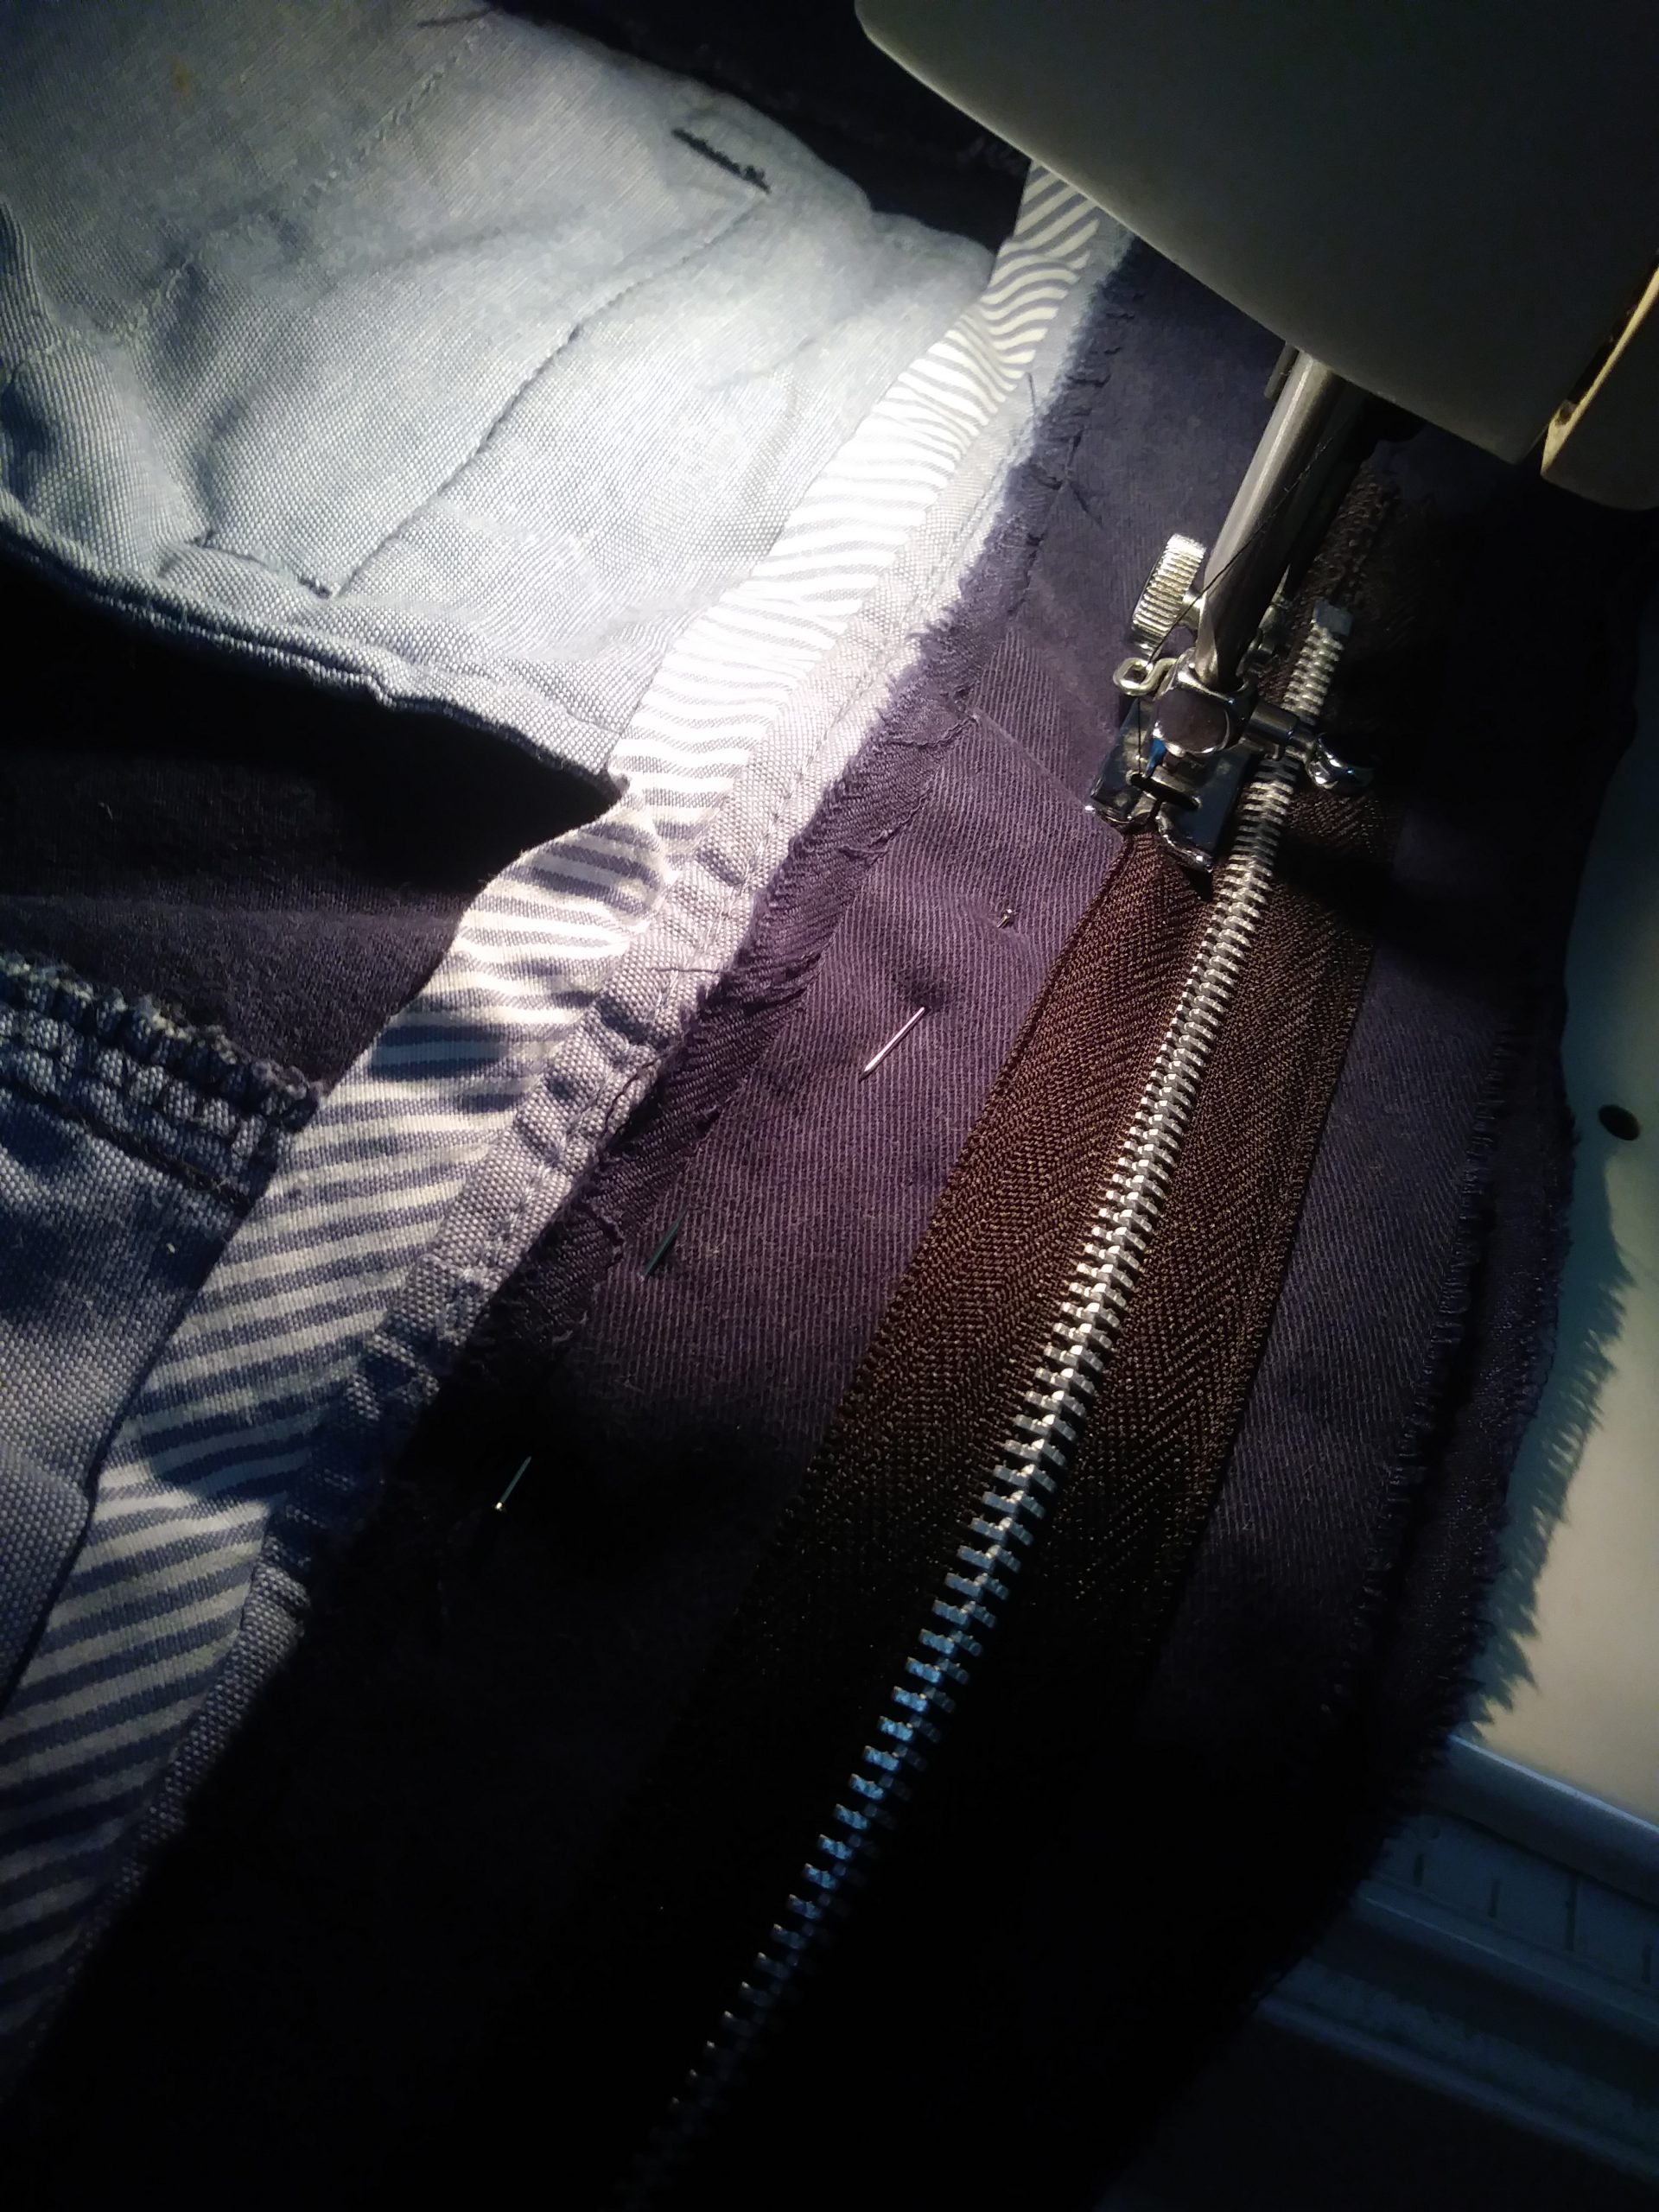
Sew zipper to fabric pieces. Sew along the outside edge of the zipper, so the stitching won’t prevent the zipper from opening.
Hand sew edges together to attach the folded pieces beyond the ends of the zipper, but do better than I did here: Try to keep your stitches small and hidden.
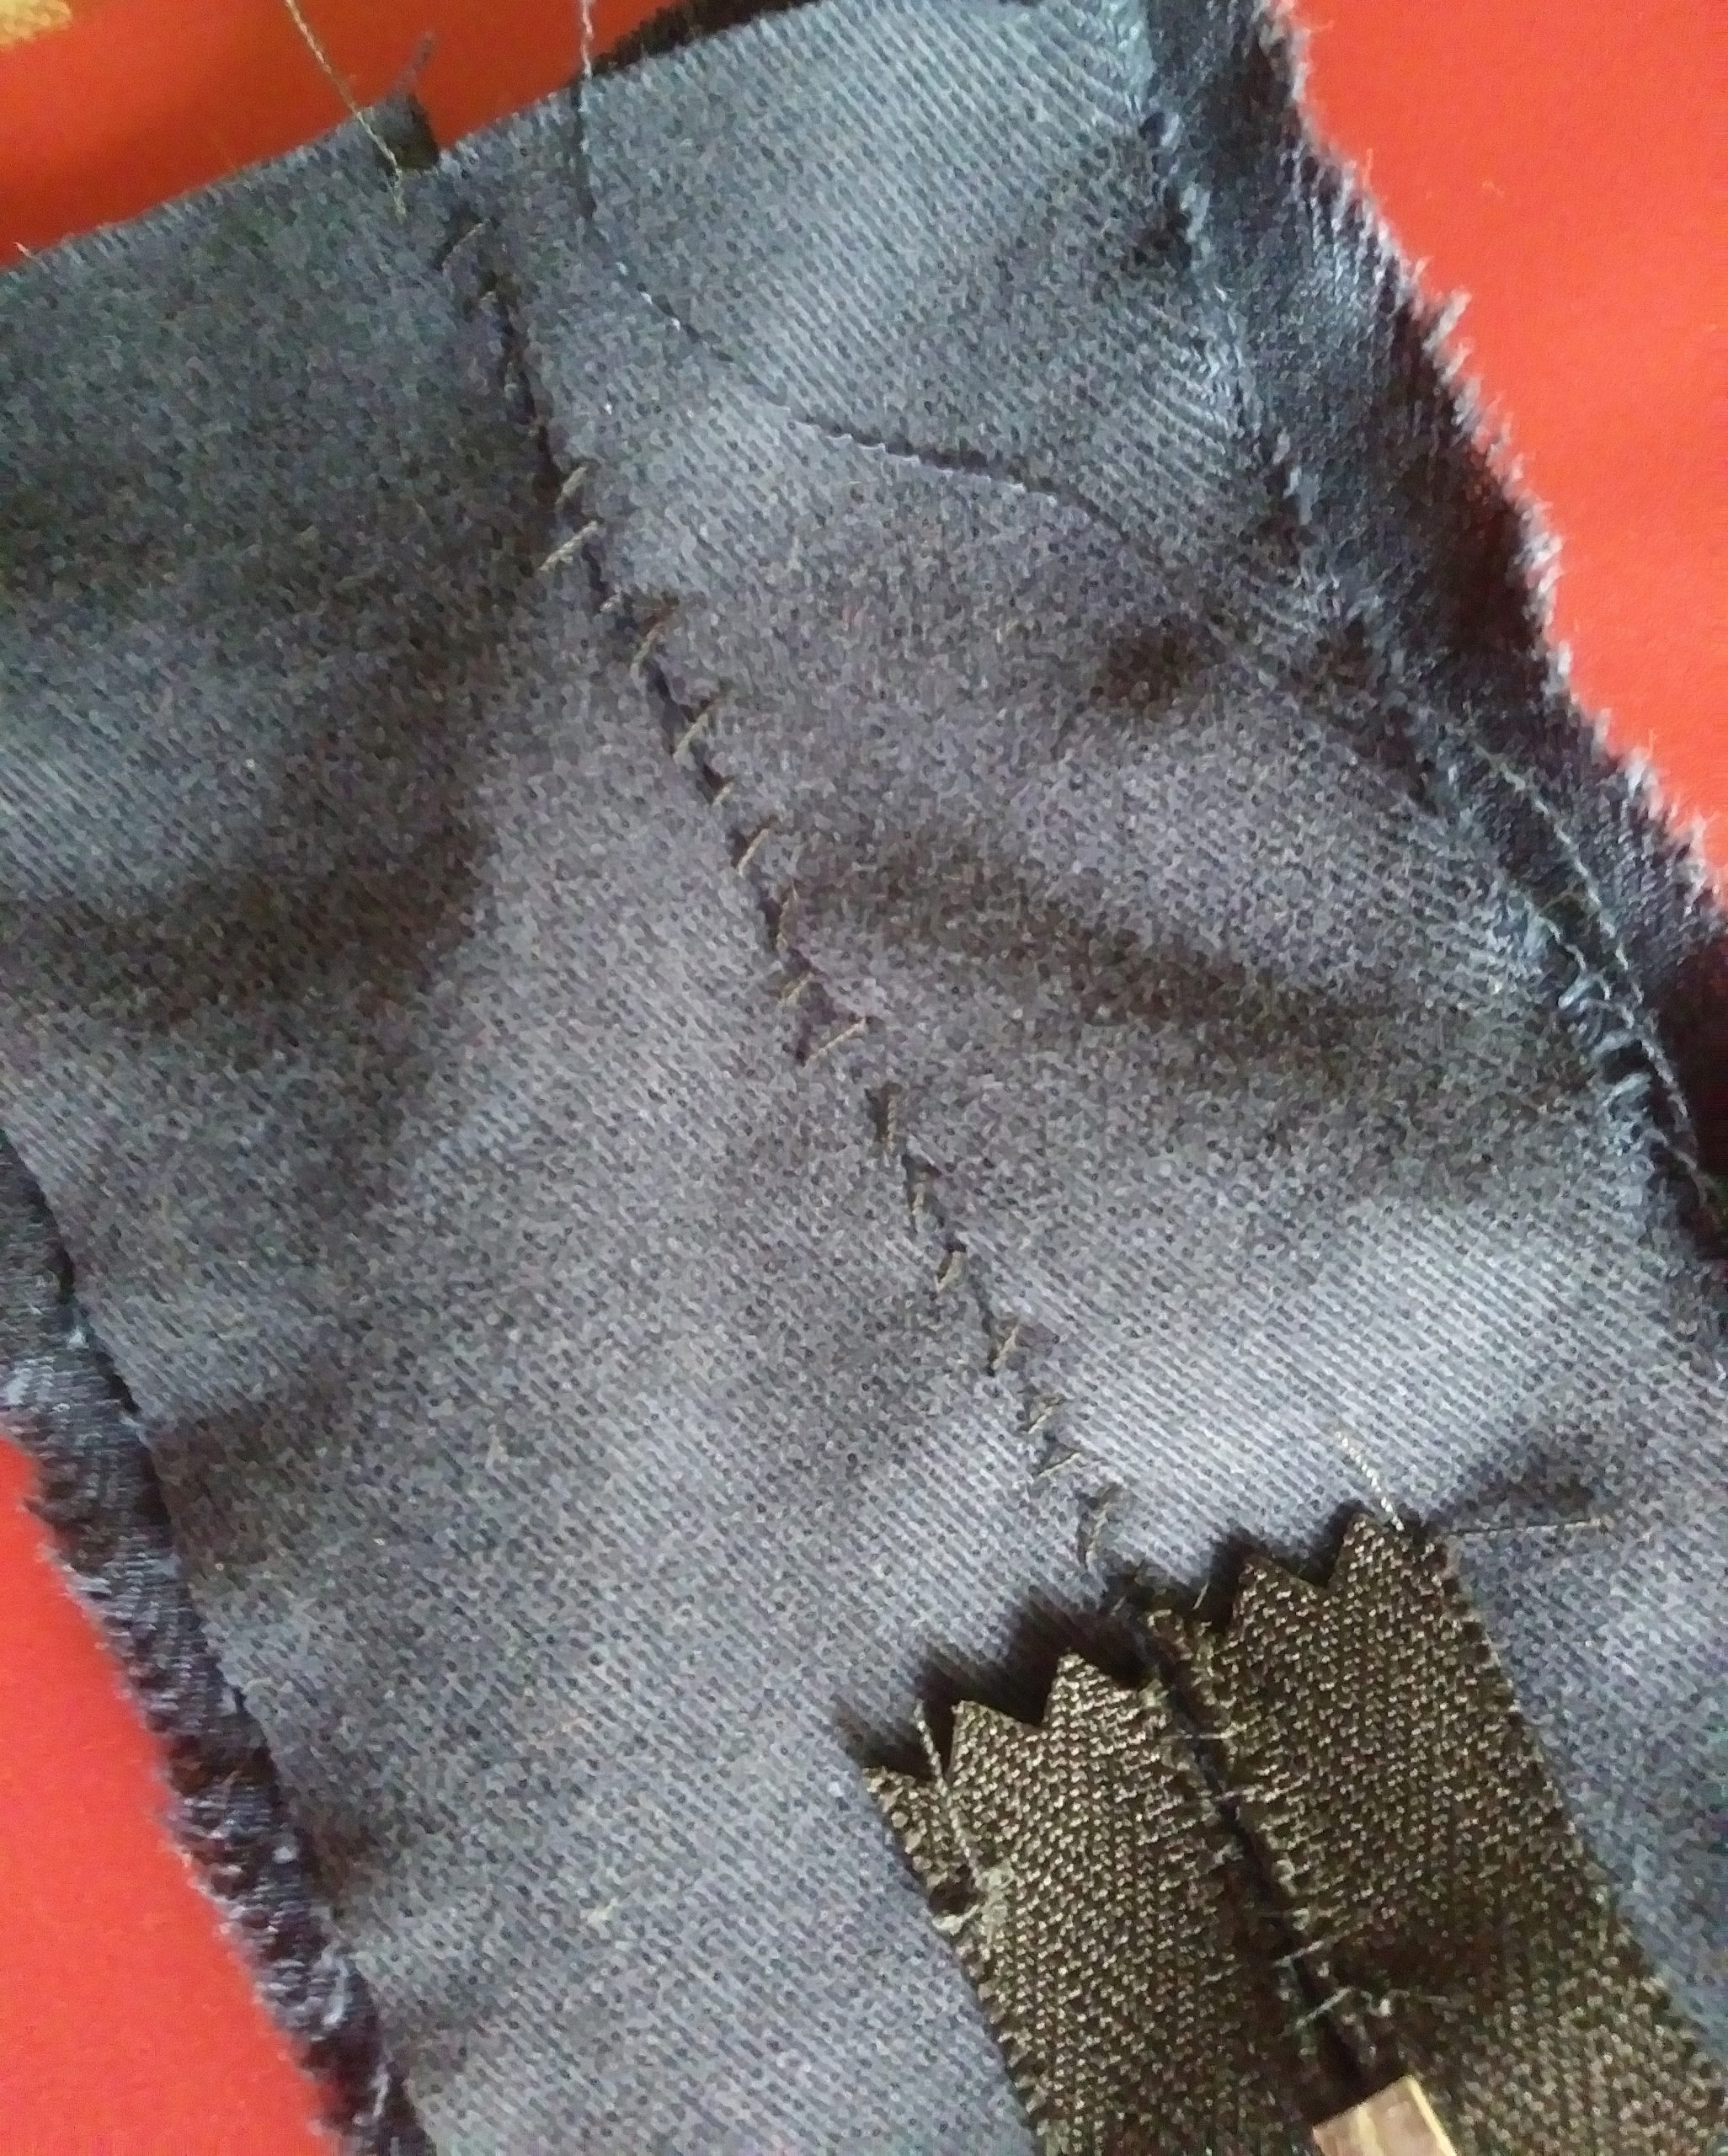
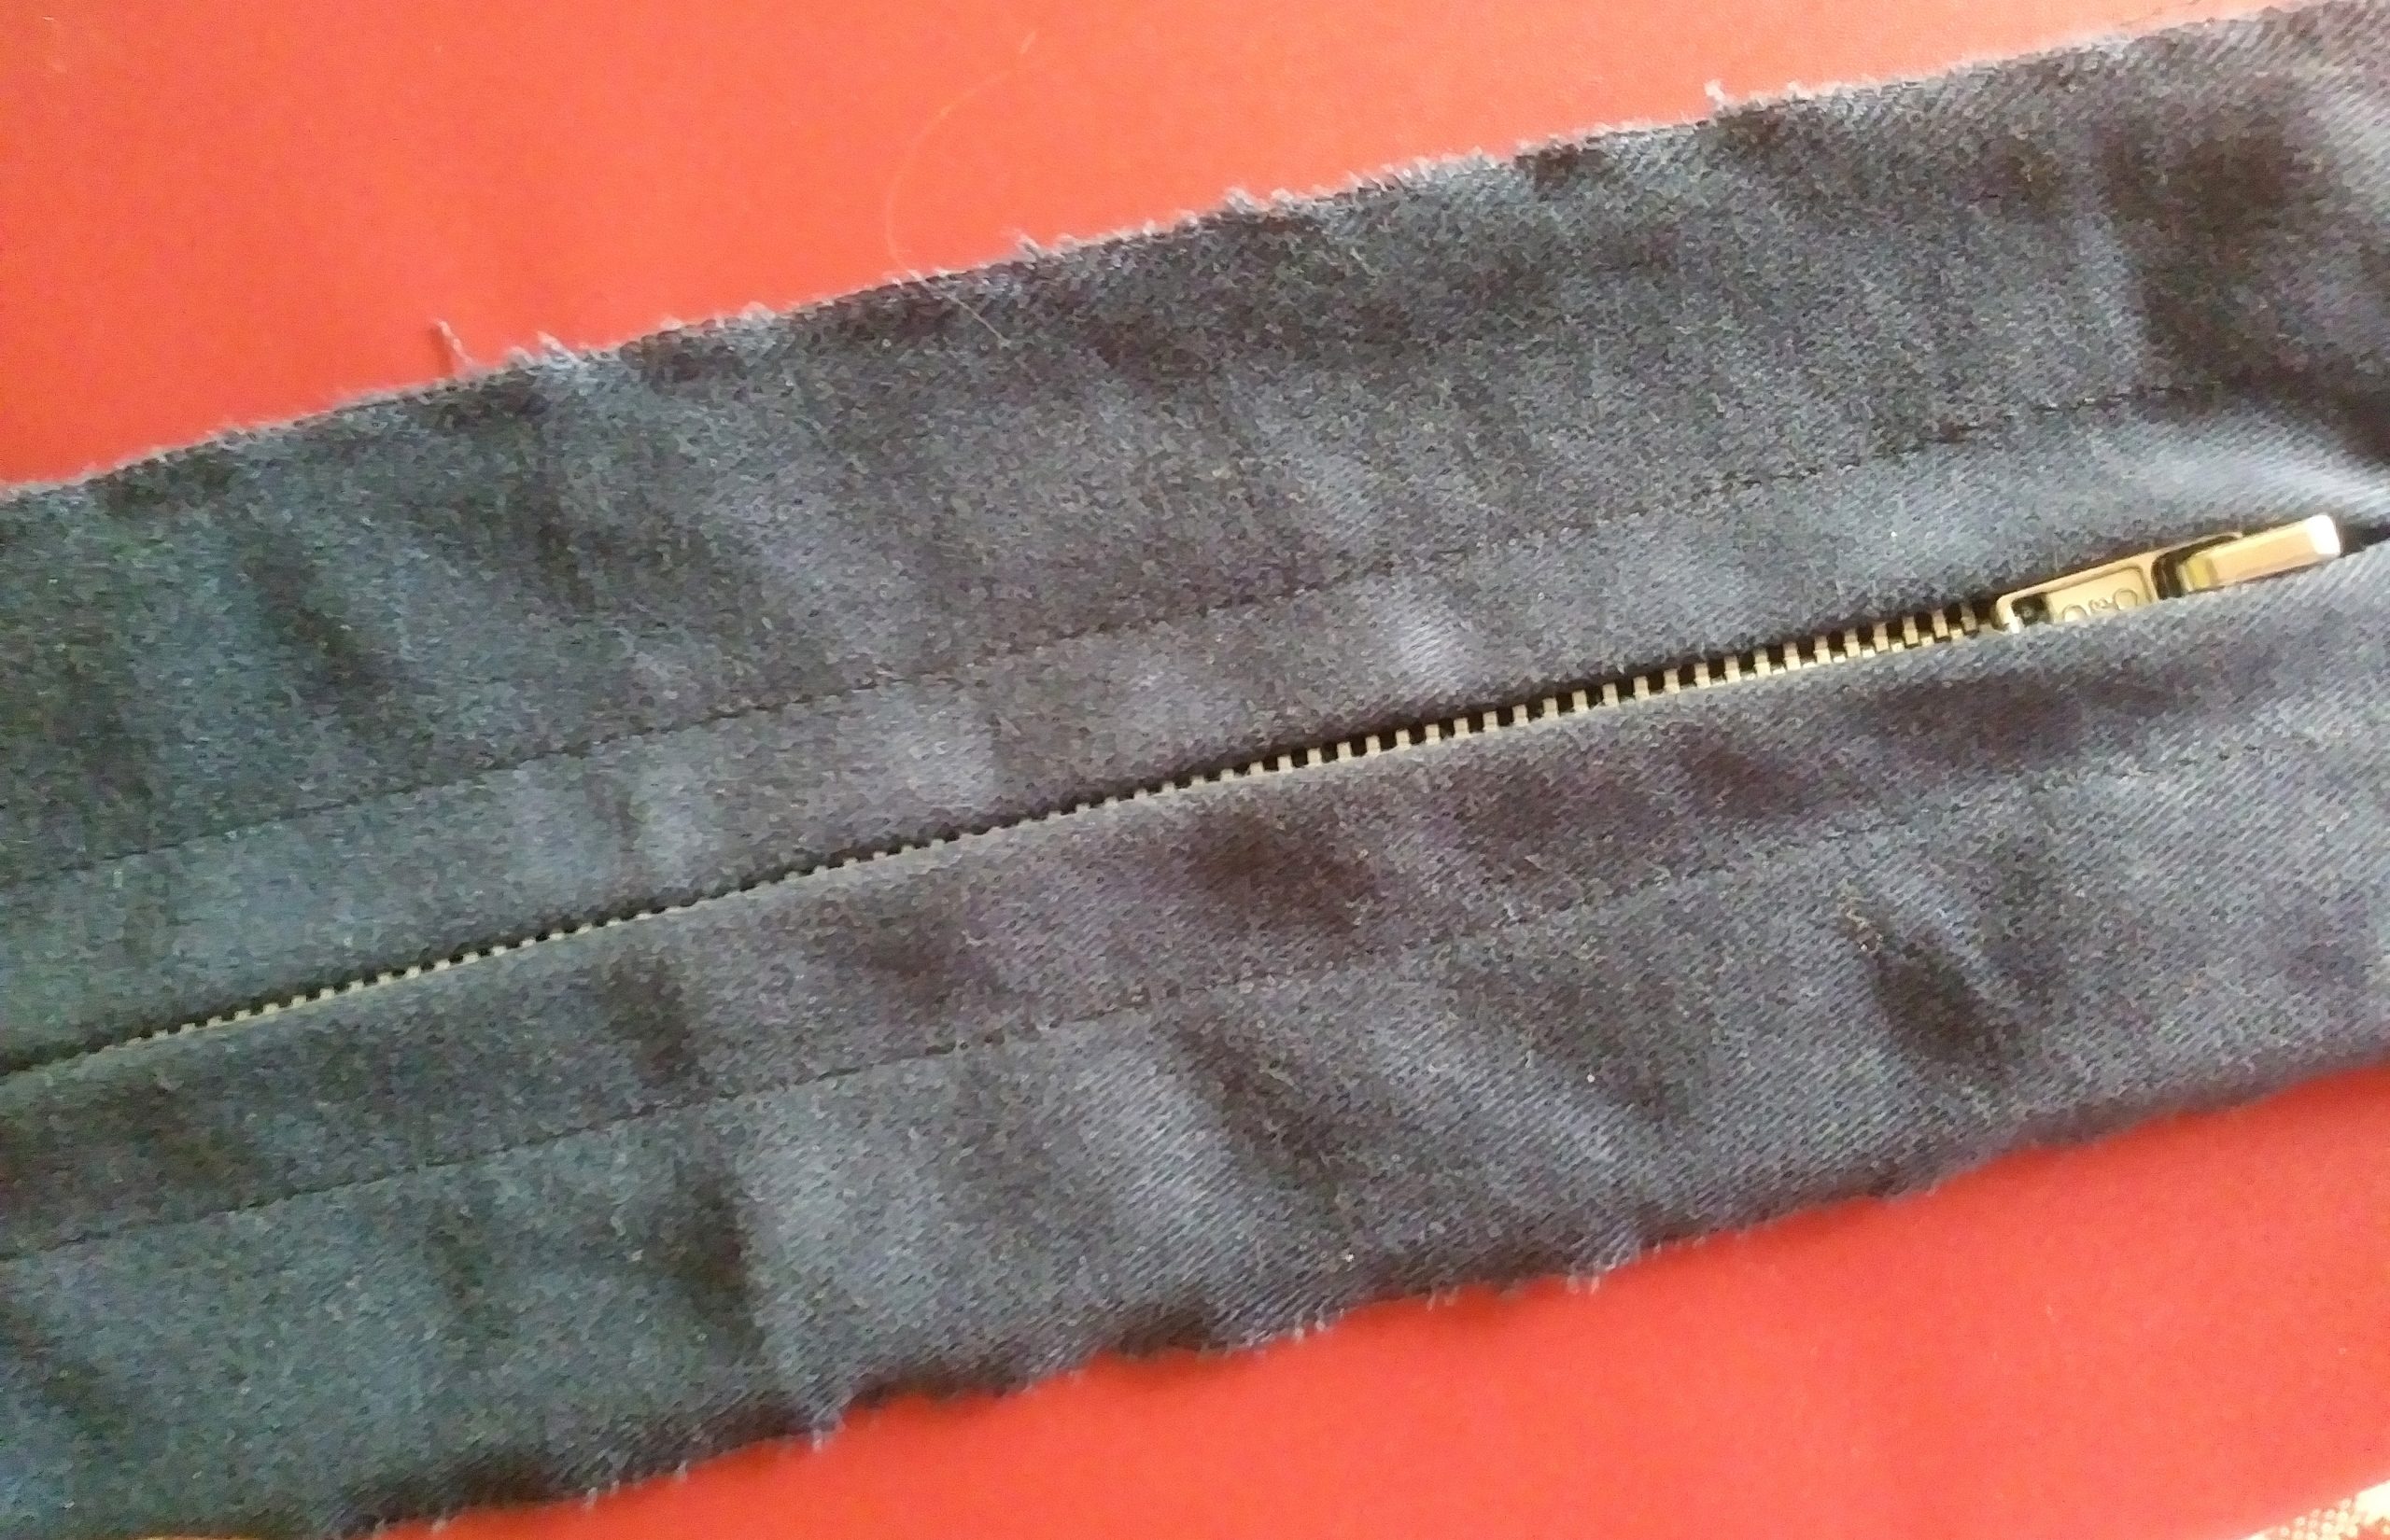
- This is how the top looks, below.
- Fold the piece you just created over the top of the inside-out bag, with the zipper upside down. I know, I photographed it wrong (below). You want the tab inside when the bag is inside out, so both will be right side out when you turn it out.
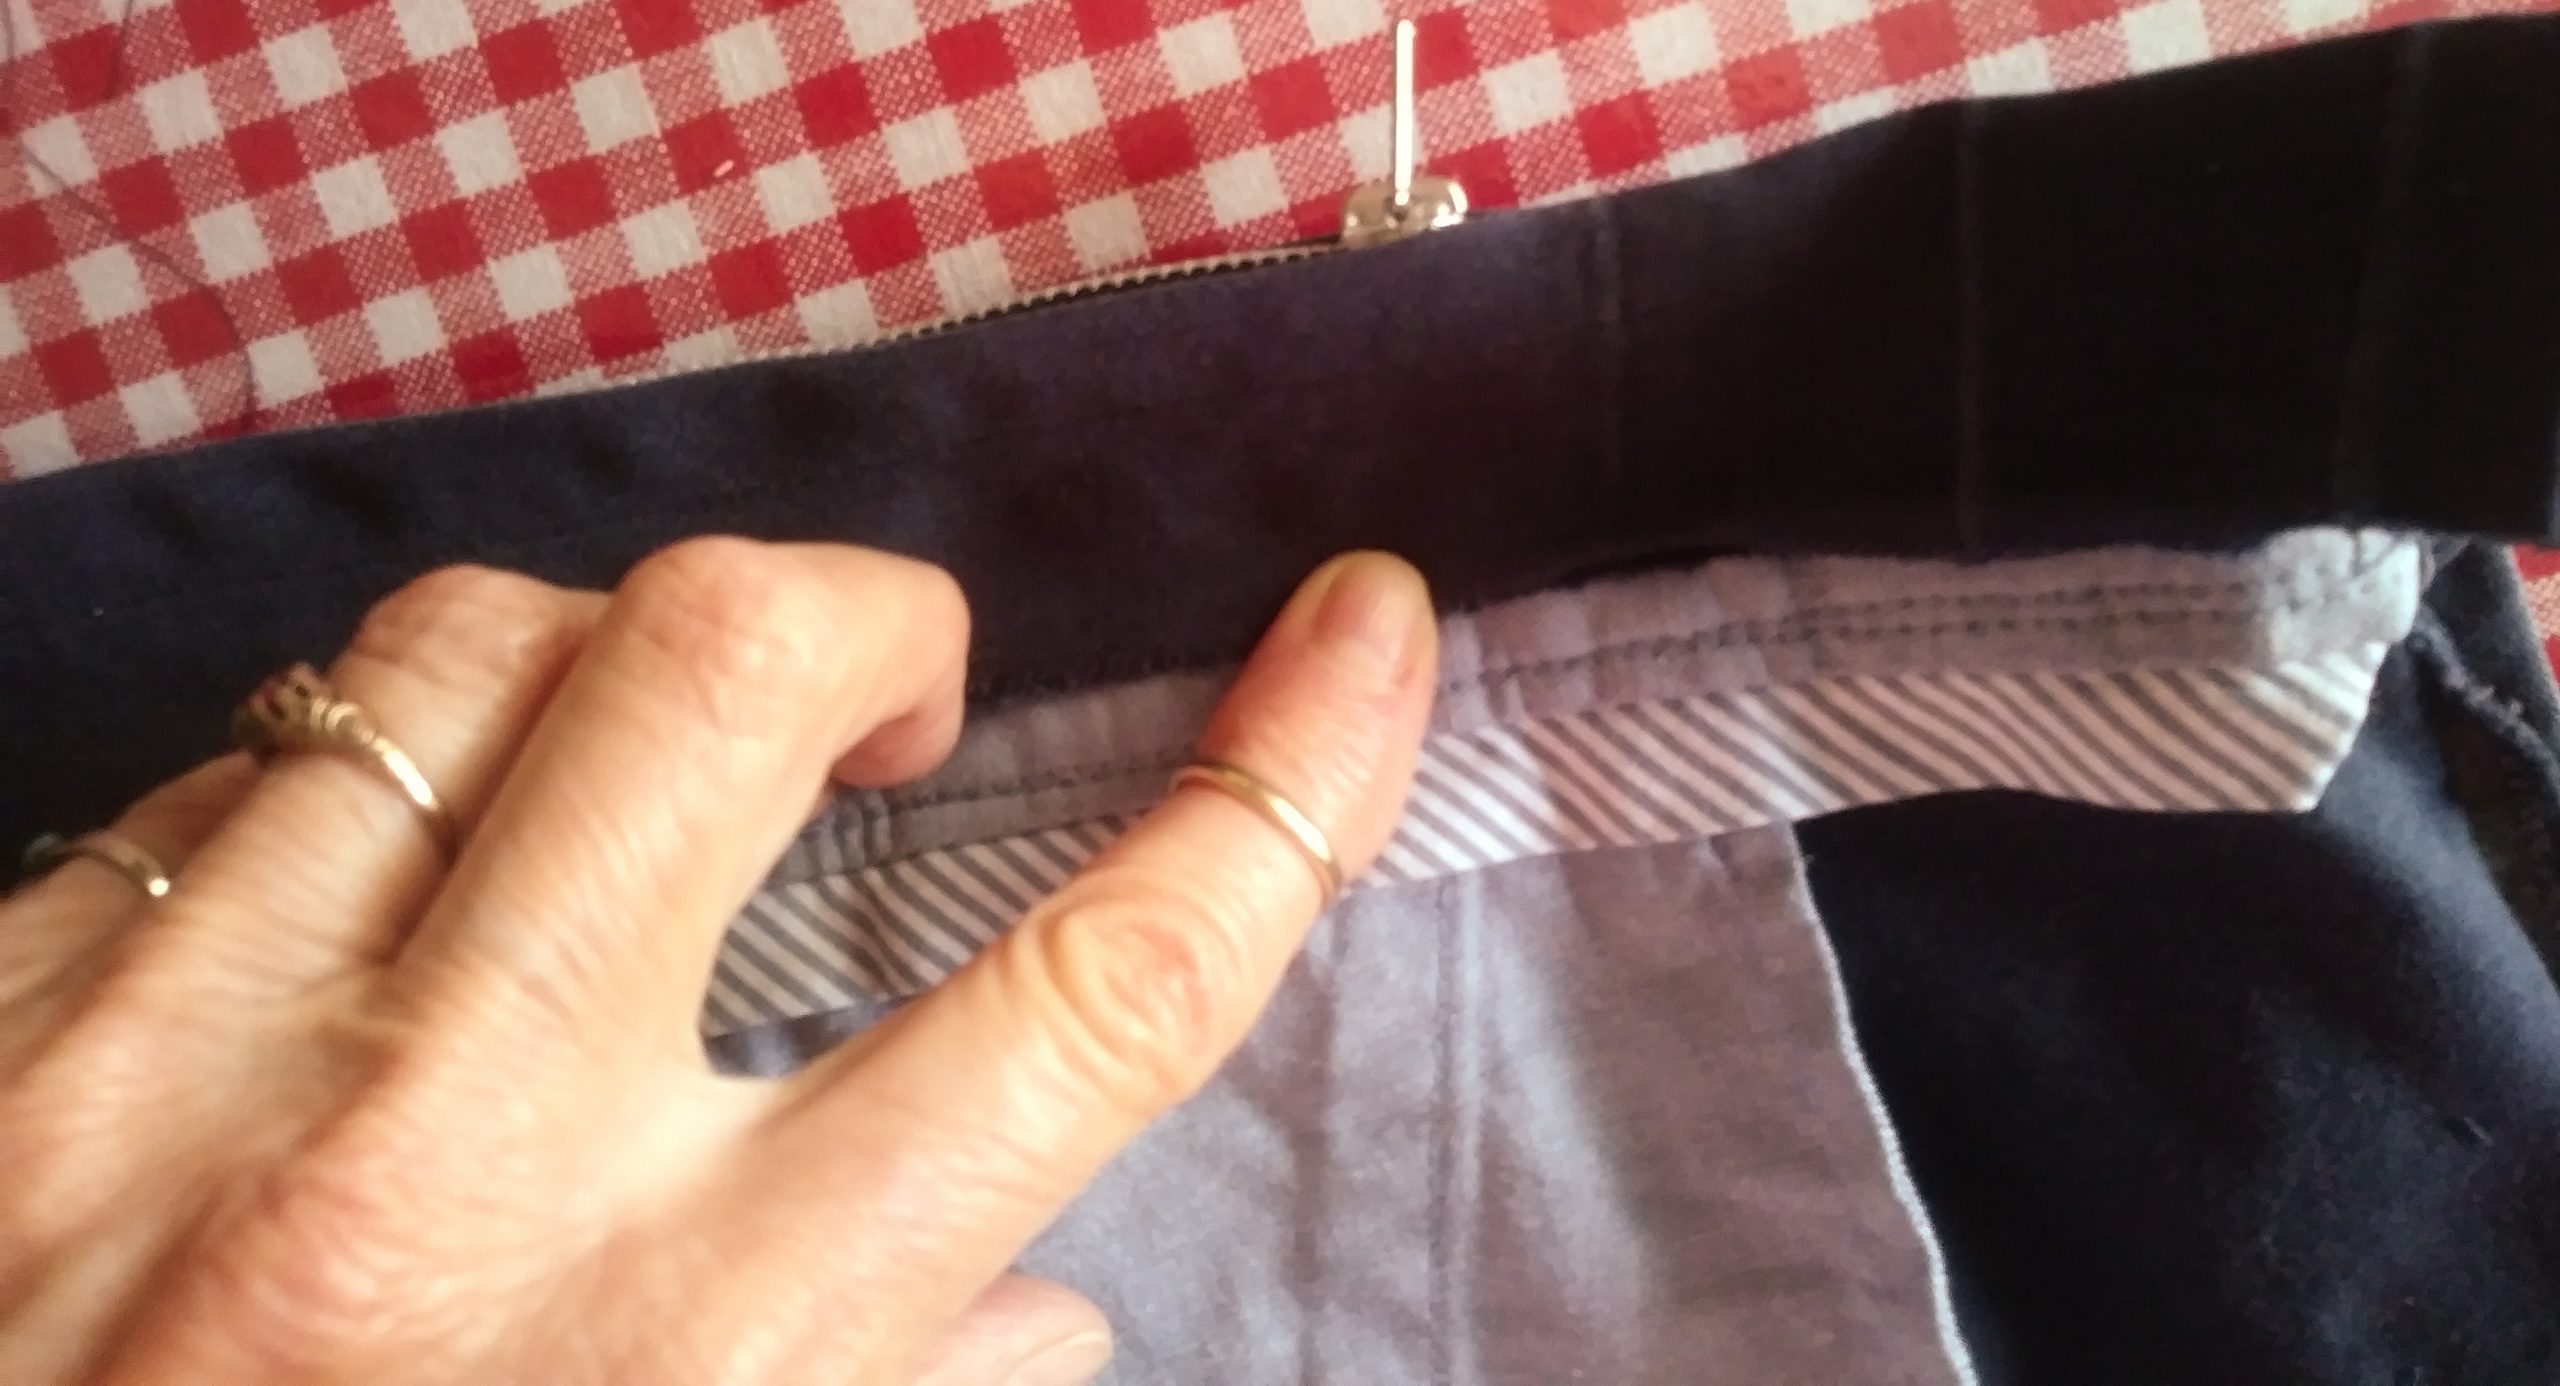
- Pin one side to the bag.
- Sew the first side down to the bag, following the previous stitching.
…then, the other.
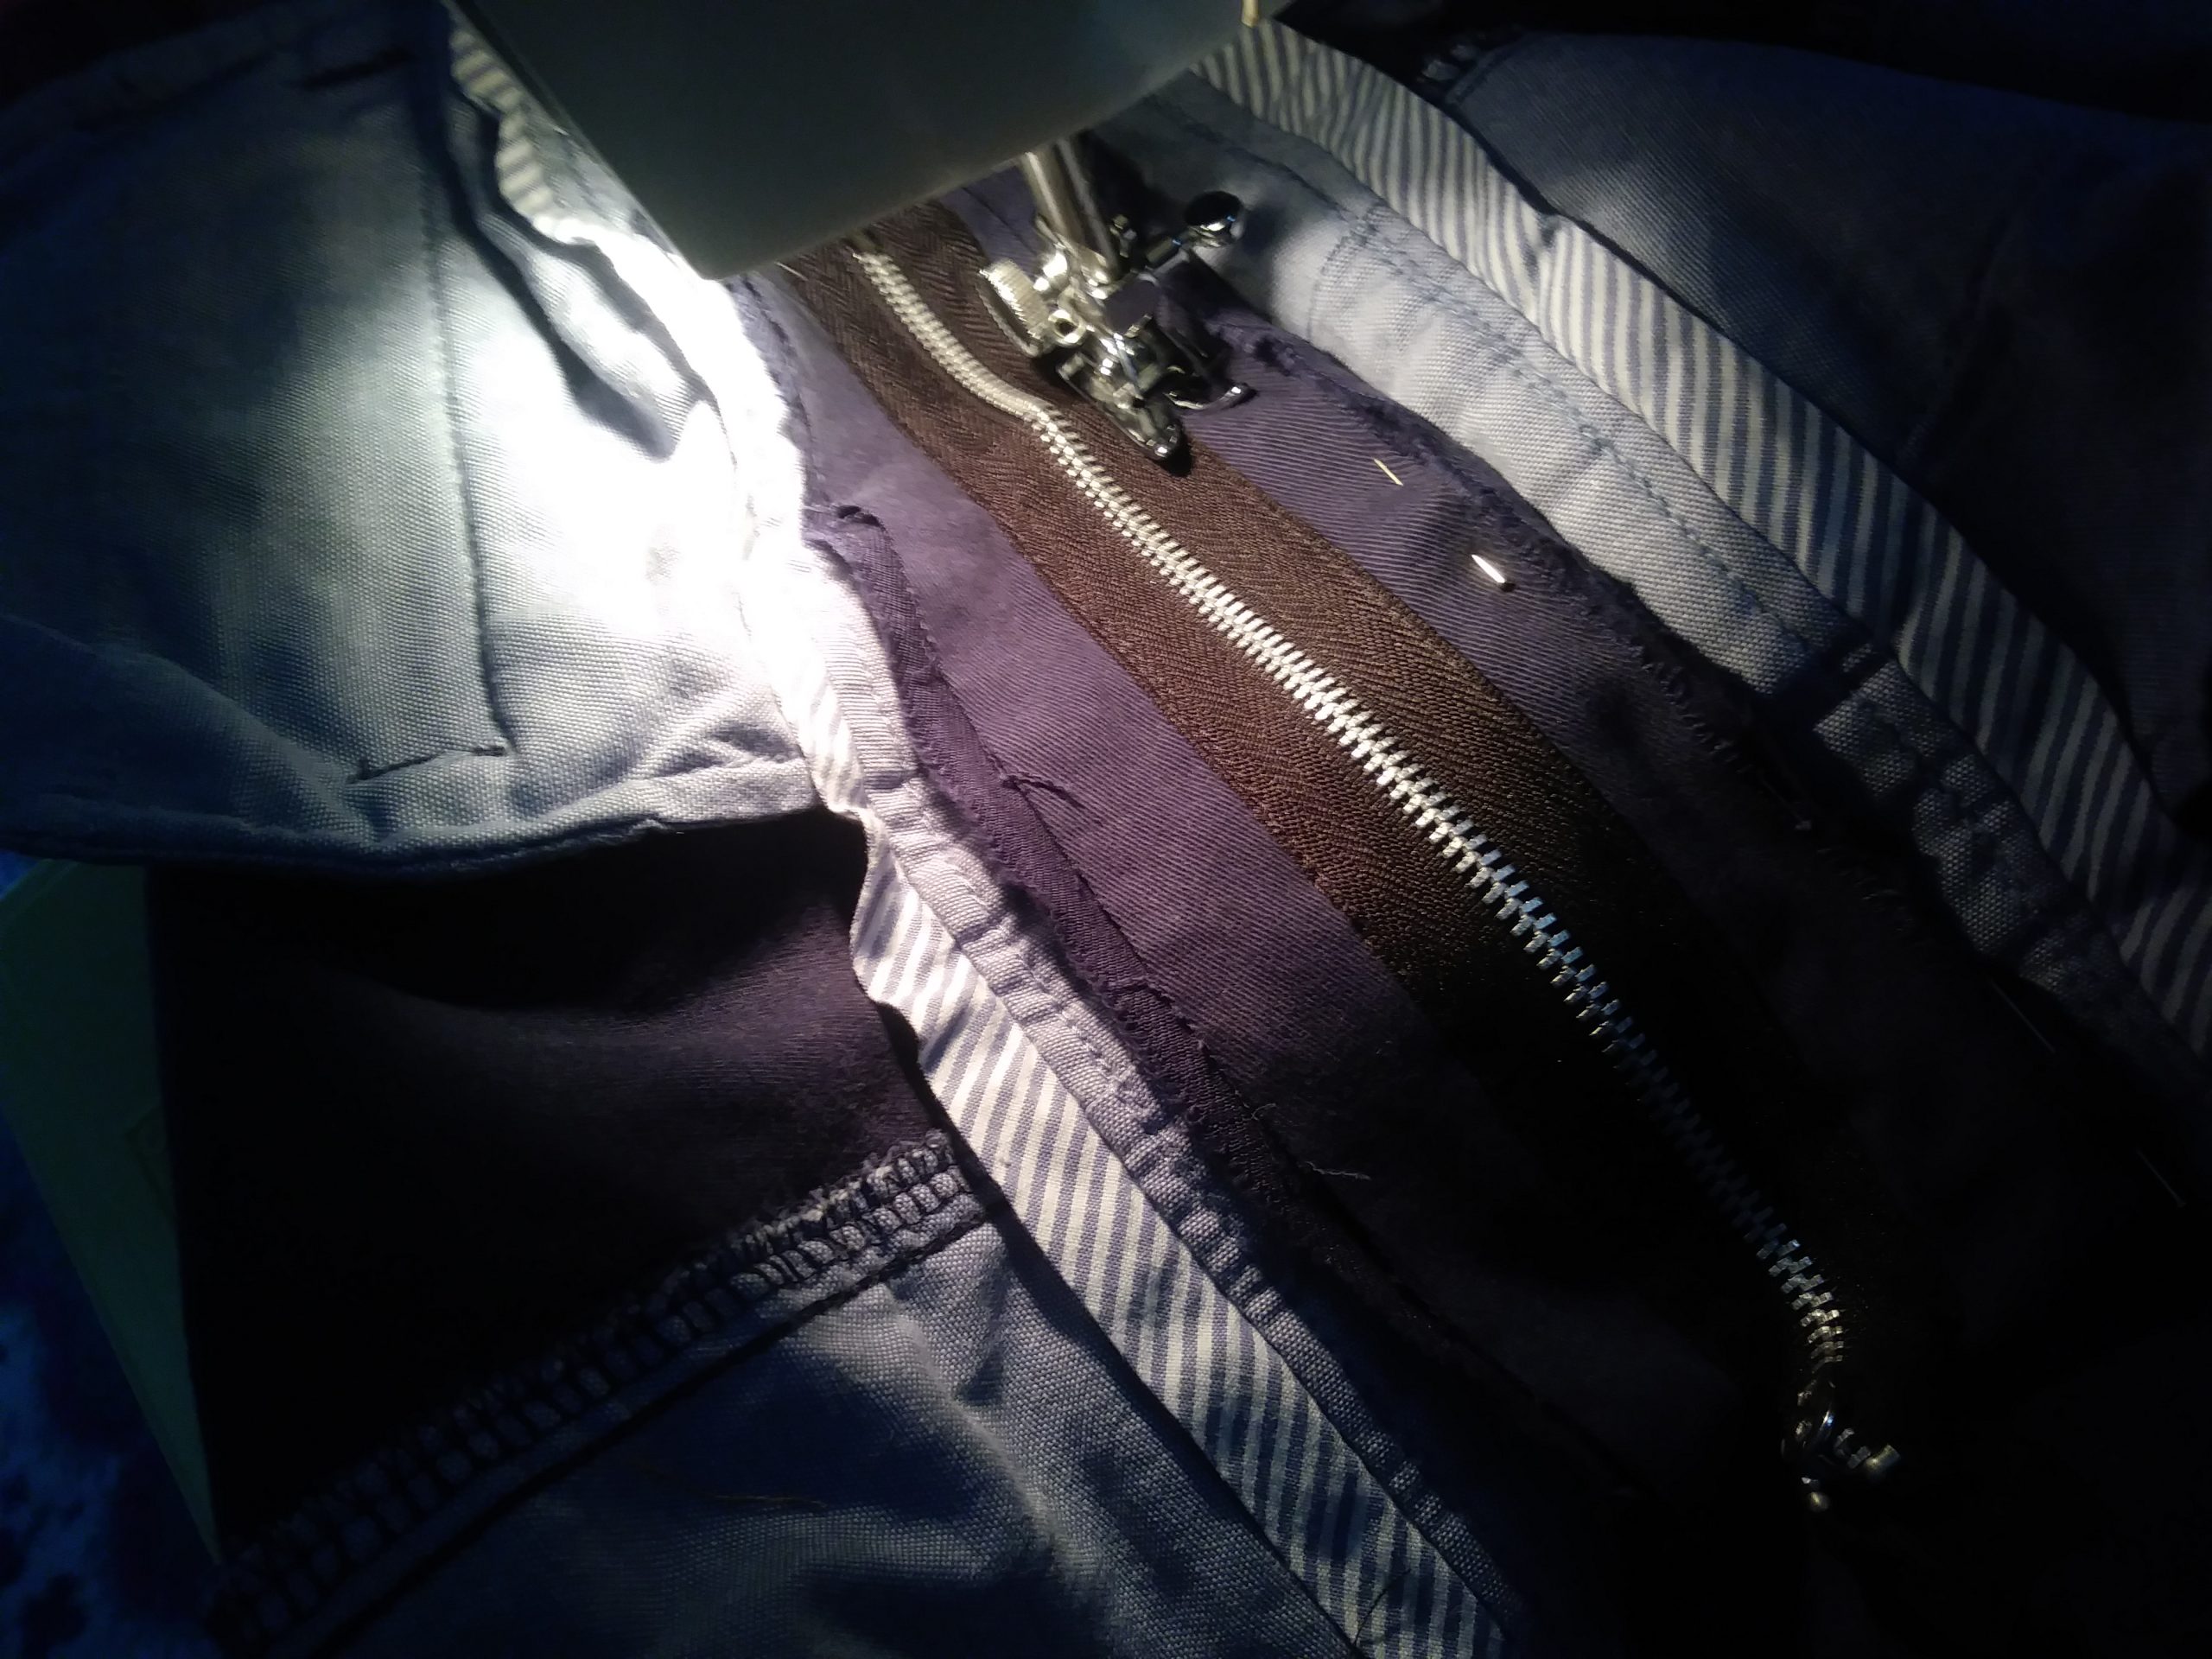
- Continue your stitching, attaching the extended zipper piece to the bag-to-be, around to the straps, below.
See the zip across the top?
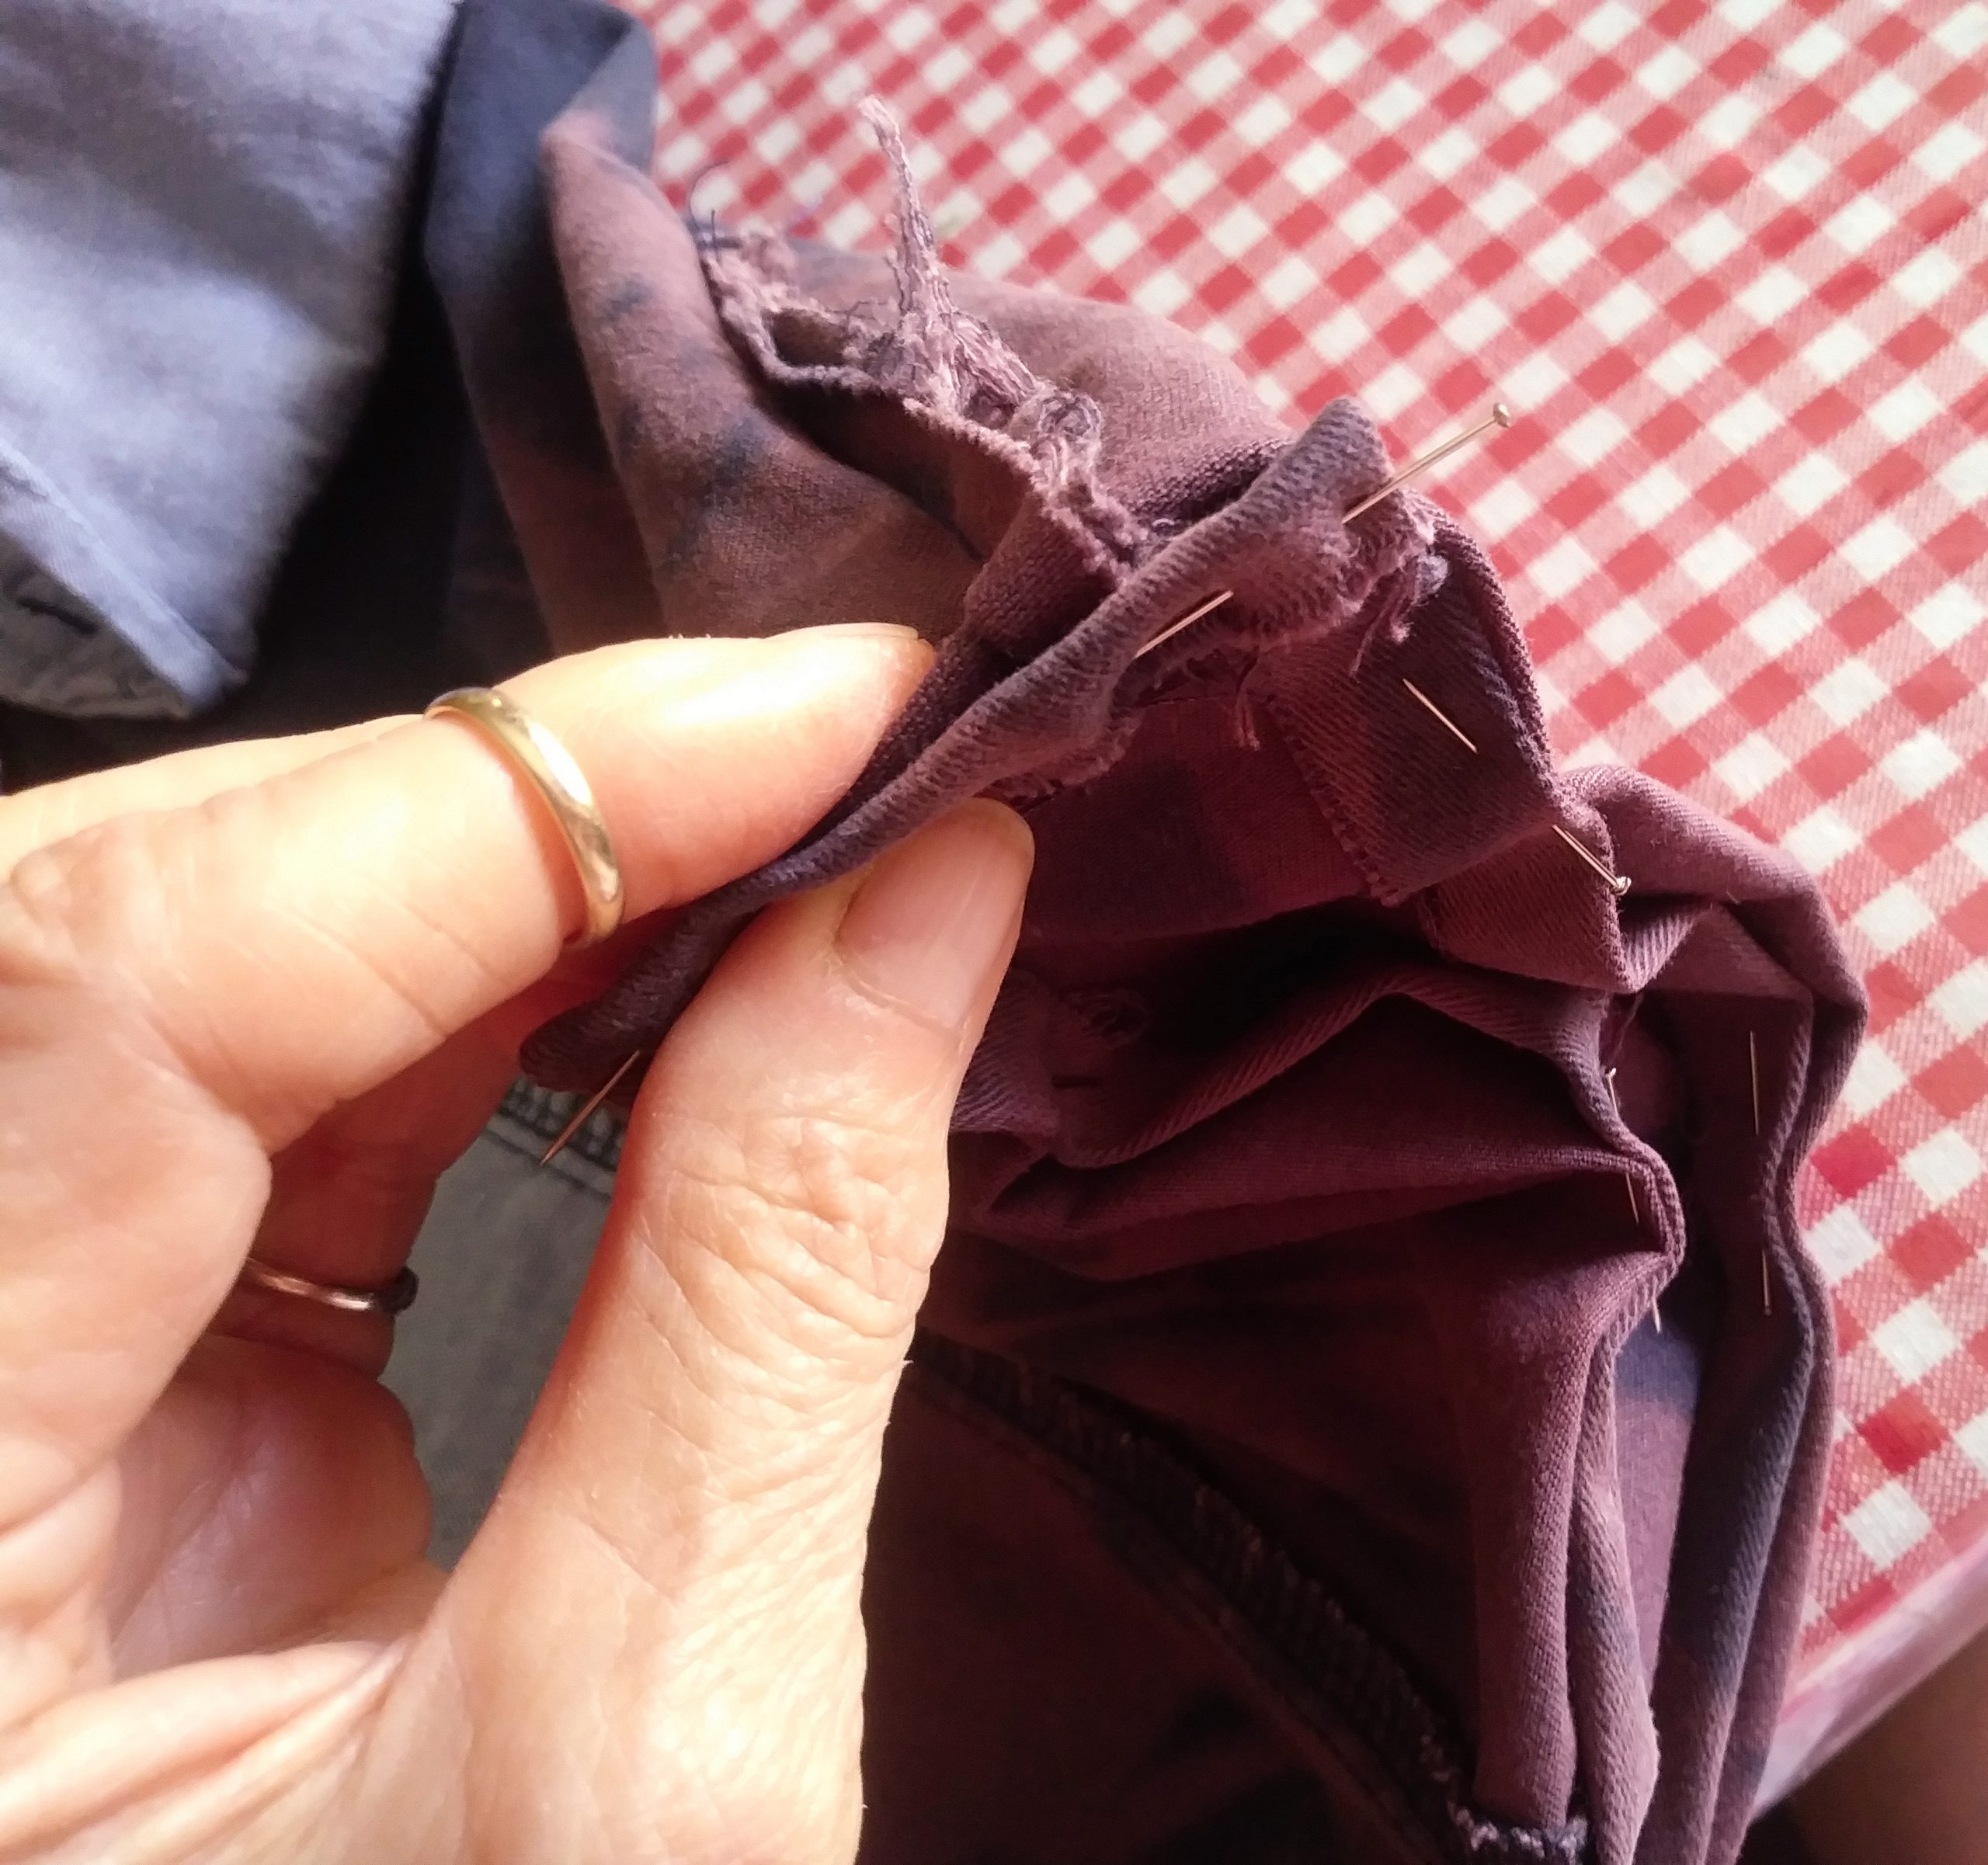
Making a Bottom for Your Bag
See the line of pins in the above pic? This line marks the bottom of the bag.
- Measure 8 inches up from the cut-off bottom and make a line of pins.
- Fold it up as shown below.
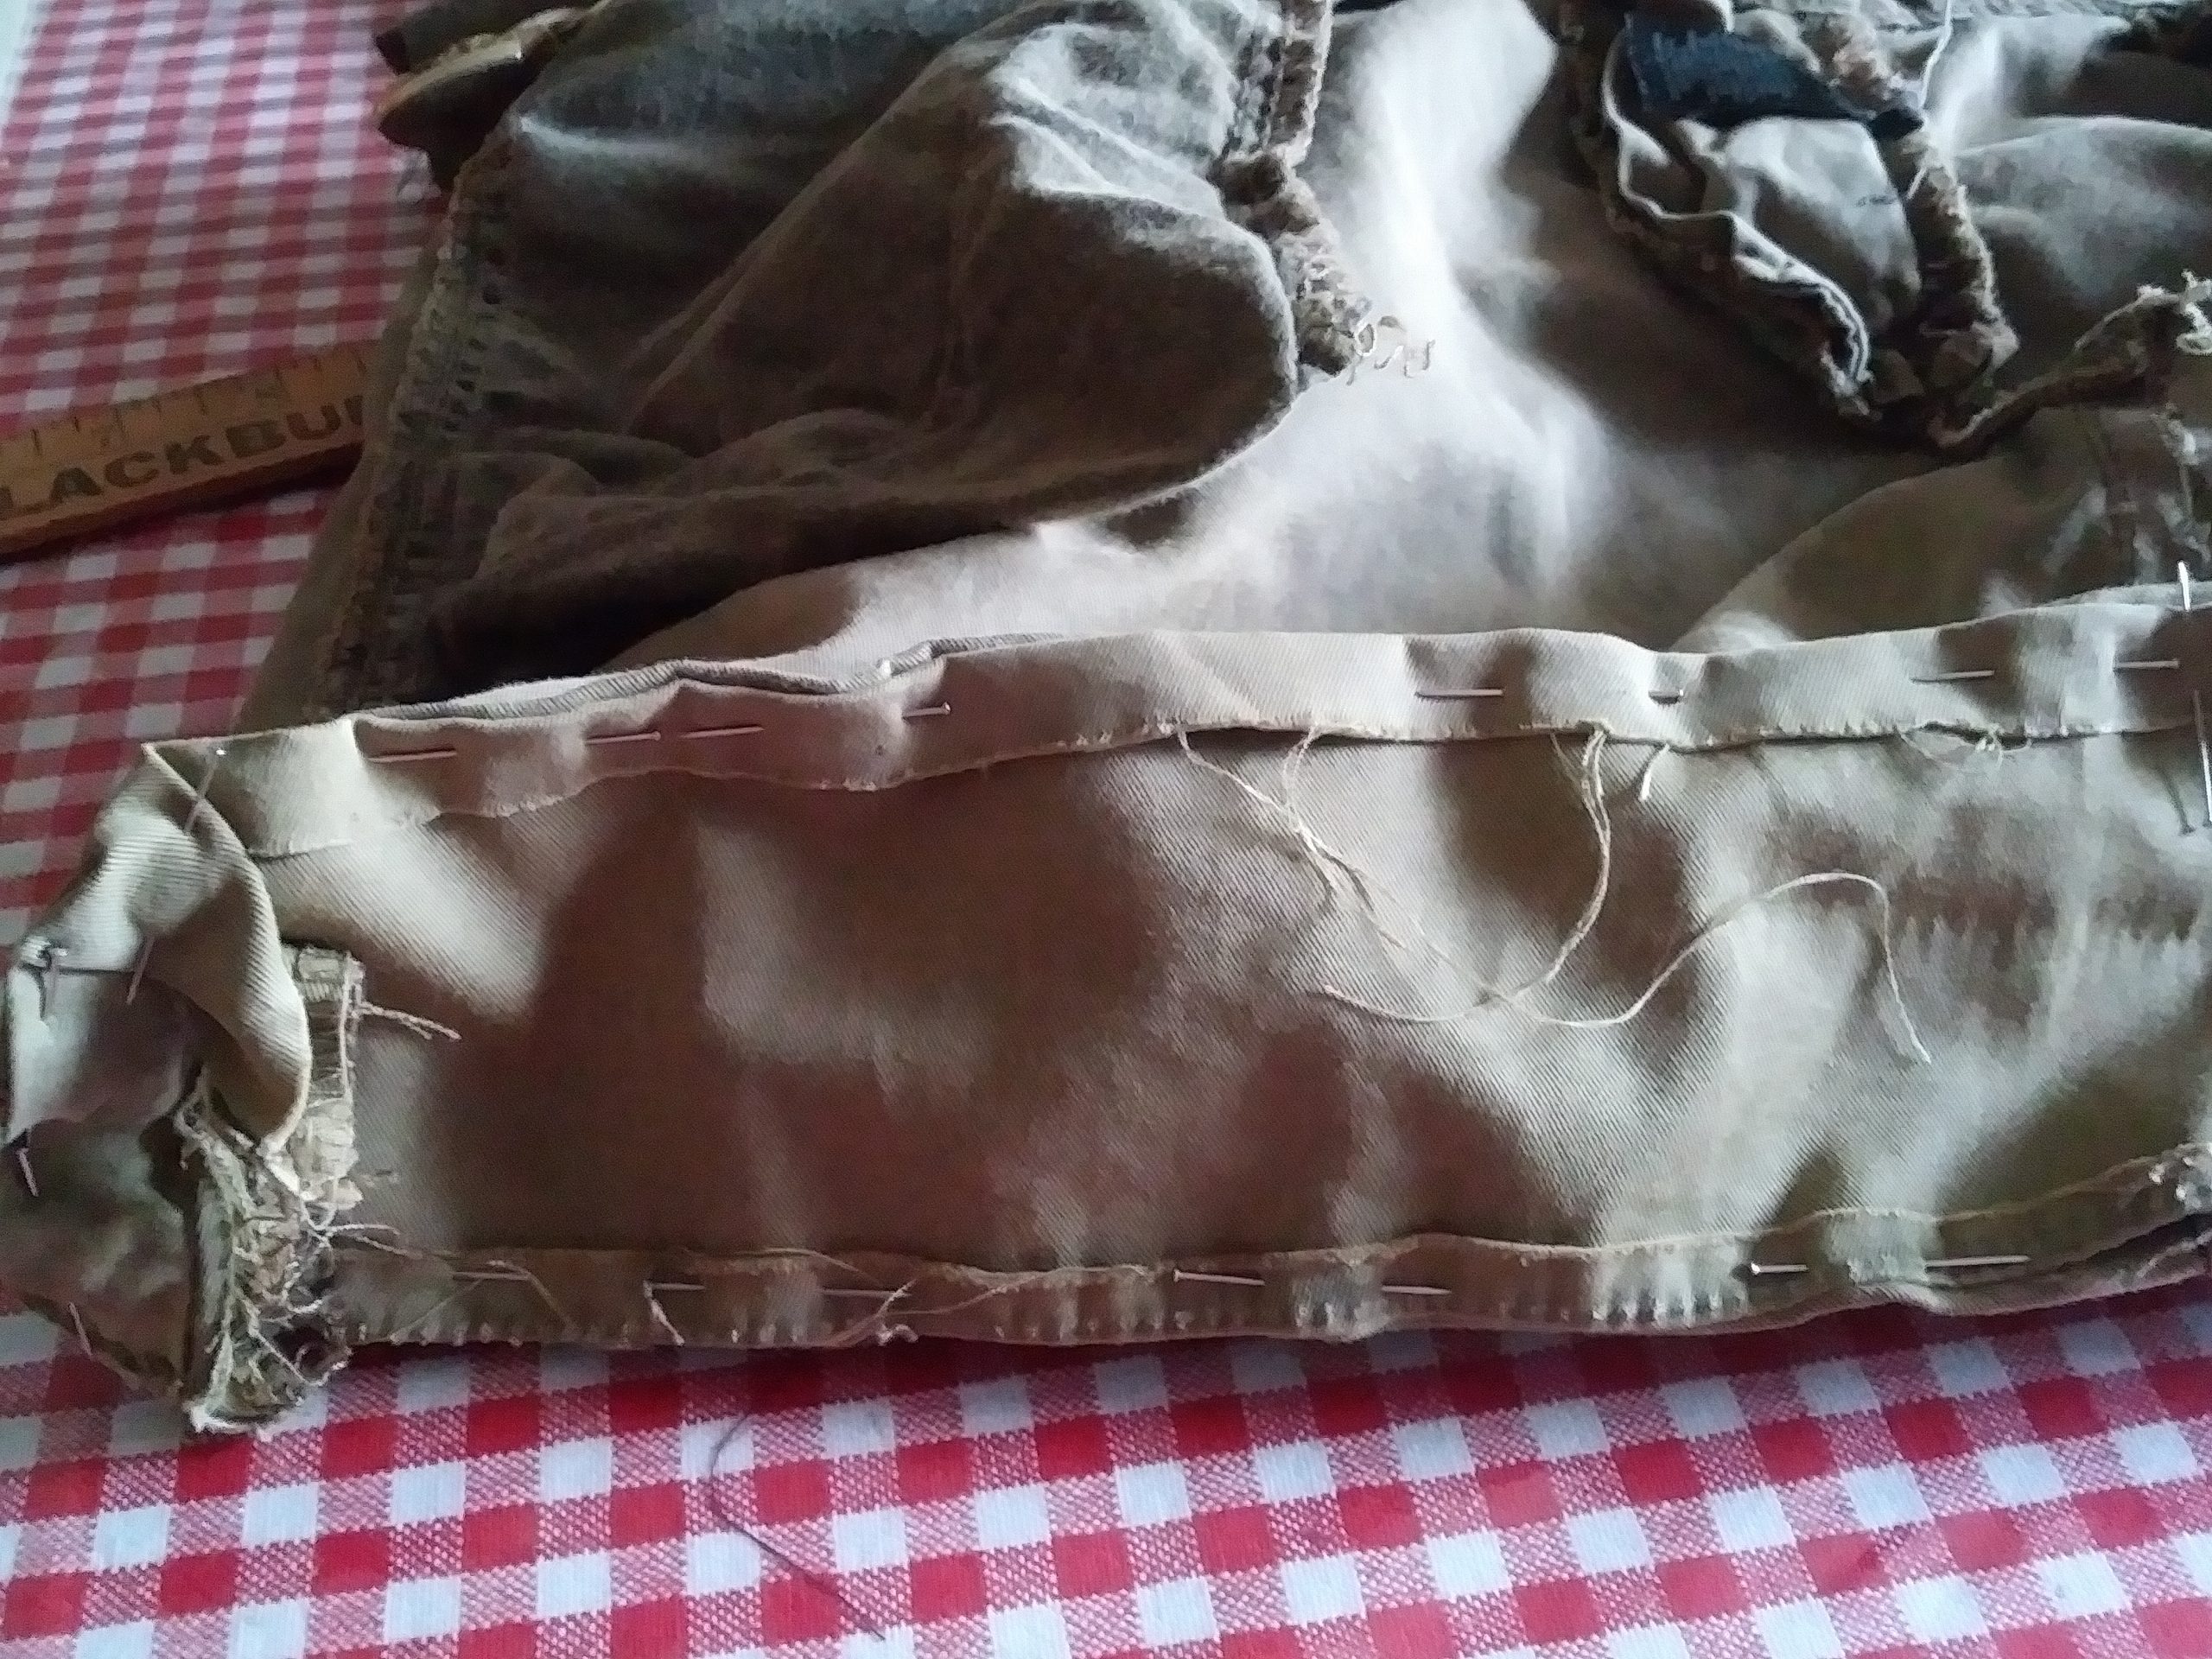
- Get the piece you measured for the bottom piece: a length of fabric a little longer than the width of your bag-to-be.
- Fold up and pin the edges on the long sides, as well as, the ends. Be sure to have the wrong side out, just as the bag-to-be is inside out.
- Match the center points of the bag and the bottom piece, below.

- While matching the center points, pinch the pieces together.
- Then, pin the pieces together, starting in the center.
- Pinch ‘n’ pin along the long sides, then, start working around the corners on the end.
- Sew the bottom to the folded up edge of the bag-to-be, all around all four sides, close to the folded edges.
Now the bottom is in—second milestone accomplished!
Make Your Lining
I like to use colorful fabric that has a satiny finish. Coordinate colors with the body of the bag.
- Start with the same dimensions as the bag, adding 1/2-inch seams on the sides and bottom, and an inch on the top.
Pin n sew side and bottom seam all around. Zig-zag outside the seam all around to help prevent unraveling.
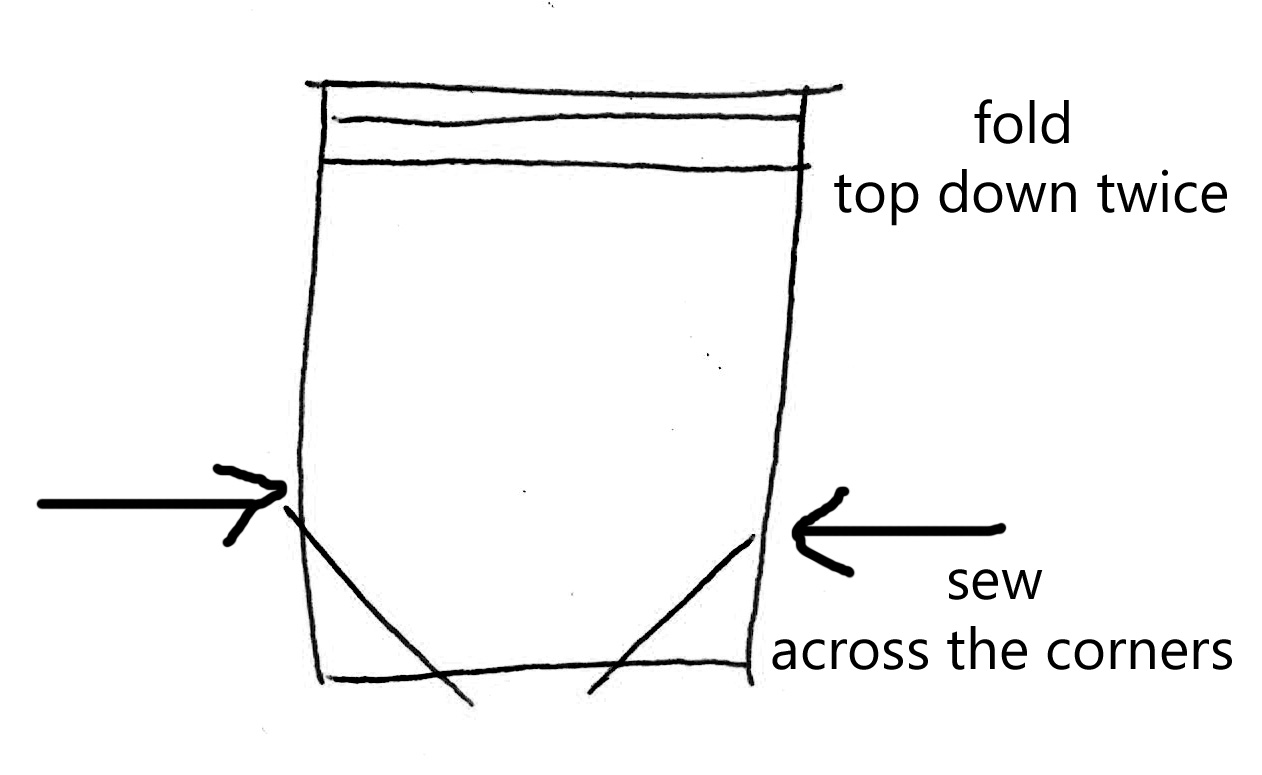
***Remember: You want the pretty side to be inside the liner bag. The seams (raw edges) will remain on the outside.
- Fold over the top 1/2 inch, then again 1/2 an inch. Pin n sew.
- Sew diagonally across the bottom corners. This makes it roomier and fills out the bag more.
- With both the bag and liner bag inside out, slip the bag inside the liner.
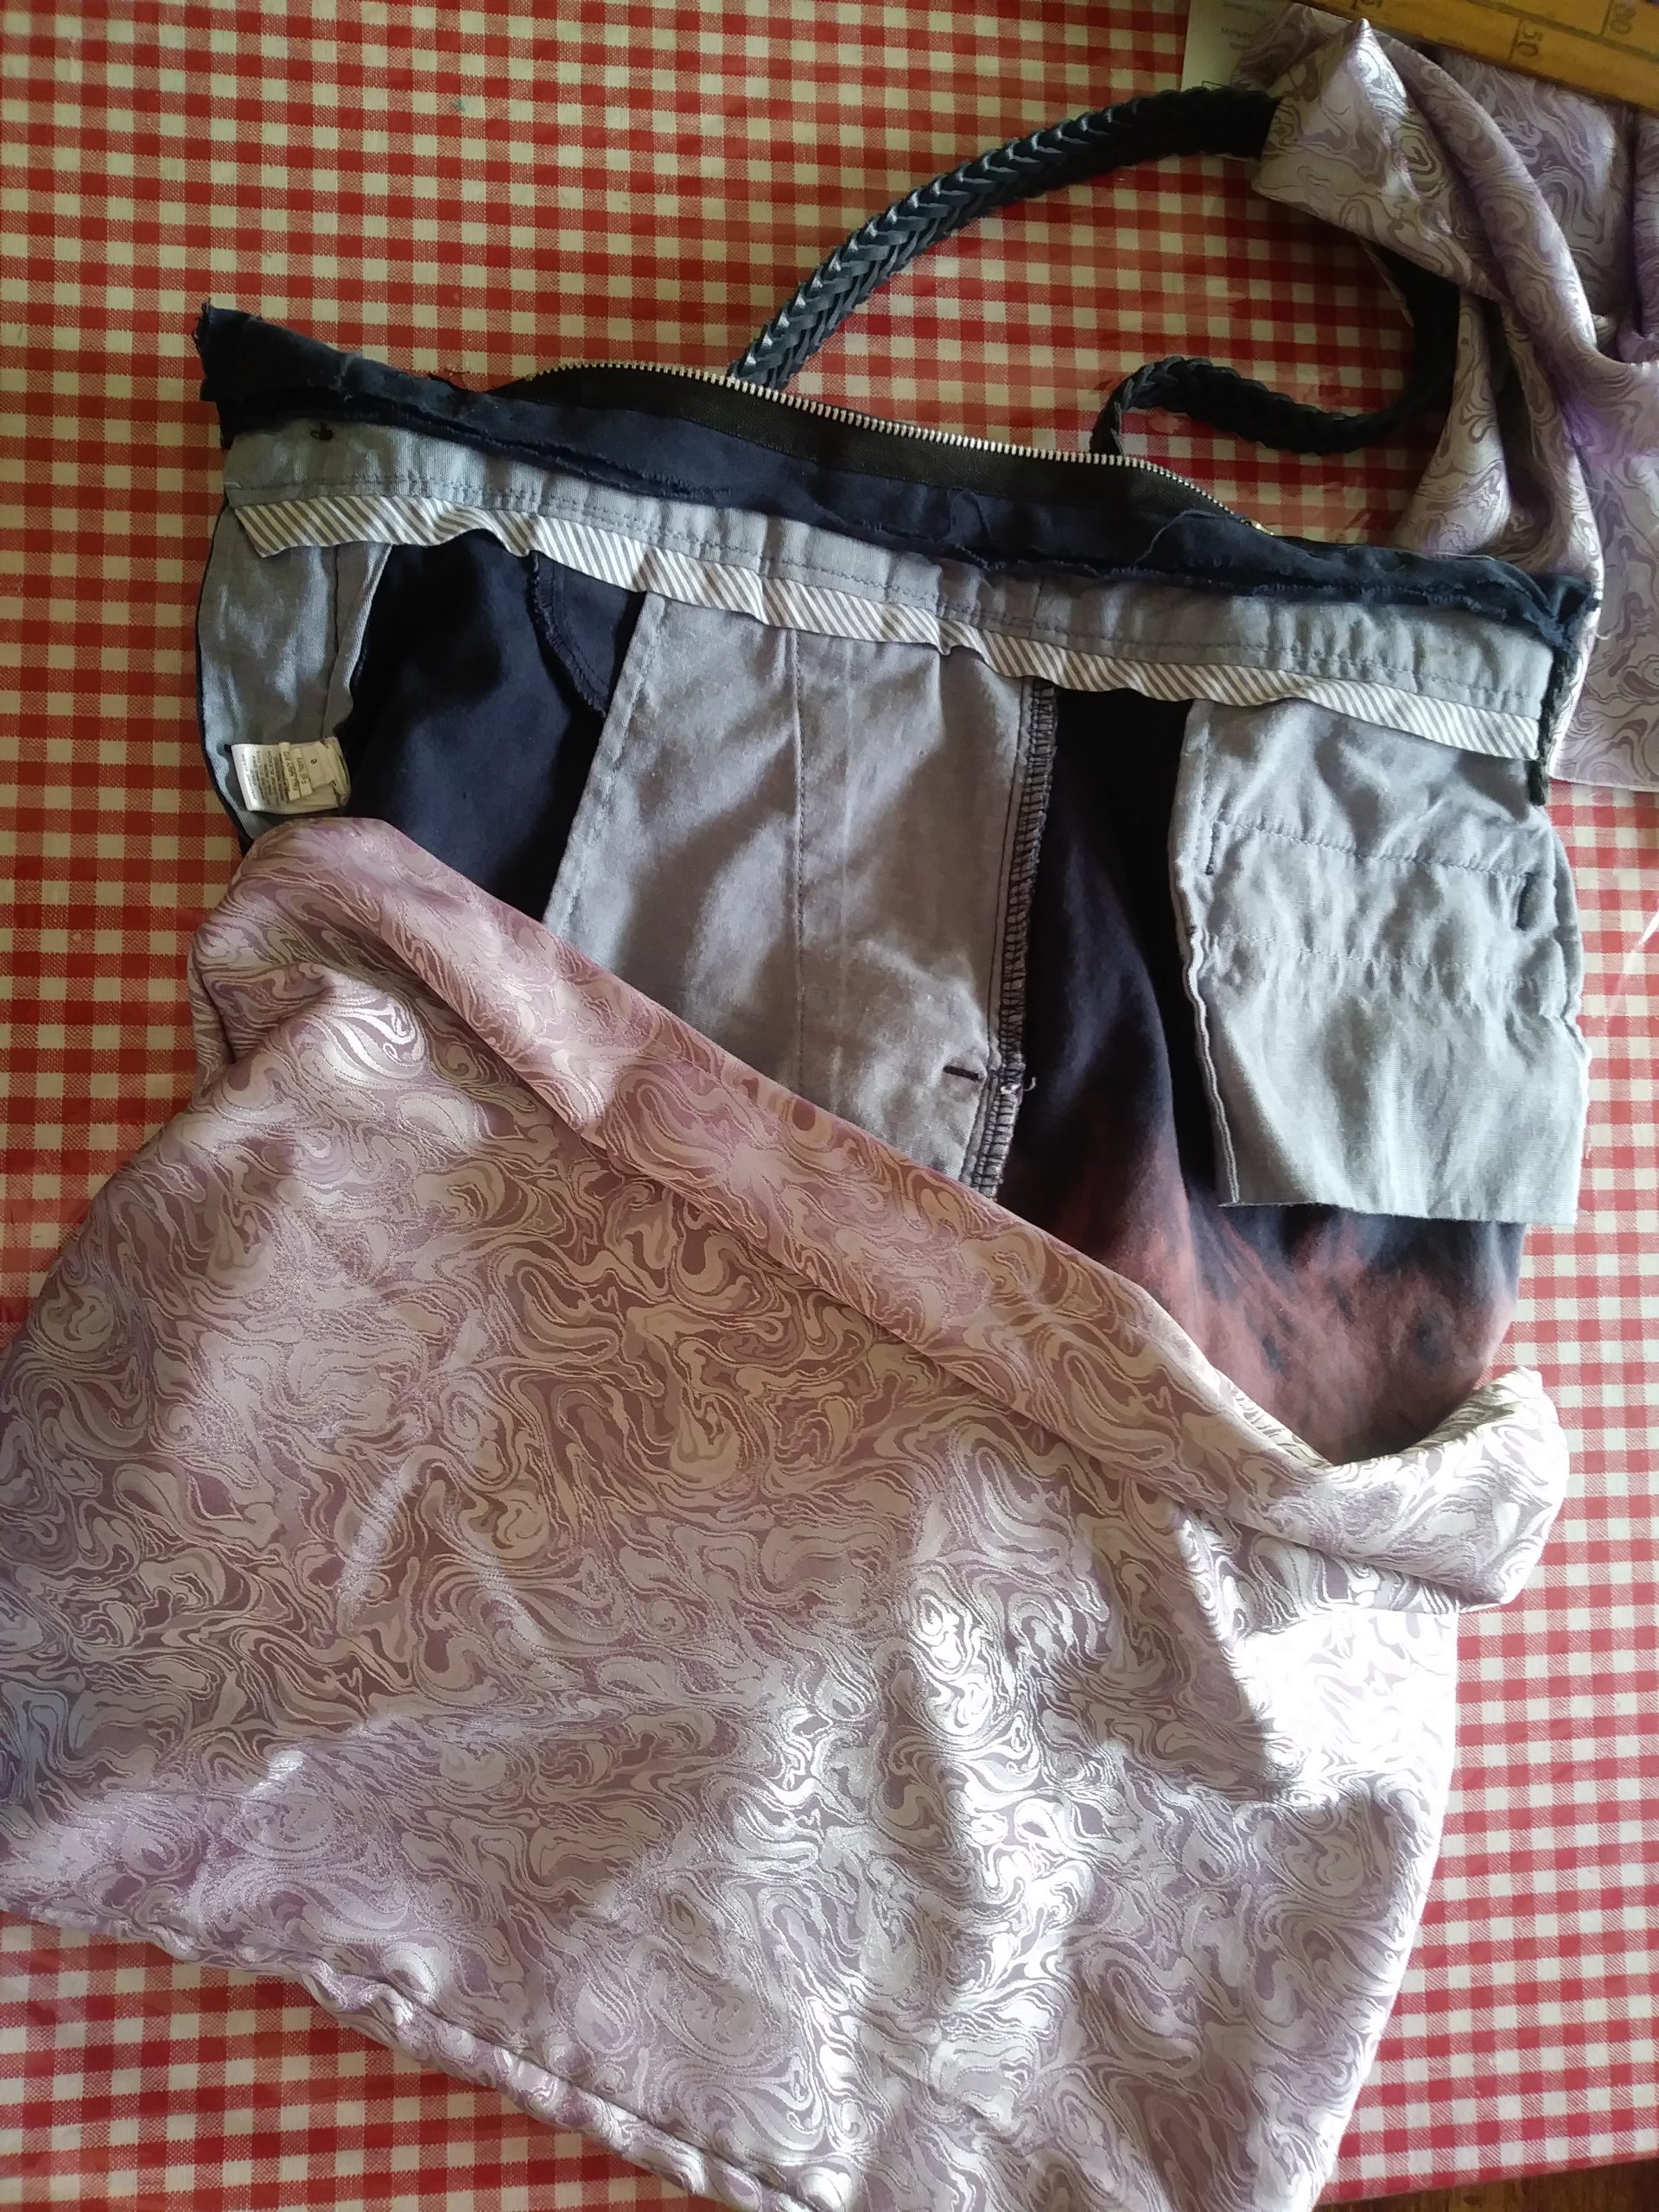
- Hand sew the top of the liner bag to the inside-out zipper and stitch up the top of the corners—with the bag enclosed in the liner bag.
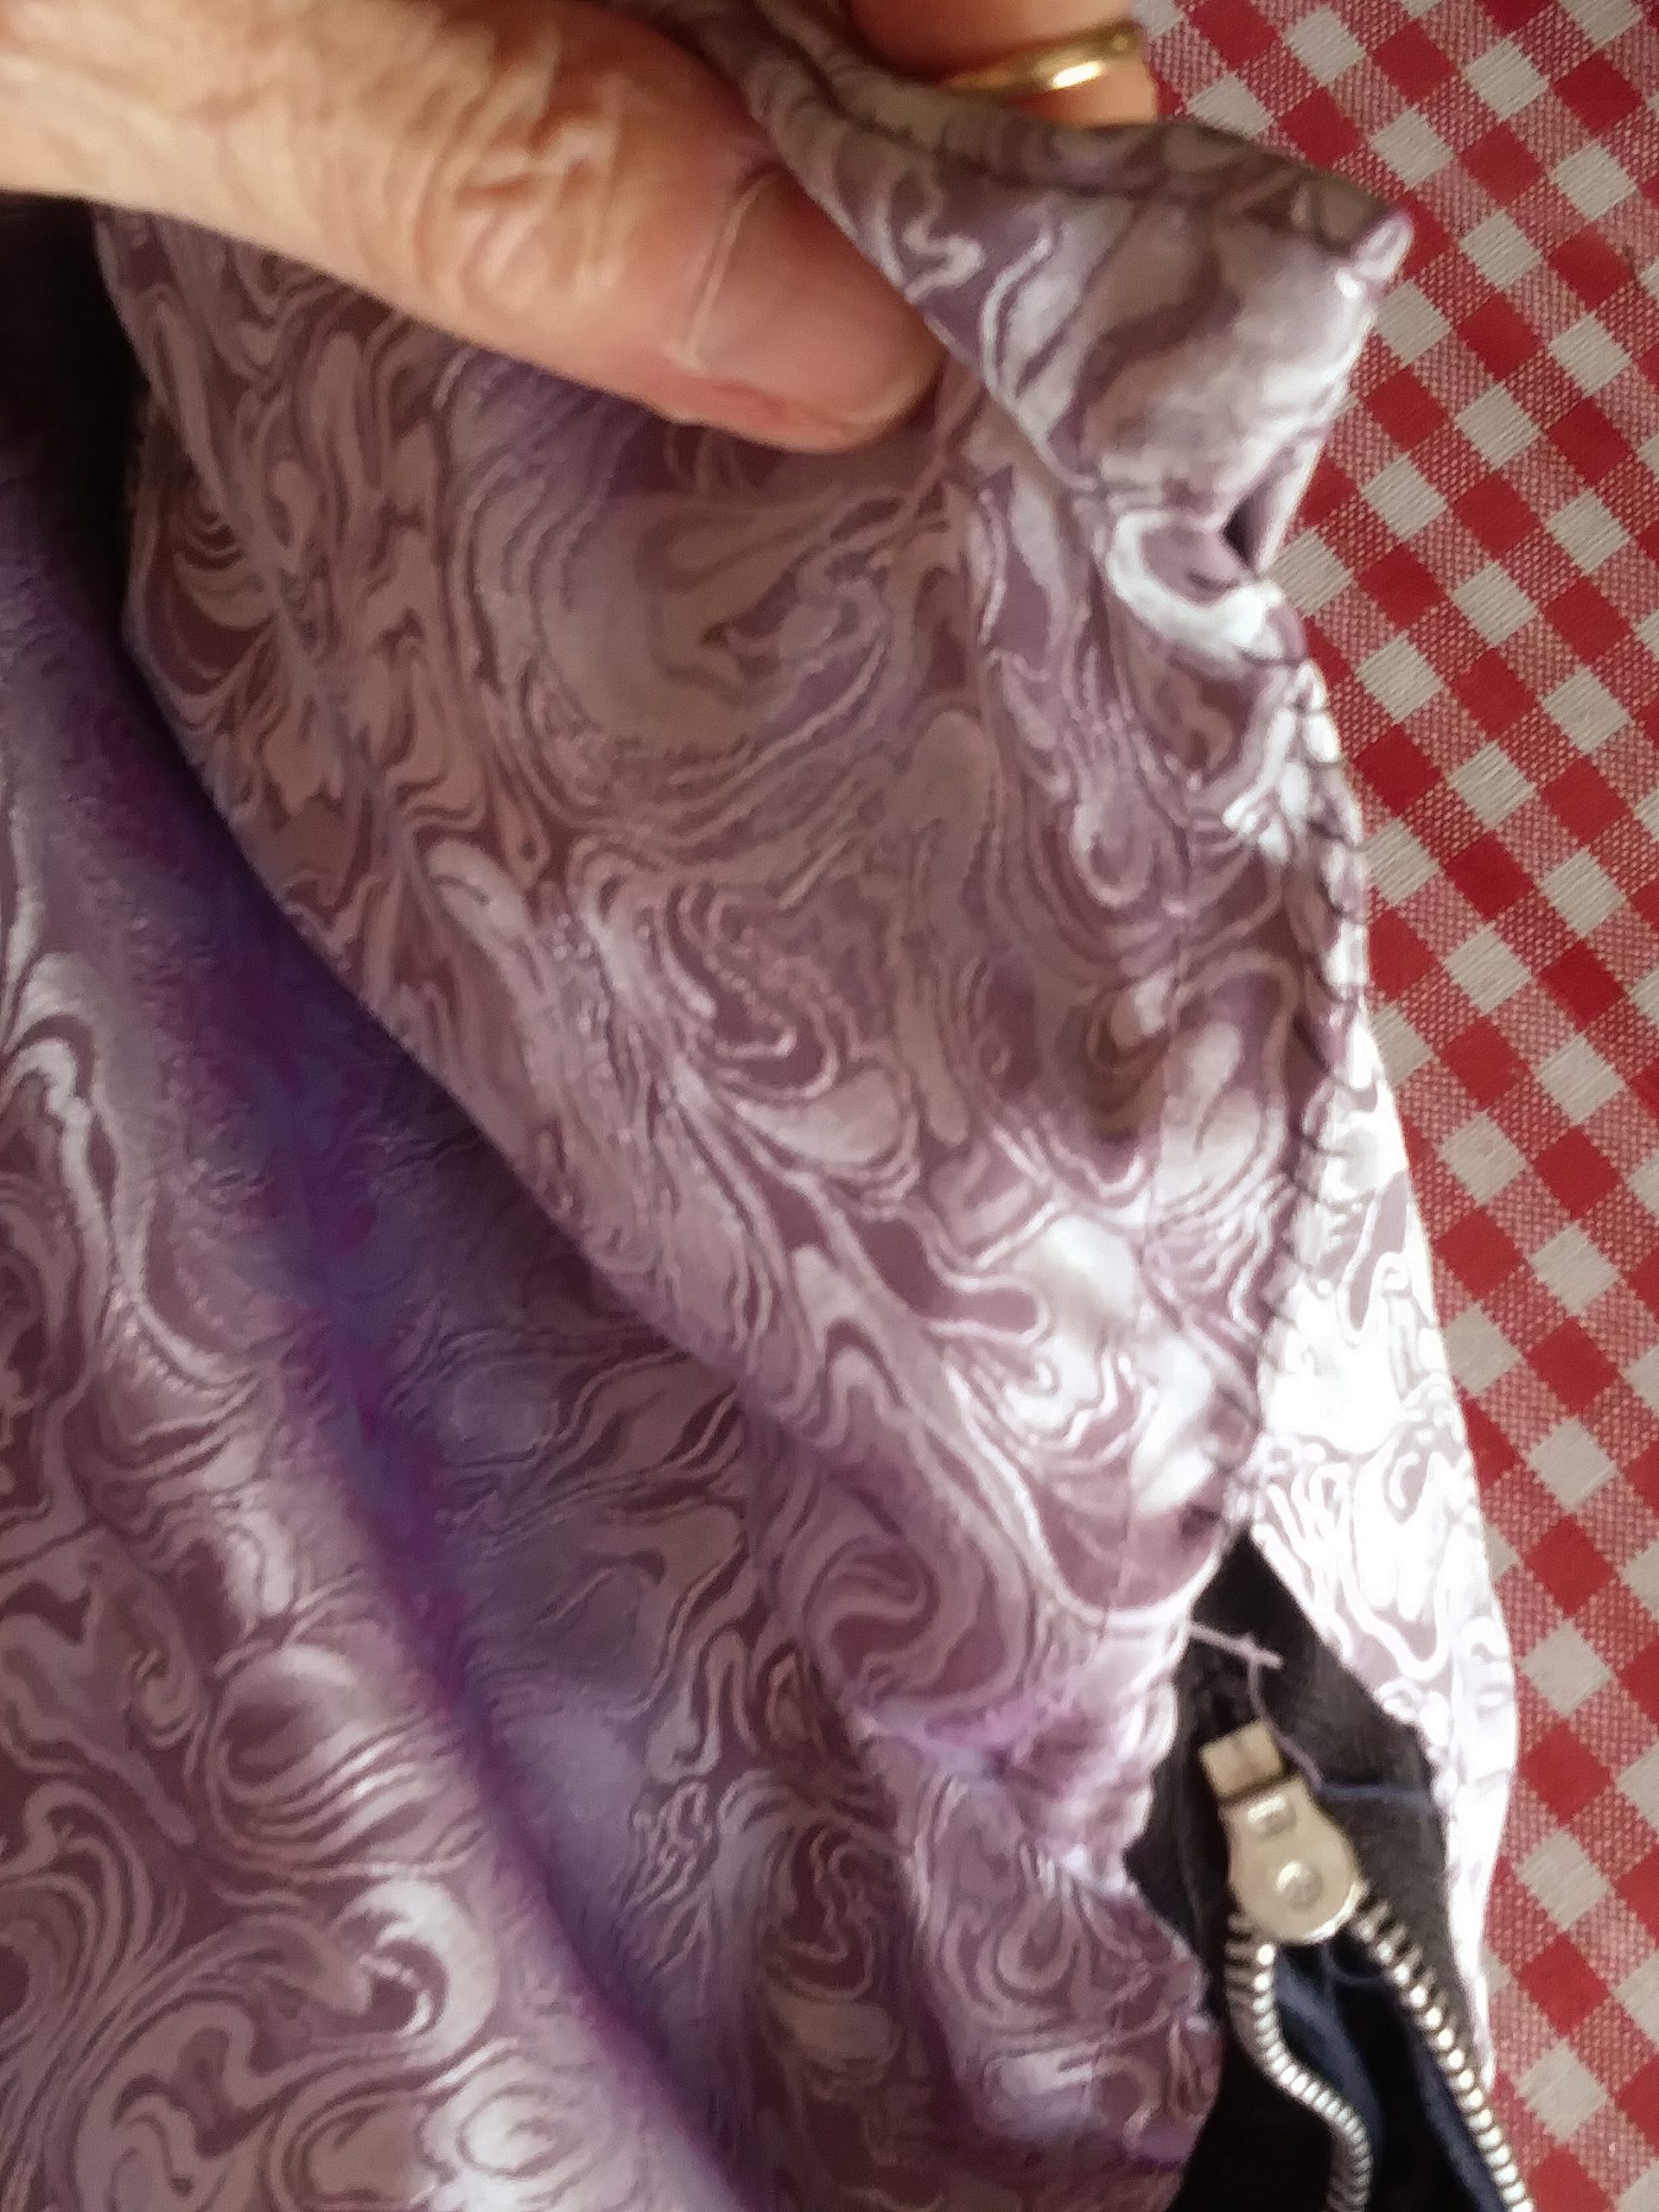
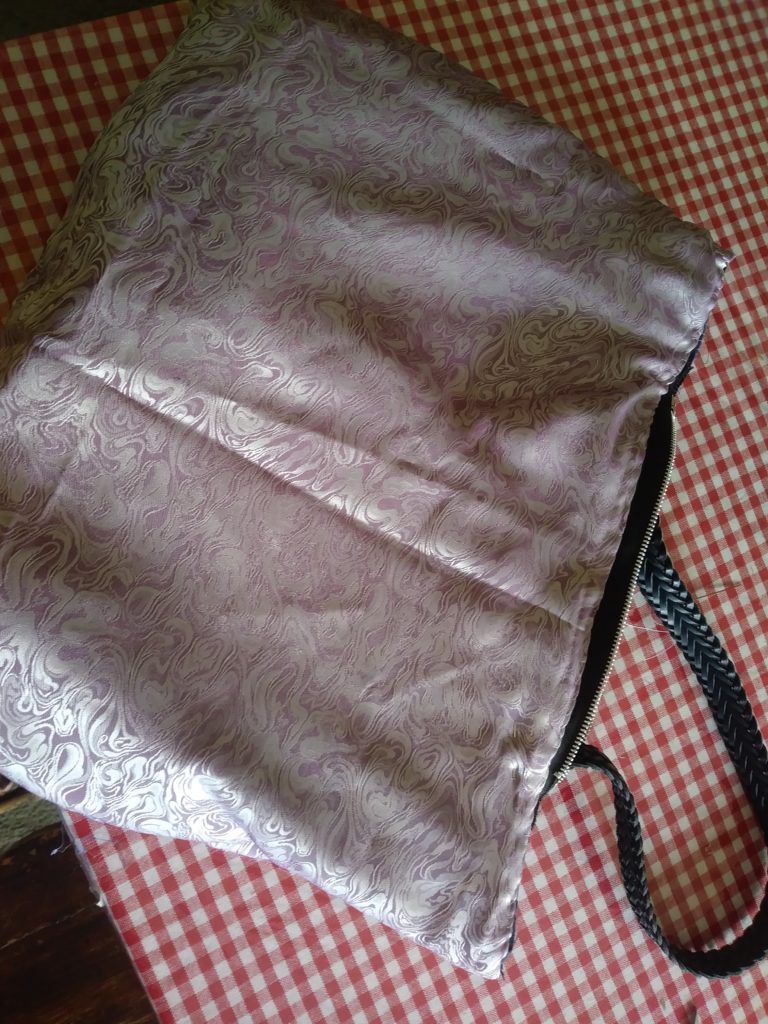
- Pull the bag through the open zipper so that the bag is right side out,and the liner is inside with the pretty side of the fabric showing as you look into the bag.
Third hurdle jumped. Now, for the fun part, and last step.
Making the Fringe
Clip the bottom of the fring-to-be at about 1/2-inch intervals, one at a time, and tear upwards. Continue around the bag until you have two rows of fringe. 🙂
That’s it!
Fini!