Hey y’all!
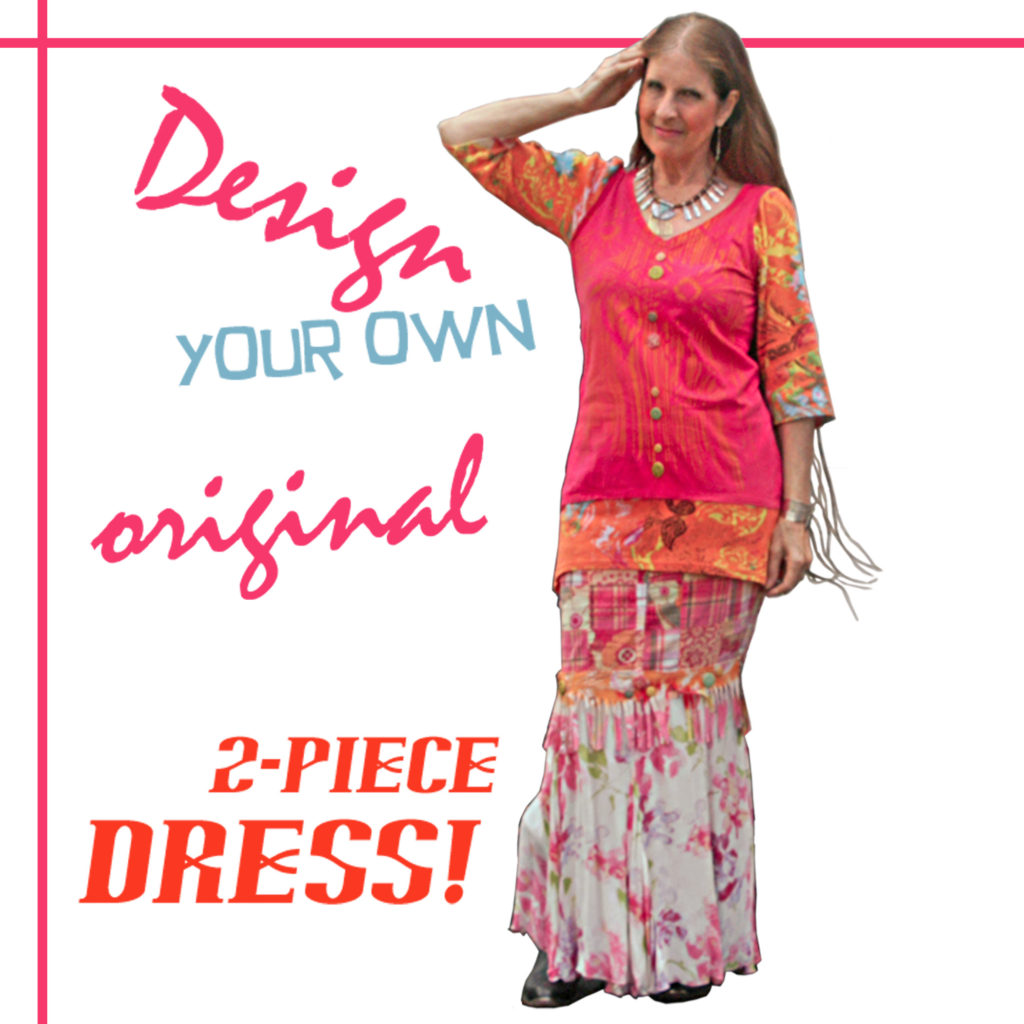
This two-piece dress started out as two tops, a pair of shorts, and a skirt.
I’m so excited about this tutorial! It started out with me realizing that the colors in the shorts I just got at Goodwill Outlet were perfect
with a flared skirt that was given to me.
As I was creating this maxi from the two, I also realized that I had two tops that matched in colors, too! Happy day!
I made an entire outfit from four thrift ready-mades!! ![]()
That’s how cool DIY Bohemian is!
It’s taking manufactured clothes and putting them together in a new, unique way to create your own style!
I love mixing prints. It’s a fun challenge to combine different alternatives to solids—successfully.
The key to mixing prints, plaids, stripes, florals, etc. is to match colors. The more colors in the different prints that match each other, the better. But, just be sure at least one color matches.
Obviously, you won’t be able to make the same two-piece dress I made, ’cause you most likely won’t find the same original garments, but that’s what will make yours
your own! 🙂 Besides, we each have different coloring.
I’m a “winter.”Others of you have spring, summer or fall coloring. Check out your season to find what colors are most attractive with your particular skin, eyes and hair colorings. Dressing within your colors keeps you always looking your best!! 🙂
So, gather your own distinct favorite tops, shorts and gathered or flared skirt that share colors in their patterns, and get to making your two-piece dress!
This project requires MINIMAL sewing skills!
Let’s do it!
I didn’t set out to make this; it evolved.
The skirt part came first.
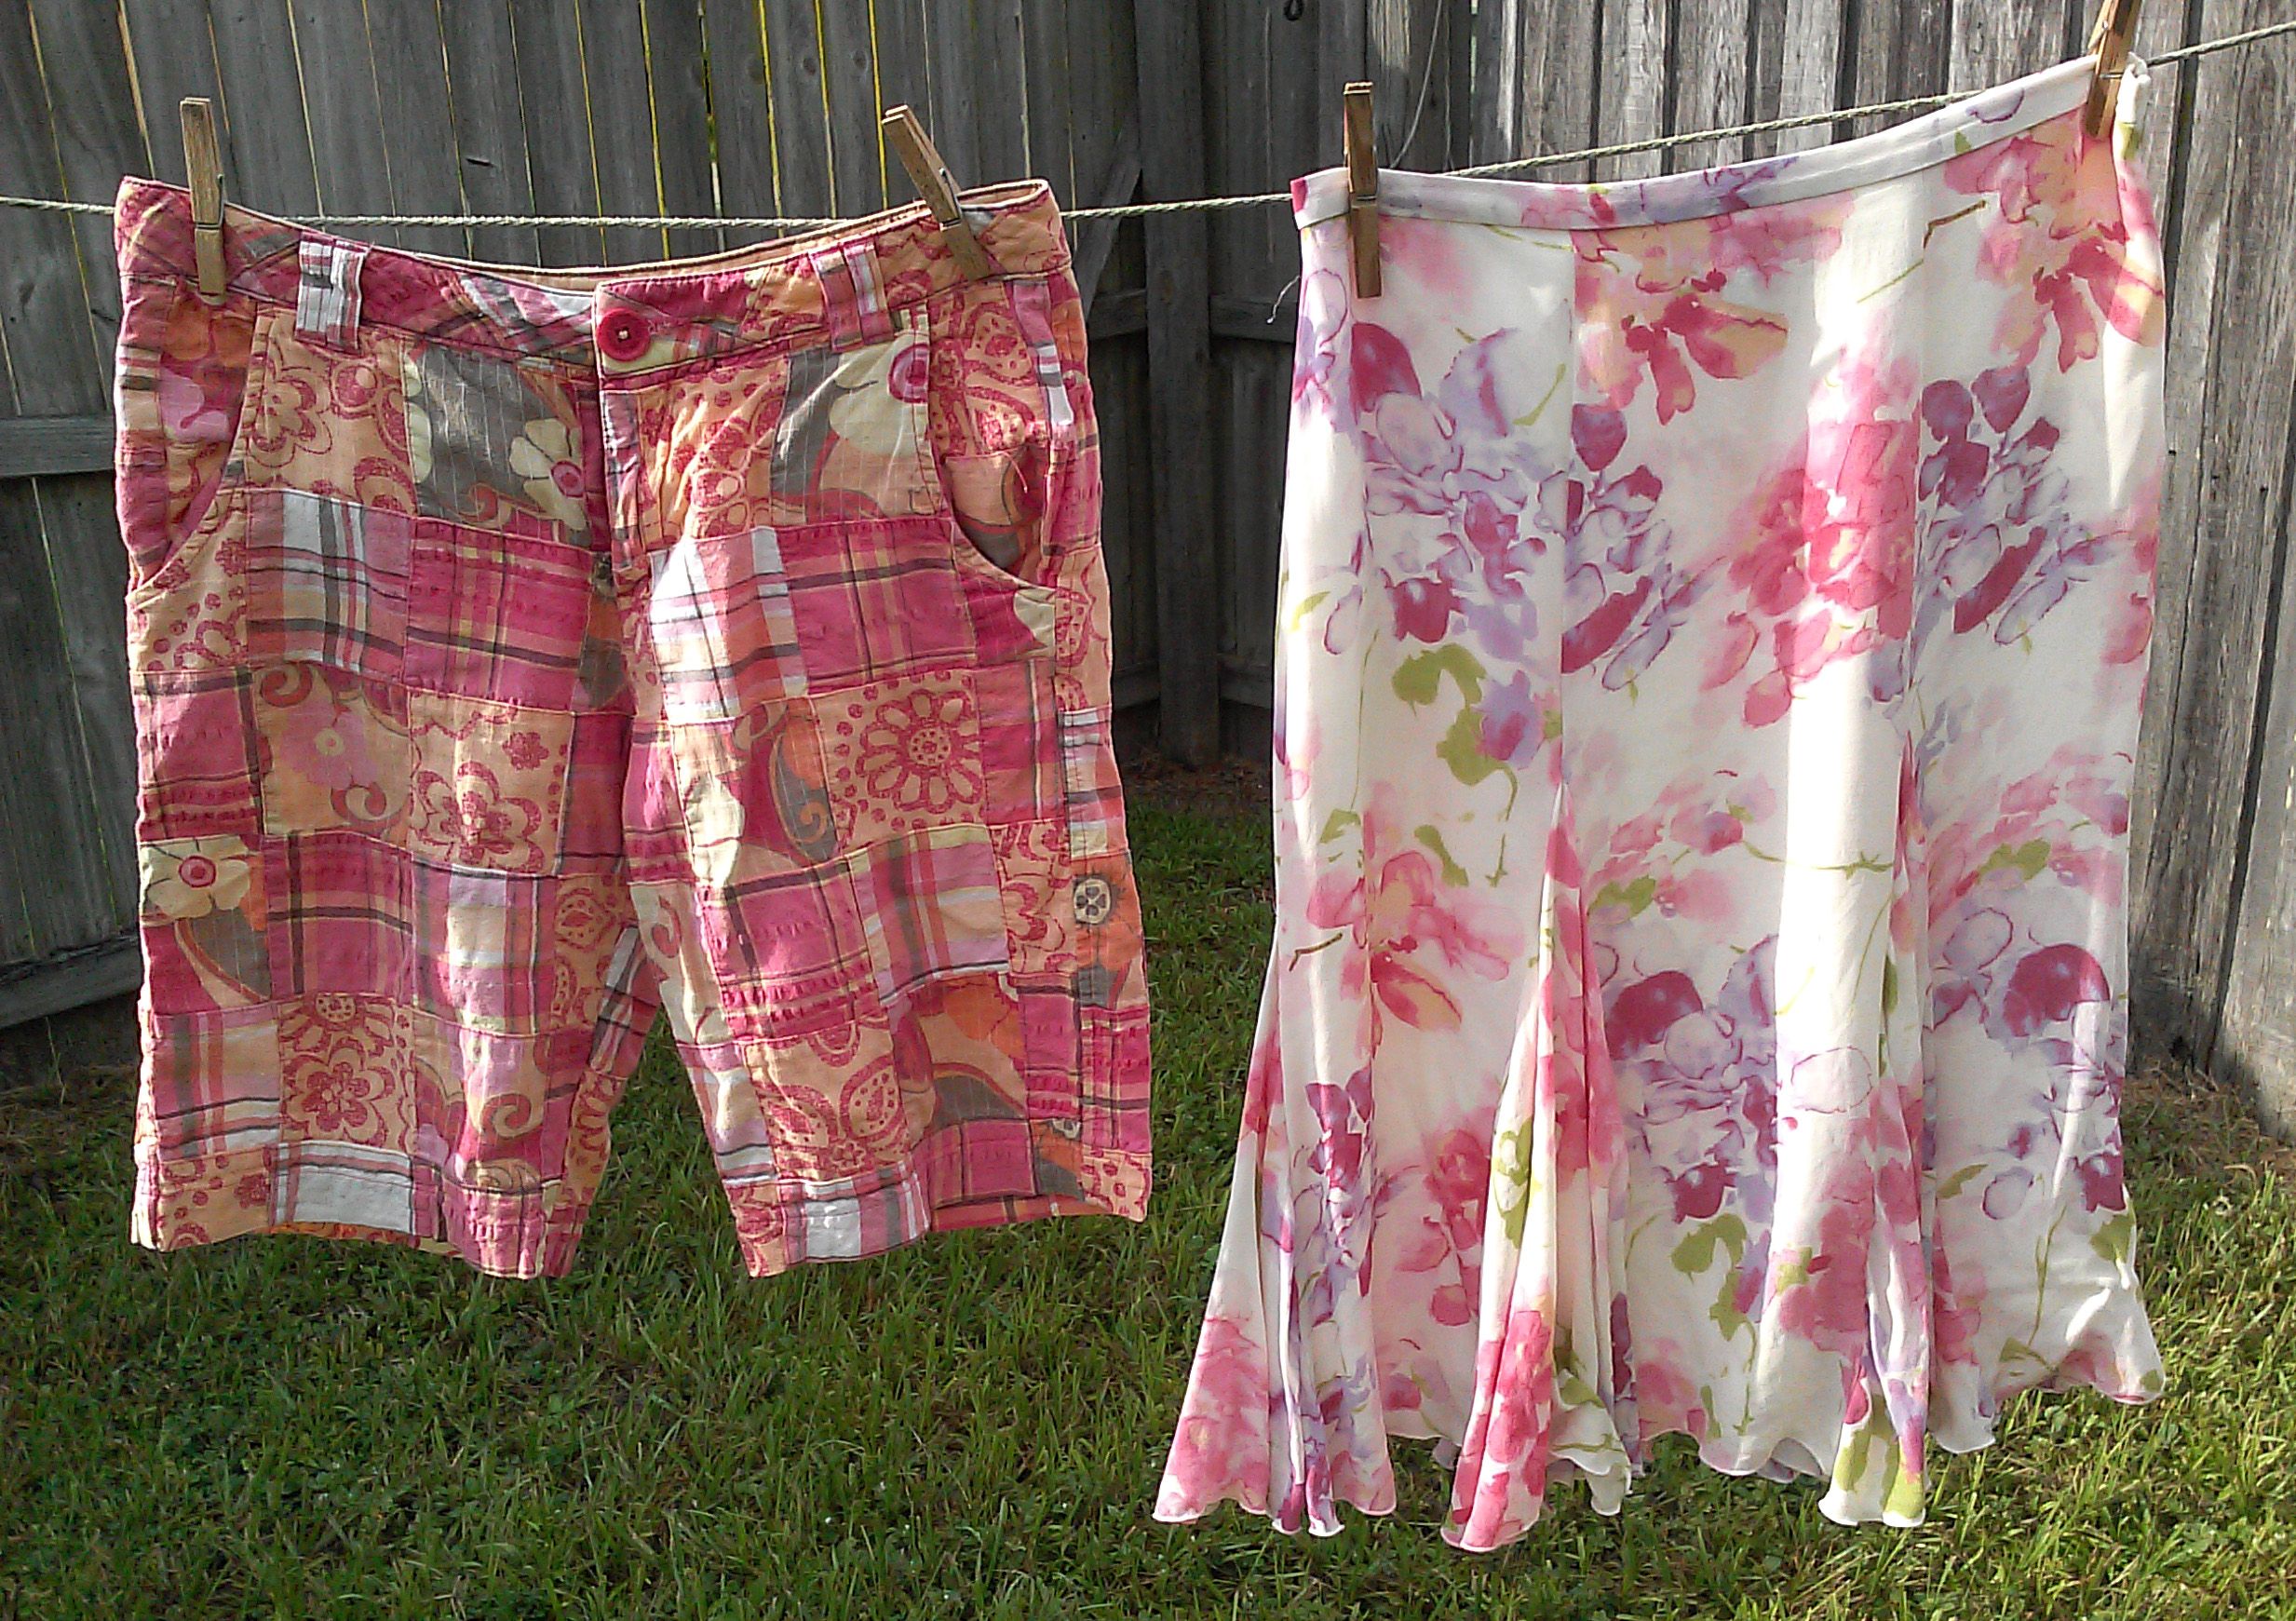
When I recognized that I had a pair of shorts (made in India ![]() ) that had common colors with a skirt I had, I started putting them together in my mind, then in reality…
) that had common colors with a skirt I had, I started putting them together in my mind, then in reality…
Cut open the crotch seam:
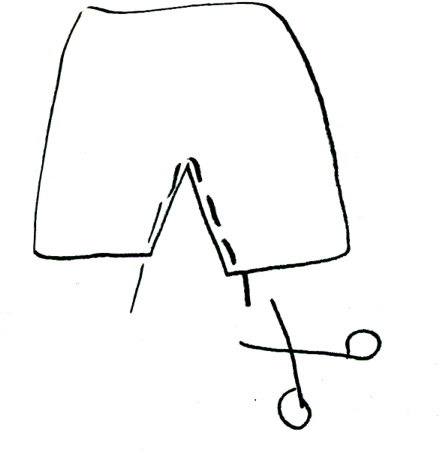
First, I cut along the inside crotch seam of the plaid shorts to open them up to make a fitted skirt.
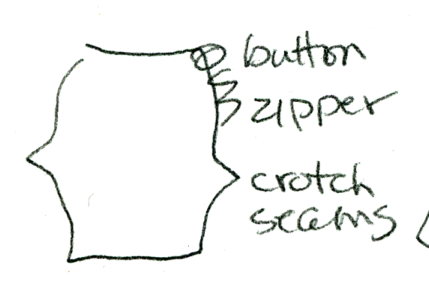
Preferring to have a side opening, rather than the front opening, I turned the shorts inside out and laid them out with the zipper and button closure on the side, which would be on my left side when I would wear it, but looking down at it, it would be on the right.
Use a favorite fitted skirt for a pattern:
I got out another fitted skirt that fit my hips well—to use as a pattern, laid it on top of the flattened plaid shorts and drew around the top skirt, making ink lines on the wrong side of the shorts (because it was wrong side out), and pinned all along the lines I had just drawn.
Try it on and make adjustments:
The next step was trial and error: Leaving the plaid
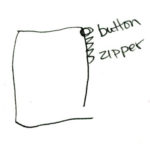
shorts/ fitted skirt-in-the-making wrong side out, I put it on, with the closure on my left side, to see the fit—not good enough. So…I had to keep re-pinning, taking it off, adjusting the pins, putting it on, re-pinning, etc., until I was happy with the fit and both sides were the same curve around my hips.
Account for “walk” room:
Make sure when you’re fitting the skirt that you have enough walk room. Practice walking in the skirt BEFORE you sew it up! When you’re happy with it, sew it up where you have the pins and
trim off the crotch extra.
Prepare the skirt:
Then, from the floral skirt, I removed the waistband and side zipper—just cutting around them, not trying to rip out the seams…faster and less aggravating.
Combine the two as you wear them:
Another trial-and-error procedure: Wearing the plaid shorts/ fitted skirt, I stepped into the floral skirt (both right side out now) to figure the overall length. I wanted it to hang just above the floor, as I was bare-footed.
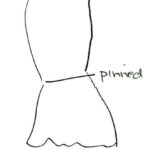
I pinned and re-pinned at intervals to the bottom of the
plaid shorts/ fitted skirt (under inside the bottom edge of the shorts), until it was the right length—and fell evenly.
Because the floral skirt would need to be gathered inside the bottom (knee area) of the plaid shorts/ fitted skirt, I pinned the floral skirt at intervals—hand-stitched at those intervals. Then, I gathered it as I sewed the floral skirt onto the bottom of the plaid shorts/ fitted skirt, which all came together to become one maxi skirt. 🙂
I discovered two compatible tops that also harmonized with the skirt I was making:
I wanted some kind of trim to ease the transition from plaid to floral on the skirt.
As I was in the thought process, I discovered that I had two tops with compatible colors. The one with sleeves was too big, originally, but I got it ’cause I loved the
print…and… it was made in India! ❤
Make the top:
I took the sleeves from that top and put them on the tank. Wanting a longer top, I took the bottom from the sleeved shirt and sewed it onto the bottom of the tank. 🙂

Adorn the transition area:
For trim on the transition area of the skirt, I cut strips of material from the sleeved-shirt remains, hemmed the top of the strip for a finished look; carefully and evenly, cut fringe—and sewed it to the skirt.
Note: The weave in the material of the
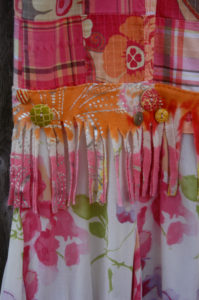
sleeved shirt is like a t-shirt, so it doesn’t unravel. 🙂
Additional trim:
Still wanting something more, I added colorful buttons on the trim on the skirt…
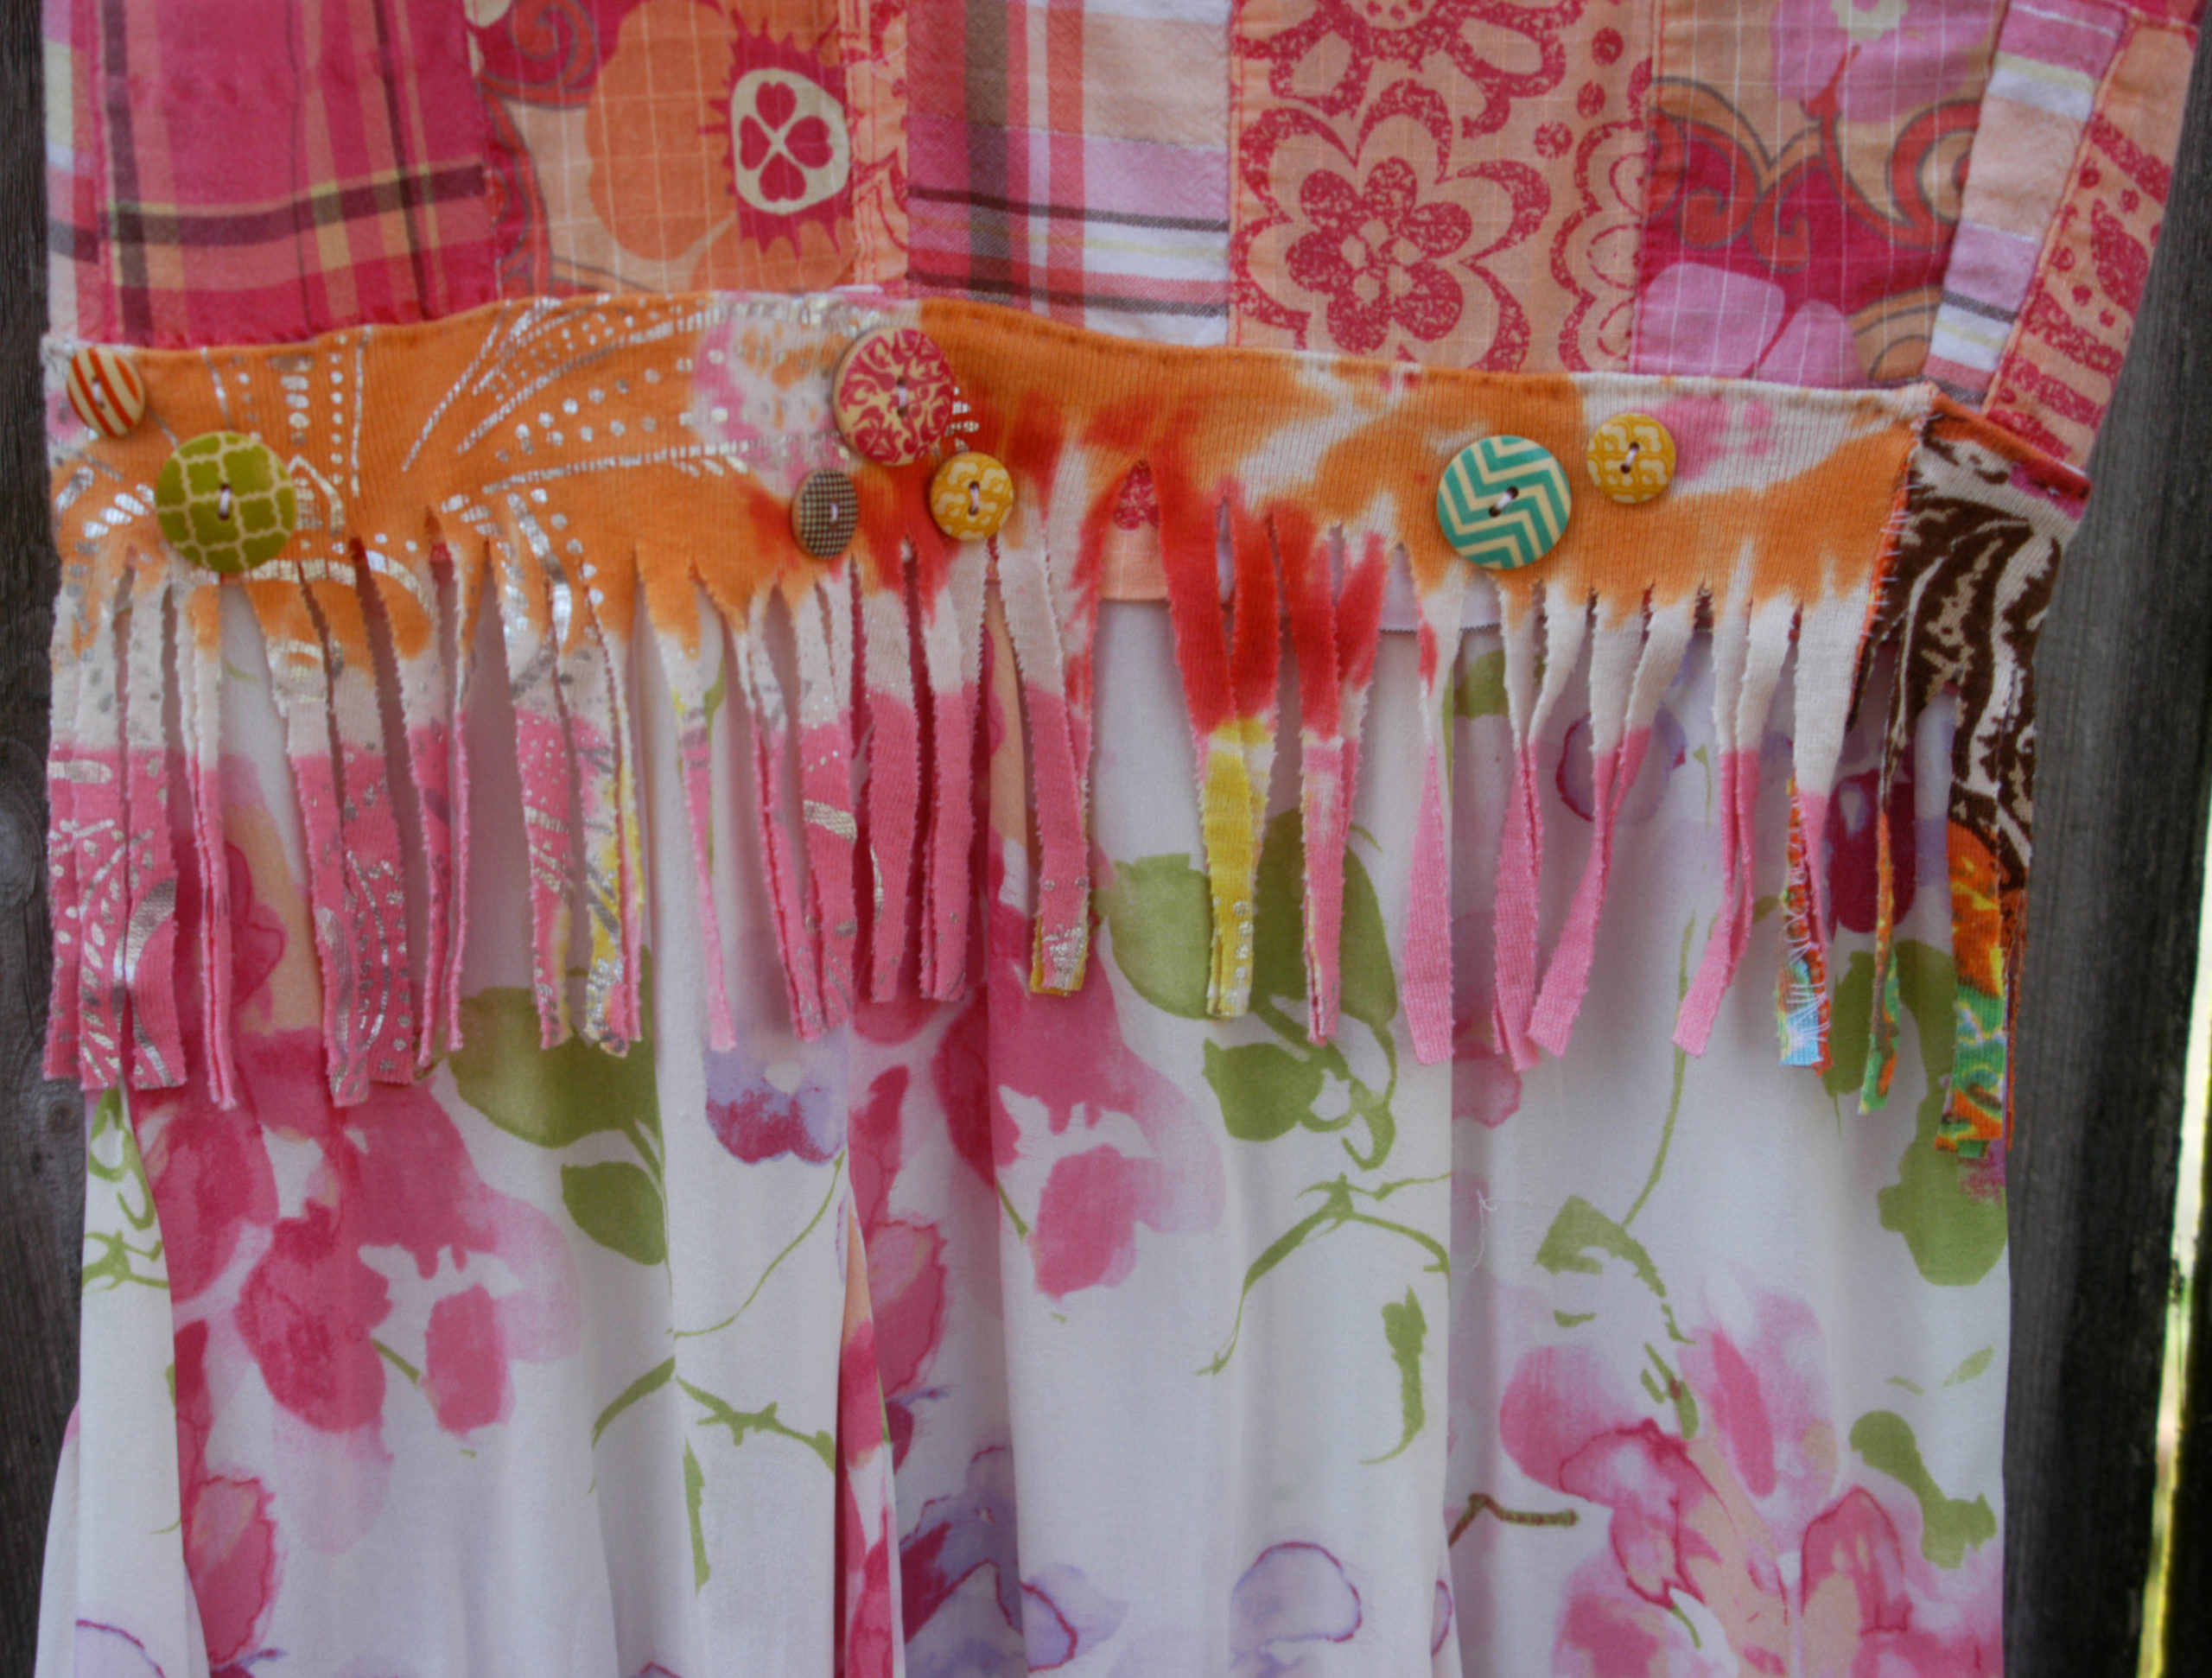
and on the top.
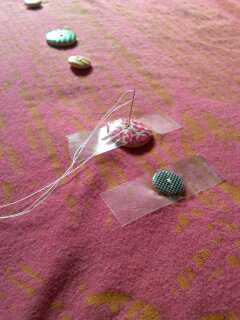
Tip:
To keep the buttons in place, I taped them to the shirt and sewed through the tape until they were secure, then peeled off the tape.
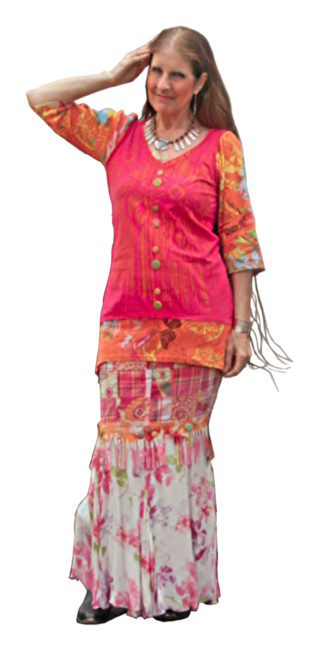
Voila!! 🙂
And, when I wear it, the fringe on the skirt moves…Cool! 🙂 Fun!!
I’ve gotten compliments on my new two-piece dress. I’ve been told I look “classy” in it! 🙂
All items except buttons were purchased in thrift shops (actually, the floral skirt was free). Buttons were bought at Hobby Lobby—on sale.


See Additional Tutorials and Inspiration
Simply click an image above.
