


Make a cool bag from a pillow and upholstery fabric!
I hate waste!
Yesterday, I witnessed a crime! …nearly a sin!
 I watched as two garbage collectors heaved several attractive pieces of furniture into the back of the trash truck!
In passing, from the car, they looked like an entertainment center and two five-foot-tall curio cabinets. They appeared to be in very-good-to-excellent condition, with the coloring of mahogany. I’m sure they weren’t made of real wood—not too much is, these days—but, nonetheless, I grieved that:
1.) someone had thought so little of nice furniture, others, and the environment, to just put out perfectly good furniture on the curb to go to the dump!
2.) somebody who could’ve used that furniture didn’t have the opportunity to get it. …and…
3.) the earth had to swallow more of our man-made stuff.
I’m an advocate of recycling. Not only do Jerry and I recycle our cans, glass, cardboard, newspaper, etc., etc., but, I have been known to rescue good stuff from people’s trash.
Unwanted by one could be wanted by another.
Still-usable items should be donated to a thrift store—NOT discarded!
Doggone it!—it makes more sense to reuse what we can—to save our resources, to help save our earth, and—it saves money, besides!!
I admit it: I’m a scrounger! Yes, I have pulled the car over to check out what people are throwing away. Often, what I thought was something turns out to be truly trash.
HOWEV... sometimes I find cool stuff that’s worth something:
- All of our fake silk trees in the house are rescues—two ficus trees and three palms.
- I carted home a wooden rocking chair with a cushion stuffed with horse hair, which I believe to be an antique in the truest sense.!
- I picked up a vintage wood-and-iron school desk. It was so nice, I even knocked at the door to be sure they were getting rid of it.
- Our neighbor put out a full-length, oval mahogany (real wood) mirror on a stand. I asked the neighbor what was wrong with it. He said, “Nothing. We just don’t have room for it anymore.” It now resides in our bedroom!
- One time I rescued several pairs of clean bluejeans neatly folded in a clean cardboard box sitting by the trashcan. They fit! Lol.
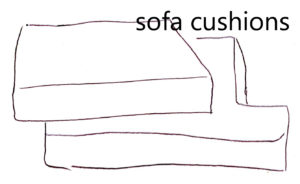 Another time I spied two couch cushions in upholstery material that I really liked—in excellent condition. I stopped, pulled the covers off and left the cushions, and took my newly appropriated finds directly home to go into the washer.
One of those cushion covers was used in this project!
…………………………………………………………………………………………………
“And suddenly there was with the angel a multitude of the heavenly host praising God.” Luke 2:13
I believe in angels! They are messengers of God. They are warriors sent to protect the children of God, and bring answers to prayer.
…………………………………………………………………………………………………………………..
Angel bag
Materials:
- Angel throw pillow, bought @ $1.19/ lb.
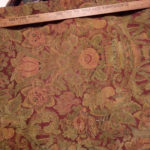
- Upholstery fabric, rescued, free
- Part of a shower curtain (for the liner), bought @ $1.19/lb.
- Strips of fabric from a throw pillow cover ($1.19/lb), left over from my Bohemian bag, no additional cost.
- Zipper intended for jeans, Walmart, $1.47 + tax
- Matching thread
- Zipper pull trinket, free, thrown in when I bought a necklace
Here’s how:
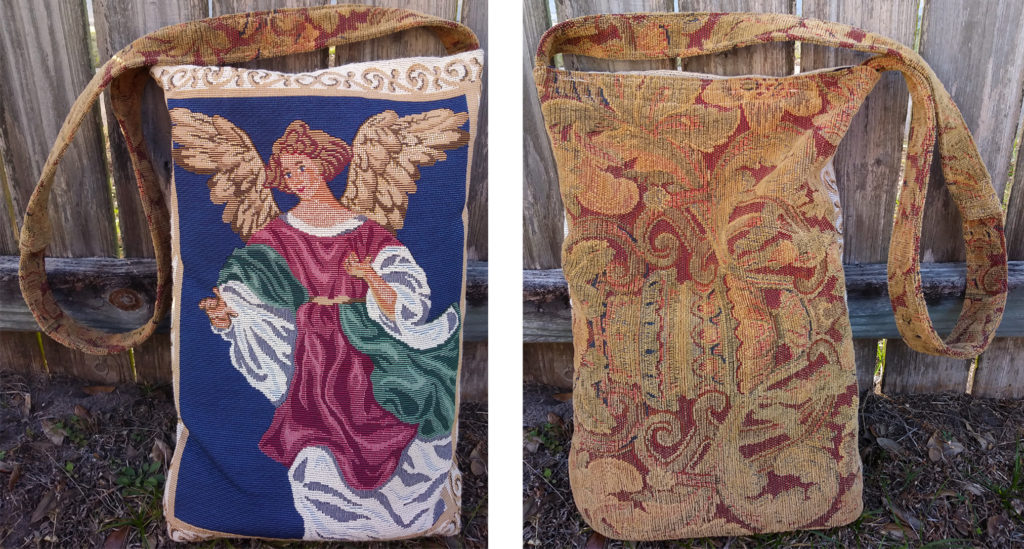
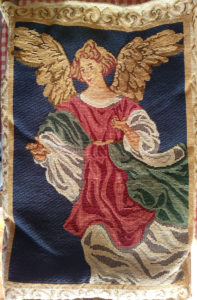 I started with a throw pillow with an angel on it.
When I found it in the bins at the Goodwill Outlet, I thought, at first, I would simply open the top, take out the stuffing, and add a strap. But, when I realized how bed-sheet thin the cloth on the back was, I put on my thinkin’ cap and remembered the upholstery fabric from those couch cushions. Perfect! The colors blend well. 🙂
 Use a seam ripper to pick and pull out the threads holding the pillow together. Totally remove the front. Measure the dimensions of the front to make the corresponding back piece.
 Measure and cut out the back.
Hem the tops of the two pieces: Just turn the edges over once—about 1/2 an inch.
Lay out front and back with the wrong sides up and the hemmed tops “kissing” each other. Use Scotch tape to hold them together. I used some along the crack—in between, then, also put strips perpendicular across the crack until I thought it was holding well.
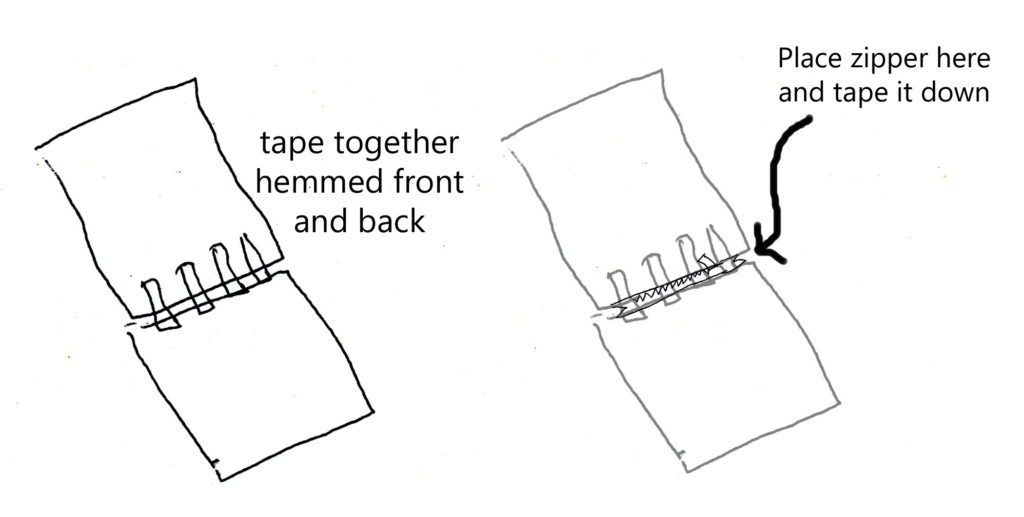
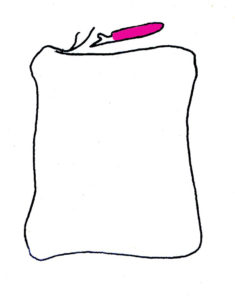
Lay the zipper, wrong side up, on top of the crack between the front and back, centered in the width.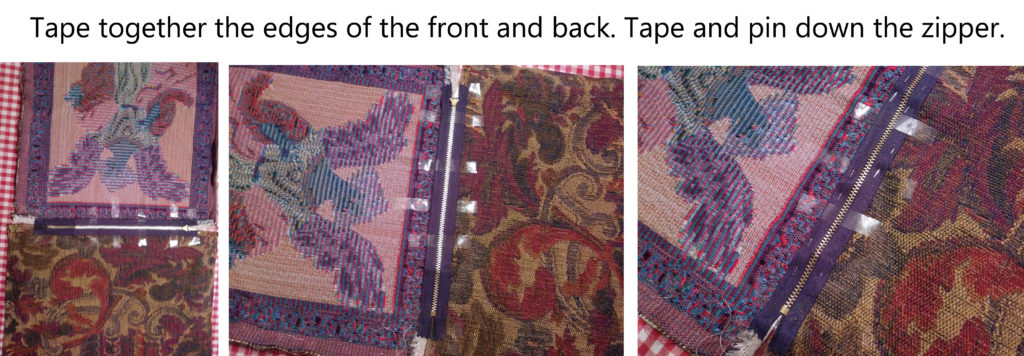
Tape the zipper firmly into place. Pin it down.
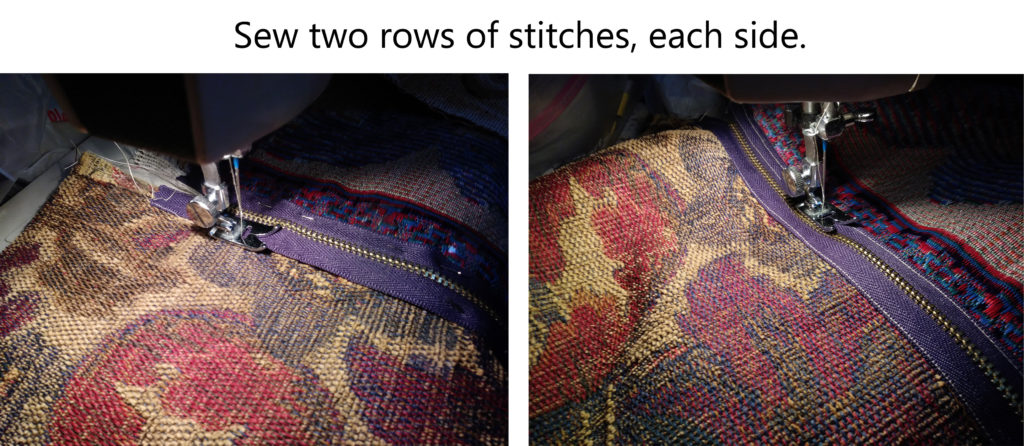 Sew the zipper down with two rows of stitches, but don’t get so close to the teeth of the zipper that the pull doesn’t have room to go down the zipper to unzip. I got my second row of stitches too close and had to re-do.
Just sew right through the tape pieces. After the zipper is sewn on, you can remove the tape.
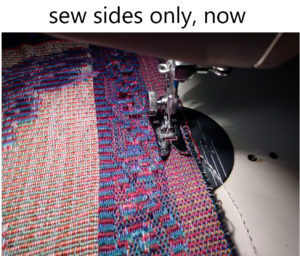 Fold your piece at the zipper, keeping it wrong side out, so that the front and back are together, face to face. Pin the sides only, allowing for about 1/2-inch seams. Sew your seams.
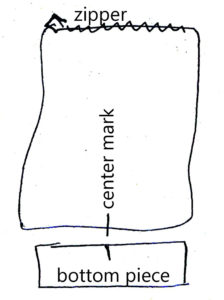 Measure and cut the bottom piece. This is a little tricky—at least, for me. I measured the total number of inches—the width x 2 (for front and back) plus three inches twice for the depth. It turned out a little long and I had to trim away about 3/4 inch from each end, so I’m not sure what the equation would be. Maybe some of you mathematicians can straighten me out on that! Lol. Anyway, because I matched the center of the strip (that will become the bottom) with the center of one side, it worked out.
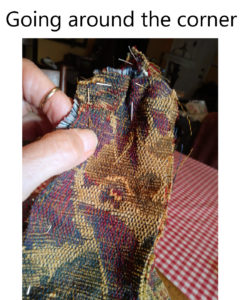 Stitch along both long sides first, then you can better work the corners of the bottom of the bag.
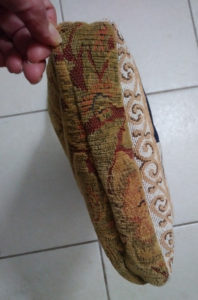 This is how the finished bottom looks.
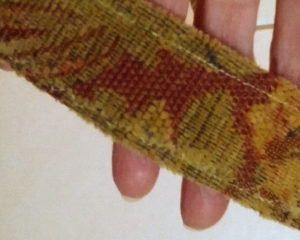
For the strap, decide how long you want it and add another 4 inches on each end (total of 8 inches longer). Cut that length x about 3 inches wide (?). So, I think mine was 40 inches x 3 inches, total. When I put the ends of the strap down in the bag, I put 4 inches of each end inside the bag for strength. (See more directions below.)
In making the strap, I had to cut two pieces and sew them together because my length was too long for the fabric I had. I hemmed the ends (turned over the edge of the ends 1/2 inch, once), overlapped them, and sewed them together. At this point, your fabric is all still wrong side up. It won’t matter that the raw hems are visible because you will end up folding it lengthwise—so, the raw edges won’t show.
Next, I sewed the side hems (turned over the edge 1/2 inch, once), for the long length. Then, I folded the long pieced-together strap lengthwise and sewed down both edges.
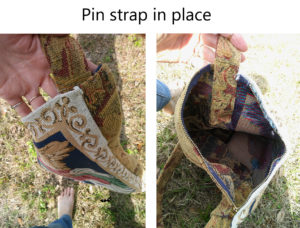
 Stick the ends of the strap down into the sides of the bag—through the opening between the outside seam and the end of the zipper. My zipper is 9 inches, the bag is about 13 inches wide, Because of its thickness, I hand sewed the strap into place.
The lining: I used more of the shower curtain that I used for linings on my other bags. Cut out two rectangles the same size as your bag, plus a 1-inch seam allowance for the top—as you will turn it over twice to hide the raw edge inside the second fold—and, 1/2-inch seam allowances all around the other three sides. Face right sides together—you want the pretty side to be inside. Sew the top hem (turn over twice), then stitch around the other three sides—1/2 inch from the outer edge. The unfinished edges will remain on the outside. I zigzagged the edges to help keep them from unraveling.
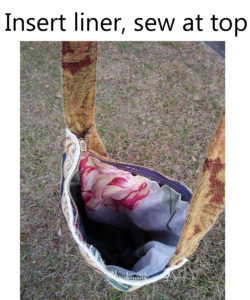 Stuff the liner down into the bag and sew the top of the liner to the inside top of the bag, just below the zipper.. I machine stitched as much as I could but had to hand sew in difficult-to-reach places around where the strap is attached.
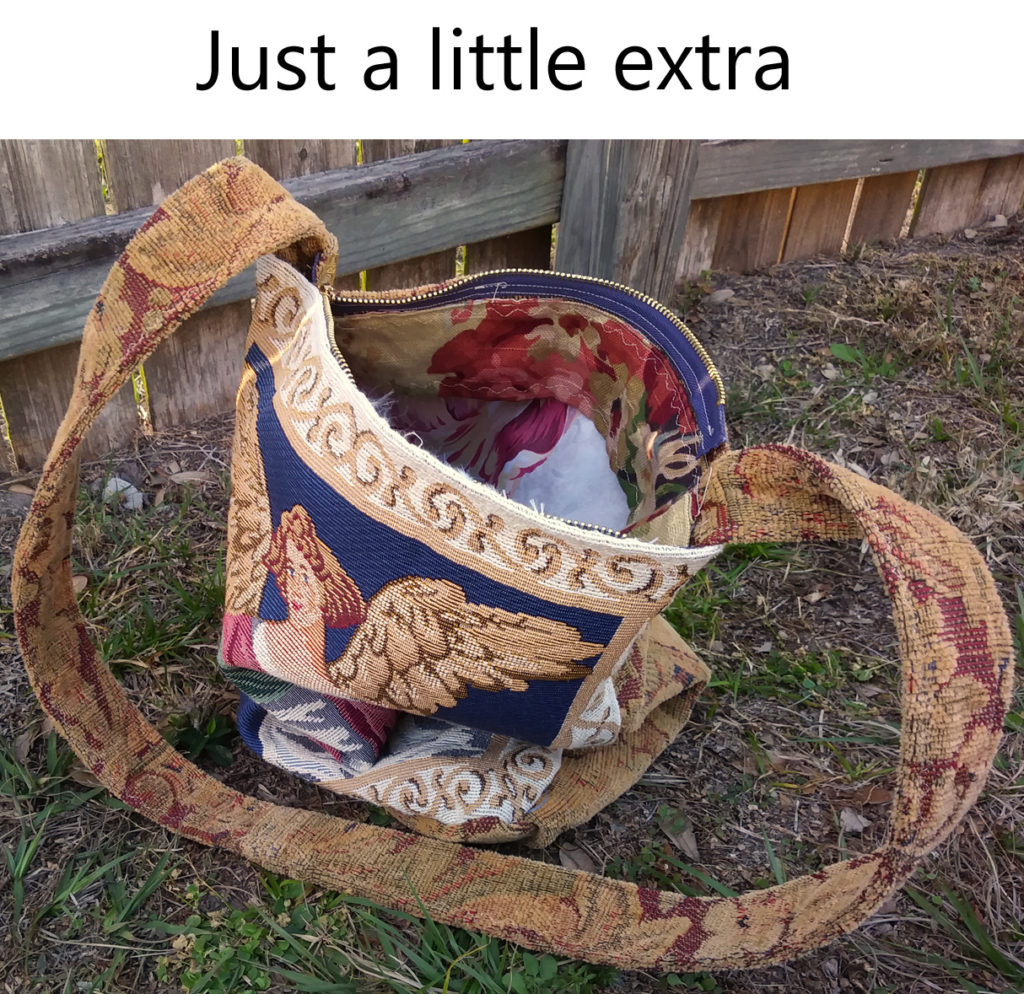
I wanted a transitional piece to visually ease the shift from the outer upholstery to the liner. So I sewed in (at the top) a strip of fabric that goes more with the outer upholstery into the top inside. This is optional.
 Now, your bag is complete!
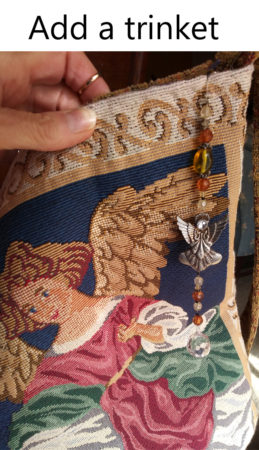 You can use as is, or add a little string of beads or a charm on your zipper pull.
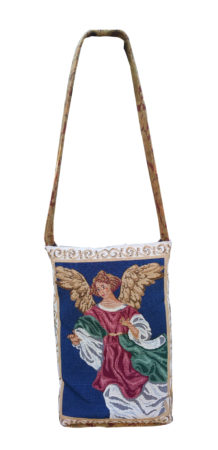
Finished dimensions:
From the tip-top of the strap to the bottom of the bag: 36 inches.
The bag itself: 16 1/2 inches tall x 12 inches wide.
…………………………………………………………………………………………………
Please “like” and “share” on Facebook, Twitter, Pinterest, etc. using the buttons below.