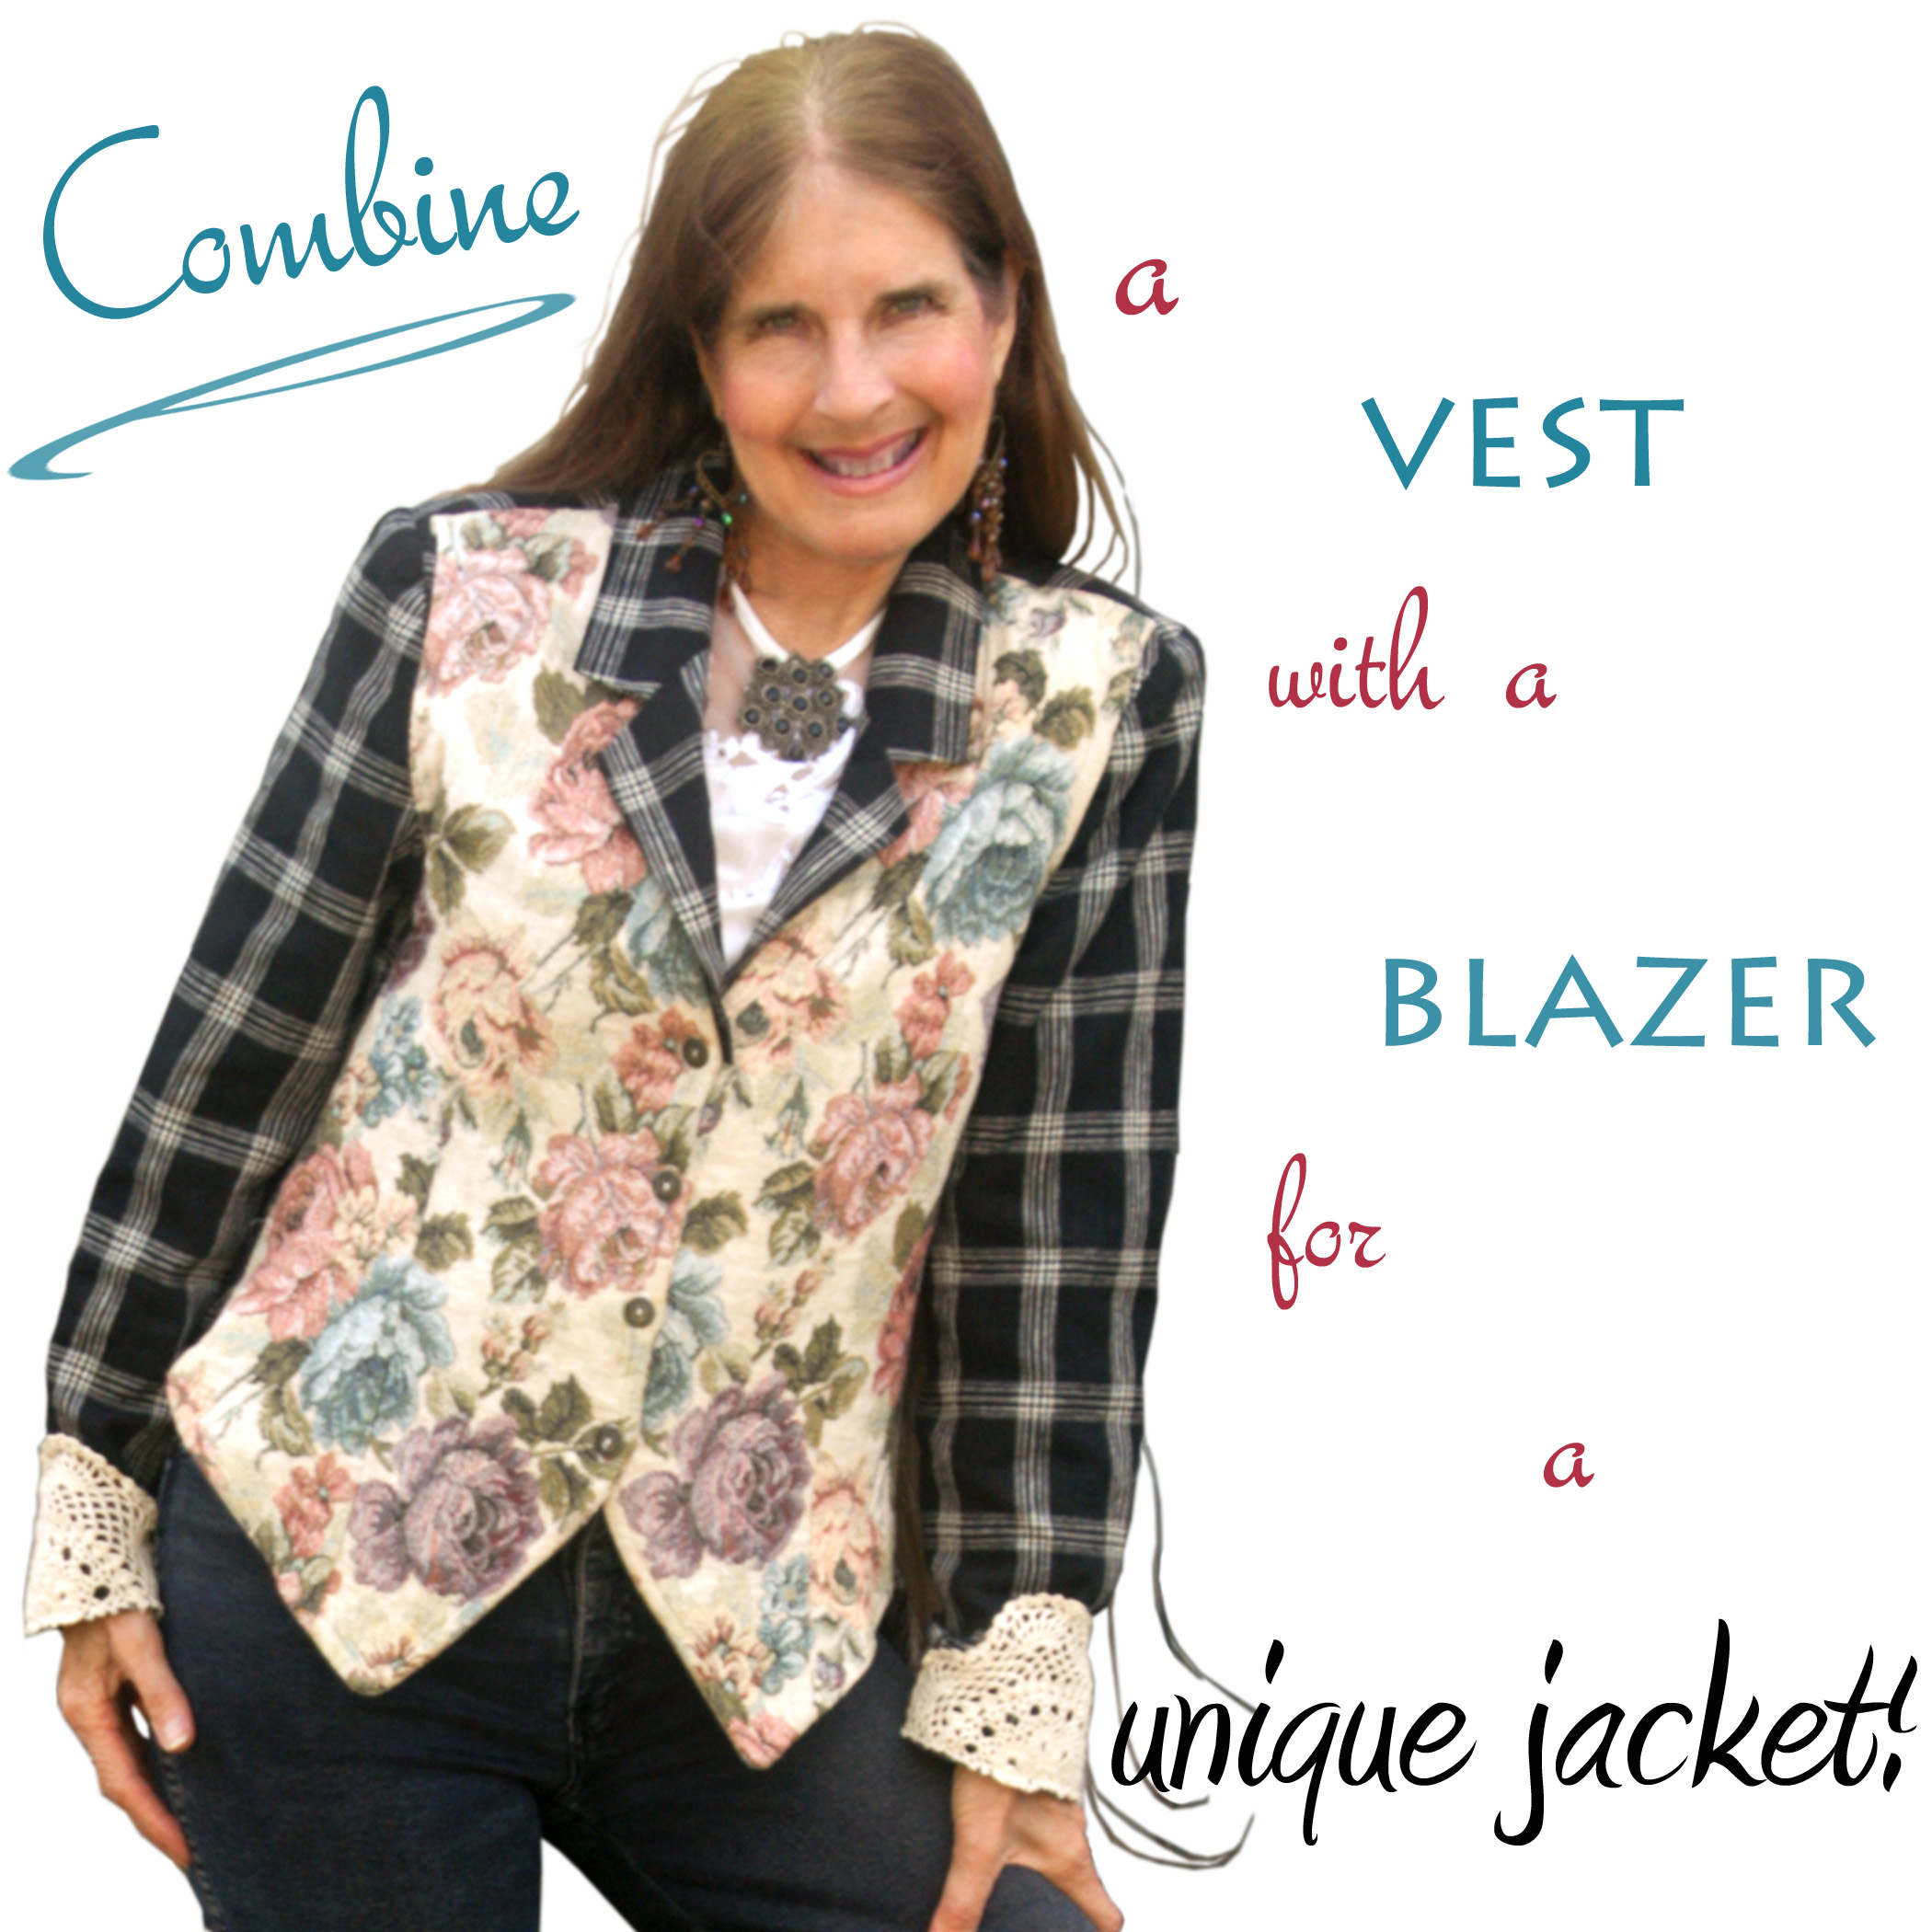
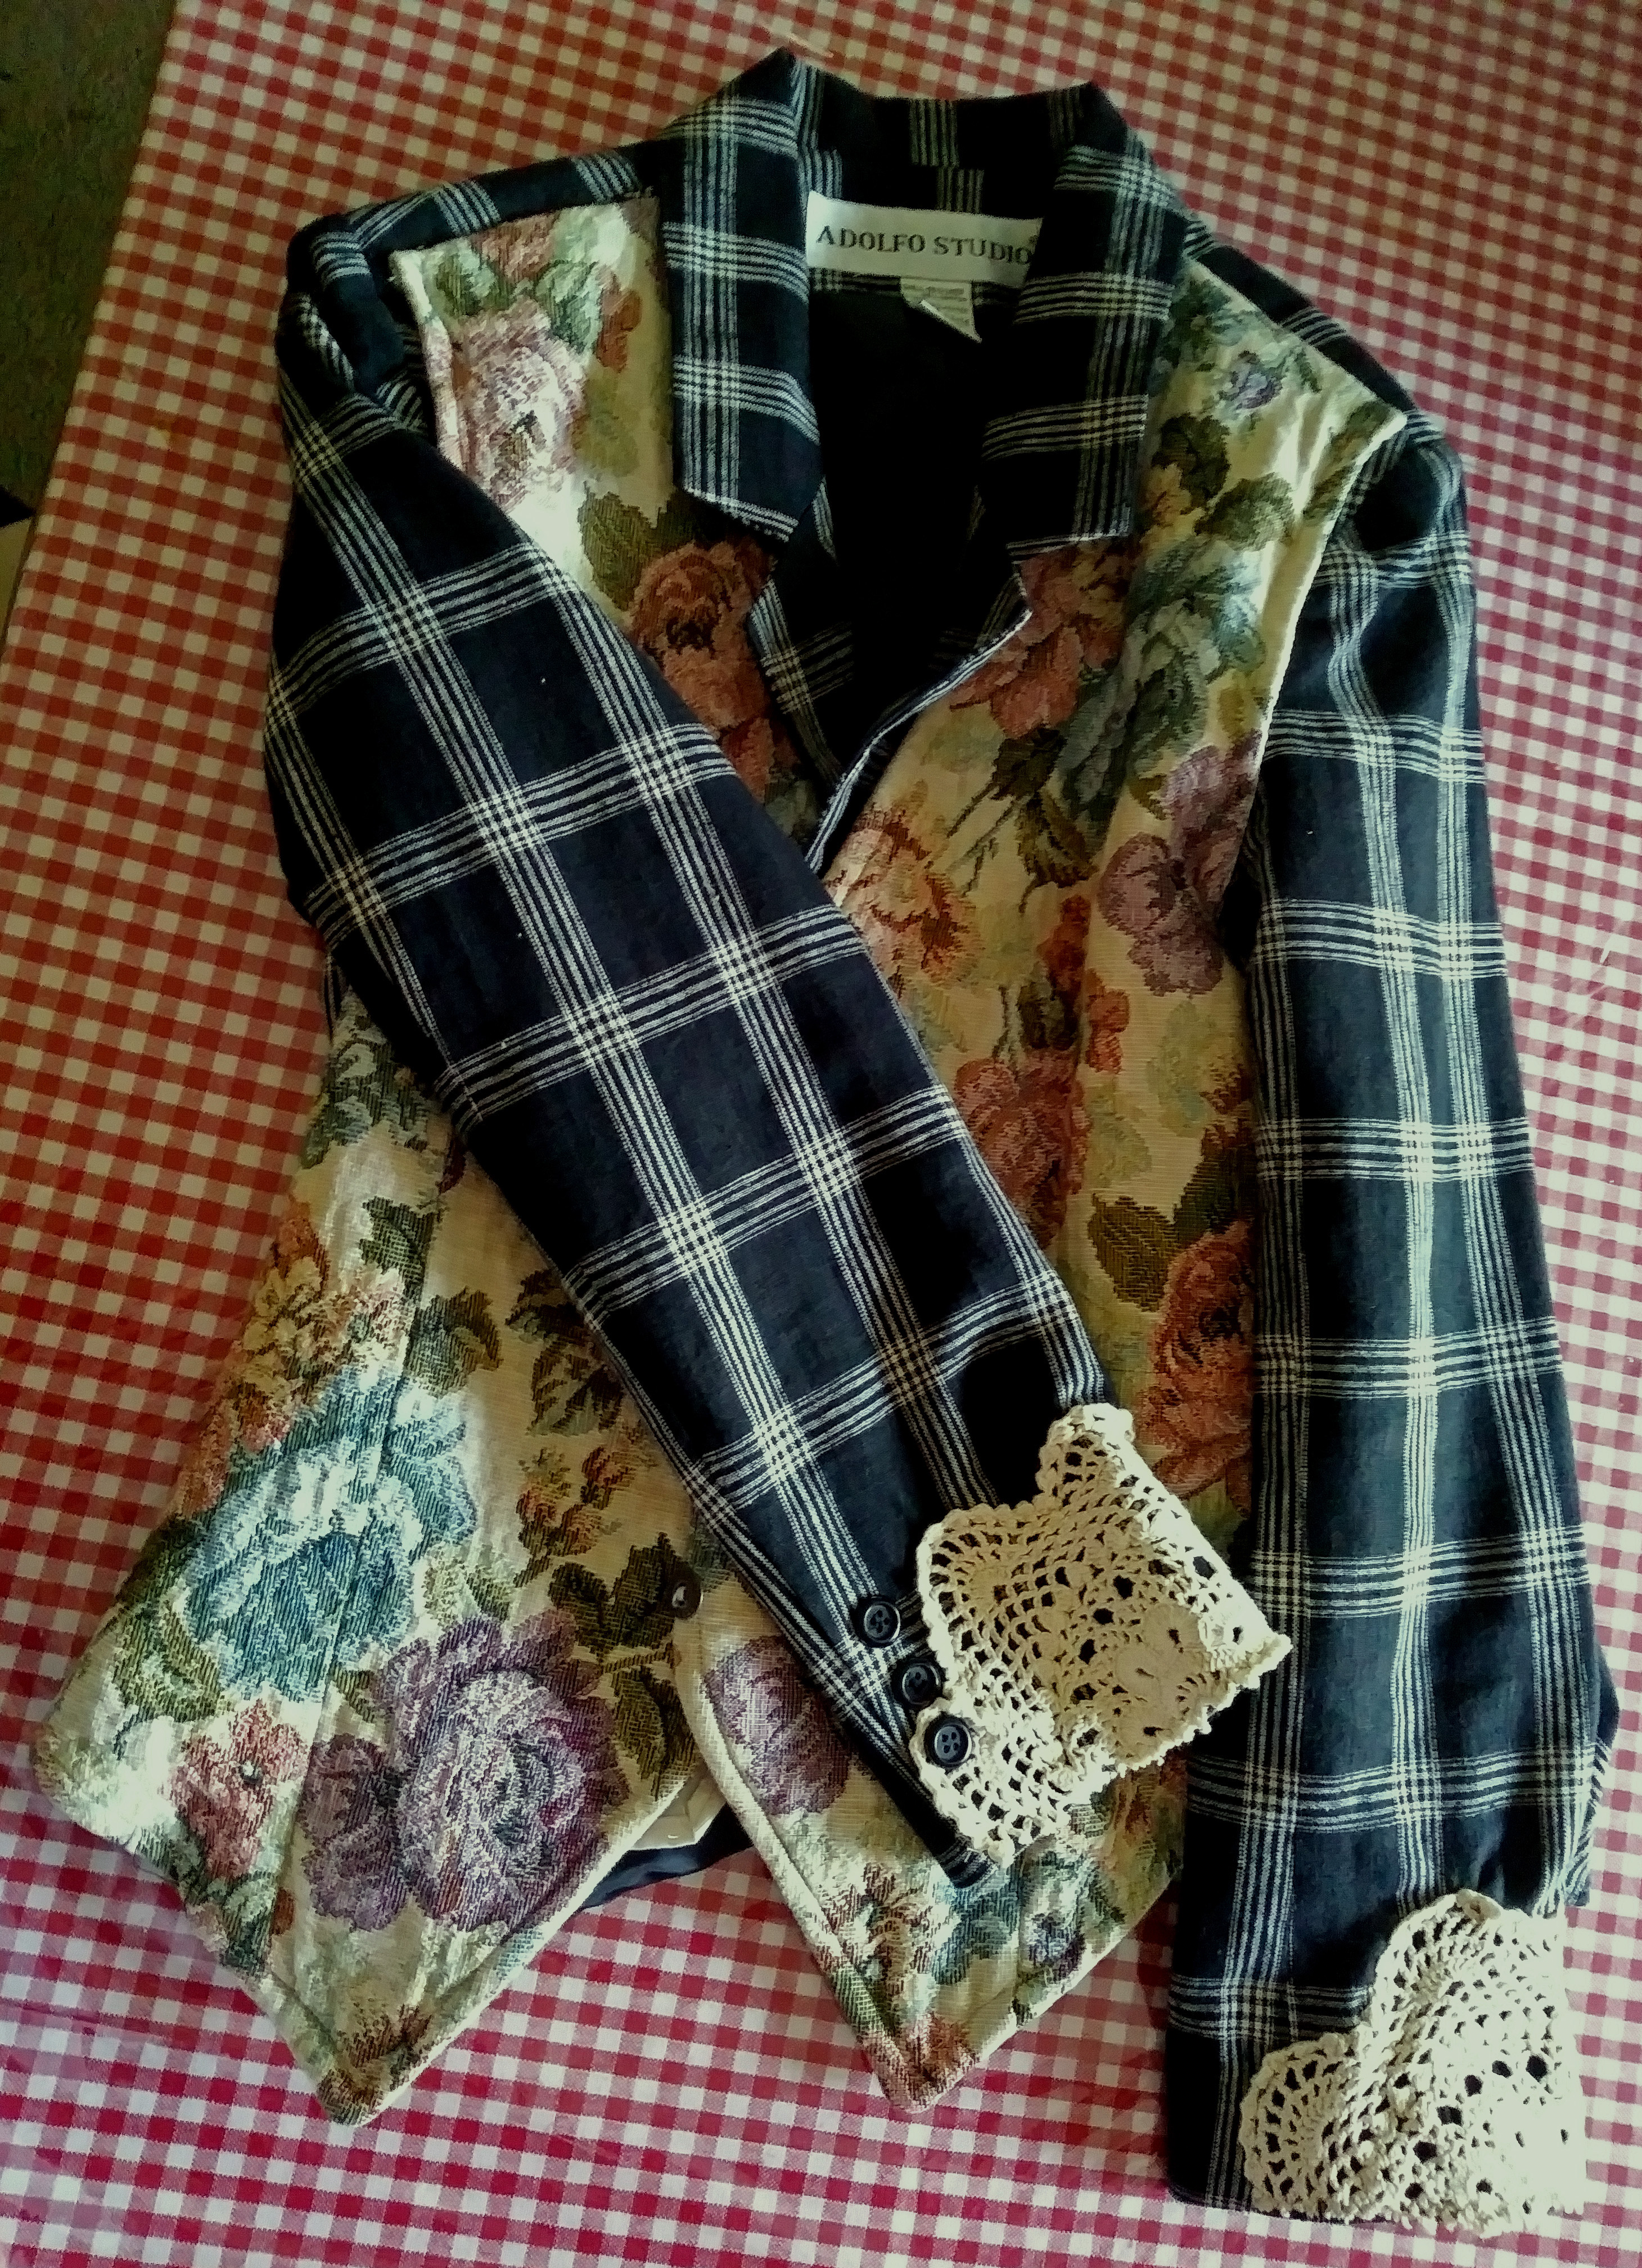
For a unique jacket, combine a vest with a blazer. I call it a “vestcoat!”
Hey y’all!
This project is a little more difficult than most of what I’ve shared with you. One to 10, ten being the hardest, I would havta rank this one a seven or eight—for me, at least.
It certainly took me longer to do…and gave me problems. But, I’m not gonna show you my mistakes —lol. Although, I’ll give you a heads-up where I had the trouble. 🙂
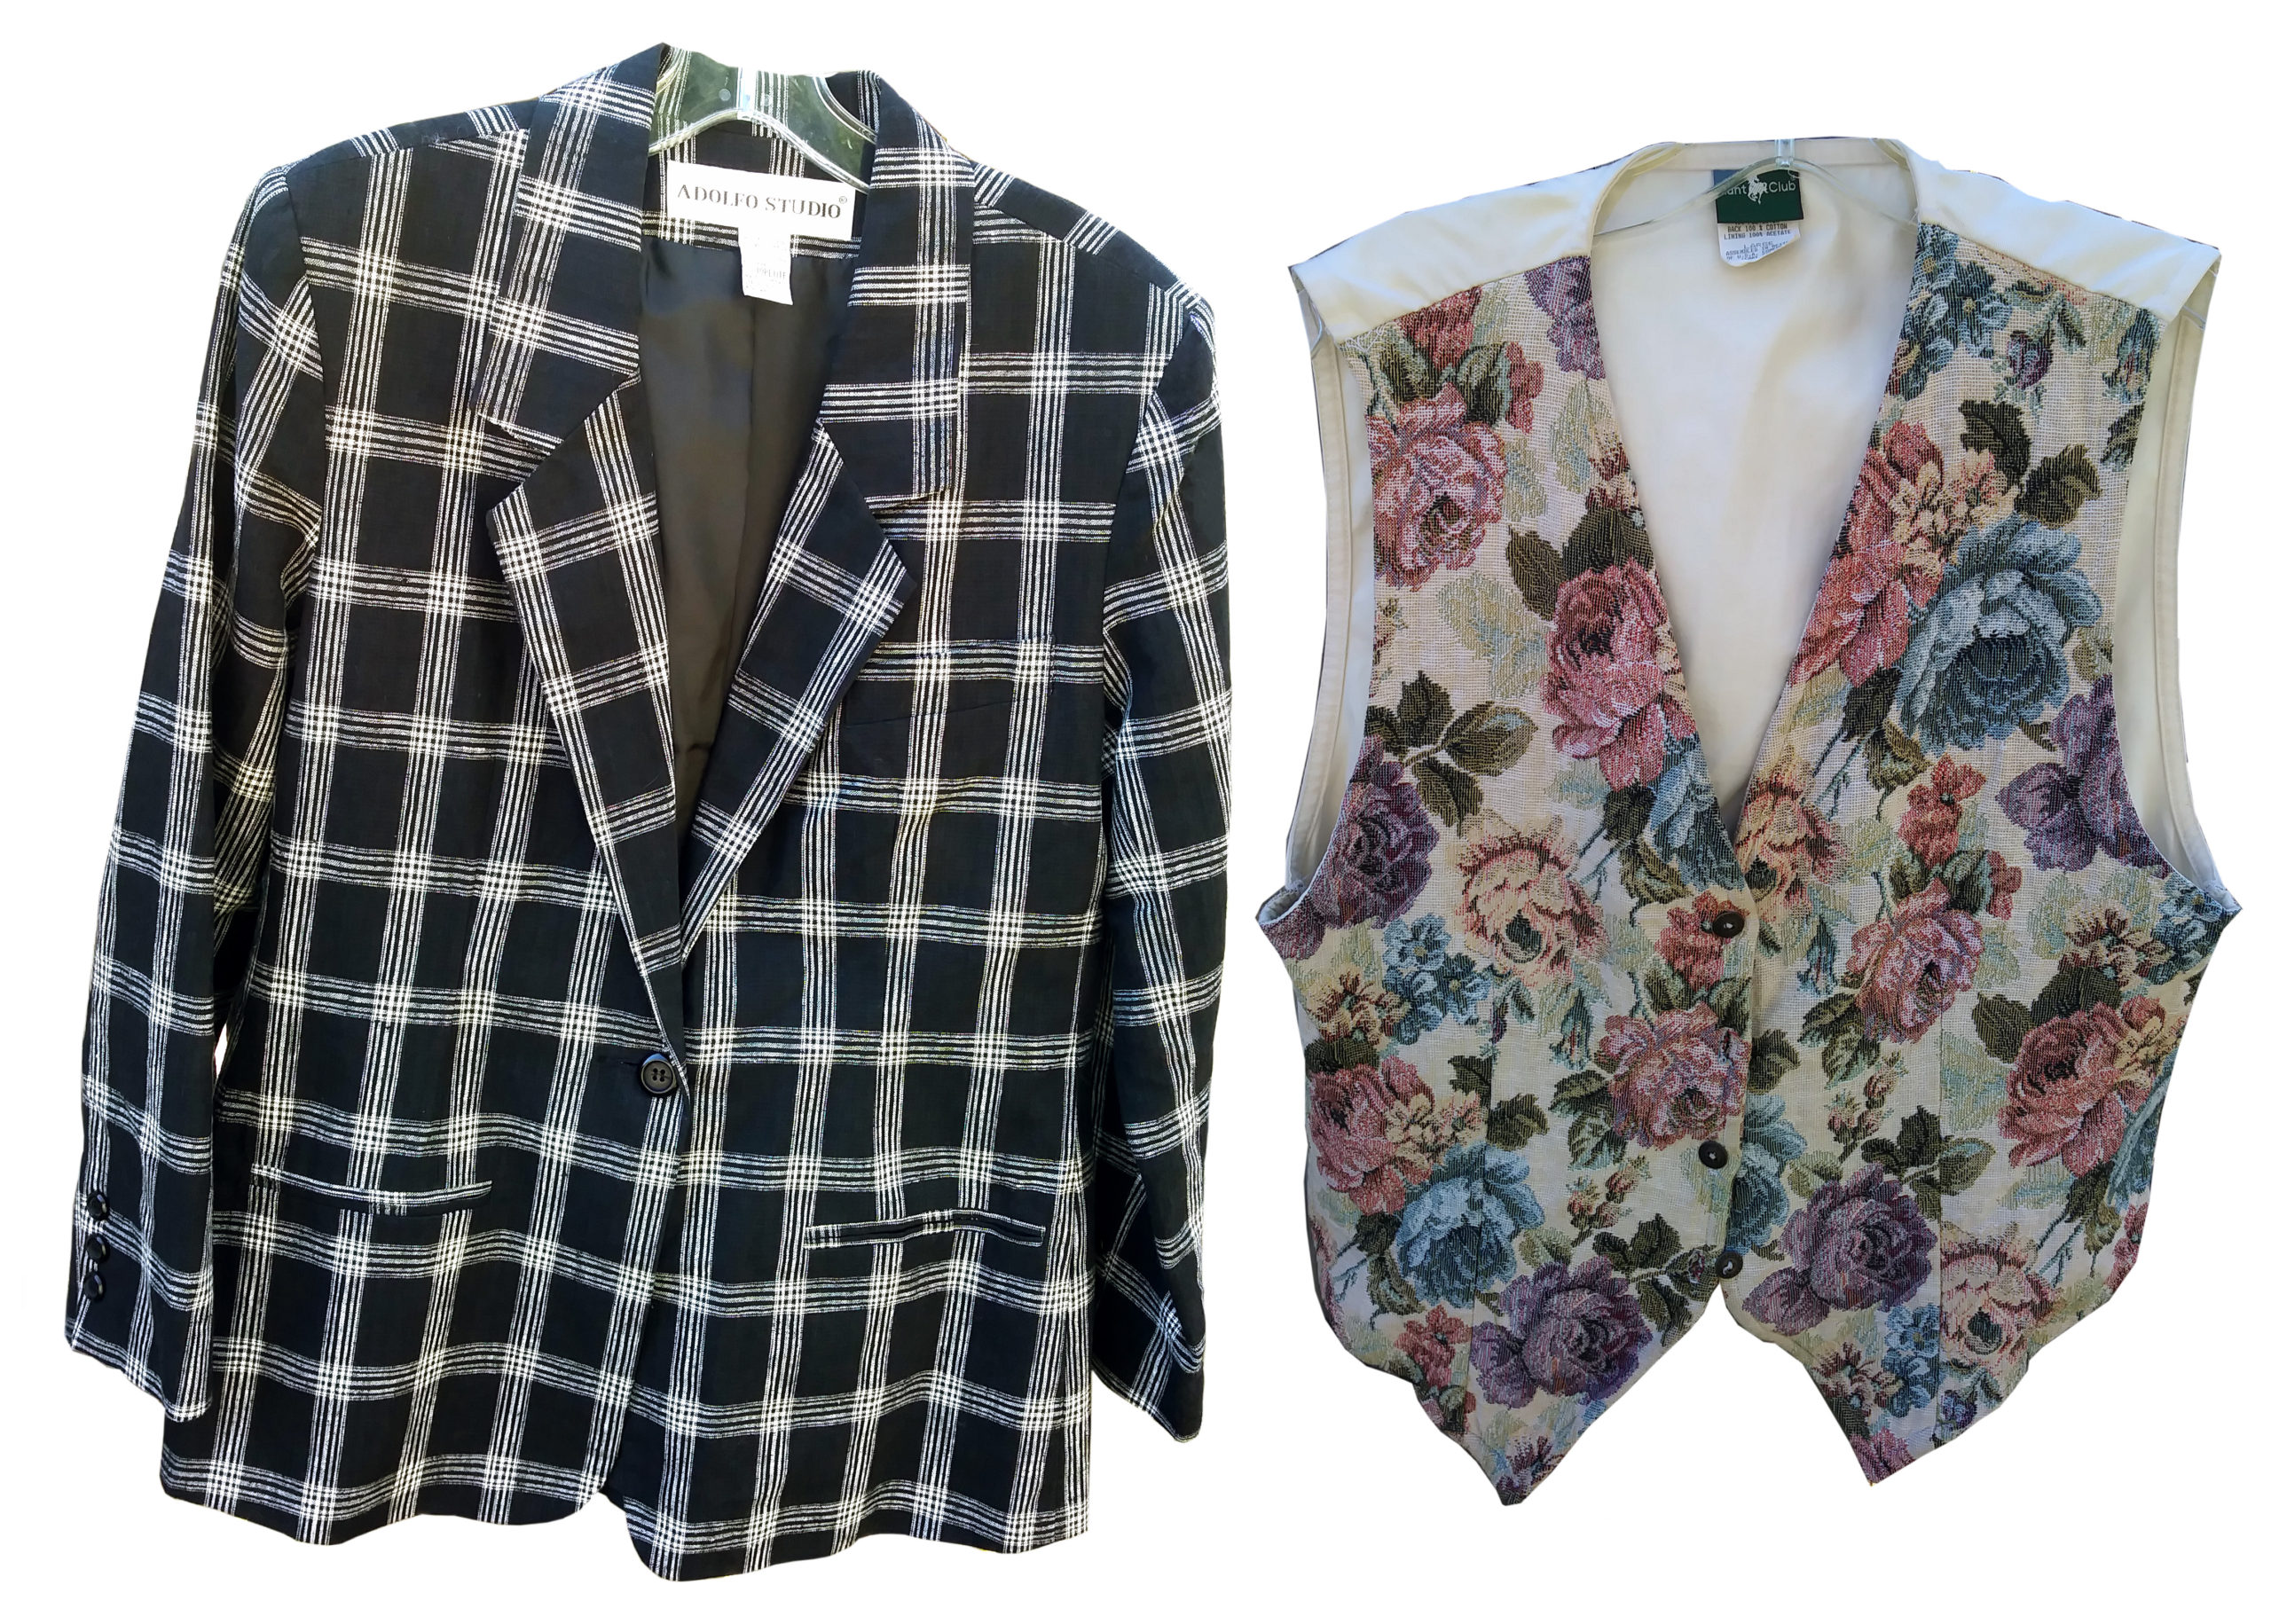
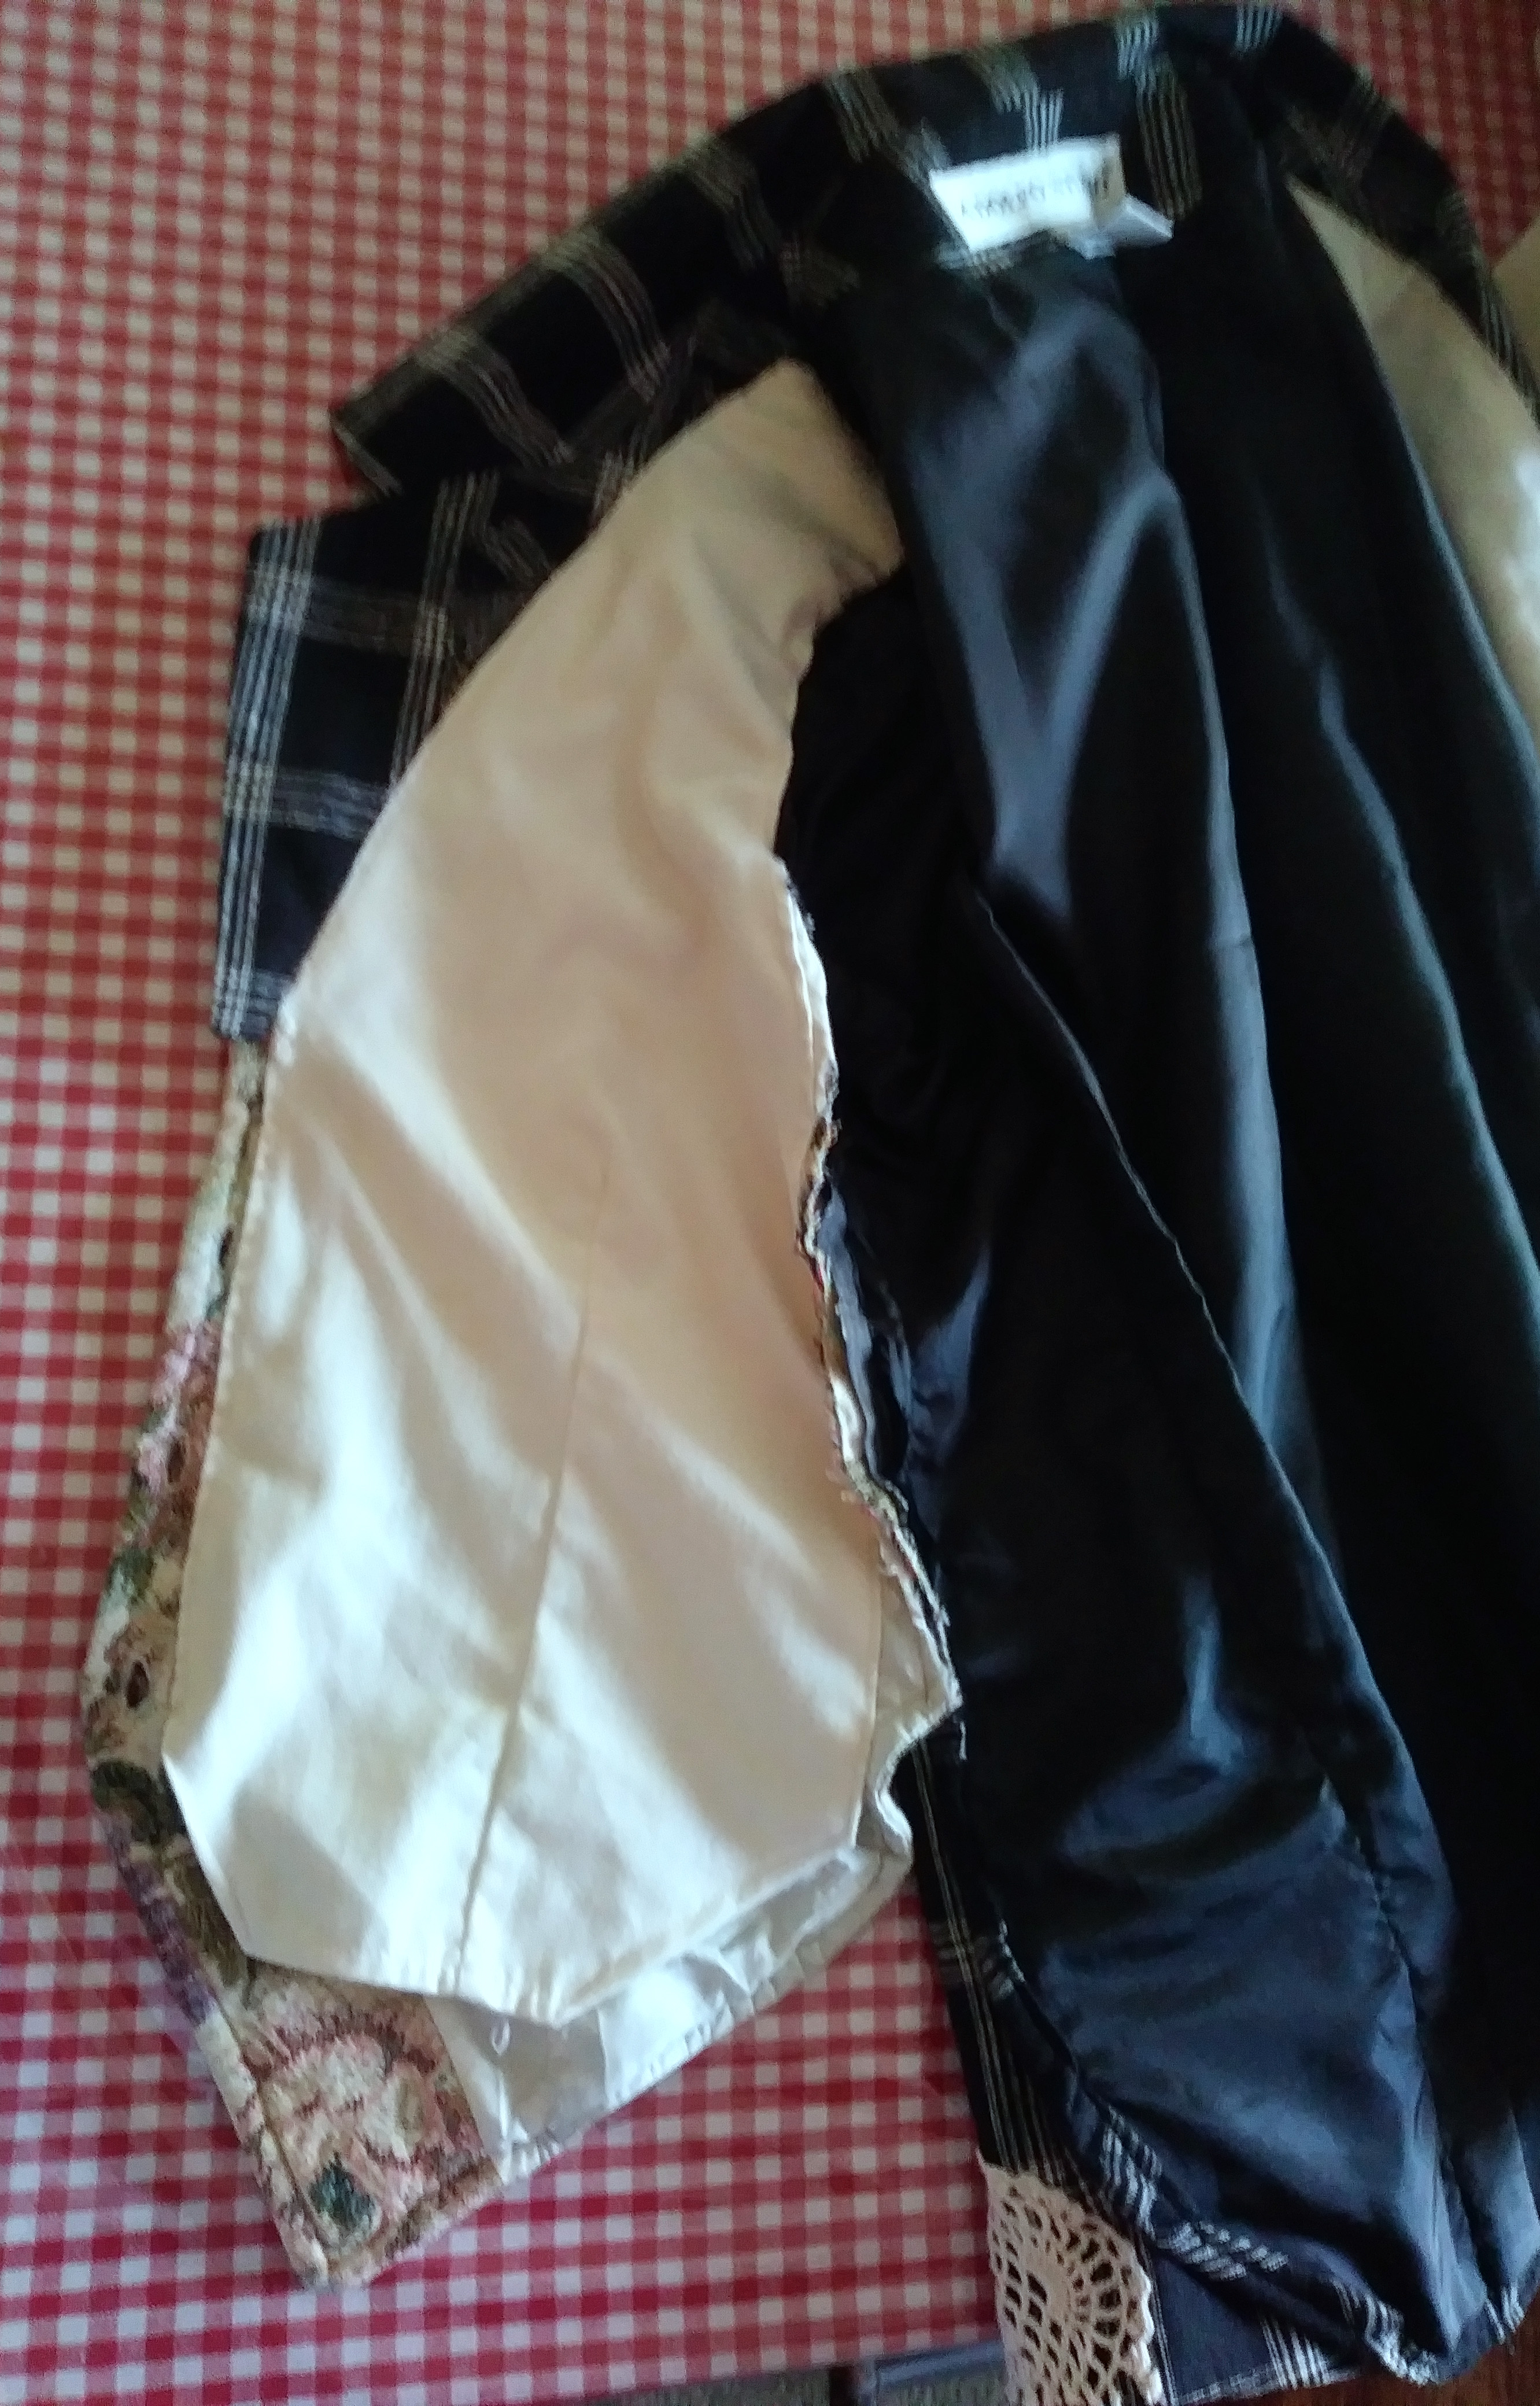
This, above, is what I started with: a blazer I got in a thrift for 25 cents, and a vest, which was given to me. Additionally, I used a doily, bought at the Goodwill Outlet, where things are sold by weight. So, the finished jacket cost less than 50 cents! Now, that’s being frugal! But, it also cost a lot of time.

The blazer was a little large on me—I couldn’t resist it for a quarter!—knew I could do something with it—so, I found the darts in the back of the jacket and enlarged them to make it fit. ‘Course, that meant the lining was also tucked, but, who cares? …it’s inside.
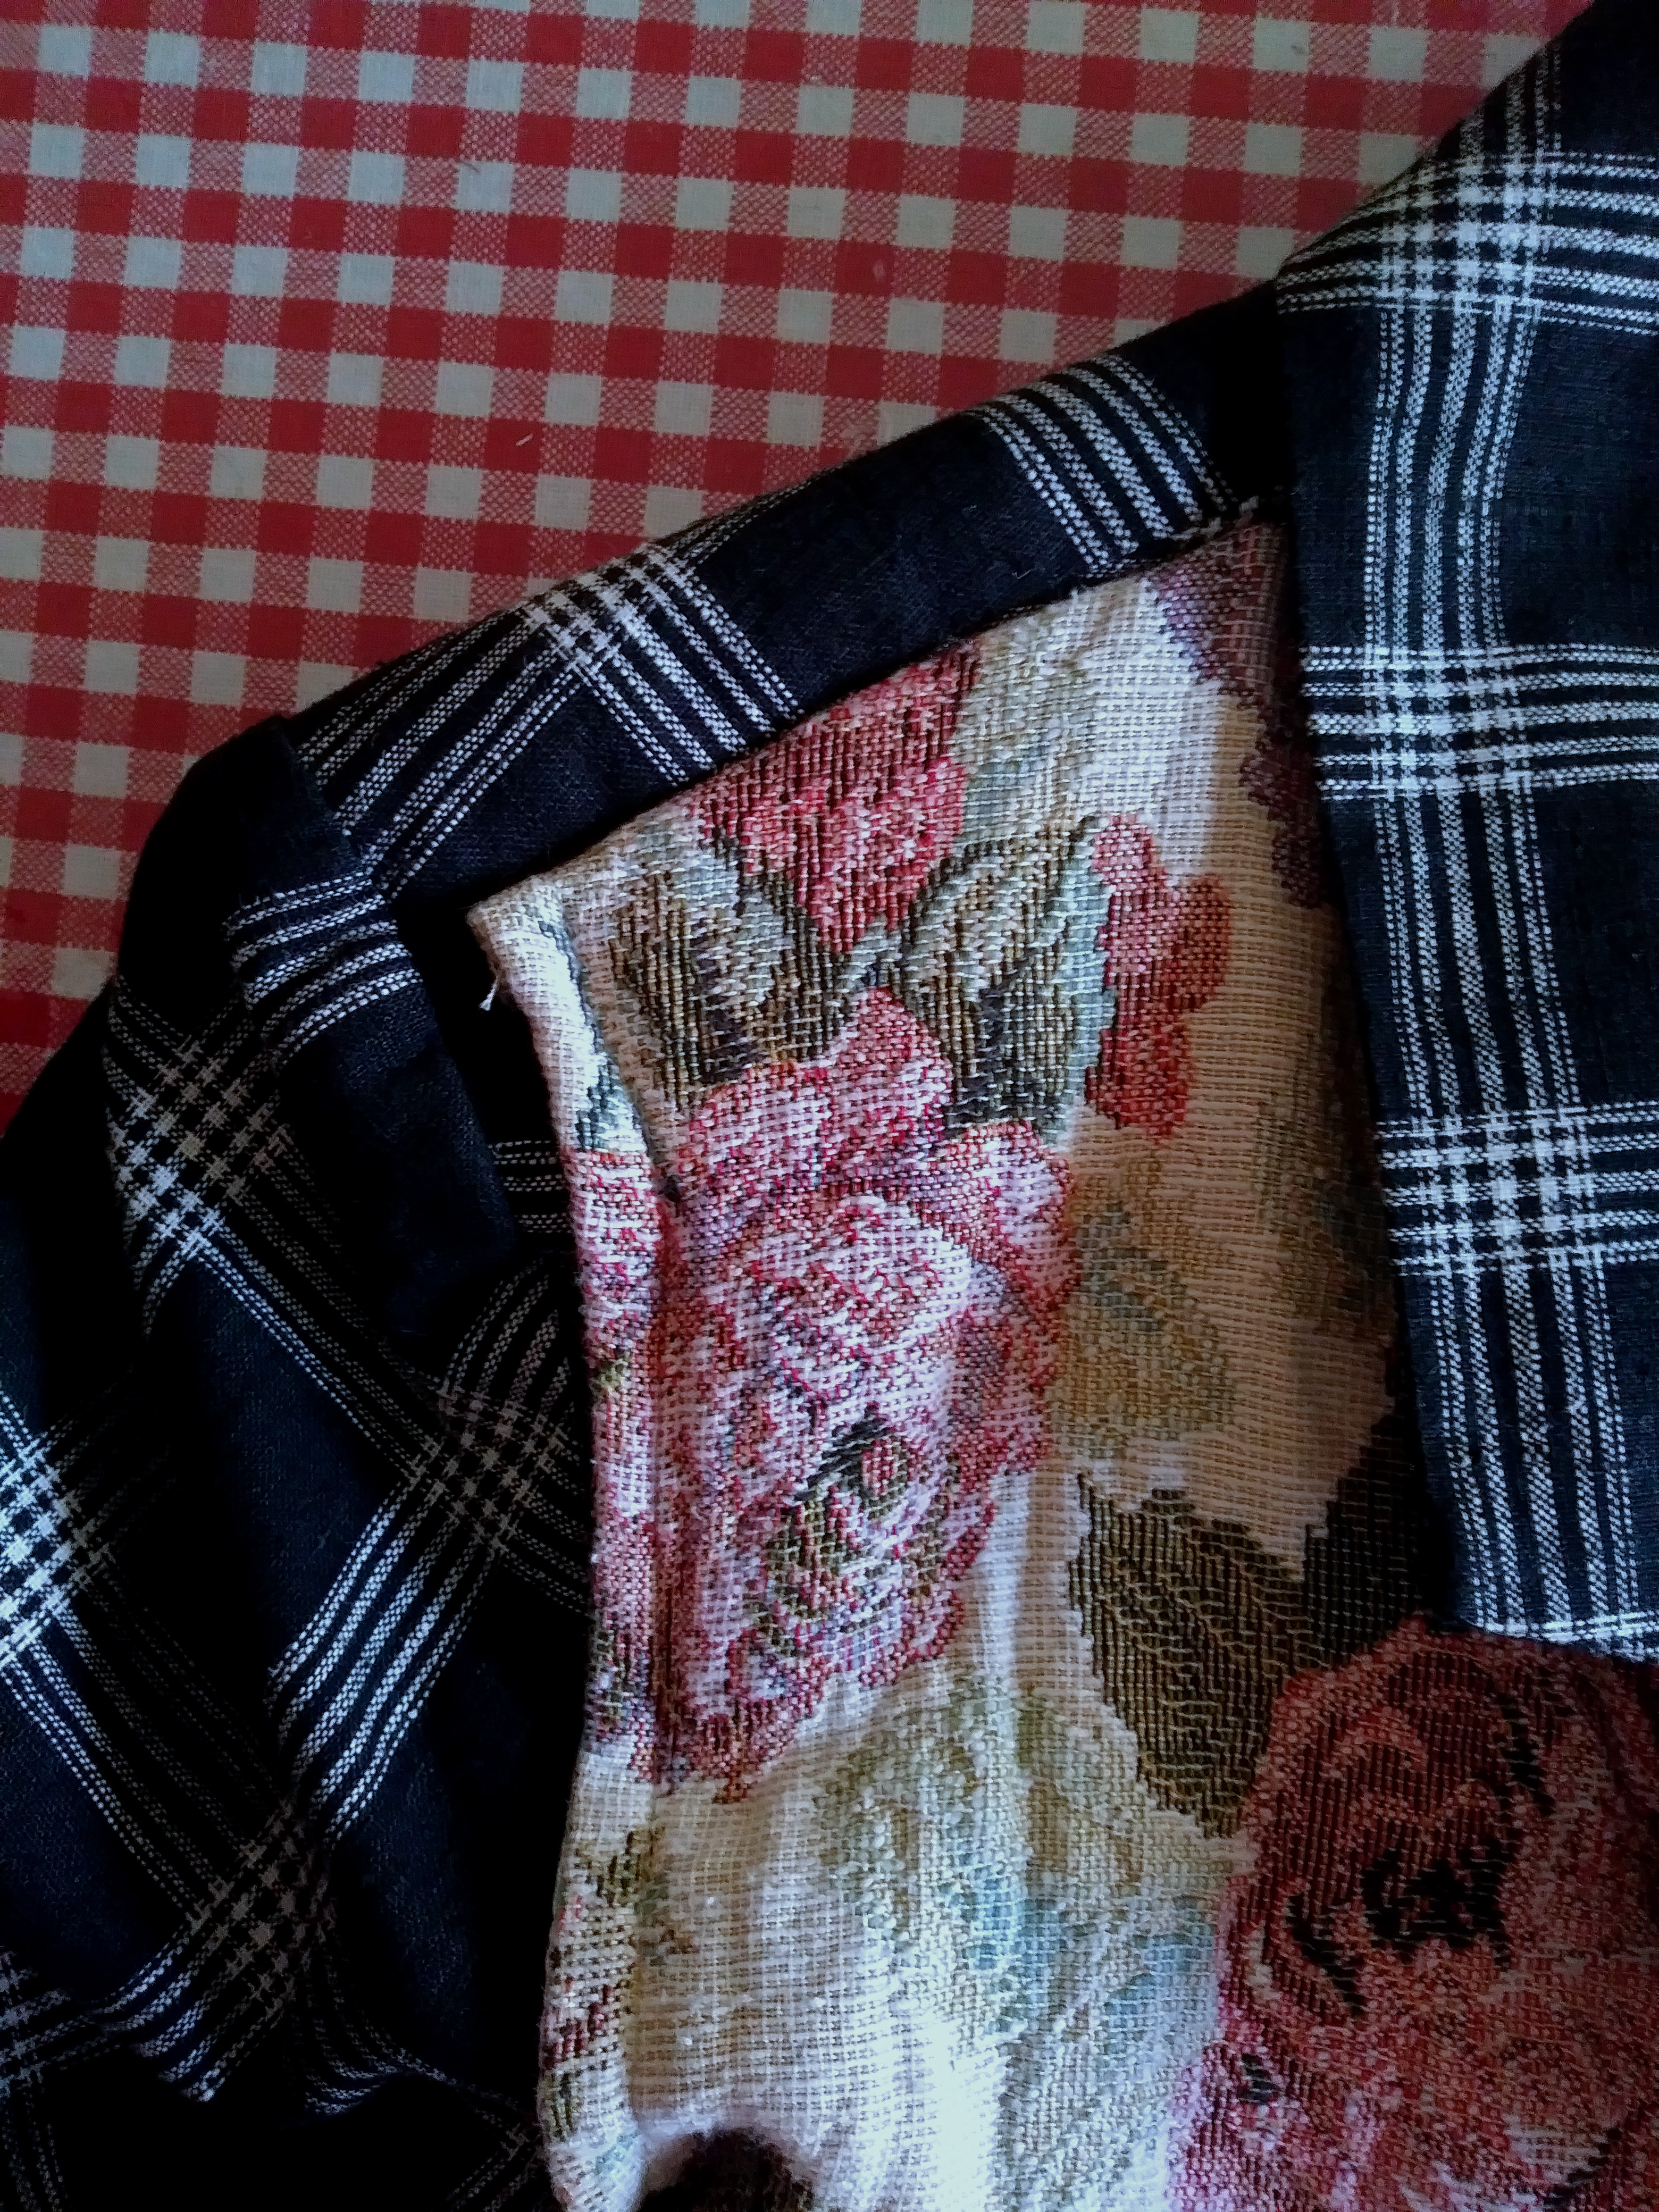
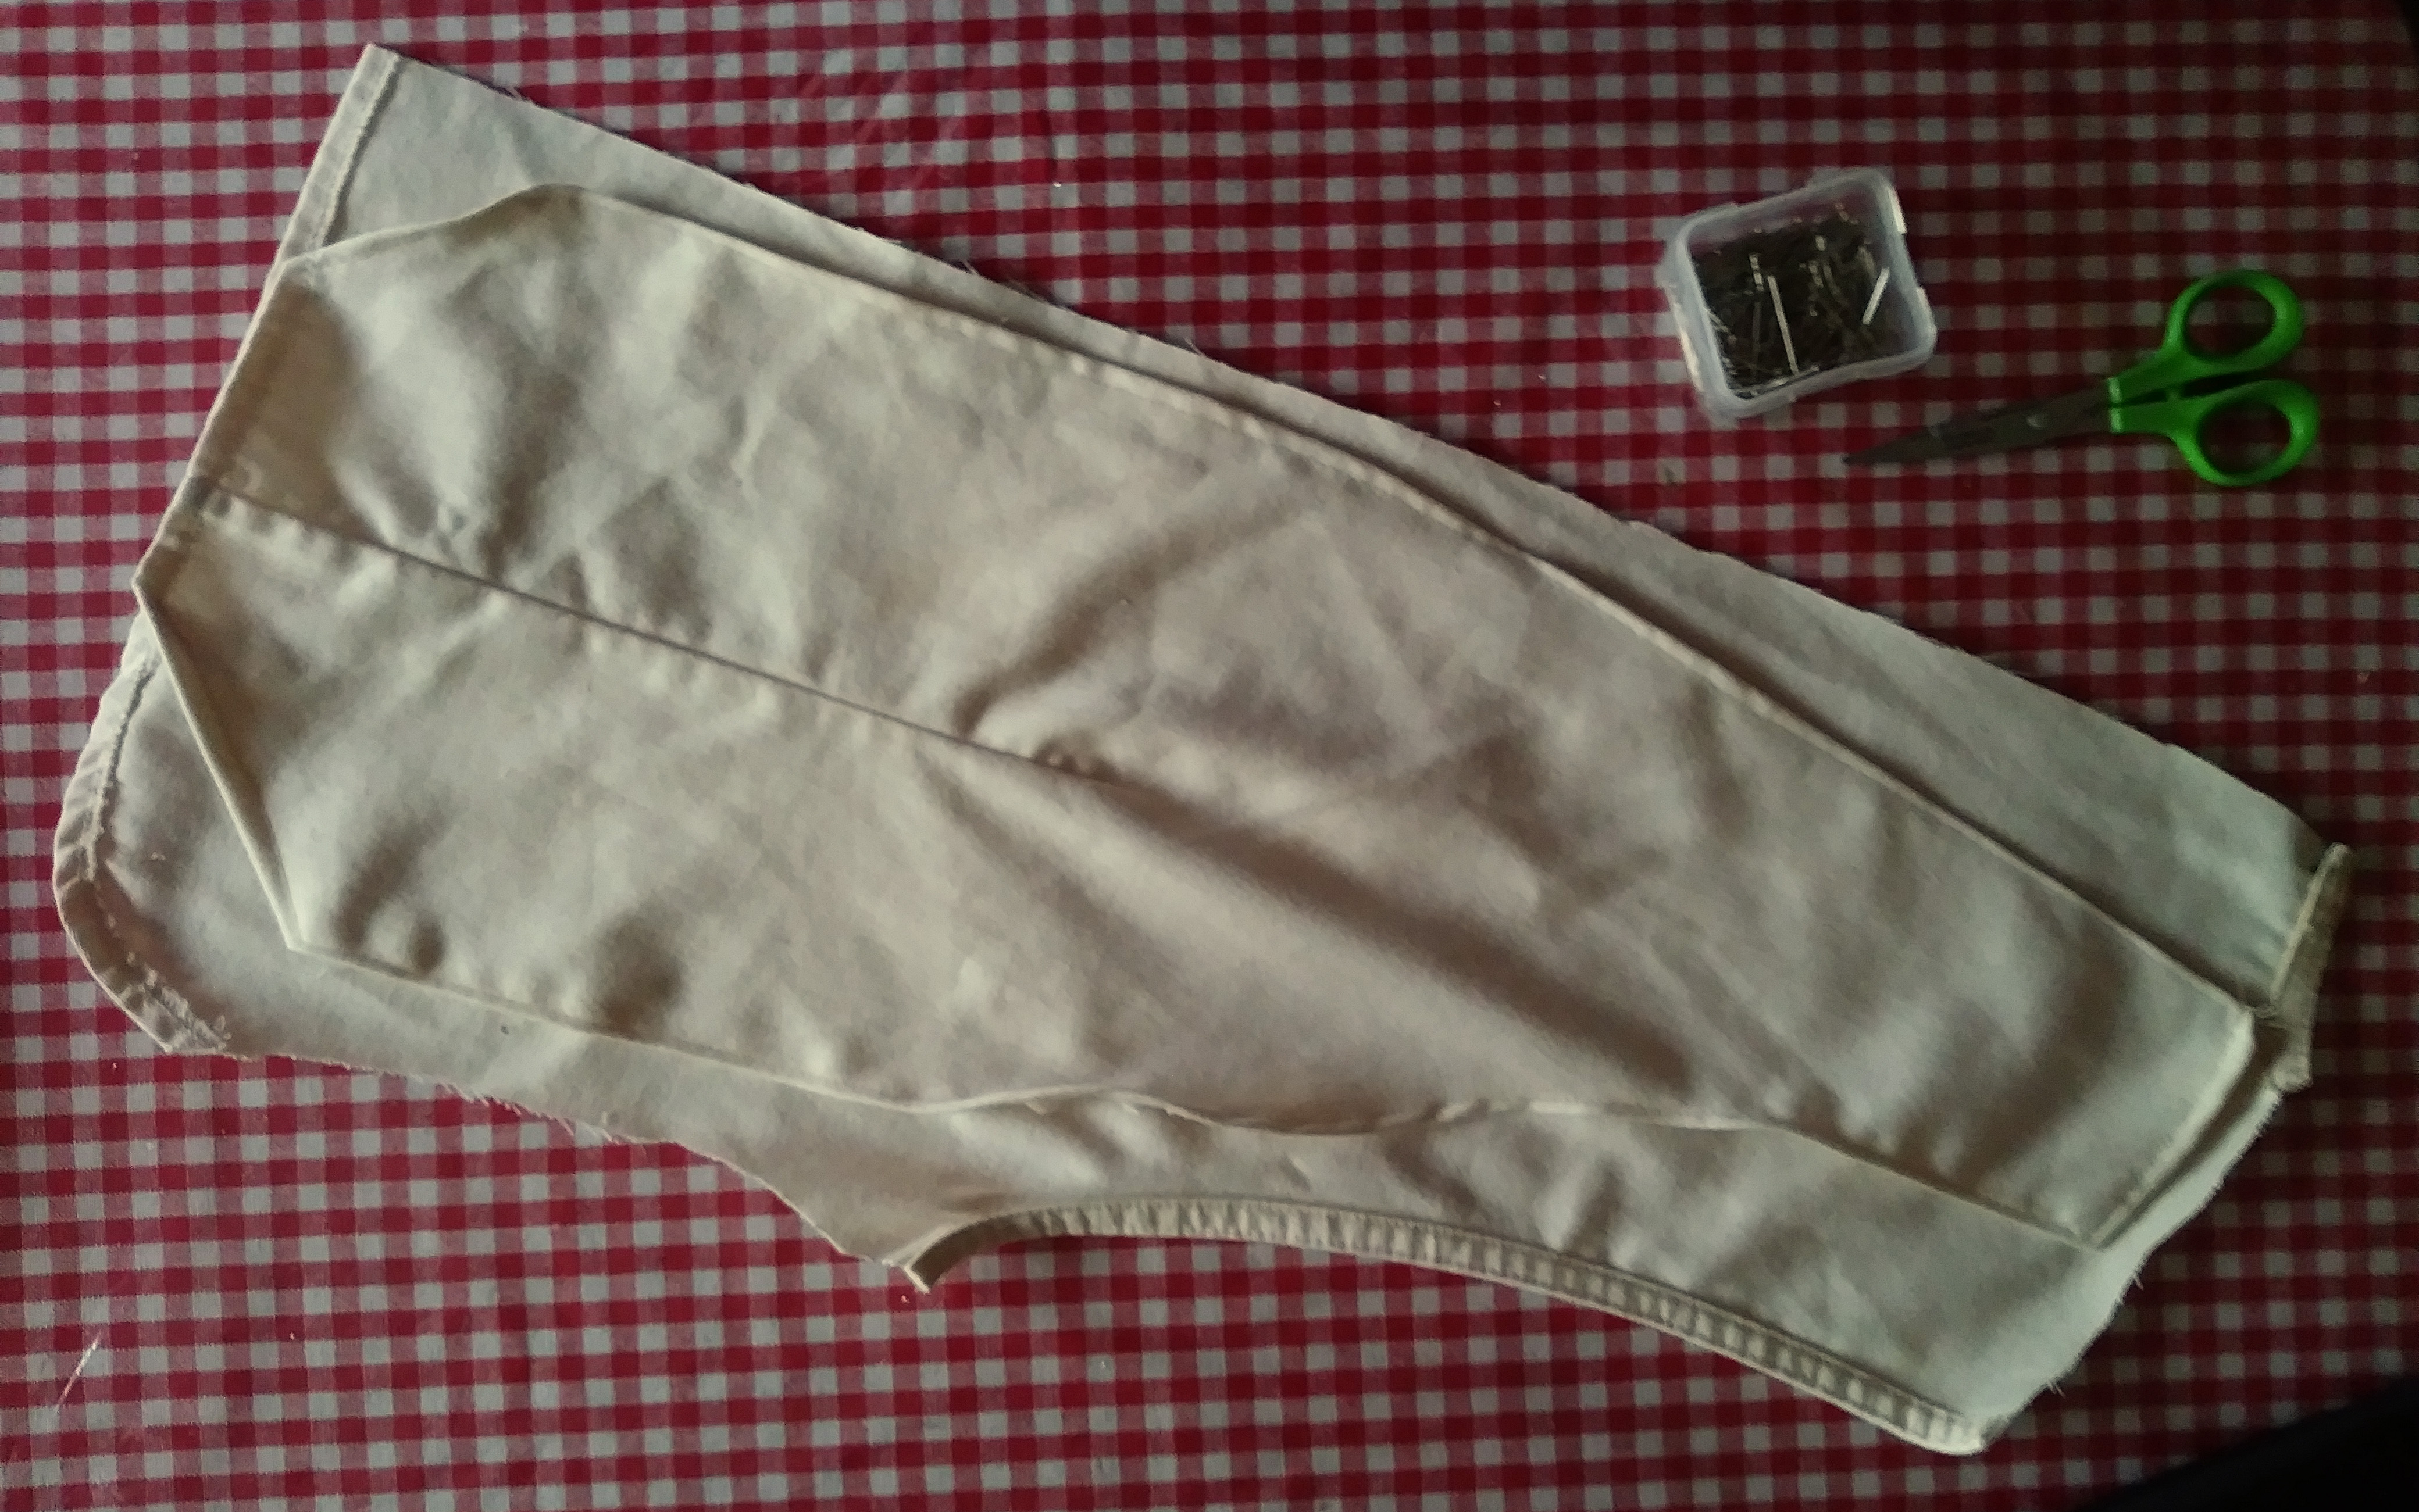
I studied how best to tackle this, and decided to get my scissors and just CUT!
I cut out the front, leaving a border
along the sides and around the lapel, keeping the lapel in tact.
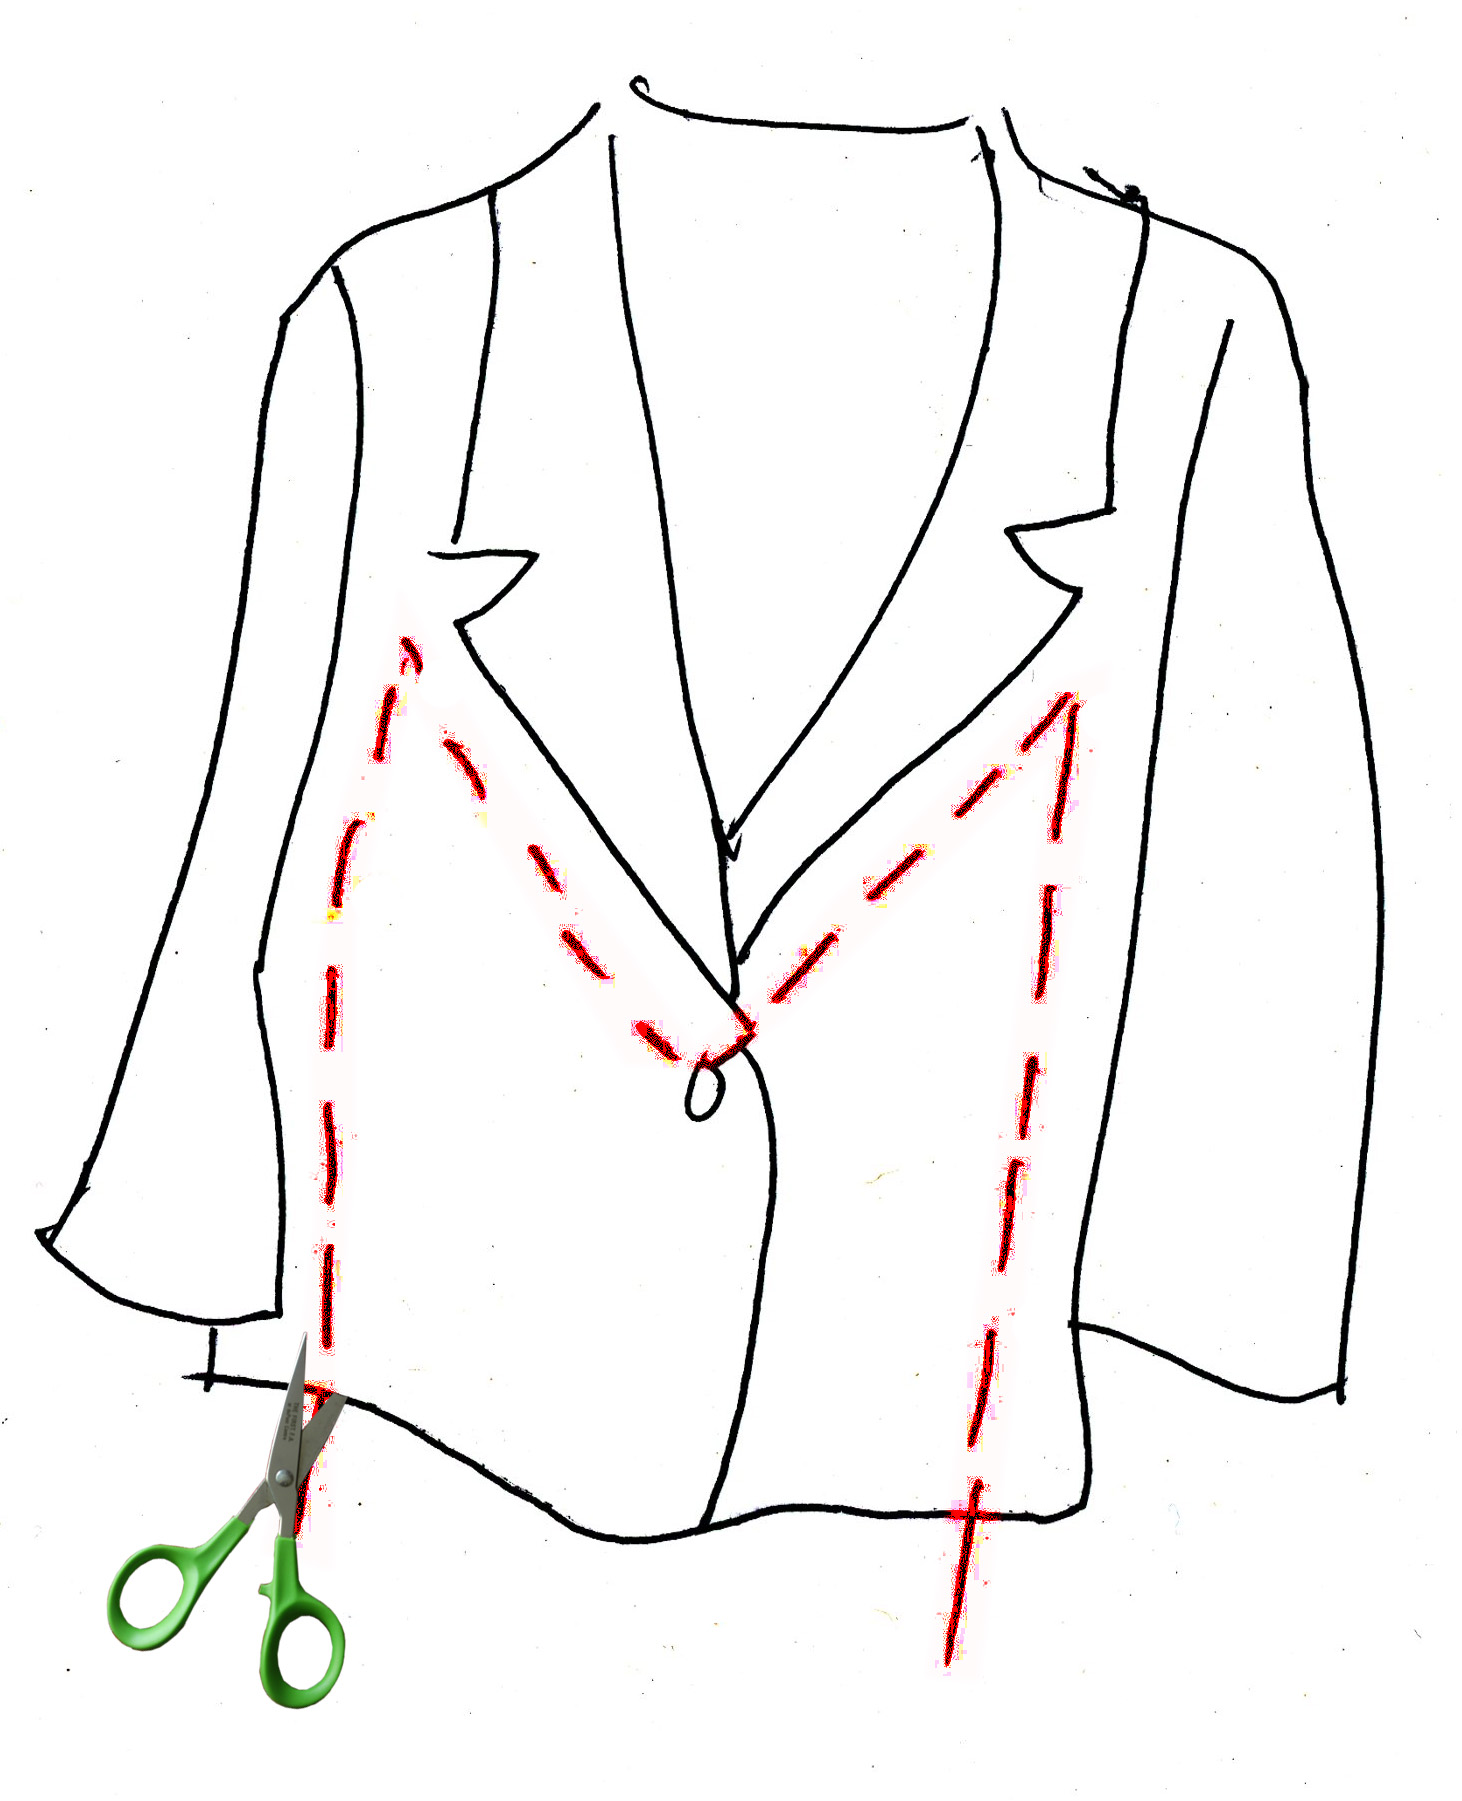
I actually cut up to and around the shoulder seams, leaving a wide margin all around.
Avoid boo-boo #1:
Make a very wide margin around the side seams, arm holes, lapel, and shoulders. You can always trim away the excess!
Don’t trim the extra until you know for sure how your two pieces fit together. My patch is hidden but it’s better to not have a patch!

Your vest should be big on you to make this work.
Step #1:
Use your seam ripper to separate the front of the vest from the back. I cut off the back, but, ultimately, had to rip out the seams, anyway.
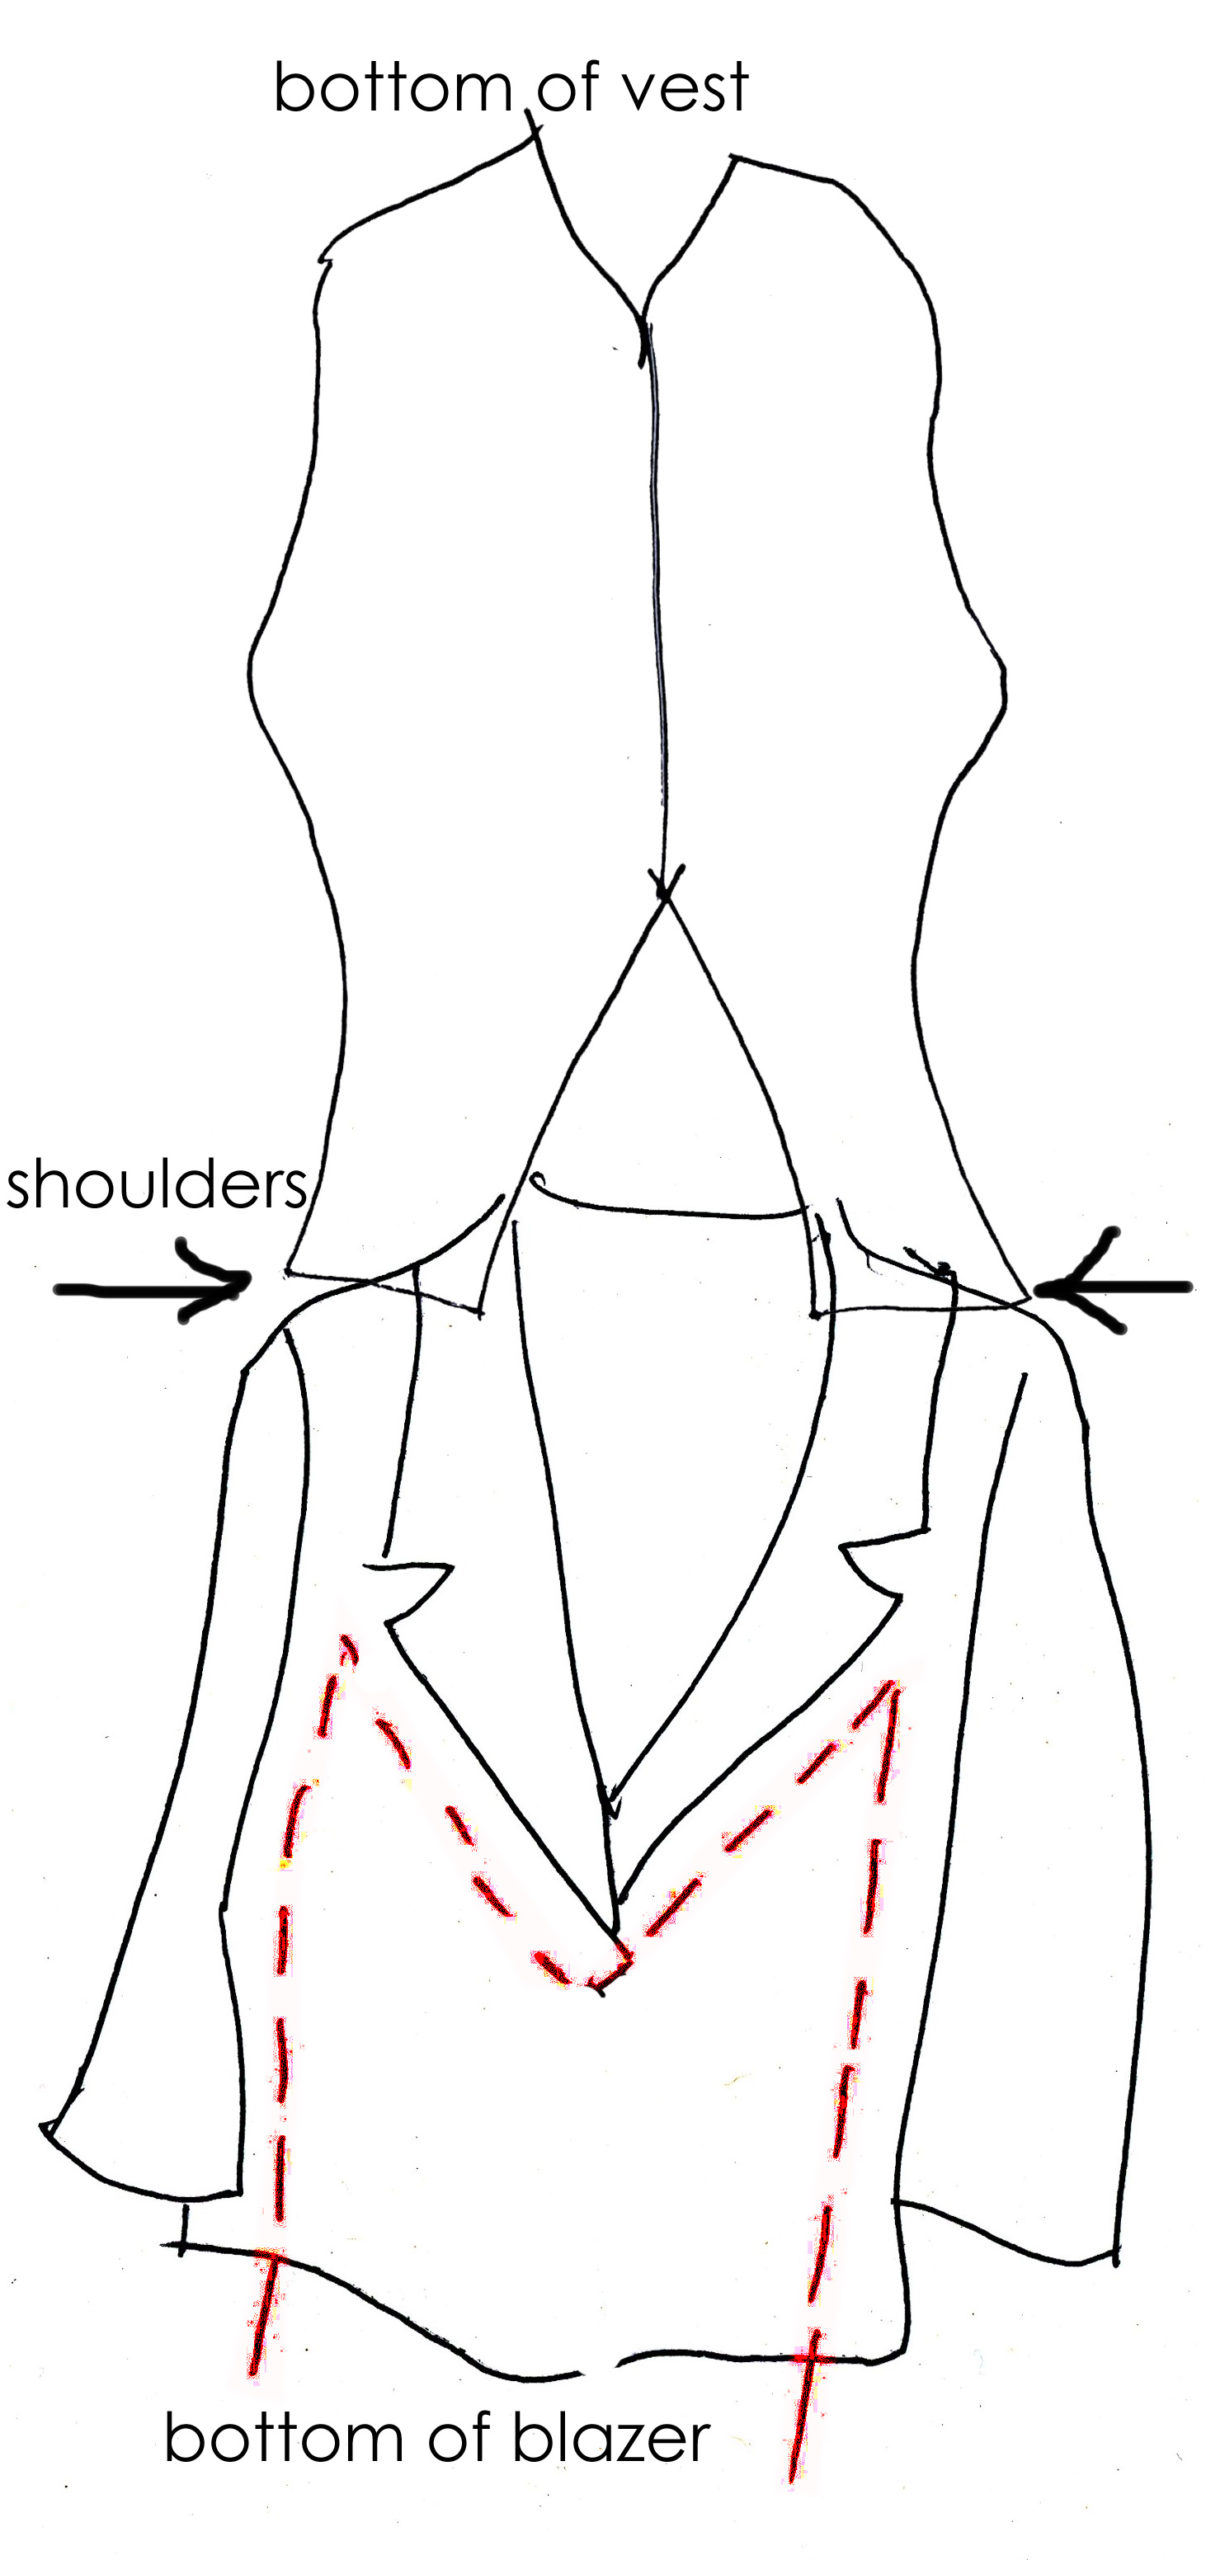
Lay out your blazer on a table and your vest front on top of it to work out how to put them together.
My vest’s shoulders were narrower than my blazer’s shoulders, so, I planned to center the vest’s shoulders on the blazer shoulders.
Turn the vest upside down with the inside up, and put it above the blazer on the table, shoulders touching.
Match the shoulder seams, centering them horizontally. As your vest shoulder seam is open, allow about a half inch for the seam.
Pin together. Flip it back down to check it—to see if it looks like it will all match.
Then, sew the shoulder seams together.

Step #2:
With the vest front now lying on the blazer, as it will be when finished, work the vest’s arm holes around the blazer’s sleeve seams and pin down. Be sure it doesn’t lie crooked. Check the side seams; The vest’s side seams should be parallel with the blazer’s side seams.
Pin the side seams together the normal way, with right sides together.
Try it on!
Do this step as often as it takes to get the
size right. You don’t want it too tight, but comfortably snug. Remember you will have clothes on underneath the jacket.
Once you like the fit, sew down the arm holes on top of the fabric, following the stitching already there on the vest.
Then, sew the side seams. Remember, the right sides will face each other.
The lapel is “flappin’ in the breeze.”
Step #3:
Lay out the jacket on the table.
Place the lapel, still connected to the blazer collar back, over the “V” shape of the vest neck. Wrap it around: front goes in front, back goes behind the vest “V.”
My lapel was longer than the “V.” Simply adjust the lapel to come to a bottom point just above
the first vest button, and pin in place, attaching the back of the lapel to the inside of the vest “V.” Sew. The lapel will fold over the “V” of the vest neck and the stitching won’t show on the front.

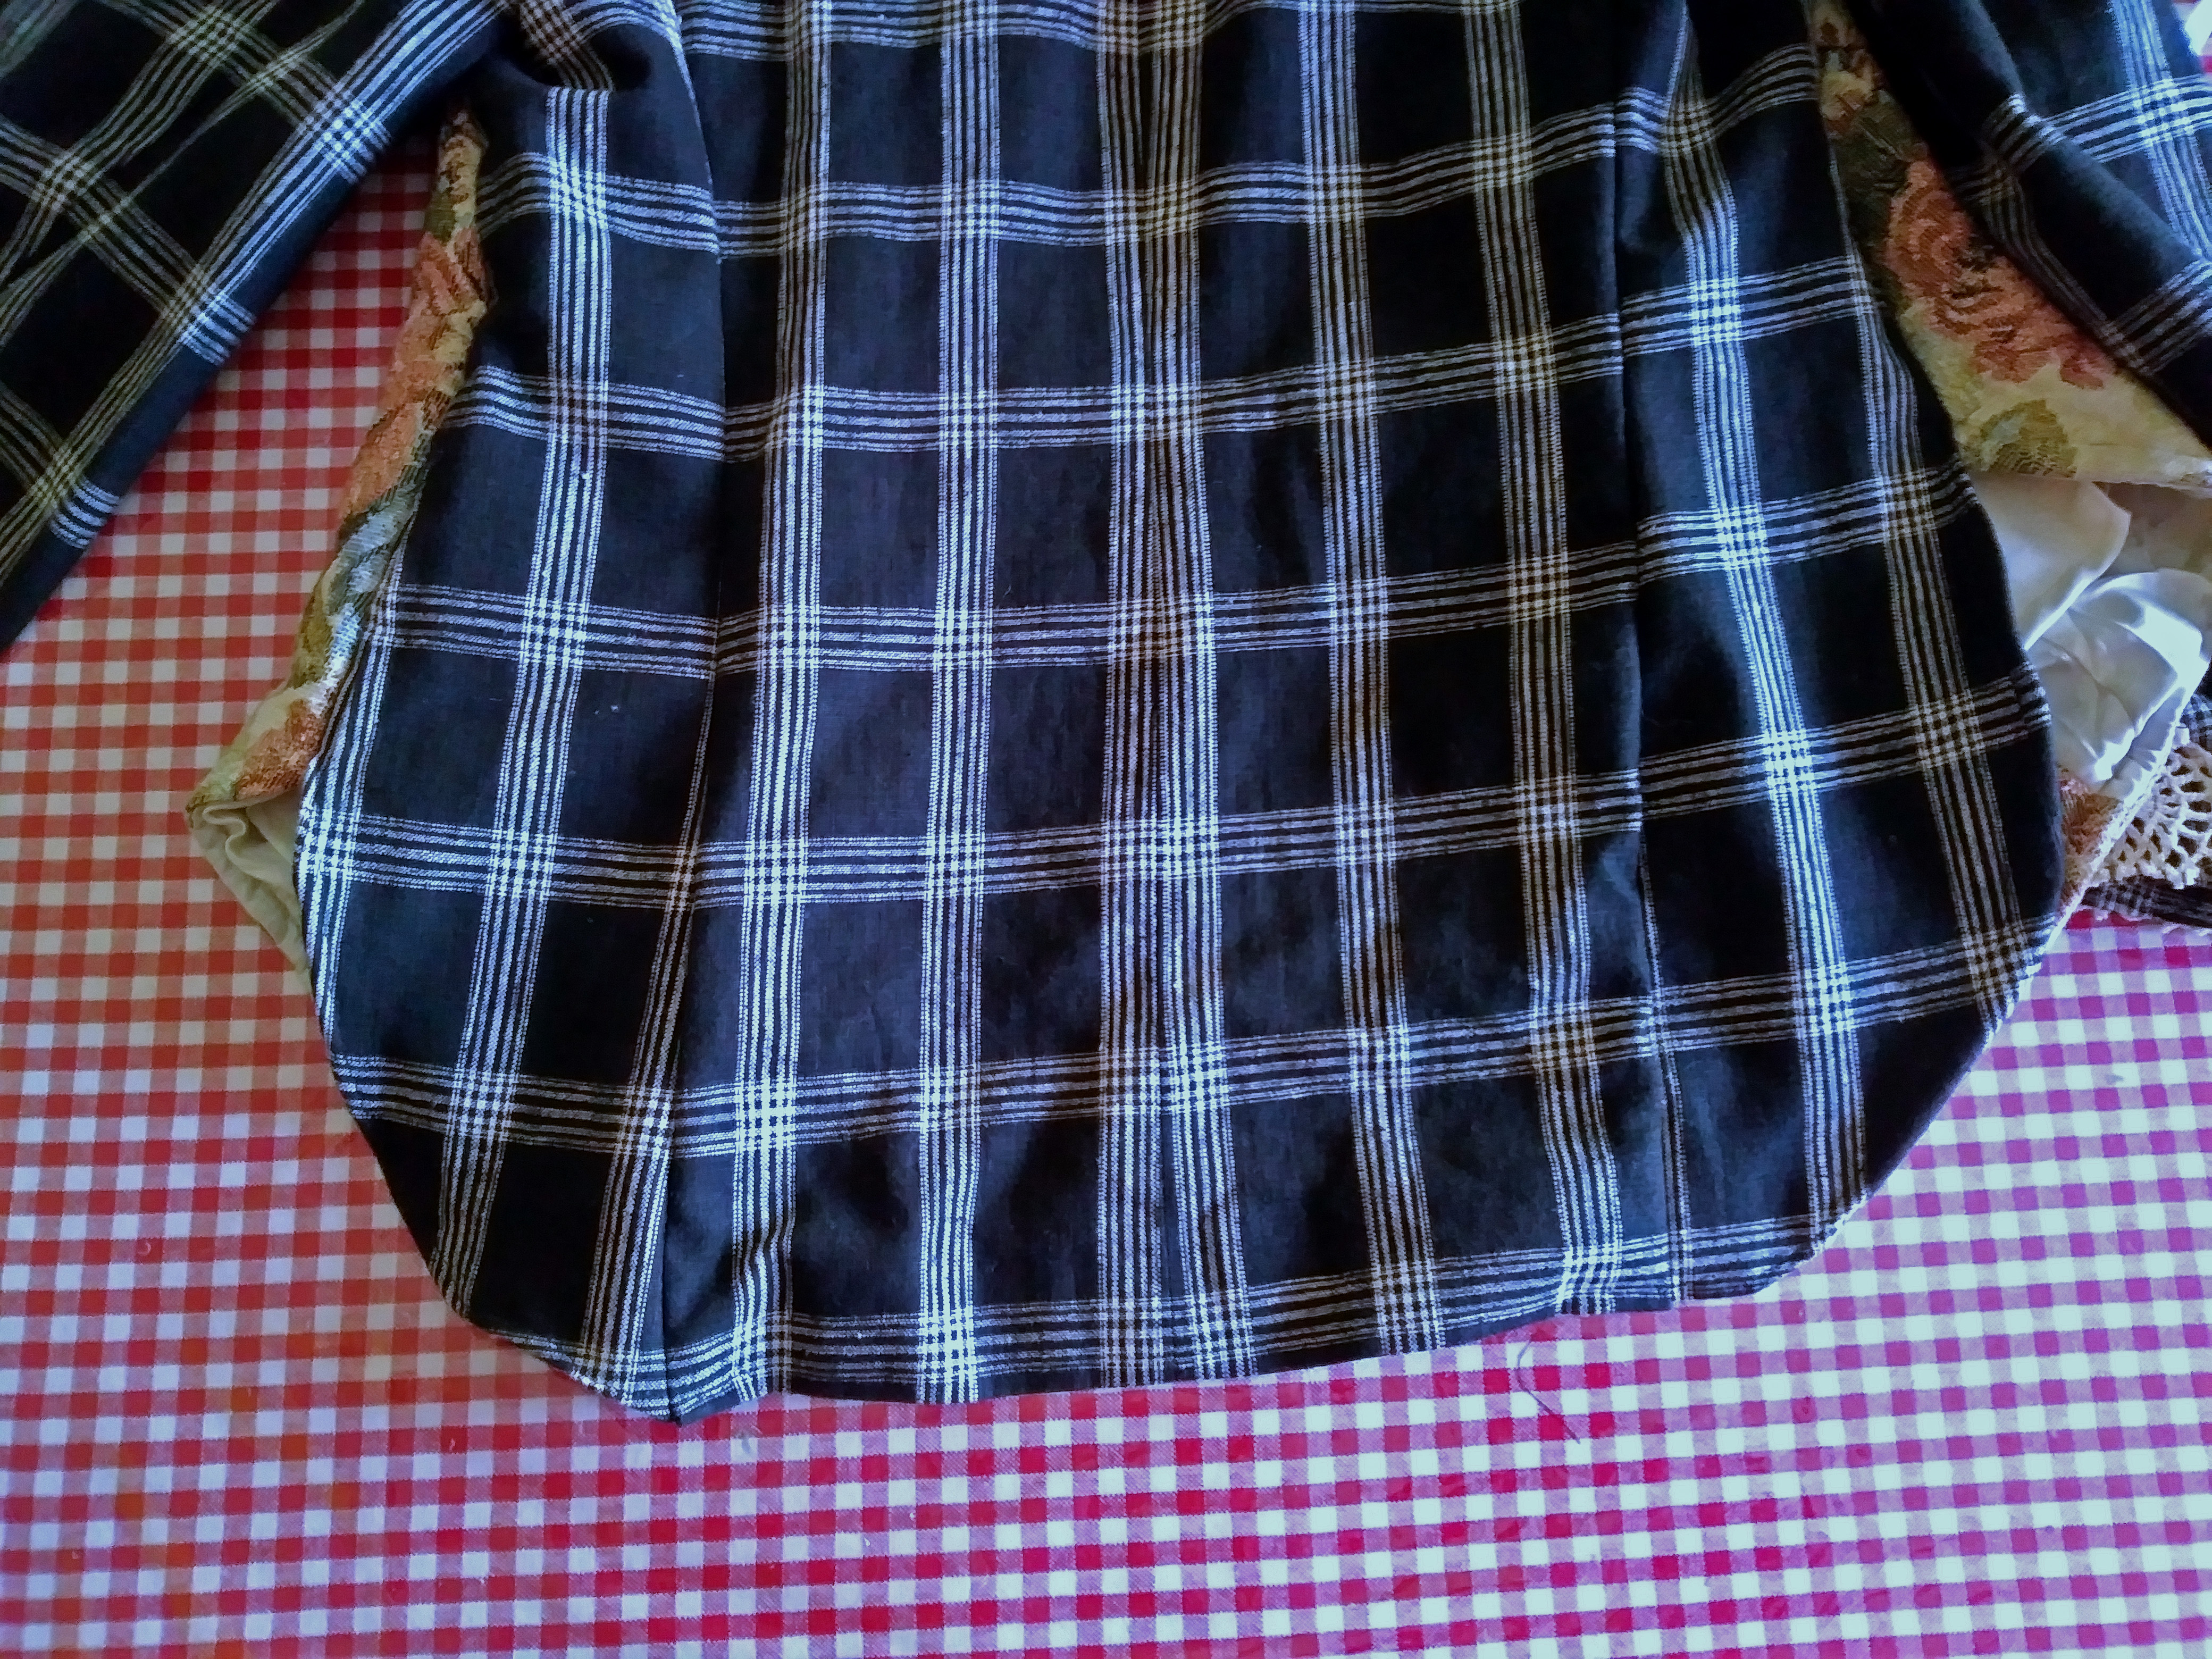
Now, it should be looking pretty good! You have the pieces put together to make it a jacket, but the tail of the back, which is longer than the bottom of the vest front, is still raw-edged and square-bottomed.
Step #4:
Lay out the jacket on the table, with the inside of the back, up.
Lay a piece of paper over the corner and draw a pattern of a rounded corner. You can pin it down. Cut around the paper, allowing for a half-inch seam, bringing
the rounded shape to the flat bottom of the jacket back.
Roll the edges up twice, with the raw edge inside the second turn-up, and pin as you go.
Your goal is to have both corners rounded, so that you’ll have what looks like a shirt tail.

One last finishing touch…for the outside…
Step #5:
Cut a doily in half. Mine is seven inches across.
Pin and sew it, flat side on the bottom, to the bottom of your sleeves, from one seam to the other, on the front of the sleeves.
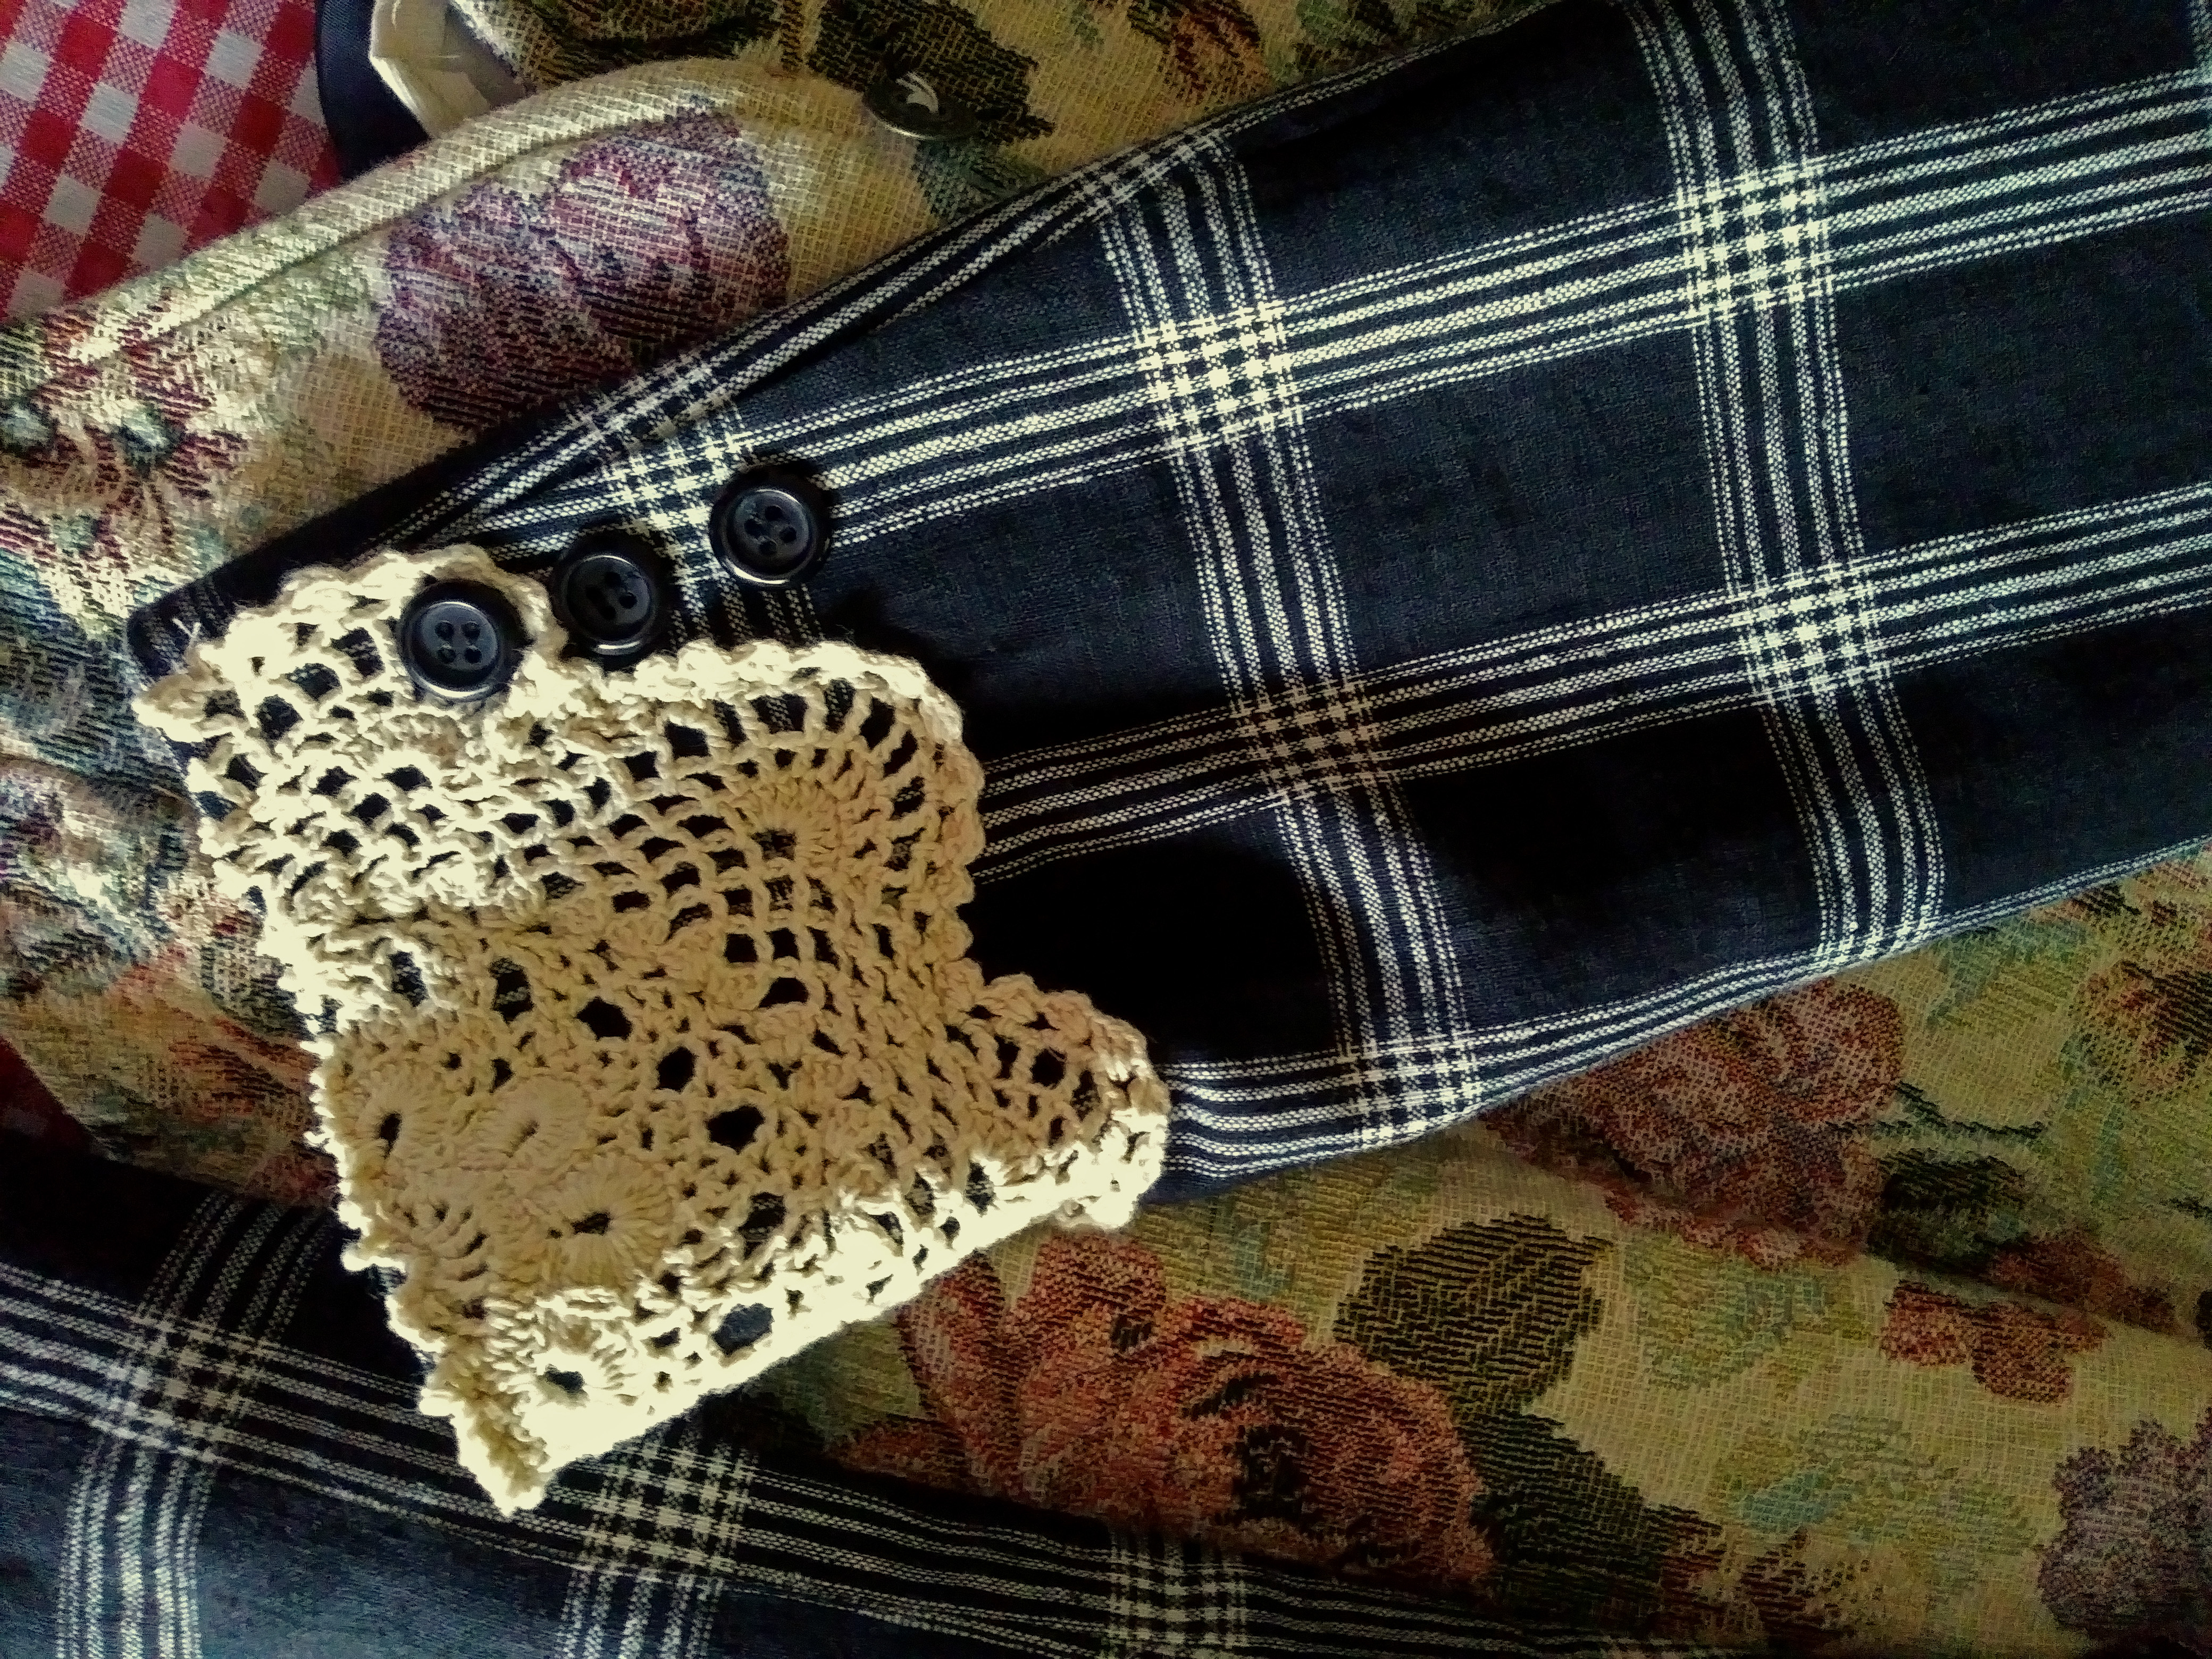
It covered one of the three decorative sleeve buttons, so I just moved the button to be on top of the edge of the doily.
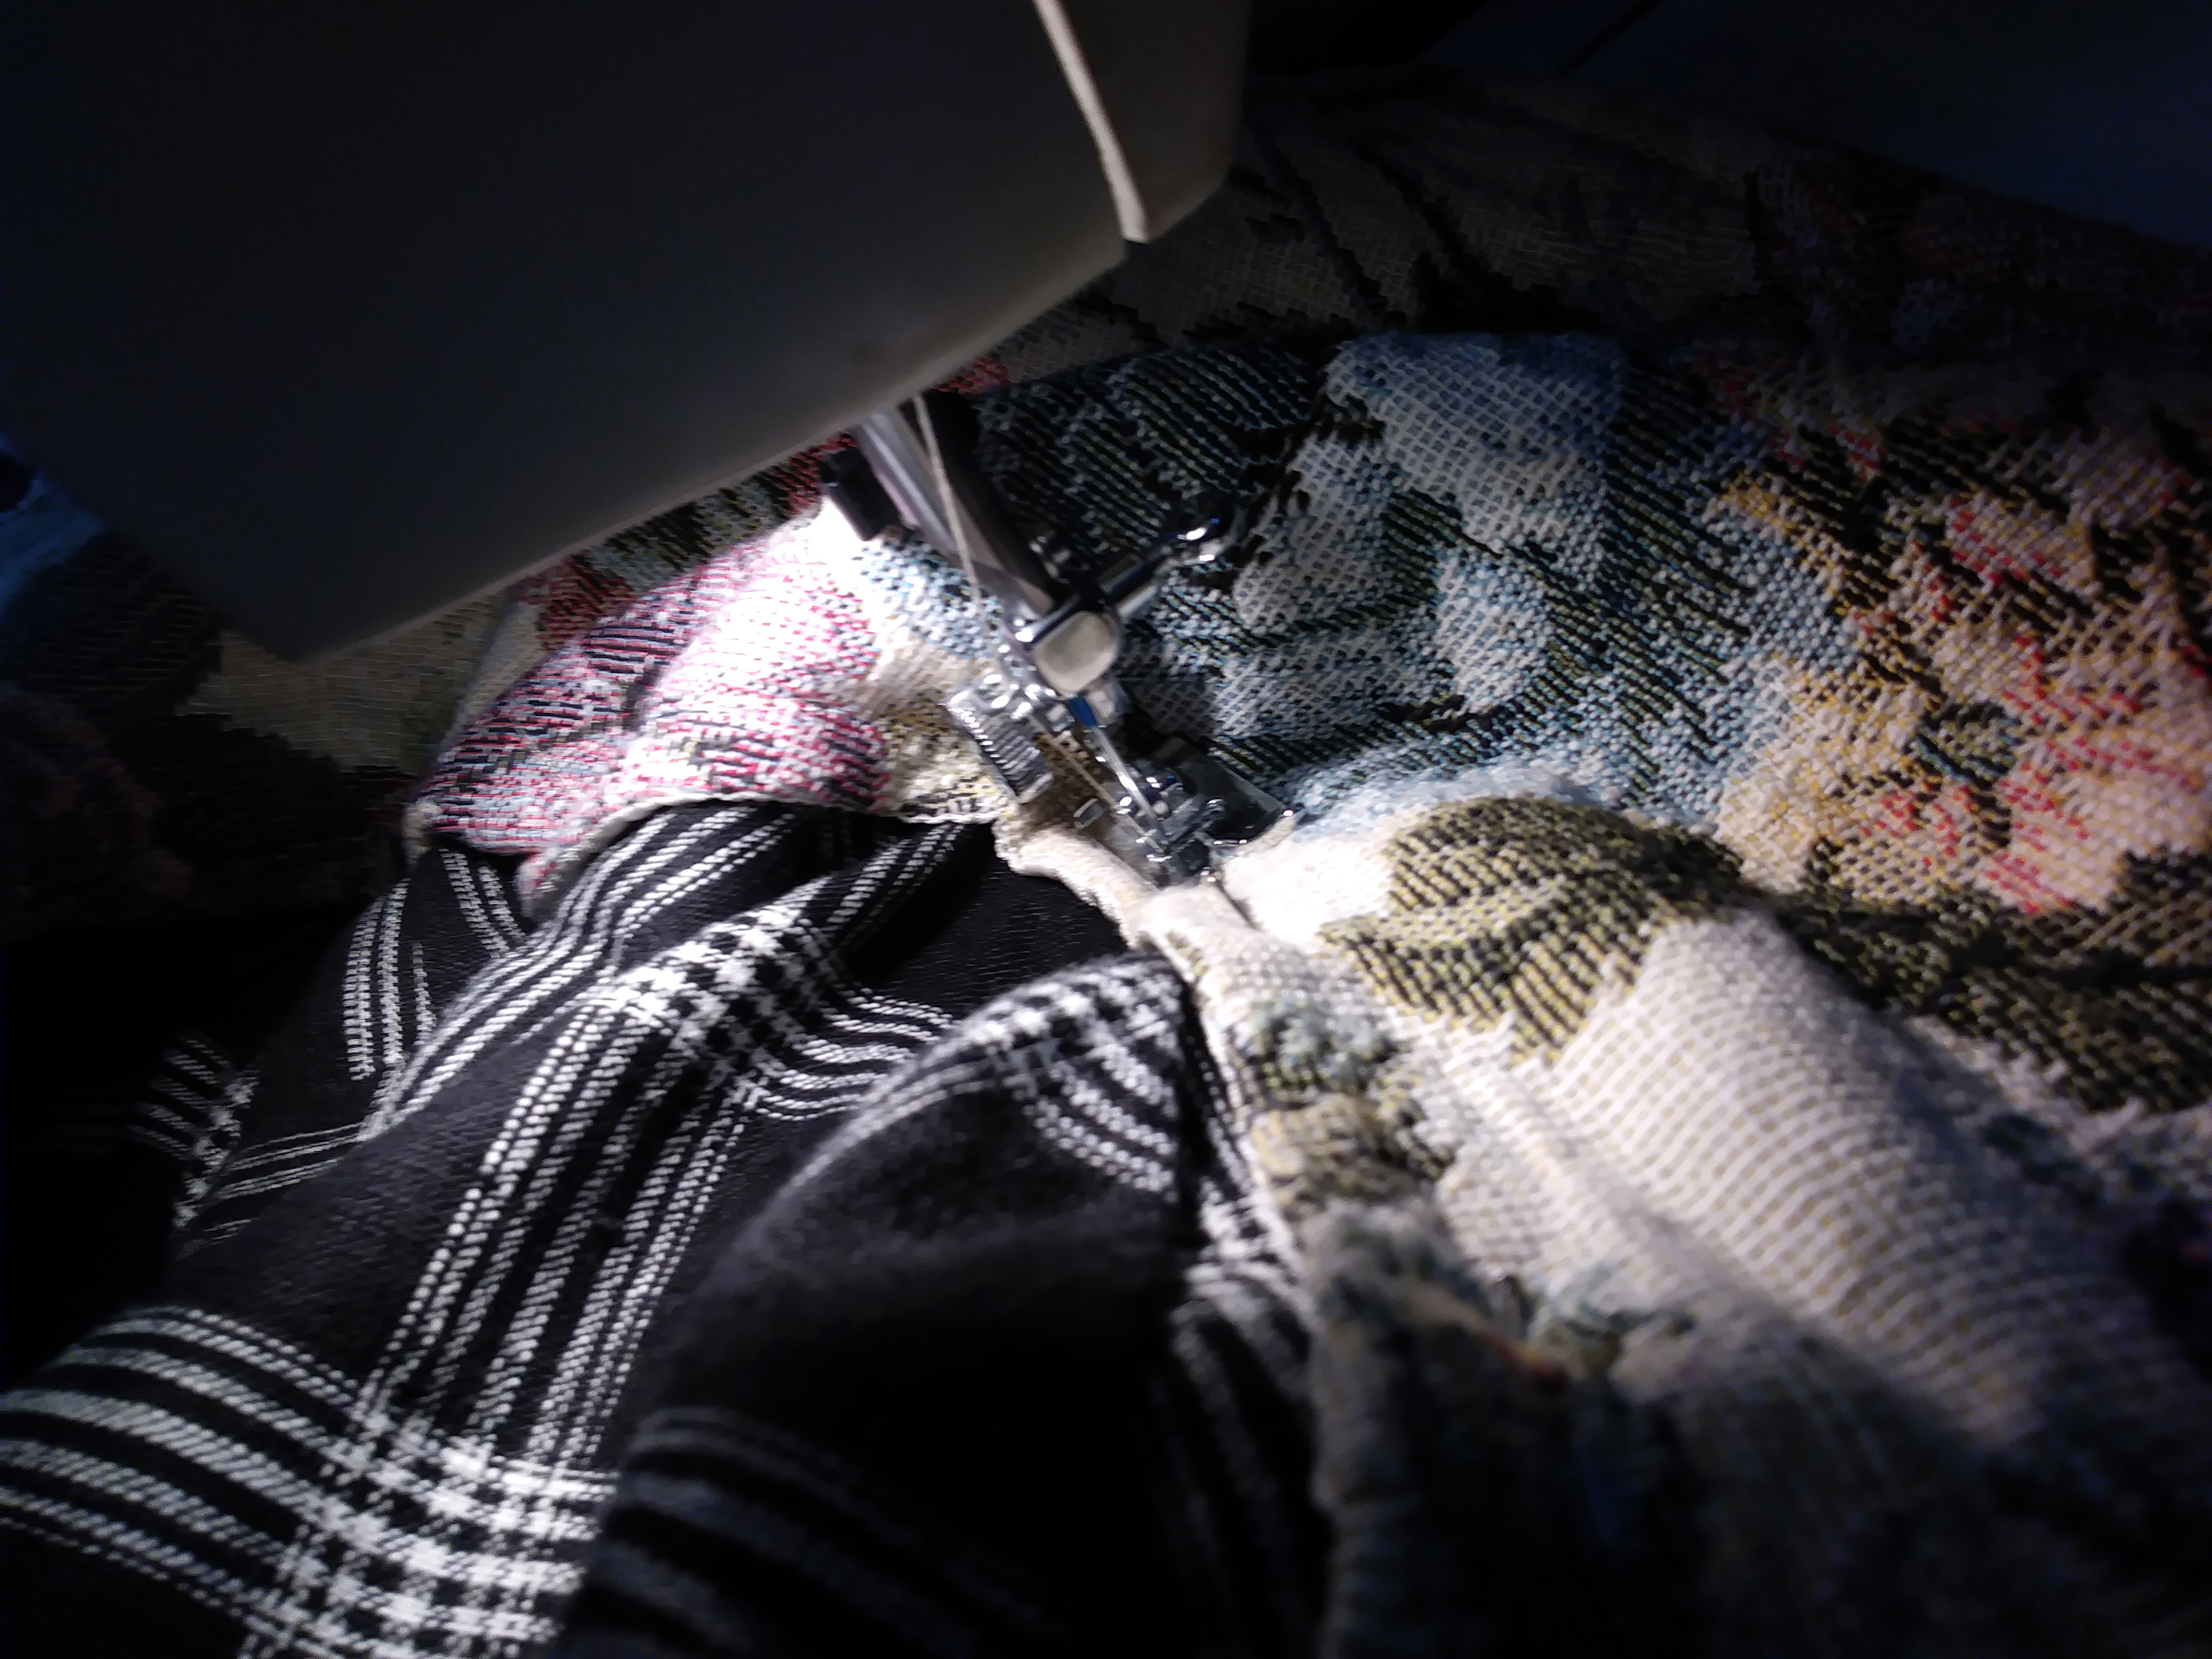
I zig-zag stitched it to the bottom of the sleeve across the flat side; stitched, following the pattern of the doily in a semi-circle, in the mid part of the doily; and, again, zig-zagged around the semi-circular edge.
Be careful, as you sew, not to catch the lining of the sleeve opposite where you are sewing.

It looks good on the outside, but what about all that stuff showing on the inside?
Step #6:
The lining. Take the back of your vest and cut it in half, bottom to top.
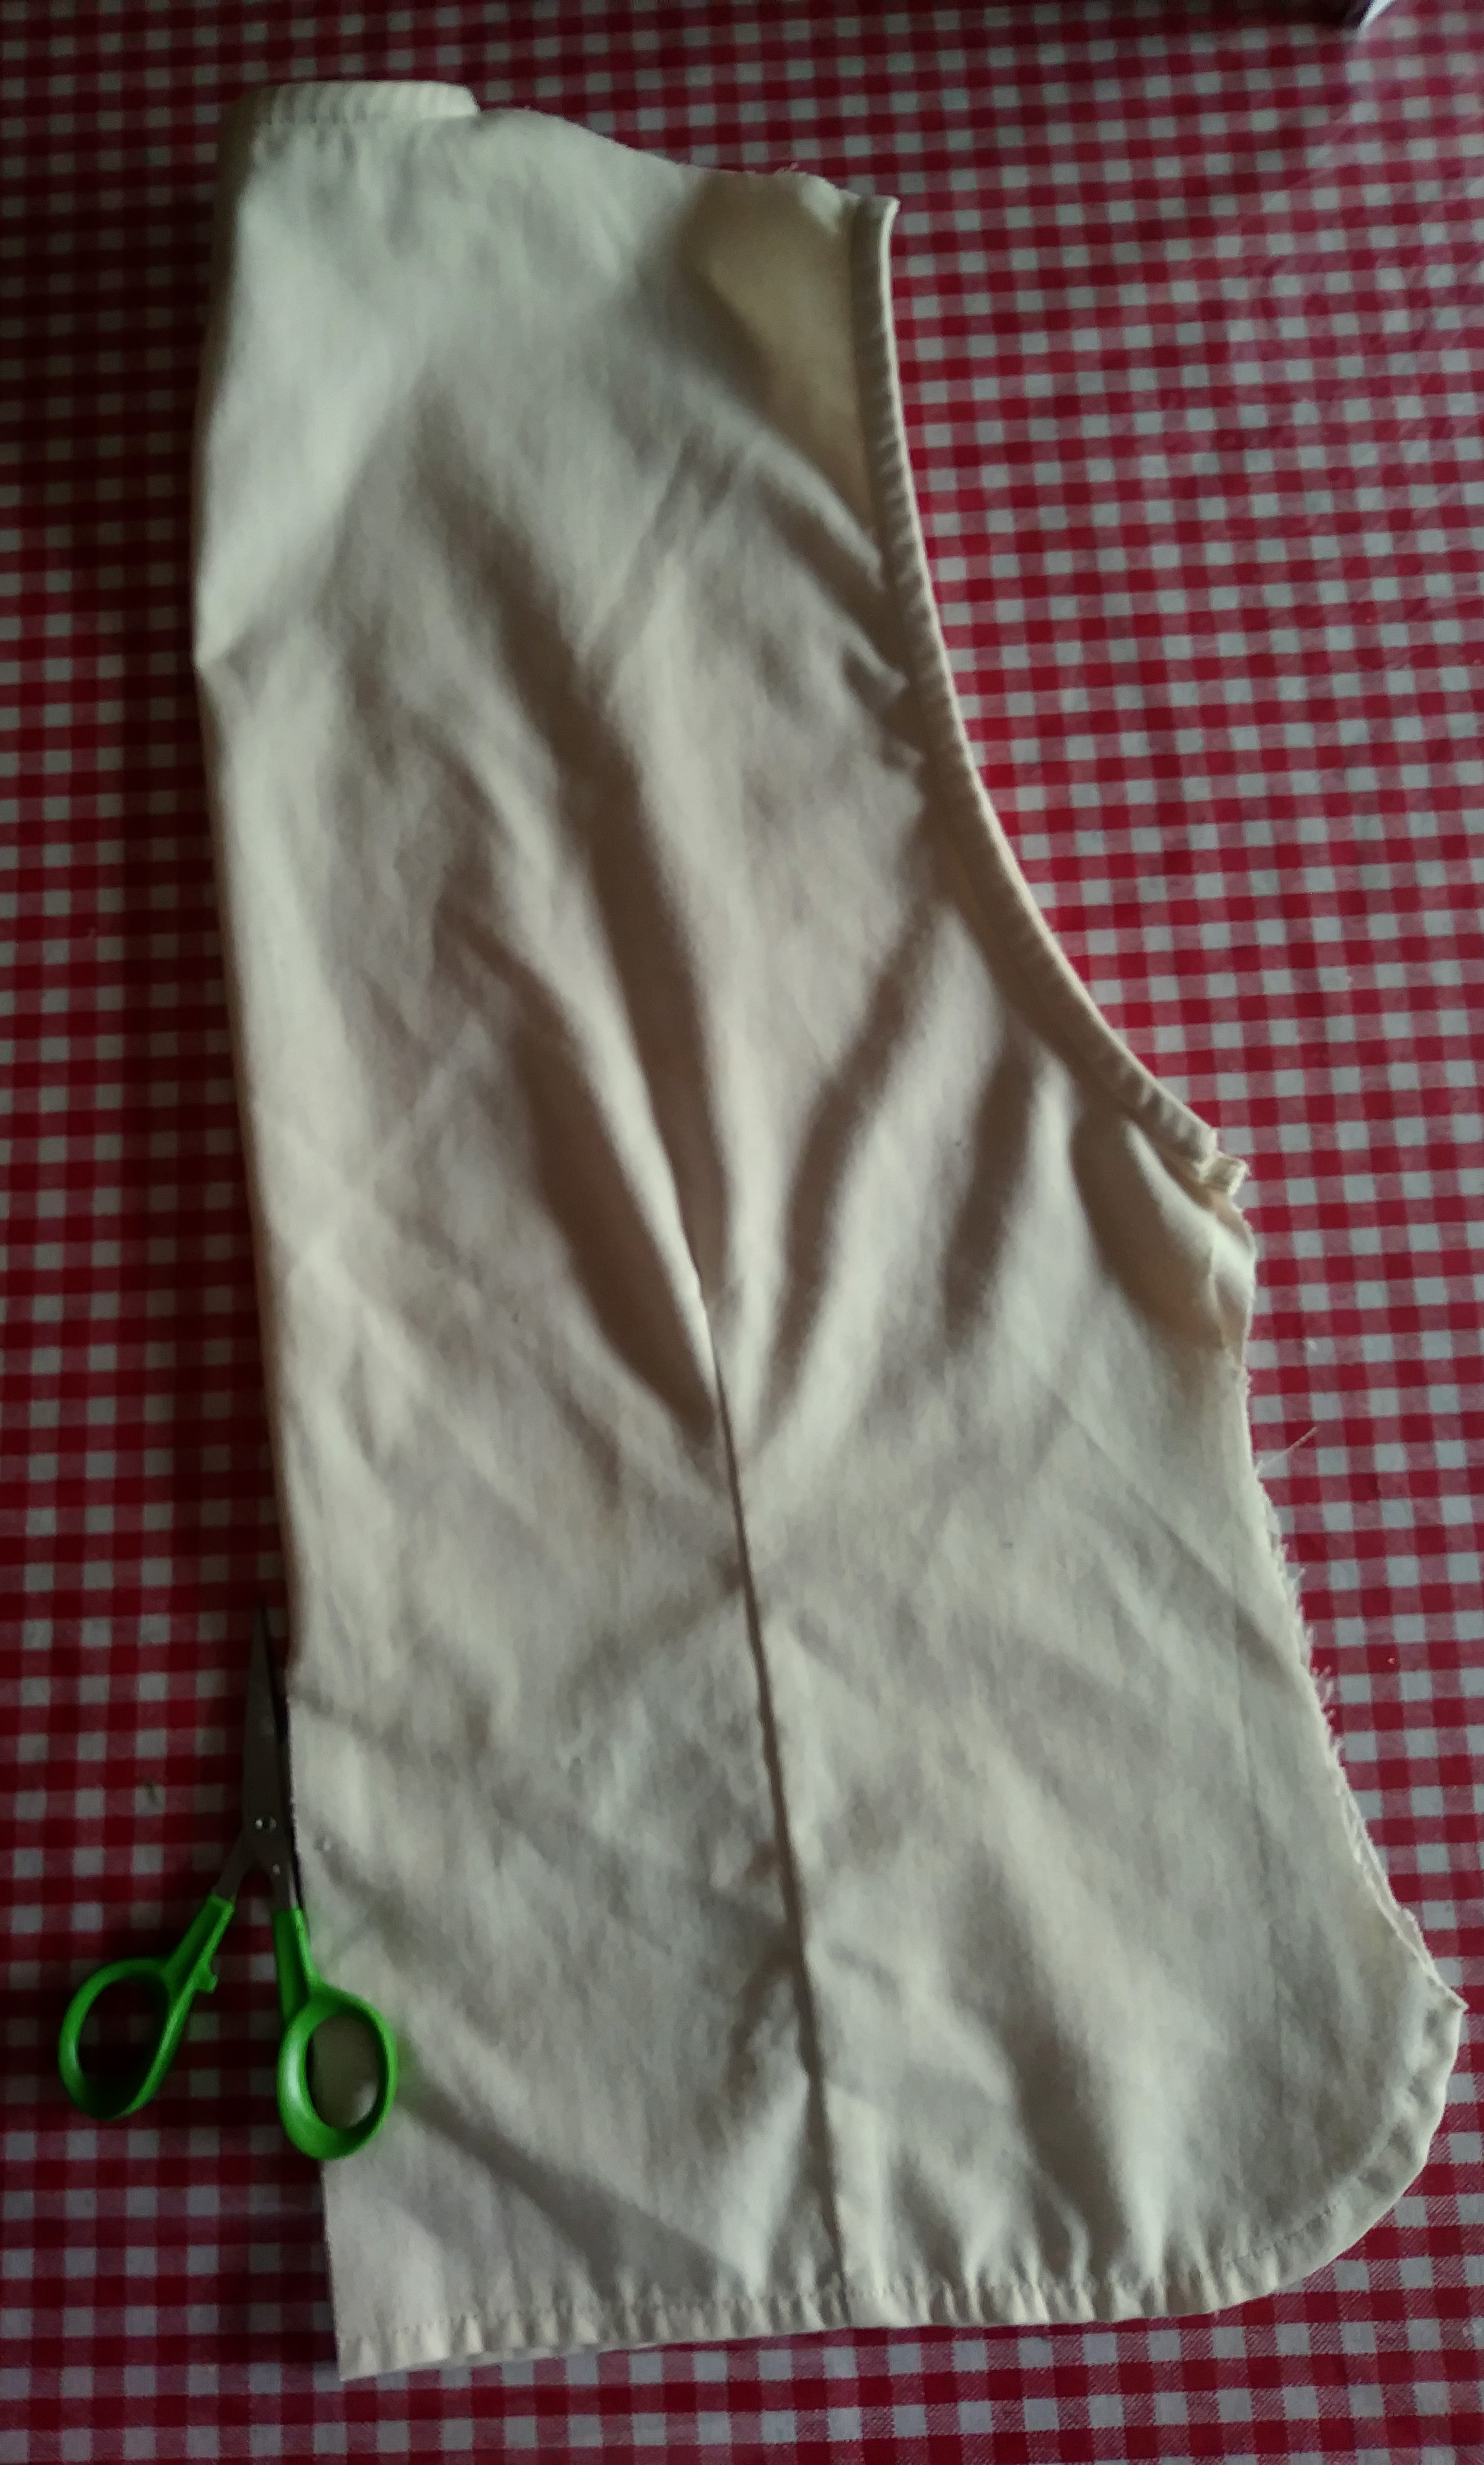
Tape together two pieces of paper to make a long vertical paper.
Turn your jacket inside out, and lay it on the table.
Put your paper on the front of your inside-out jacket and trace out a rough pattern for the lining—allowing extra for the seams, following across the shoulder, around the arm hole, side, bottom, and up the center opening and lapel areas.
Lay on the table half of the vest back with your pattern on top. Pin. Cut out your lining.
Do the same for the
second half. You can use the first as a pattern for the second…just turn it over first: You want mirror images, not the same.
Lay the fabric lining half on your inside-out jacket. Go around the edges, turning them up to match the shape of the jacket. Pin as you go. This time, turning up only once is sufficient.
You’ll shape and pin one side to fit the other side, i.e., shape the left side to use on the right side, because when you flip it over, it’ll be backwards.
Flip it over, match it to the inside of the jacket and hand sew it in. I didn’t know how to machine sew it so it wouldn’t show on the outside.
Be sure to sew your new lining to the other lining in the jacket, i.e. the sleeve lining.
Avoid boo-boo #2:
When you sew in the lining, don’t cover your button holes! Otherwise, you’ll havta cut a hole in your lining.
Voila!


Click the images below to go to my Tuts-n-Tips for more tutorials!