Hey groovy bohemians!
If you’ve been around my site, checking out my Tuts-n-Tips, or, been a member of my blog family for any length of time, you already know I love making bags! Lol!
As you know, “different” is very bohemian = unconventional. For years, now, I haven’t cared much for manufactured purses you find in the stores. I prefer bags—and I prefer original, created-to-suit-my-style bags! On top of that, I prefer to be frugal! Re-purposing a thrift-store find is a tremendous way to accomplish both frugality and originality!!


Well, I’ve made bags from pillows, and out of jeans and pants, also using upholstery material from a couch cushion.
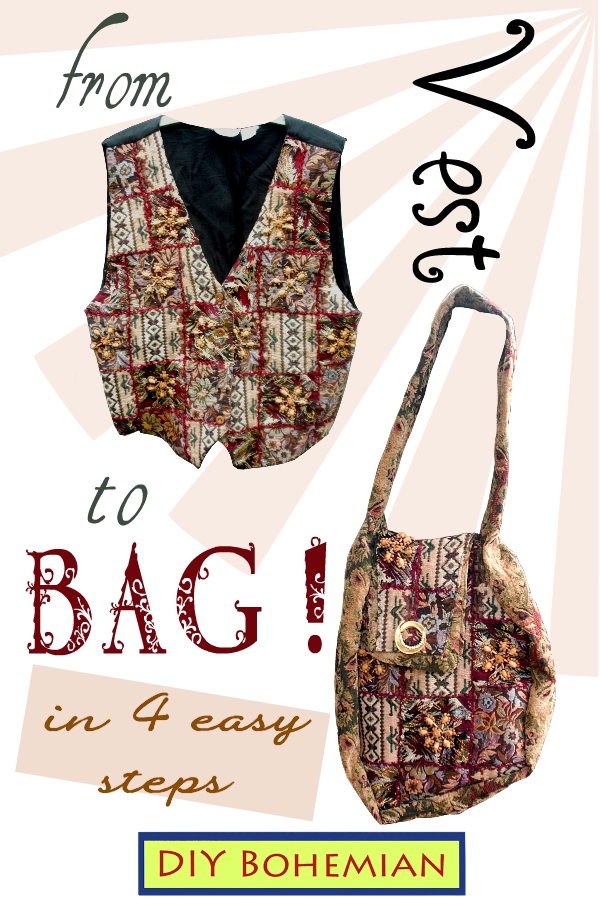
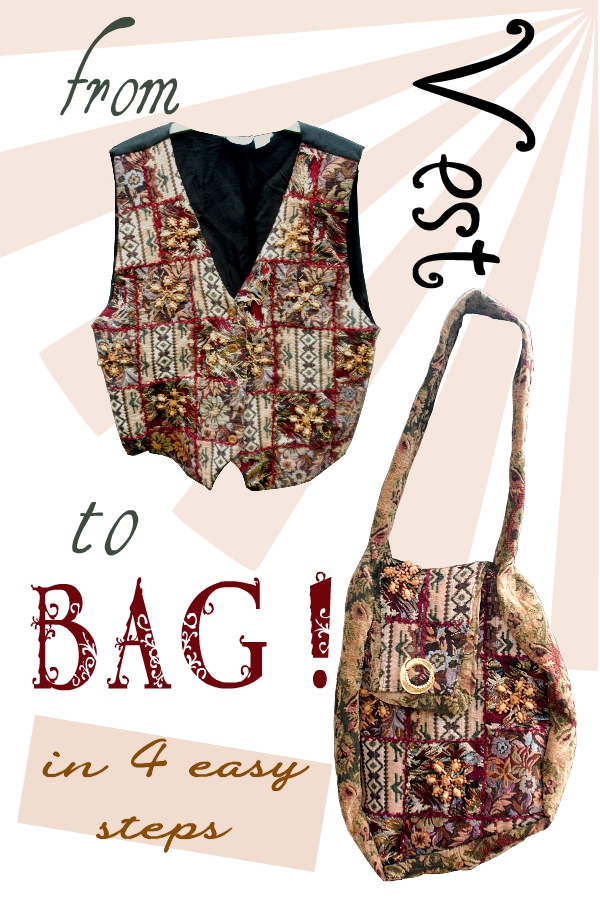
But, now, here’s a tutorial on making a bag from a VEST—with fabric from a drape! …and, I have to say, I’m really LOVIN’ this idea!
…and, it’s really EASY!
Let’s get into the tut!….

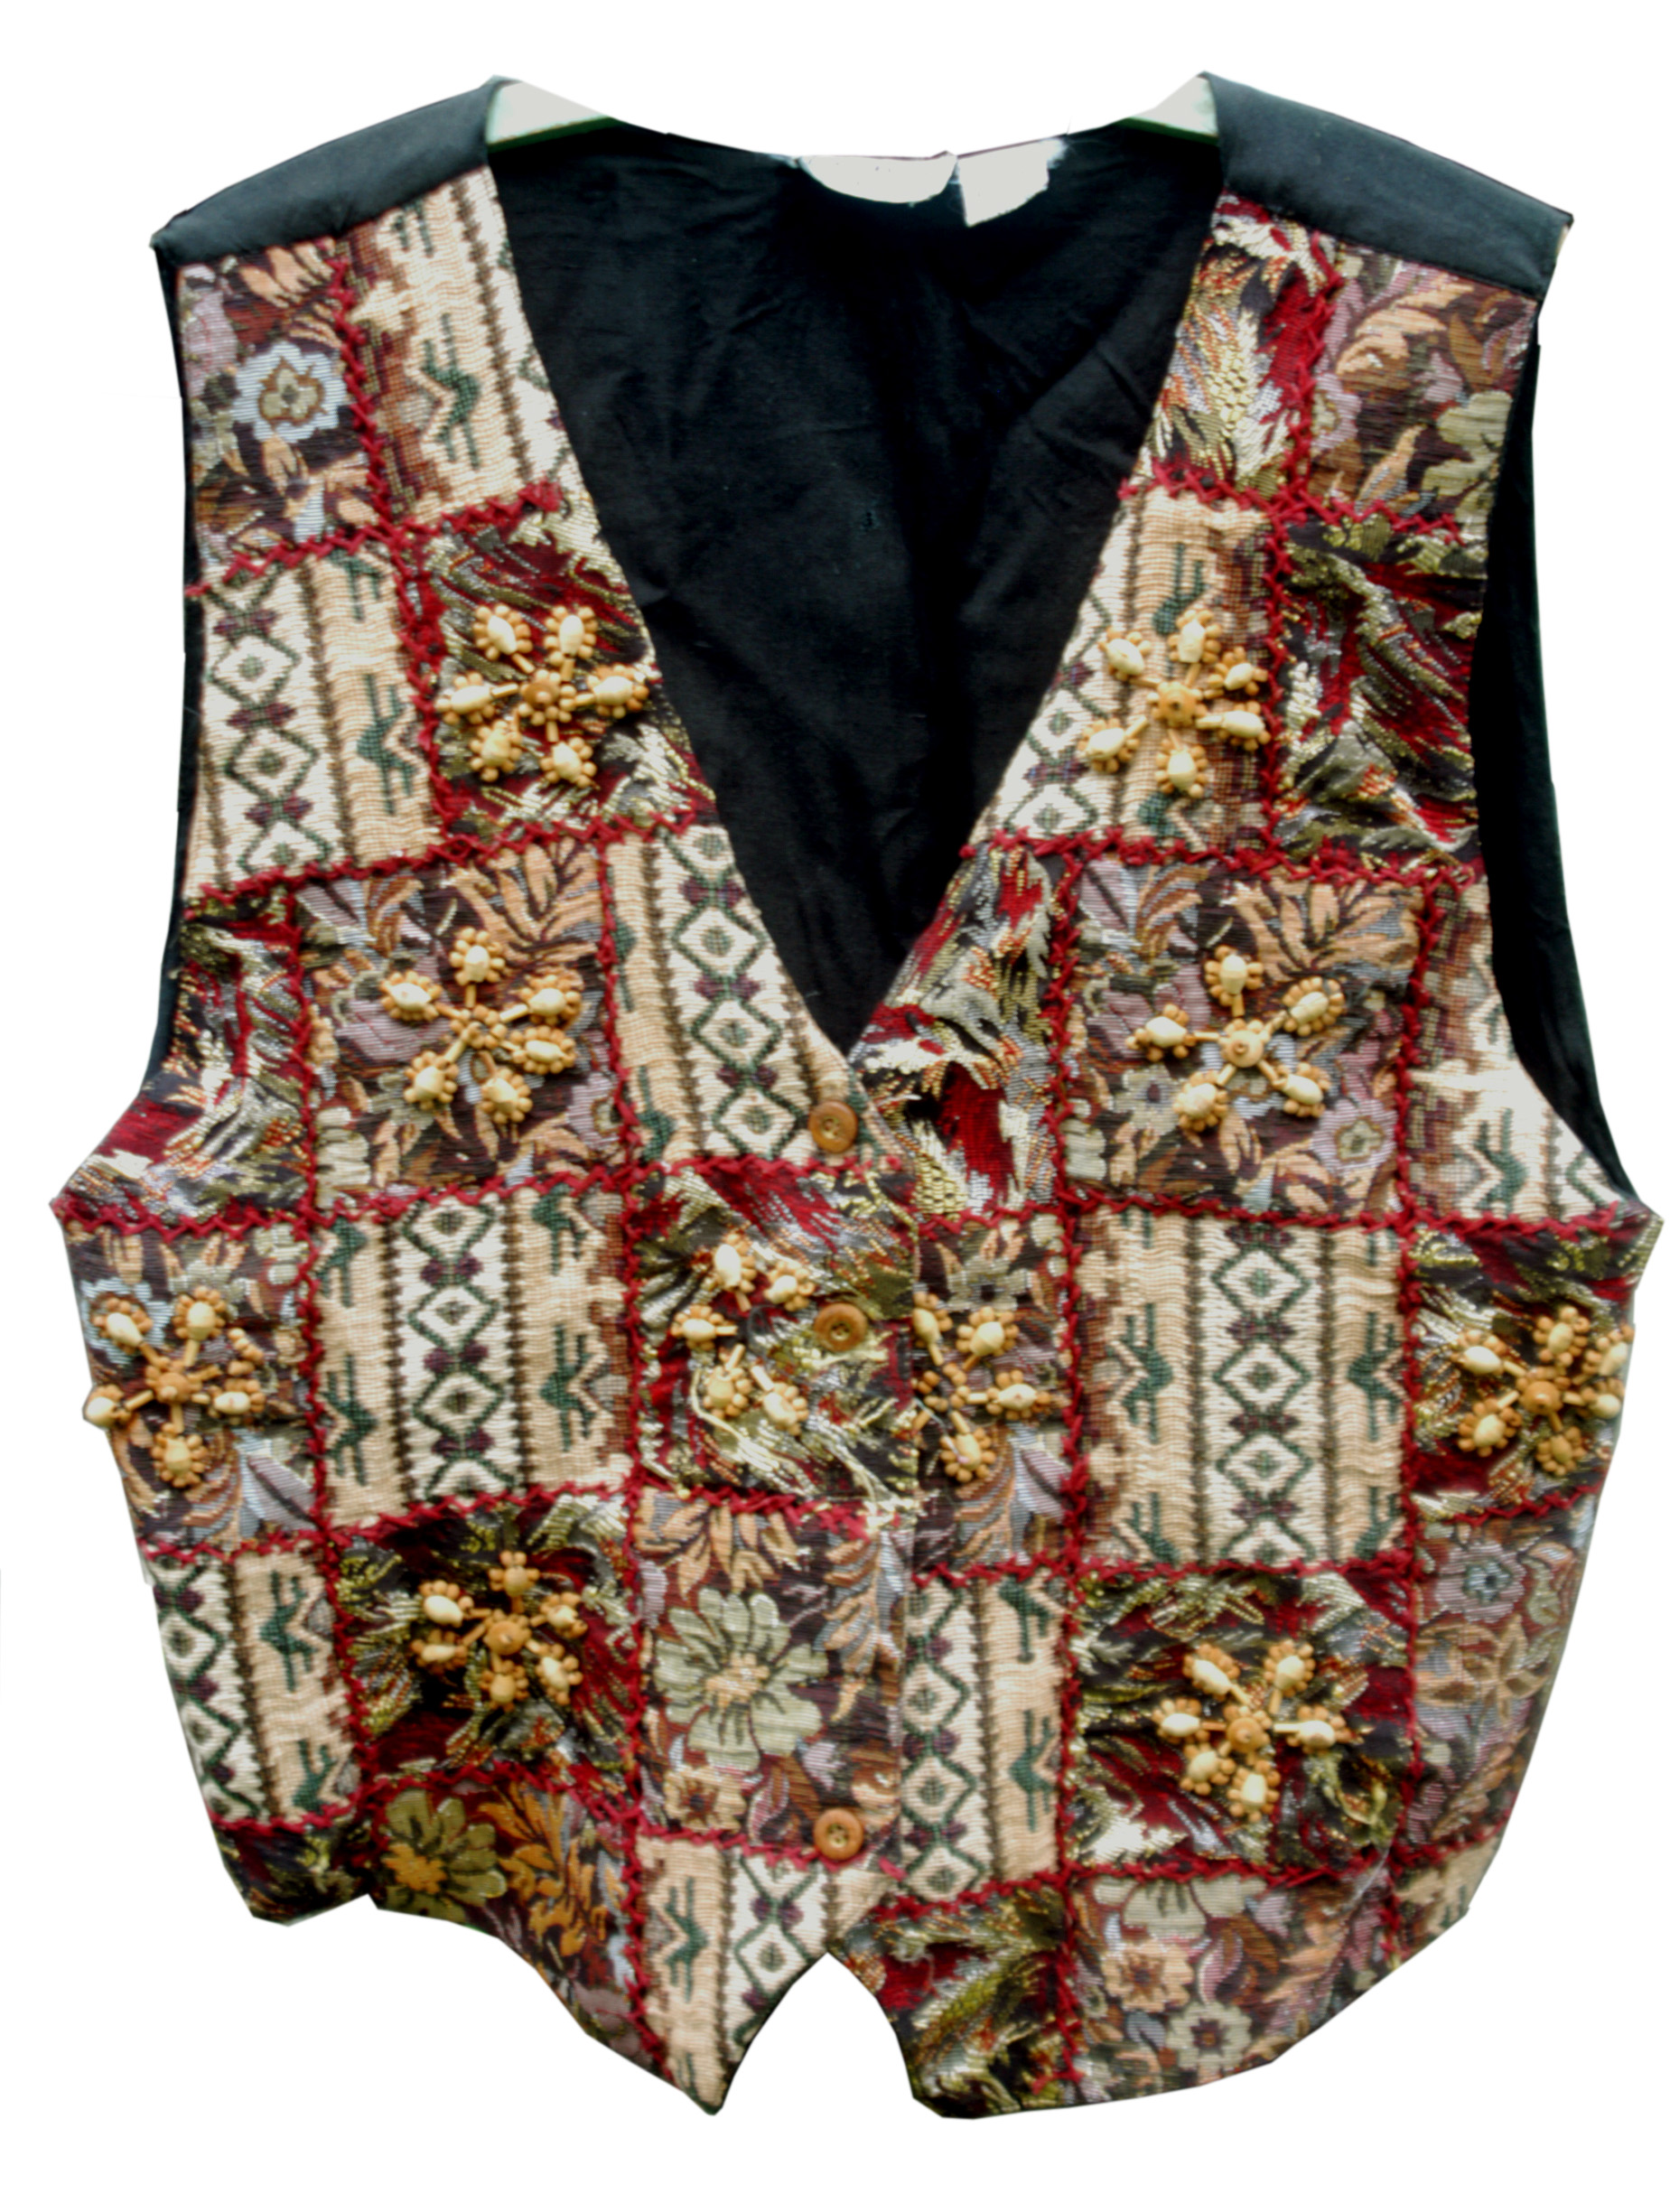
Step 1: Prepare the vest:
Rip the back from your vest. Once you get the threads started tearing away, you can just pull apart the front from the back.
Remove the buttons.
The two pieces of vest front will be the front and back of your bag.
One vest shoulder will be the flap over the top of the bag.
Cut off the other shoulder a few inches from the top of the
shoulder and hem it, which will be the top of the front of the bag where the flap comes up over from the back.

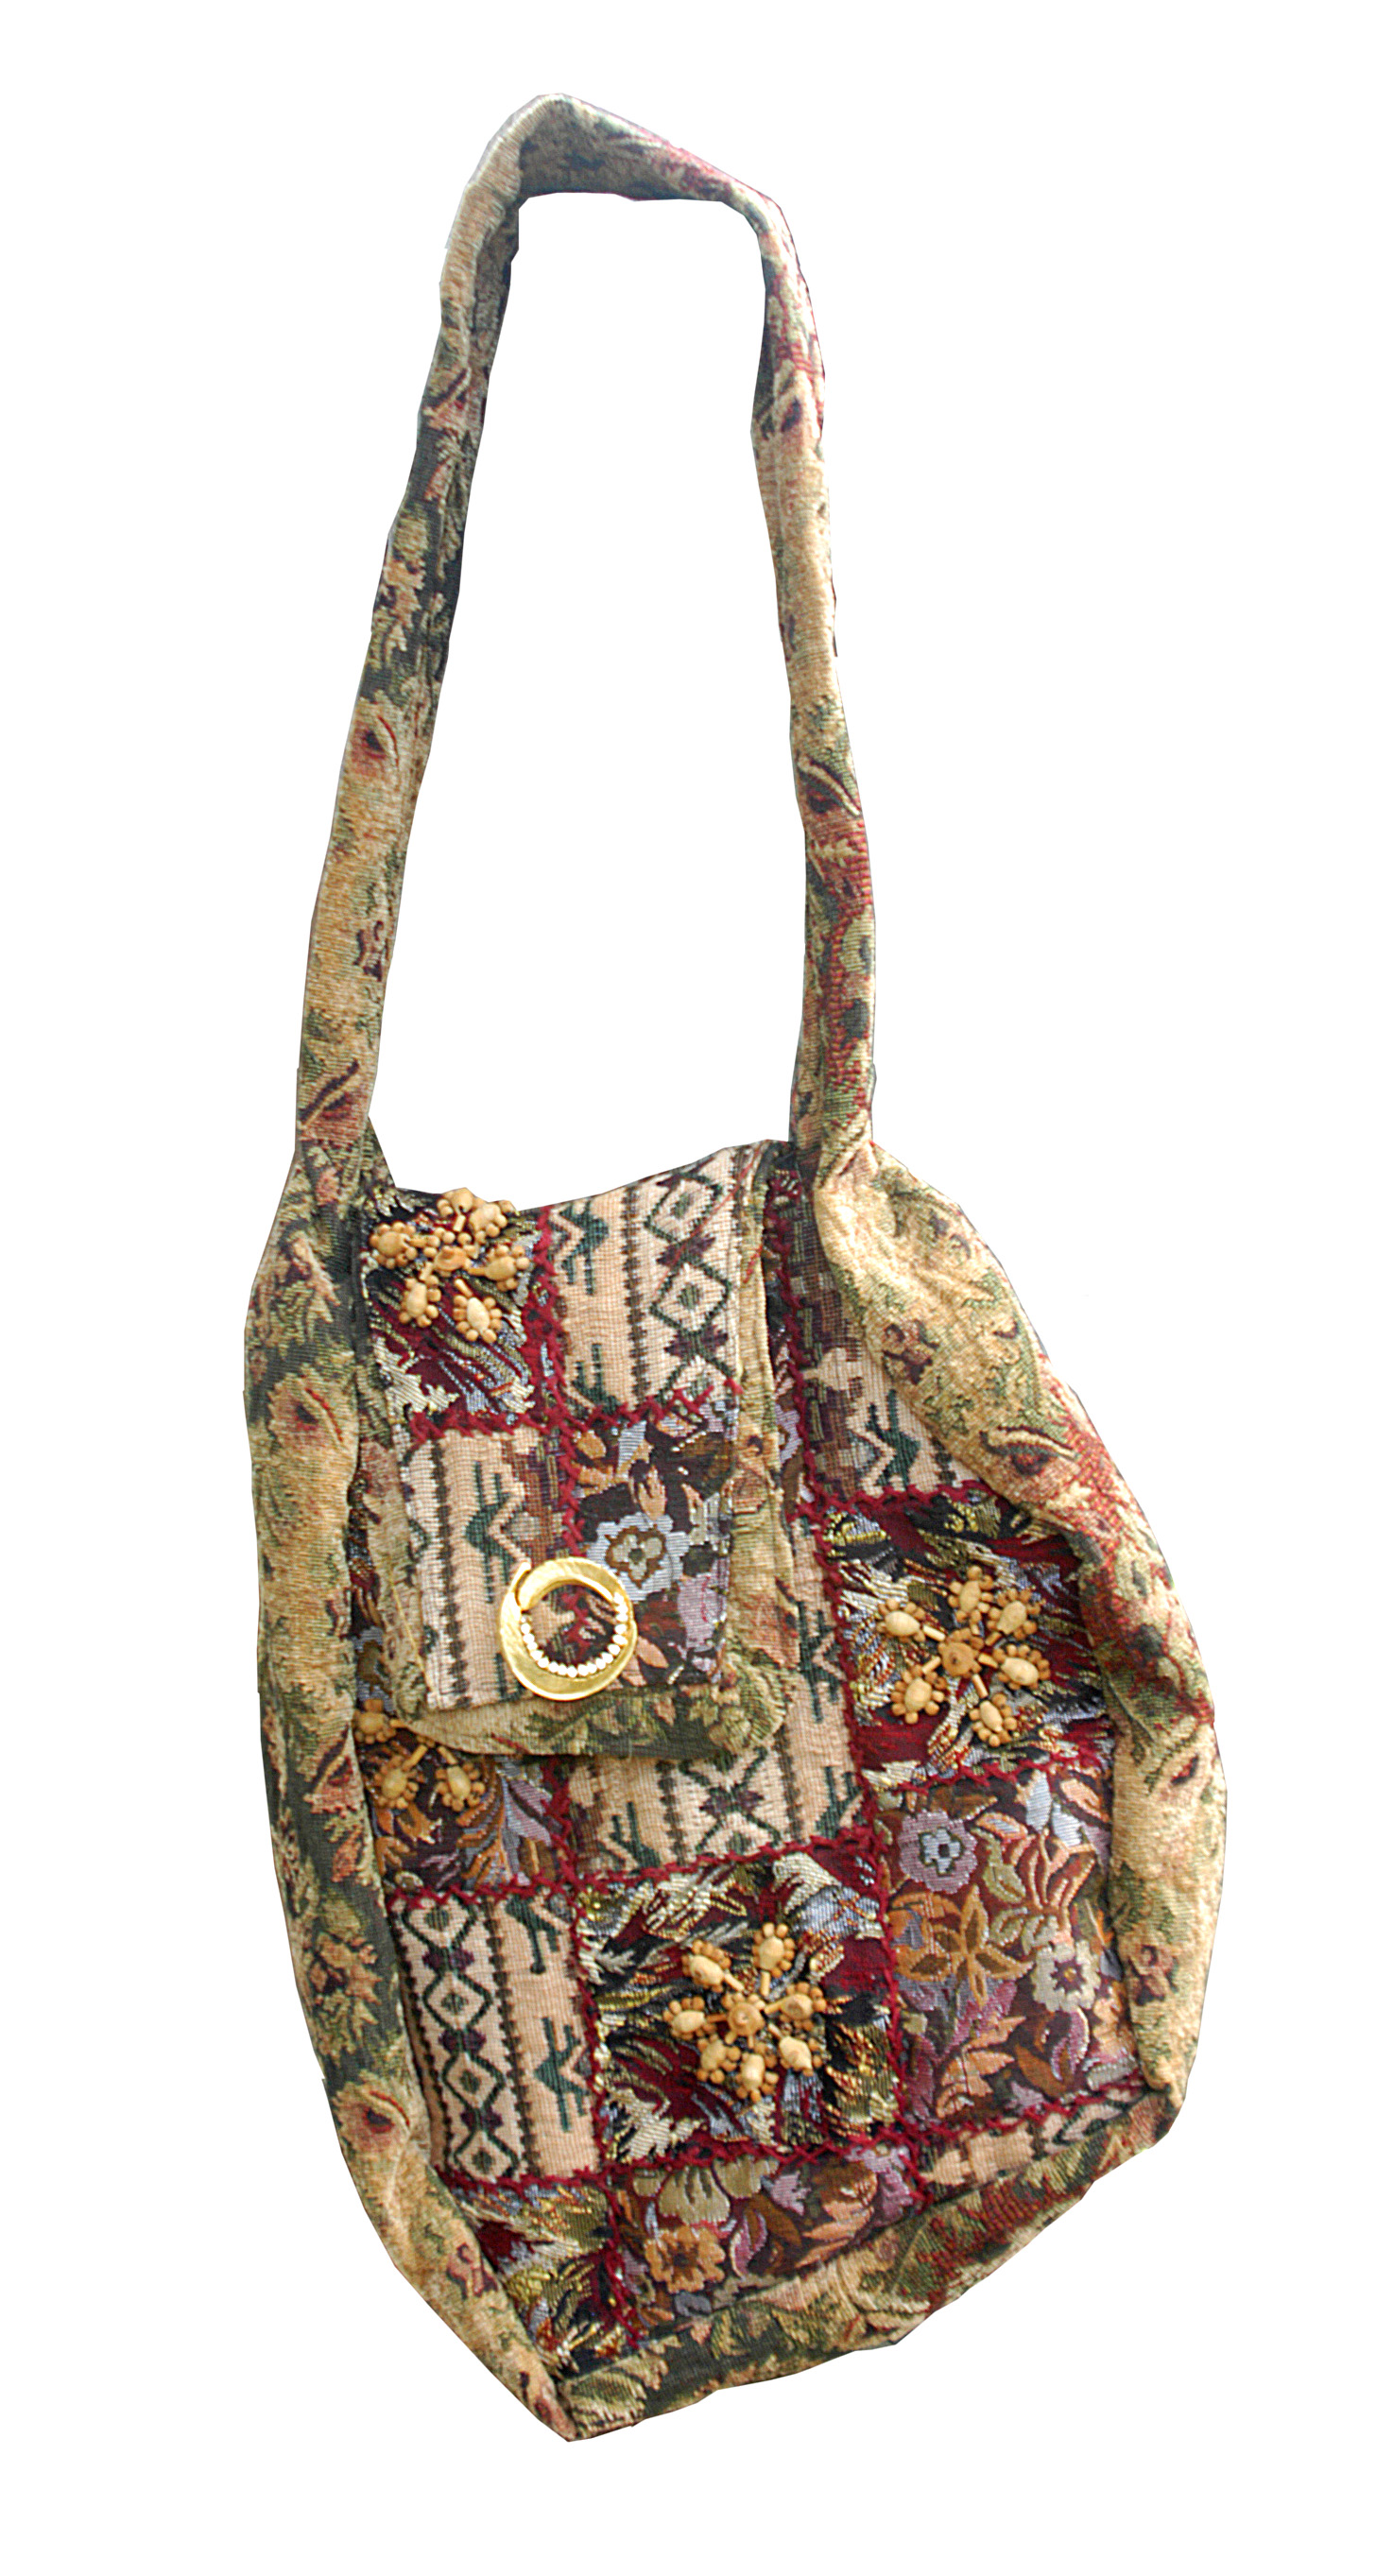
Step 2: Make the sides, bottom and strap—which are all one piece (or two sewn together for one long strip):
Measure and cut a long strip of upholstery—or, drapery fabric.
I used a sturdy drape, whose colors coordinated nicely with the vest I was using.
Because of the pattern on the drape, I made mine about six inches wide. I cut two 36-inch lengths because of the way the pattern was, to be opposites on each side of the bag, and stitched the ends together to make about a 70-72-inch strip.
Facing right sides of the fabrics together, sew each large piece of vest front, in turn, to the strip of upholstery or drape material, all around the edges.
I placed the seam on the strip in the middle of the bottom of the bag, and sewed up each side from that center point.

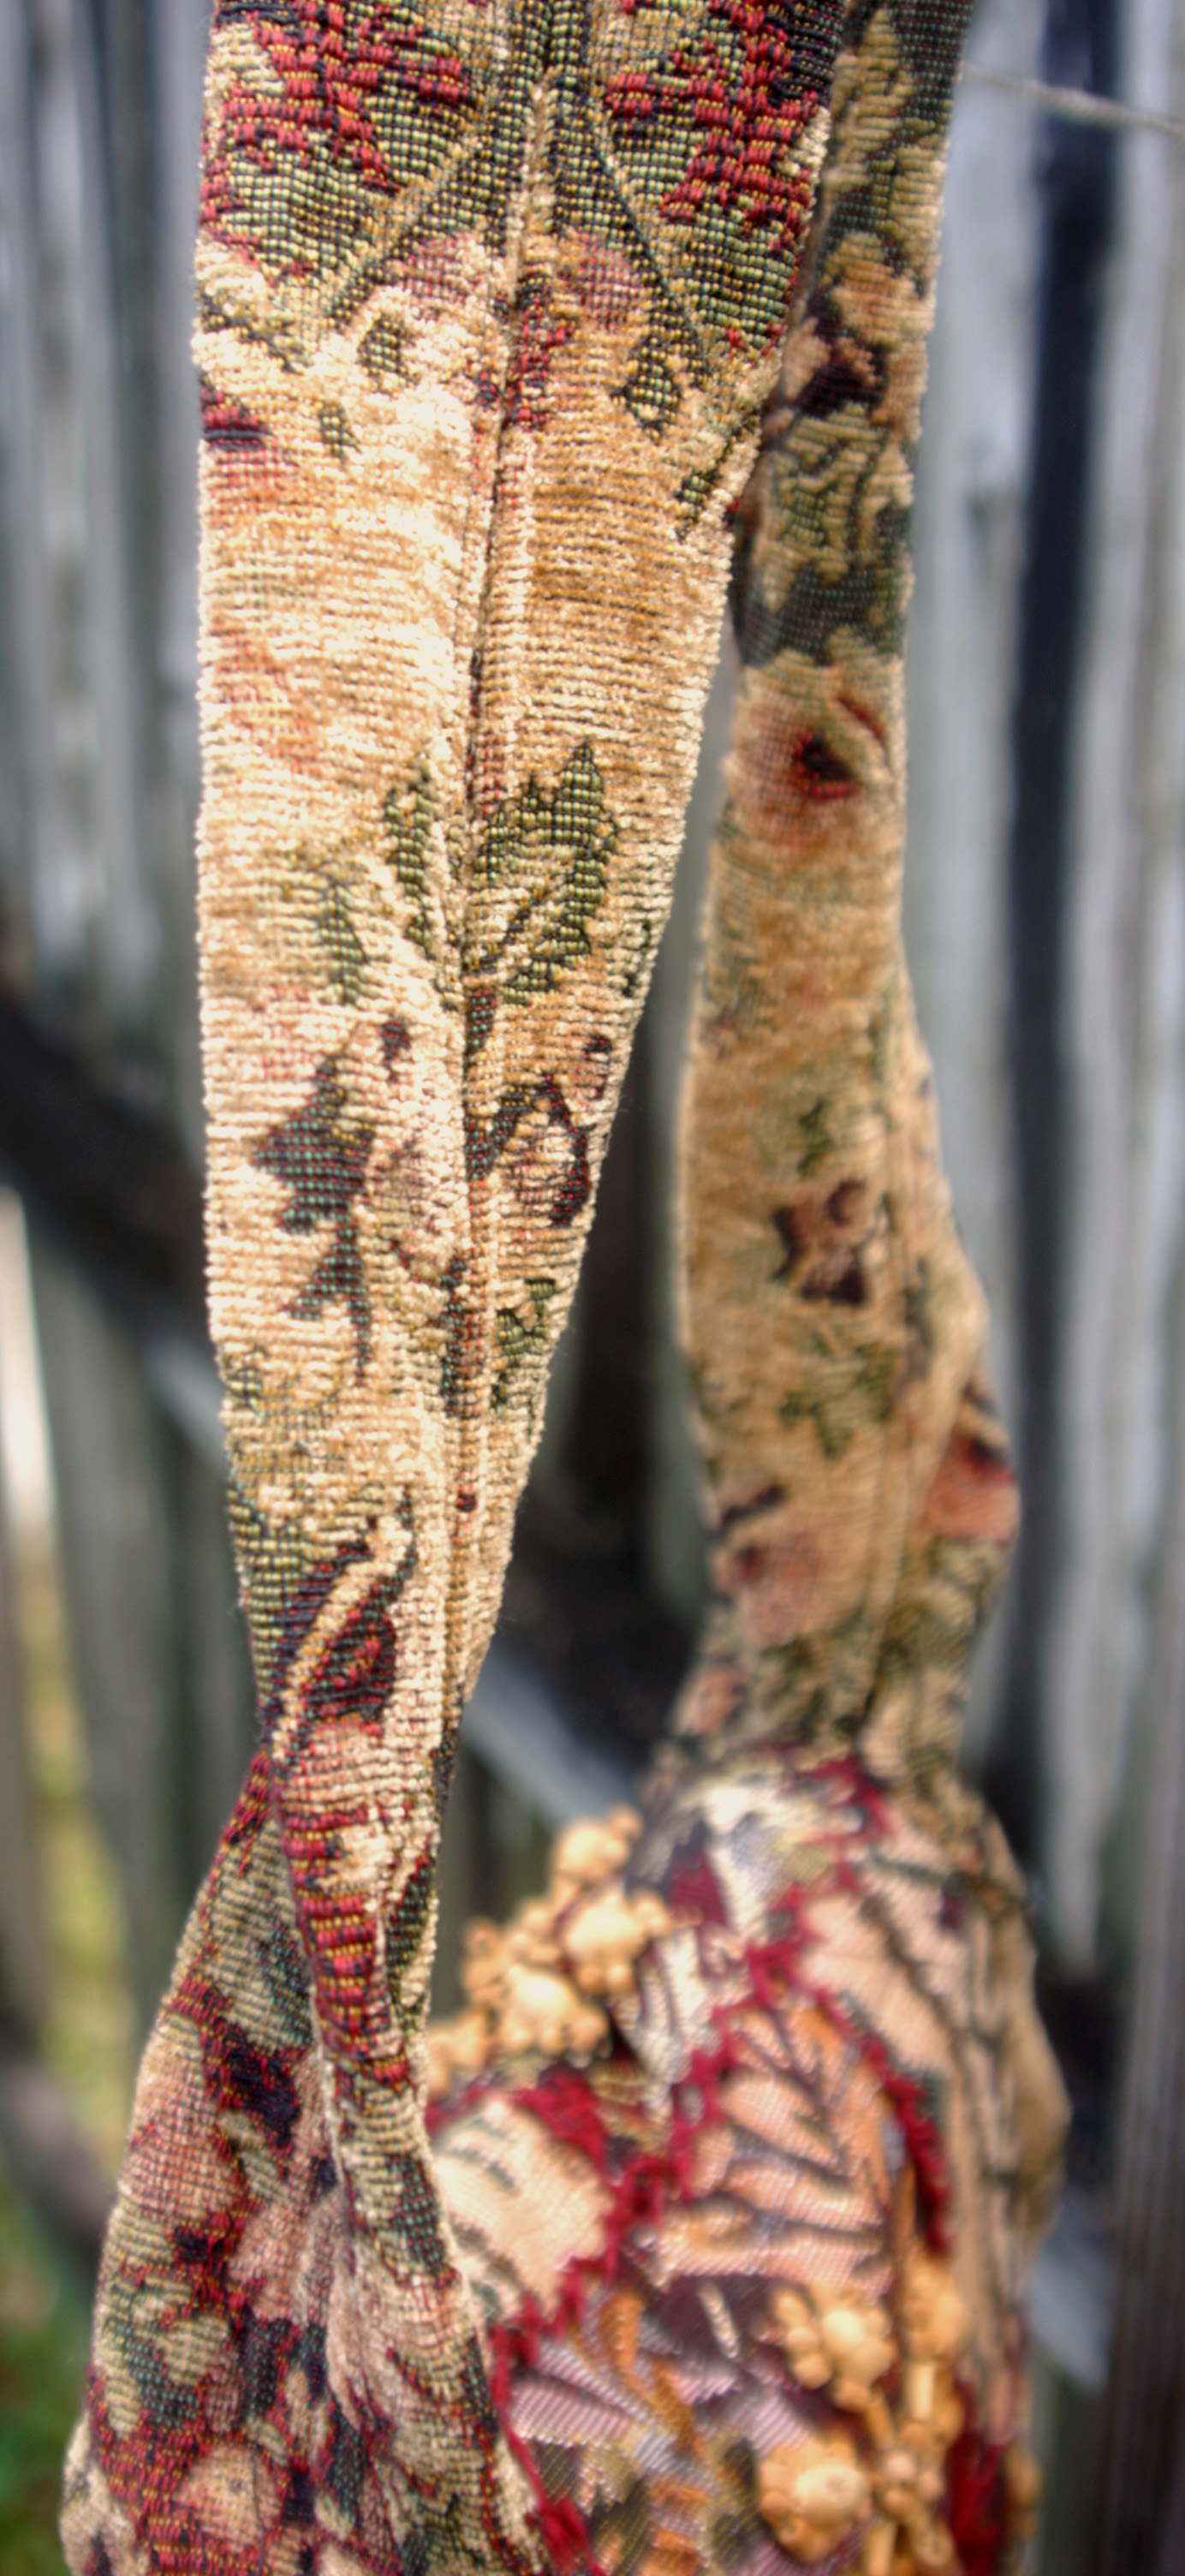
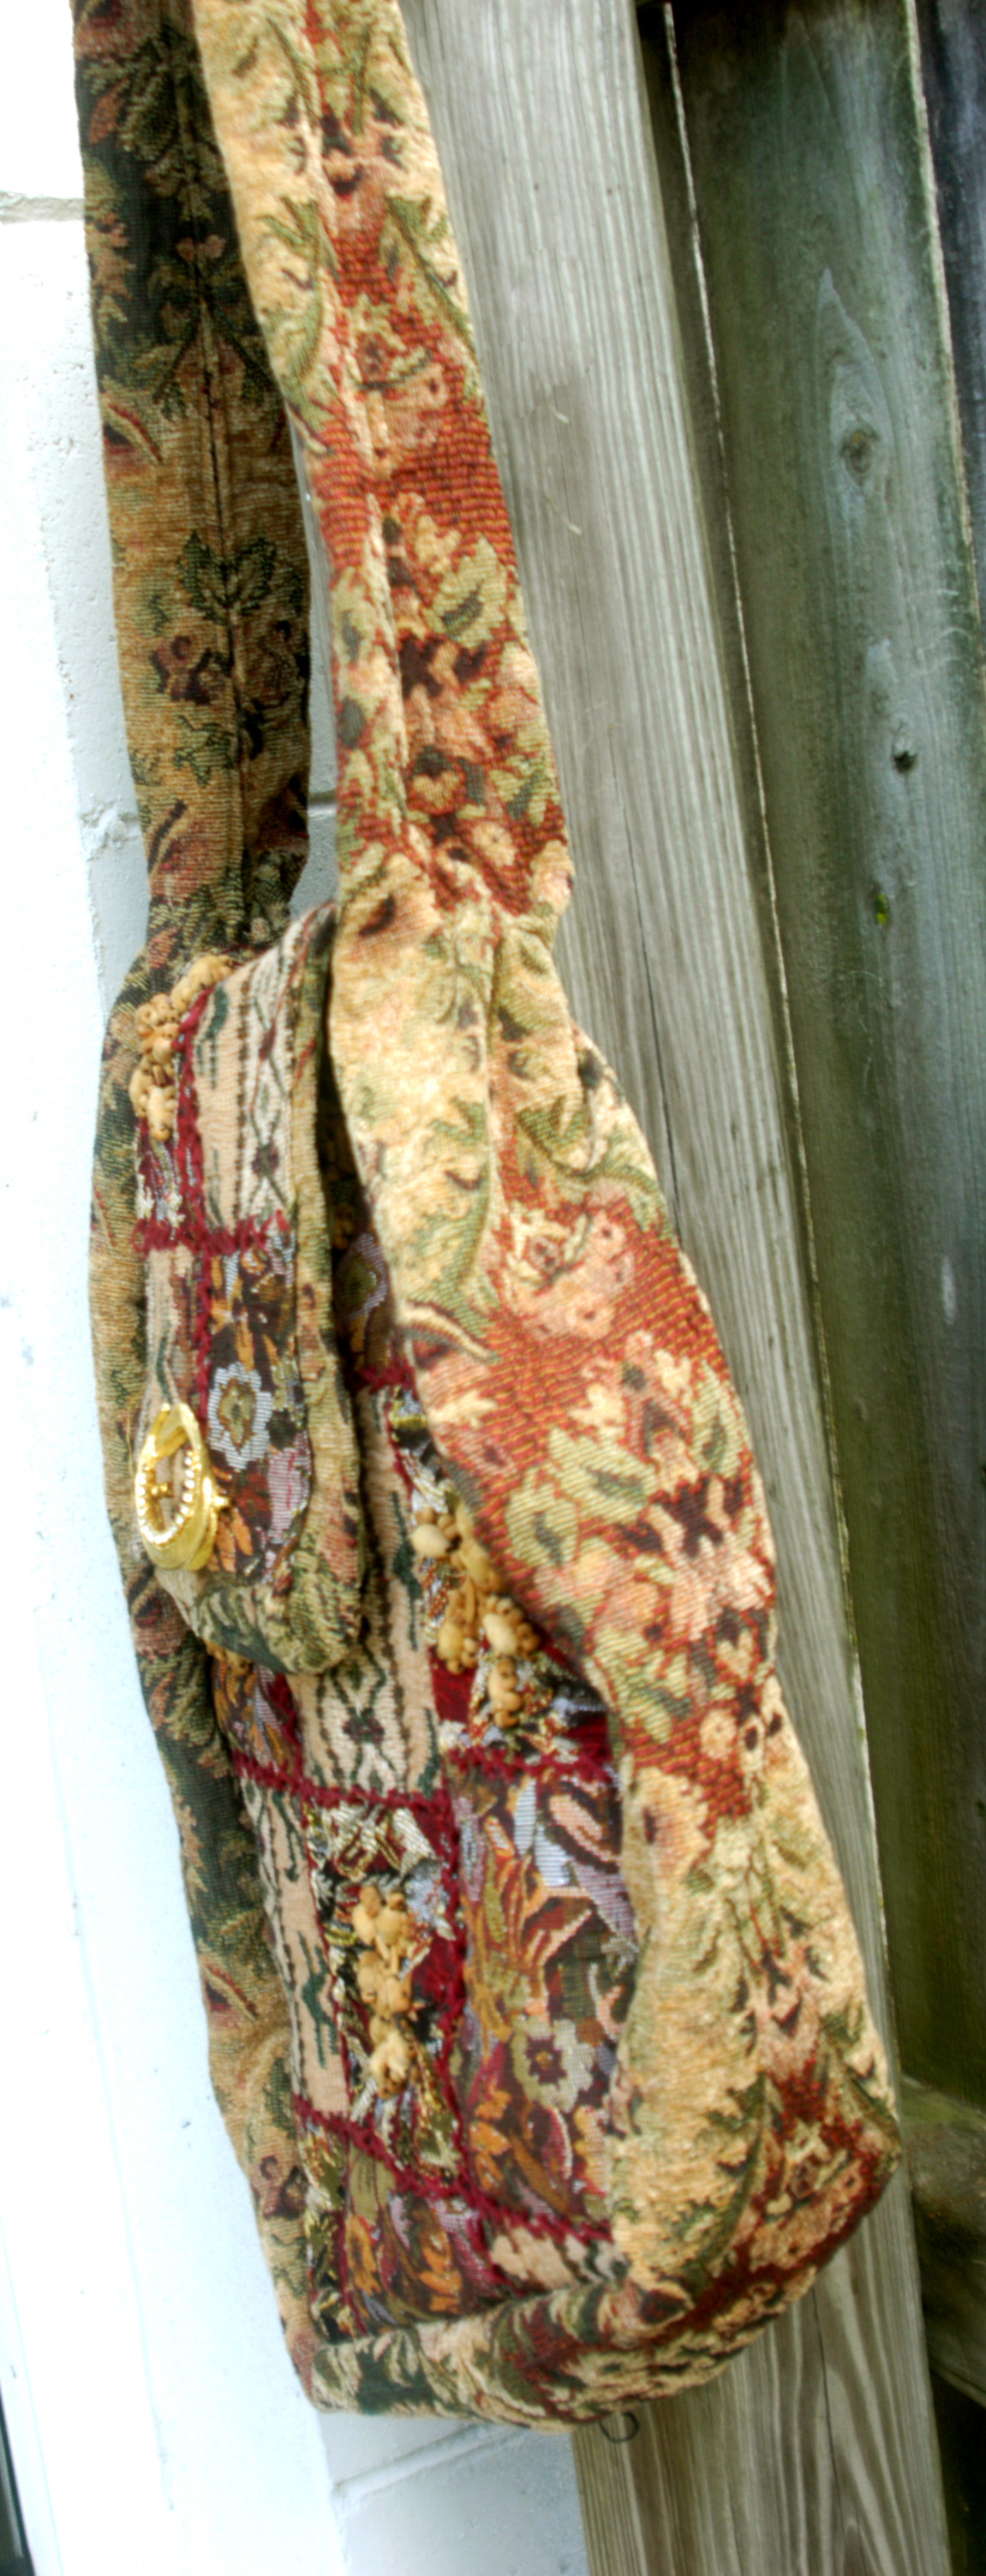
Step 3: the Strap:
For the strap, sew the ends together at the top of the strap.
On the outside edges, fold the fabric under about a half inch along the length to finish the edge, pinning along on the outside of the fold. Then, fold that in toward the middle, lengthwise, on the underside of the strap. Transfer the pins, as you go, to hold the folded edges to the center.
Sew the length of the strap along each side of the middle division, removing the pins as you go.

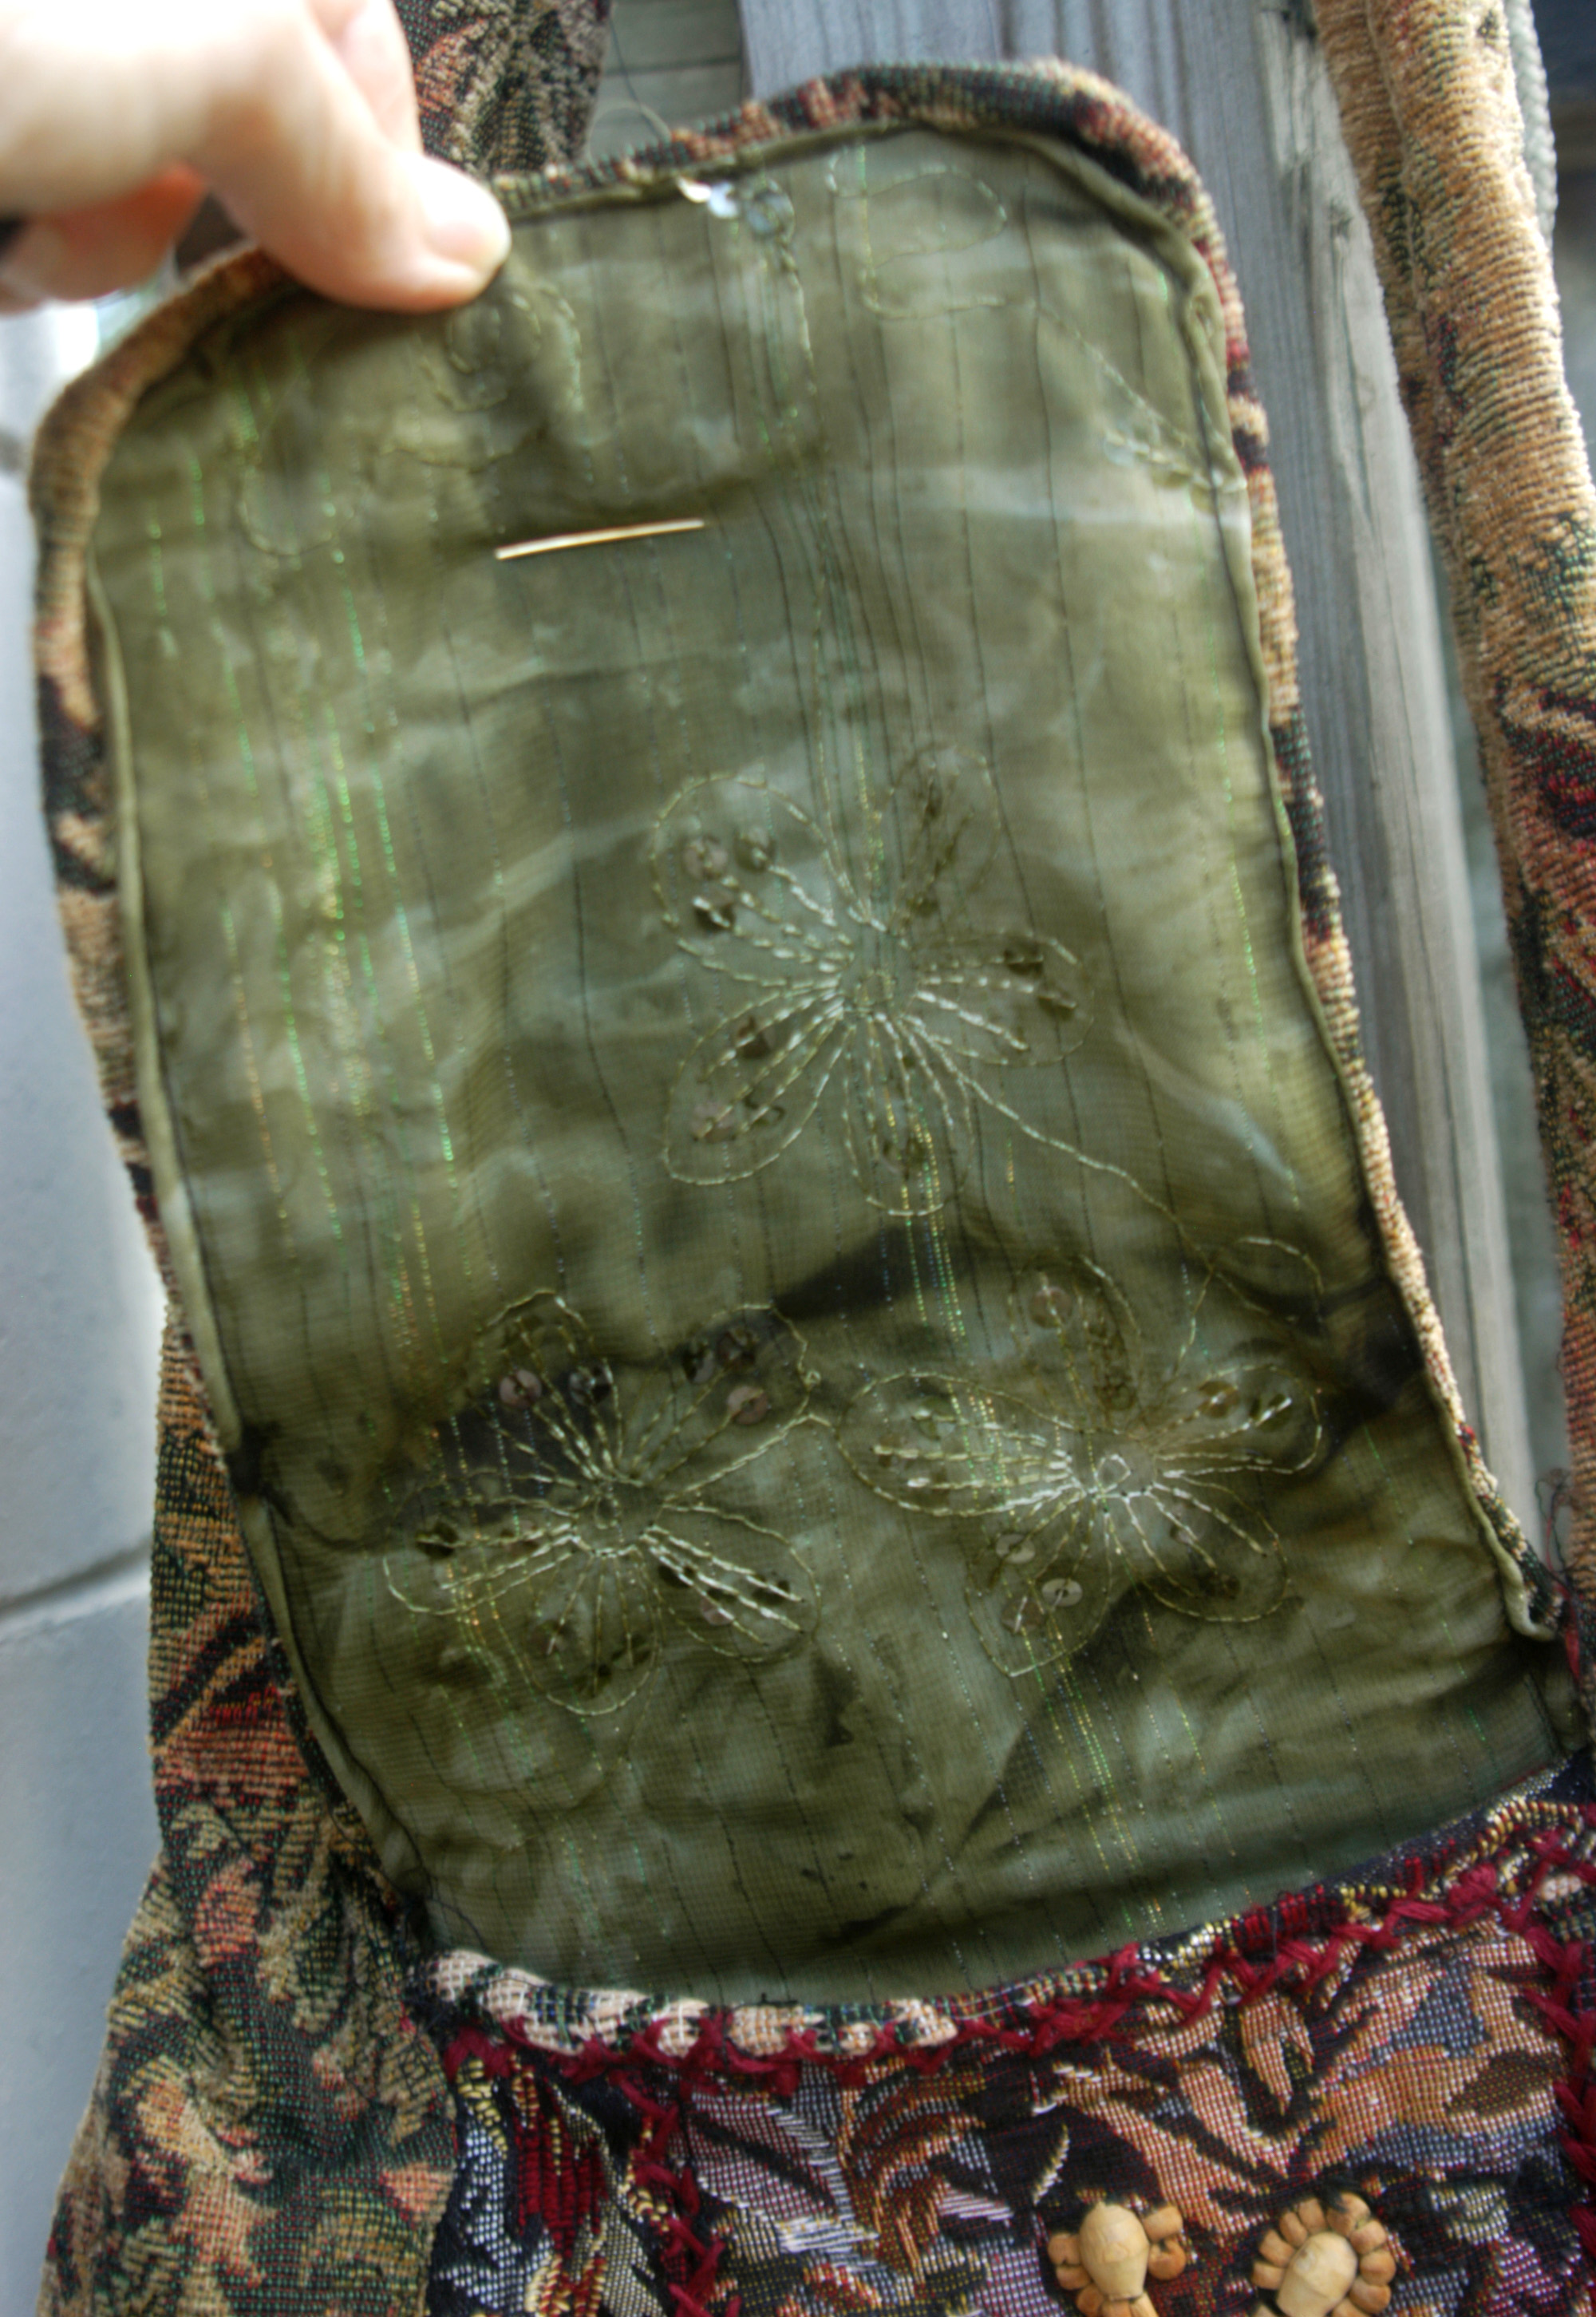
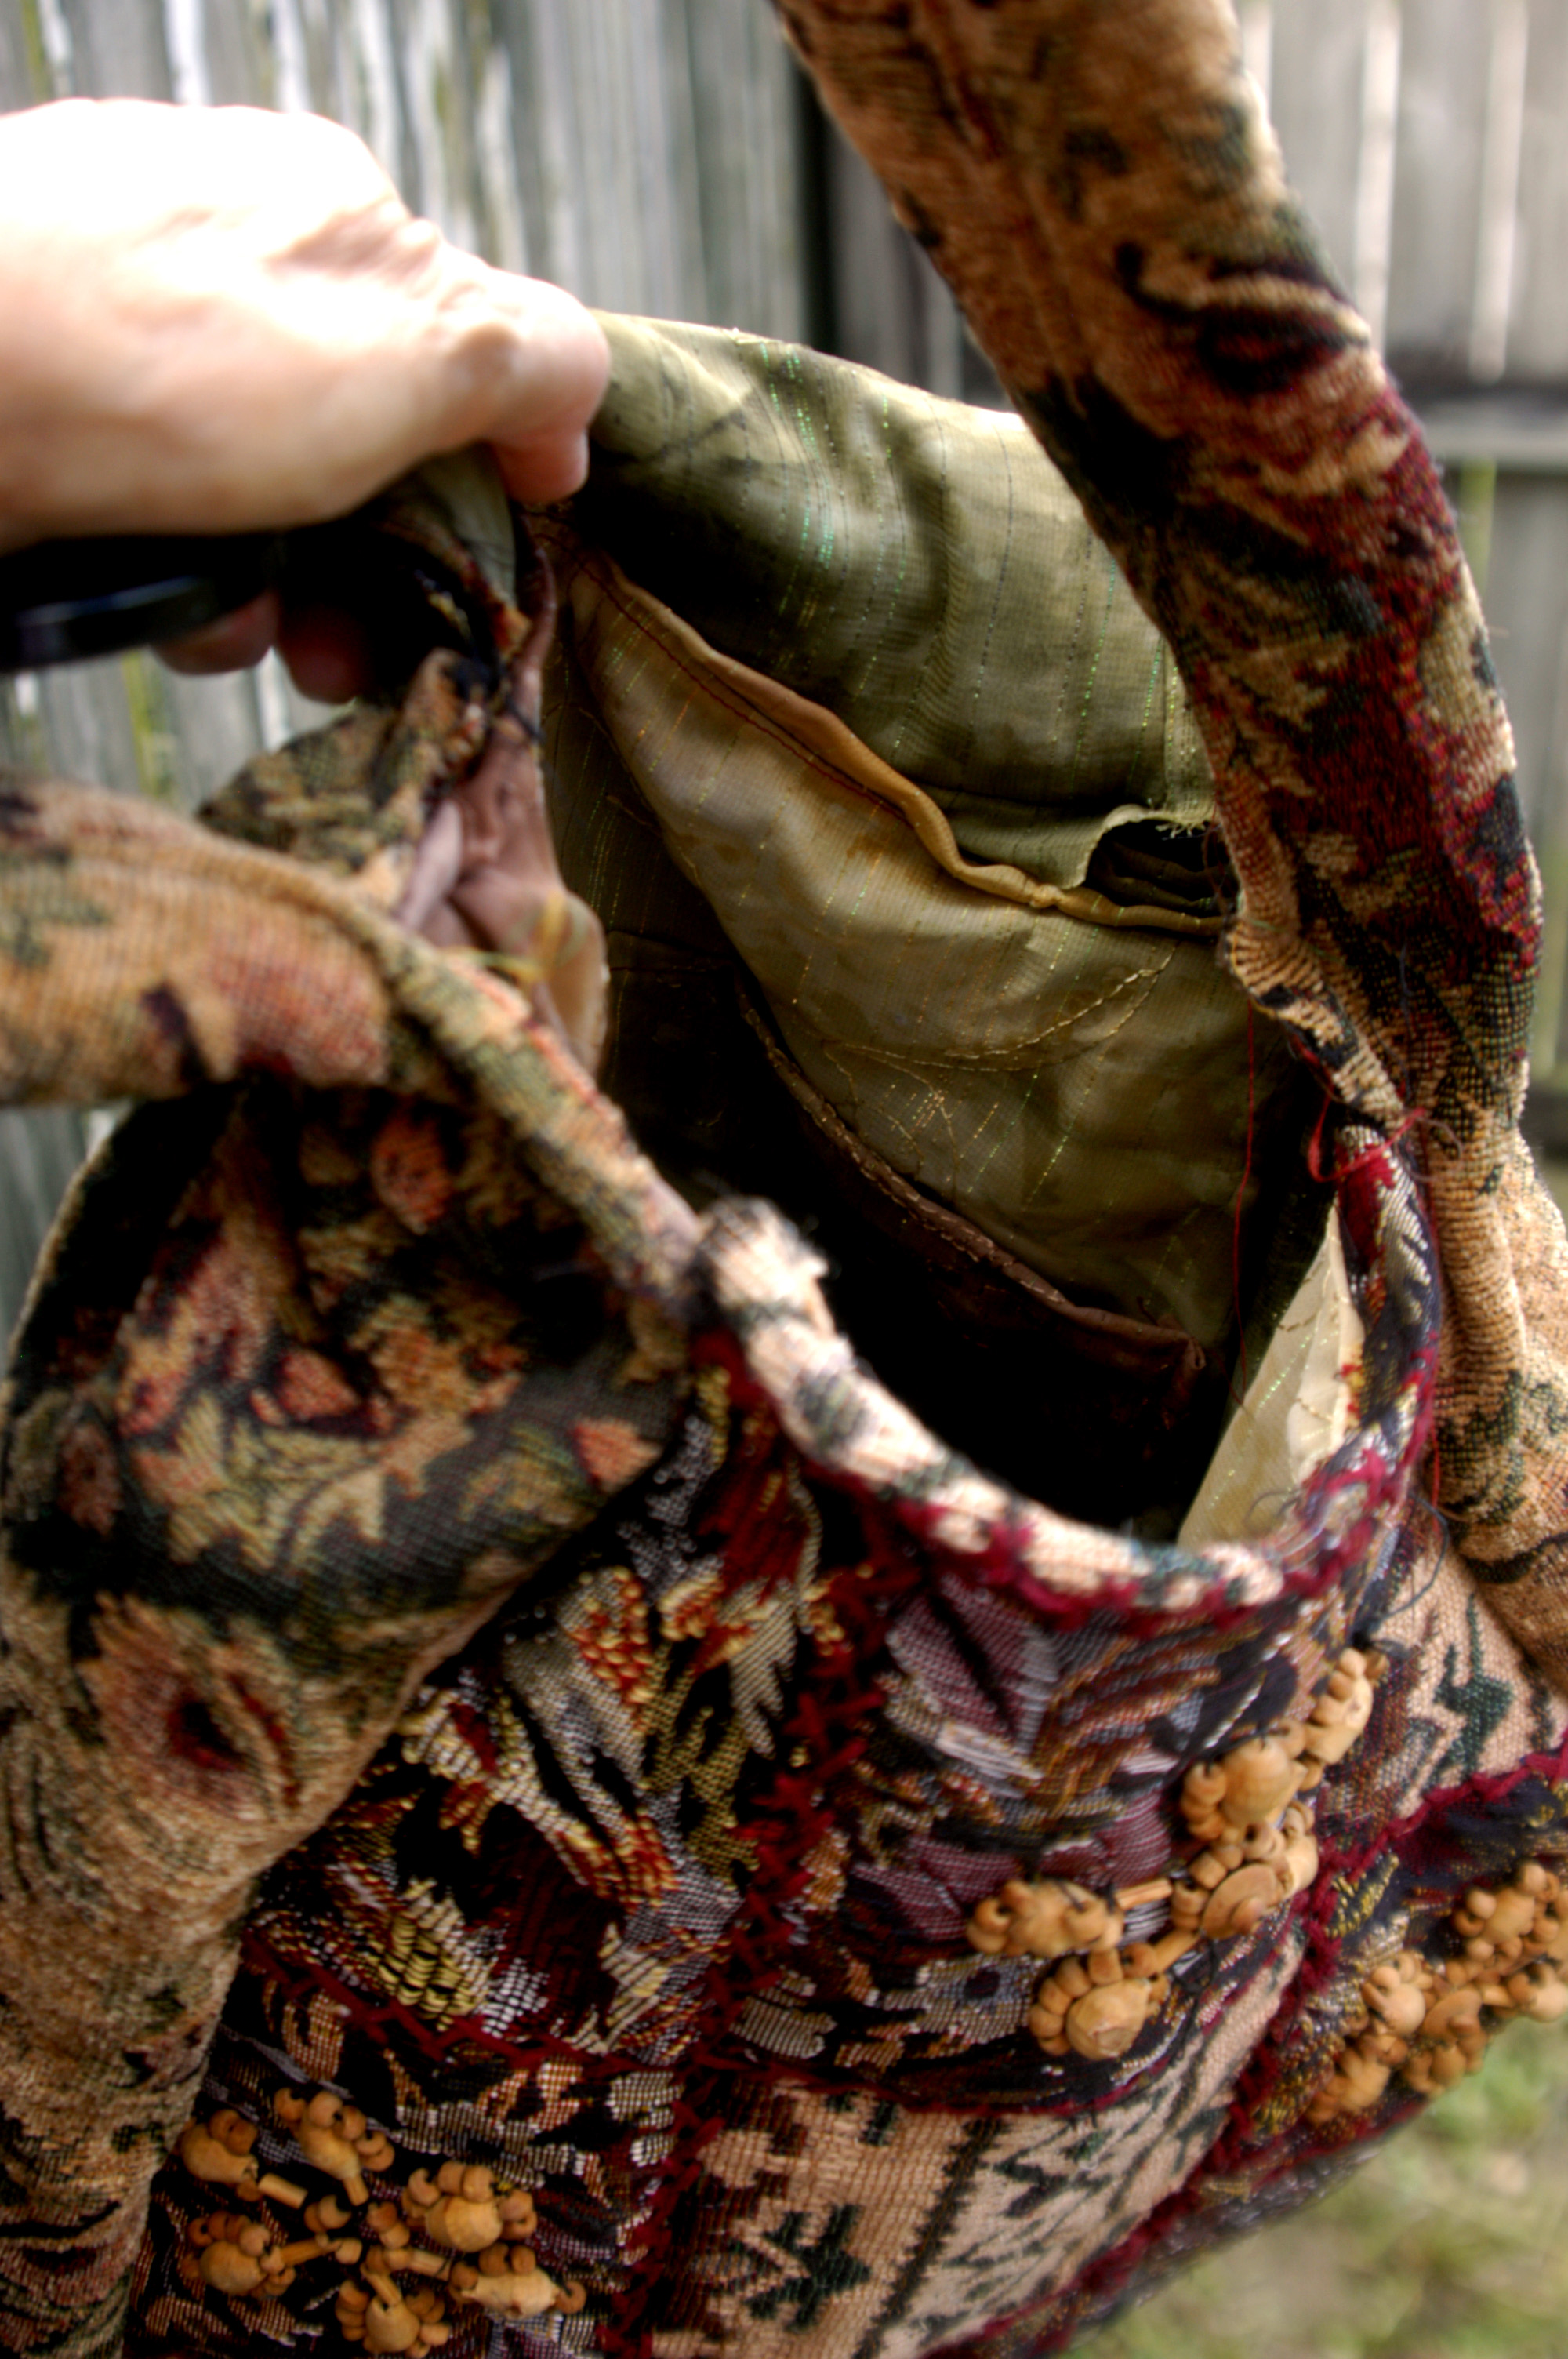
Step 4: Create the lining and finish the flap:
Because the flap used to be the shoulder of the vest, it’s irregularly shaped. To “even it up,” I used the side hem that I cut off of the drape to “frame” the flap, sewing it together.
For the liner, I used part of an Indian sari drape, which is thin.
Line the flap: Measure and cut a piece of fabric for the inside of the flap, fold the edges under, pin at the edge folds all around the underside of the flap and sew it onto the flap.
Liner bag: Measure two rectangles of the thinner fabric about the width of your bag and a little longer than the length of your bag.
Pockets: If you want pockets inside the liner, this is the time to put them in: Make patch pockets and stitch them on the right side of one or both of your rectangles. Then, sew a hem on the top of each piece, by turning the edge under twice. The hem will be on the outside of the bag/ the wrong side of the fabric.
Pin the pieces together, right sides inside, pockets inside, hemmed edges at top. Sew all around the three sides to make a pouch/ your liner.
Insert the liner bag and stitch it to your bag all around the mouth of the bag.
Notes:
I bought my vest, a 2X size—made in India <3 —at the Goodwill Outlet in Orlando, FL, where you pay per weight. Think: CHEAP!
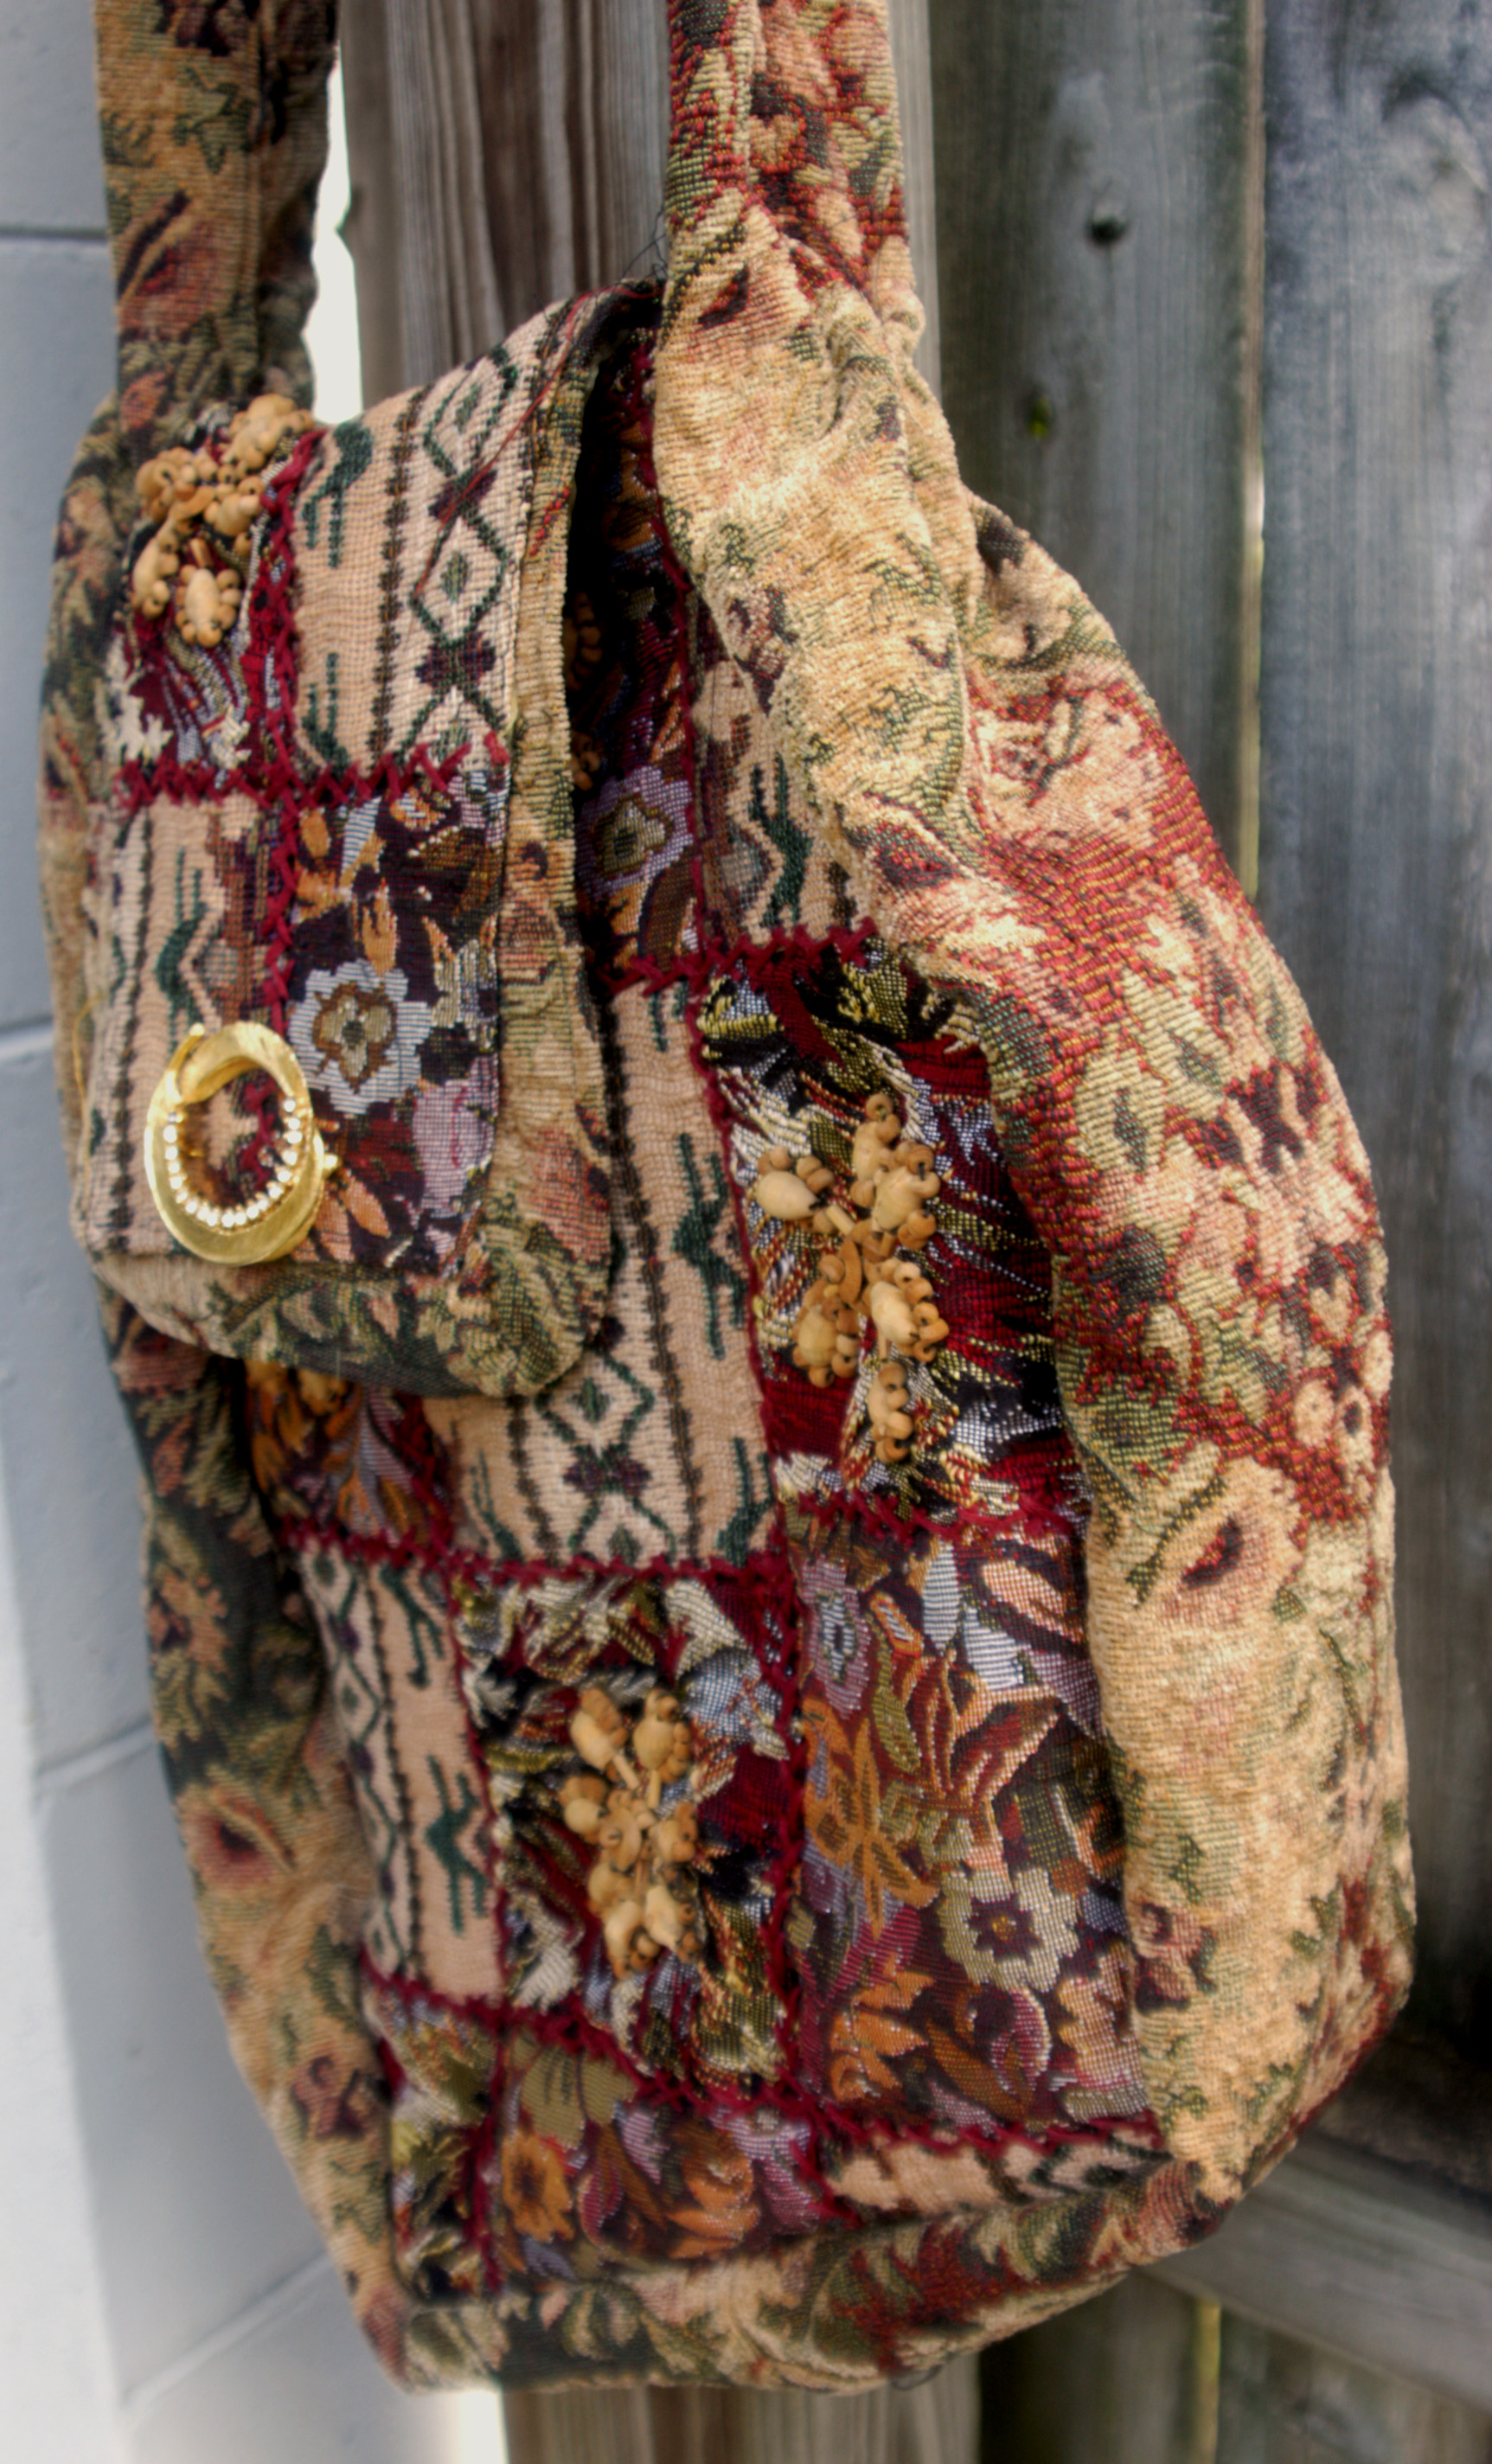
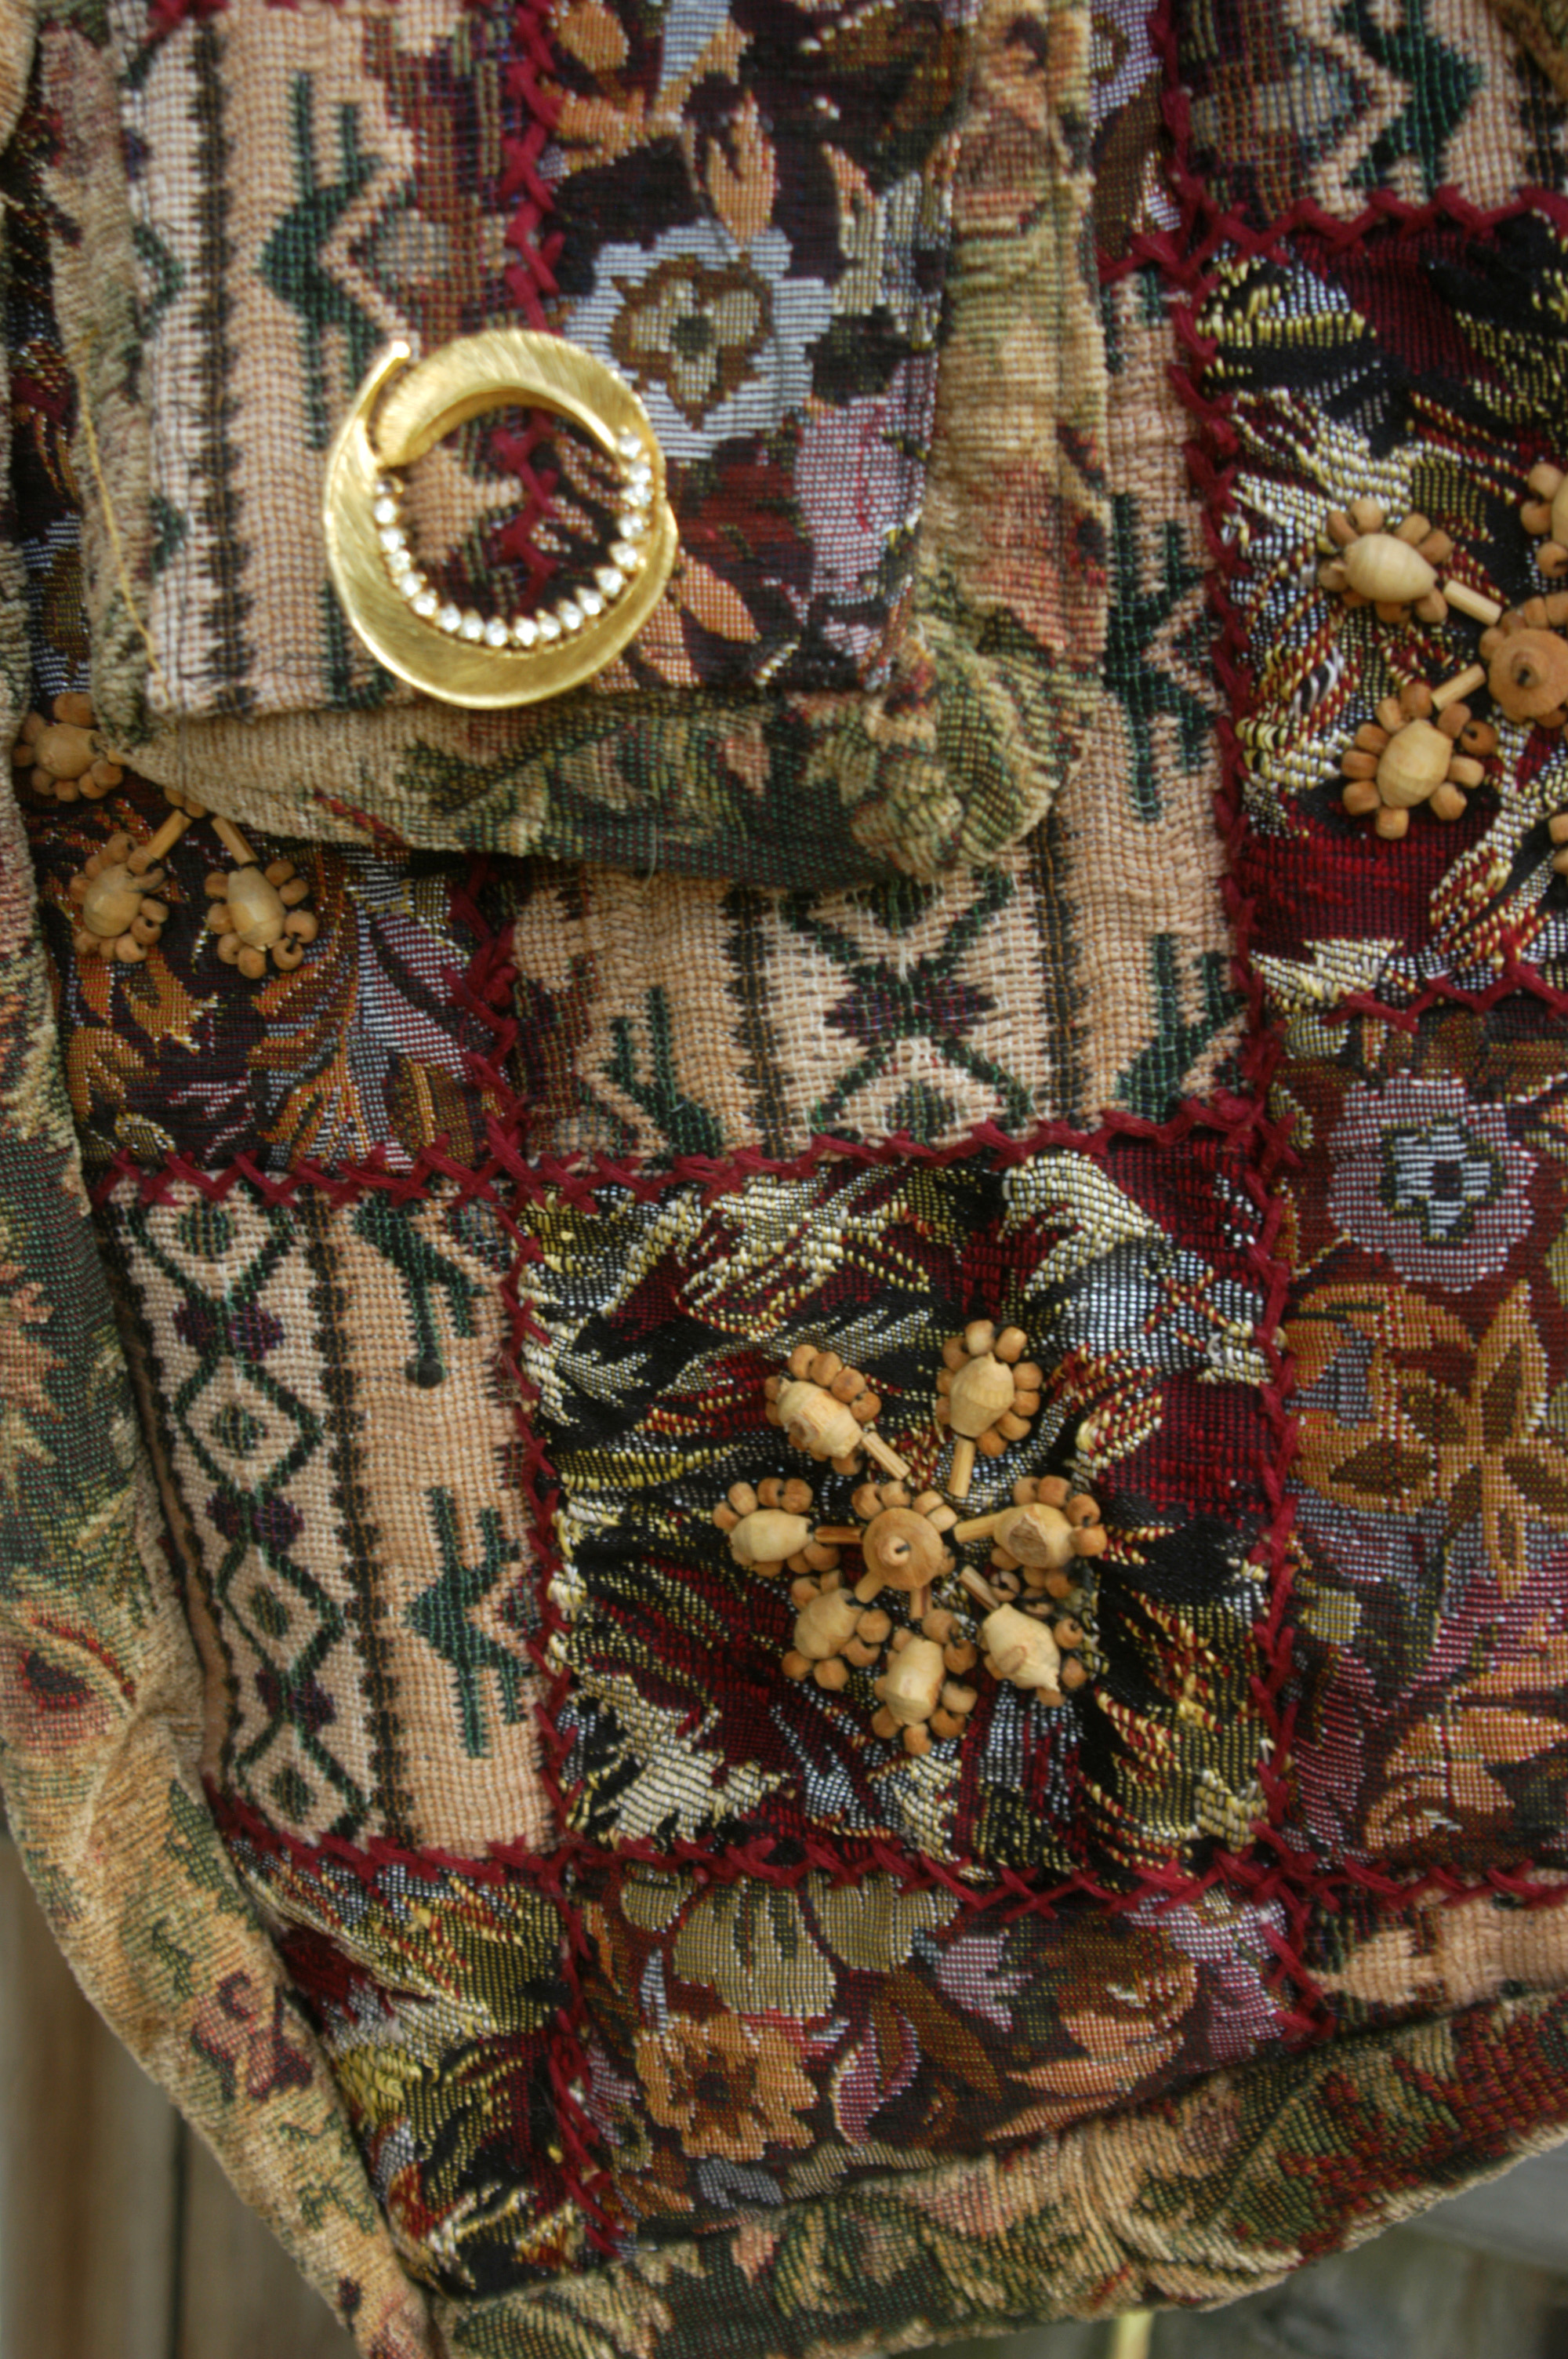
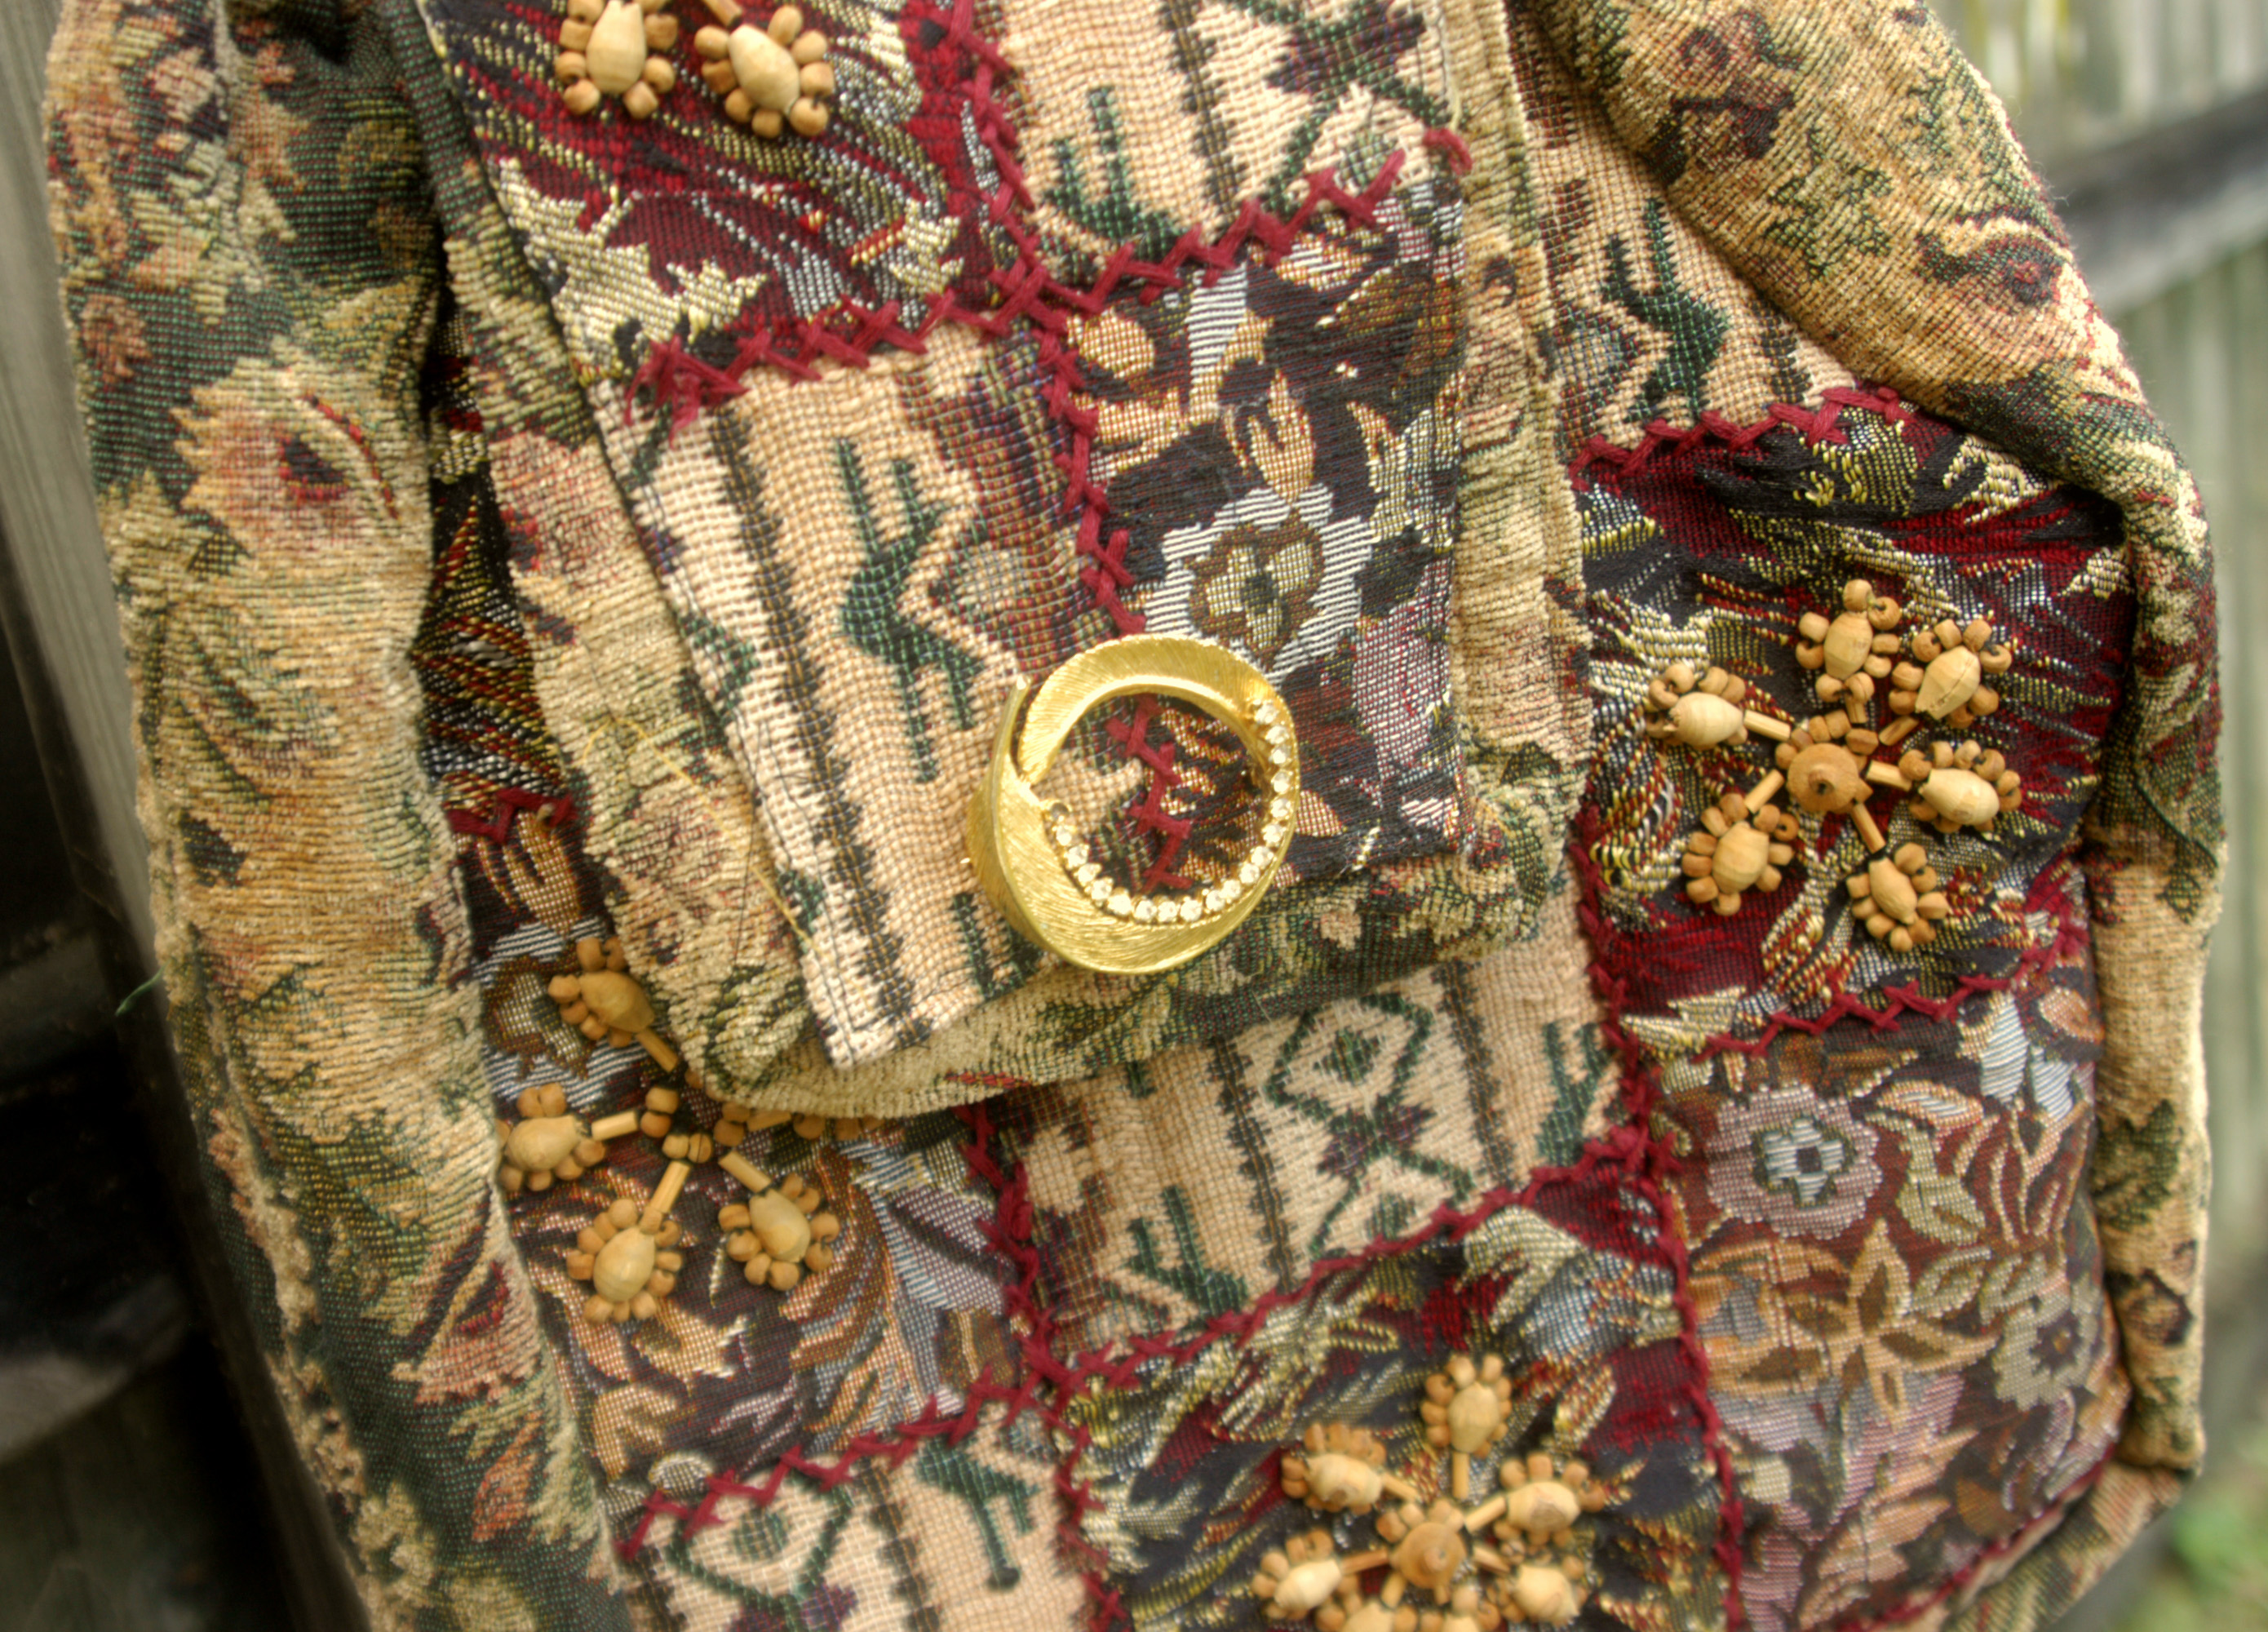
It had missing beads. I took beads from the shoulder part that I cut off and repaired the beading on the bag.
Re: pockets: I made mine wider than deep. The problem I encountered was that when I reached into the bag, I got hung up on the pockets. So, I made a couple of stitches at the top center of the pockets to hold them in a little. I can still use the pockets, but for smaller things. But, I can still use them for keeping business cards (for my blog) handy for people who like whatever outfit I’m wearing at the time. 🙂
As the bag is asymmetrical, I had to slightly gather the top of the liner bag so it fit into the mouth of the bag, yet, it had the needed fullness toward the bottom of the bag.
I pinned a brooch onto the flap as decoration.
Click the IMAGE ABOVE for more Tutorials for Bags!
Happy Re-Purposing!
Calling all bohemian creators!!!
If you enjoy designing and creating anything in an unconventional style, join us by clicking the image below, and ask to become a member of our new Facebook Group!!


Please pin the image below on your Pinterest boards for style and DIYs.