Hey Bohemians and Re-purposers,
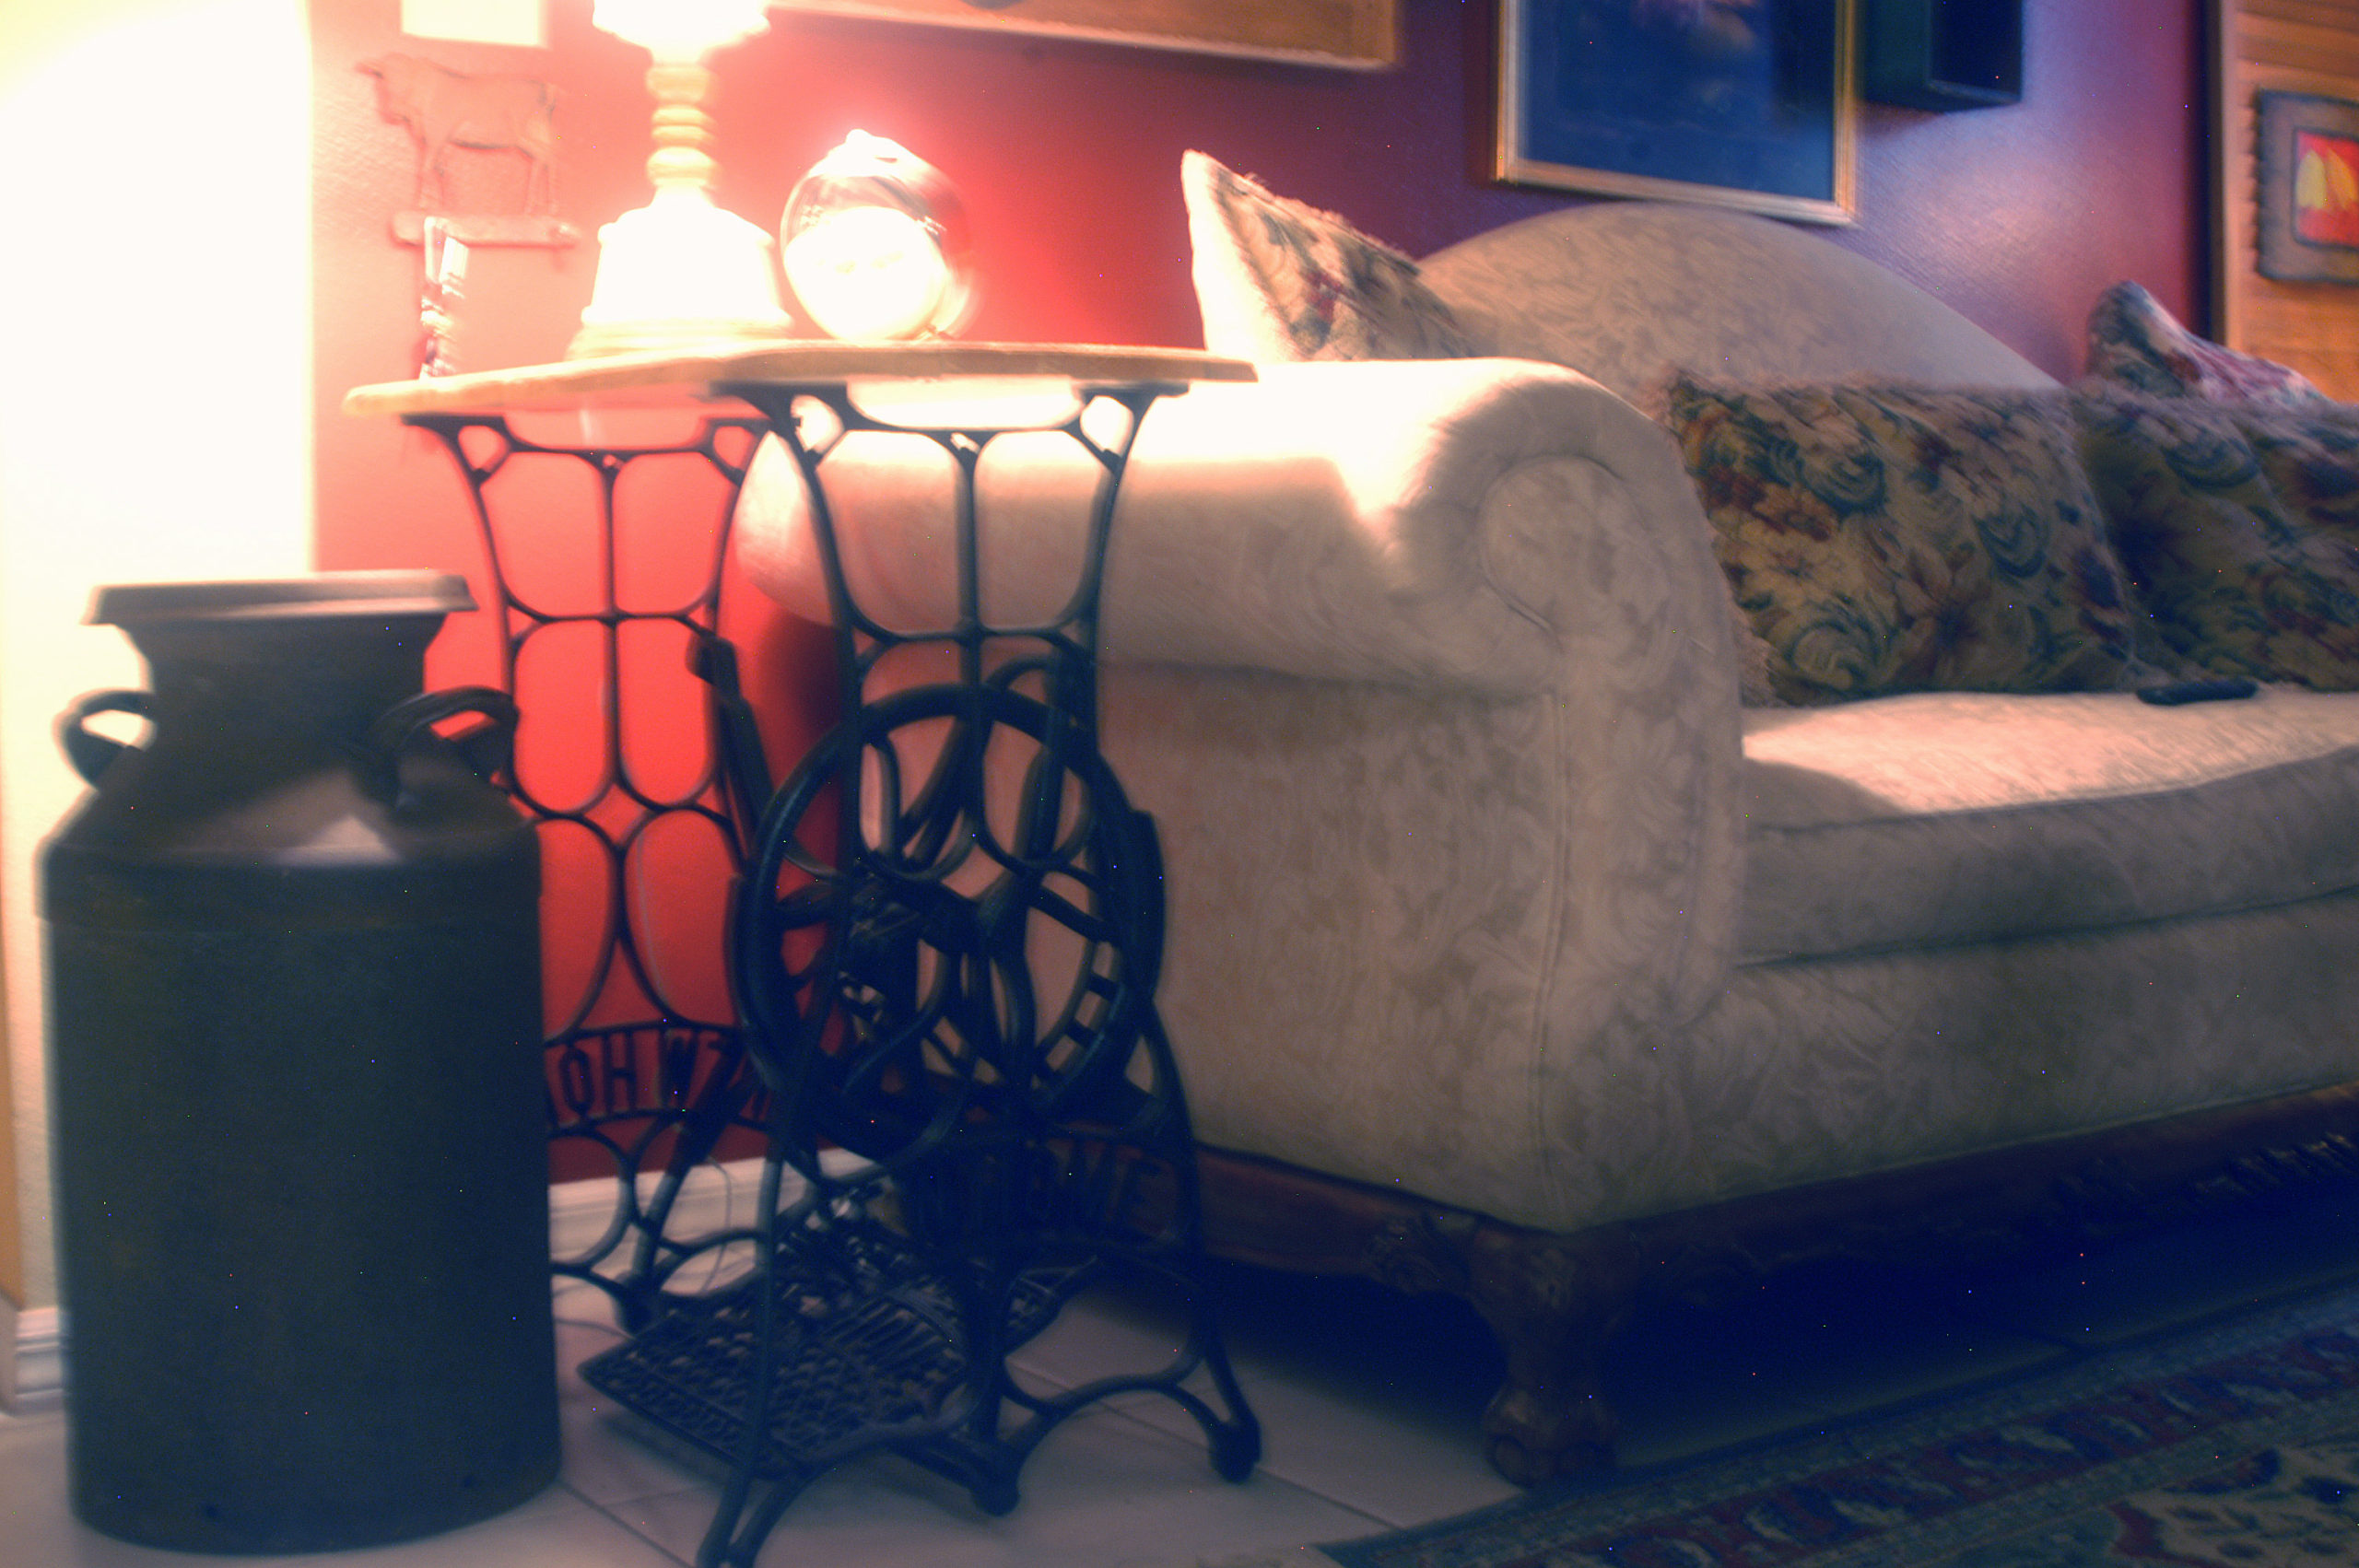
I recently got an email from one of you wonderful subscribers, one who has become a good friend – as several of you have <3: Katie in NY state. She wrote, “Love your new couch. Great find! Love old Singer used as end table. Thanks for idea as I have one, too.”
This is probably a quicky post. Unlike many of my posts! Lol.
She and I, and many of you, love to re-purpose things we already have.
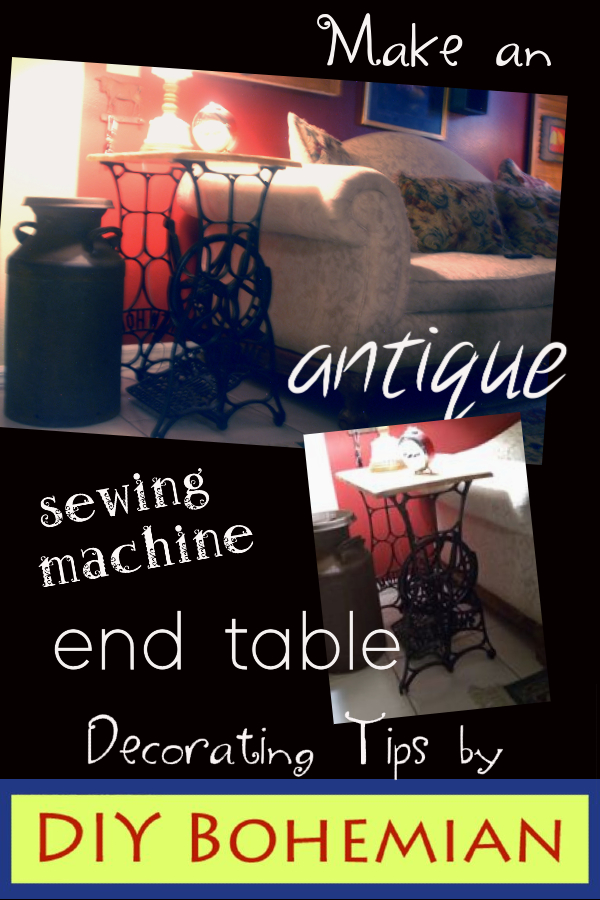
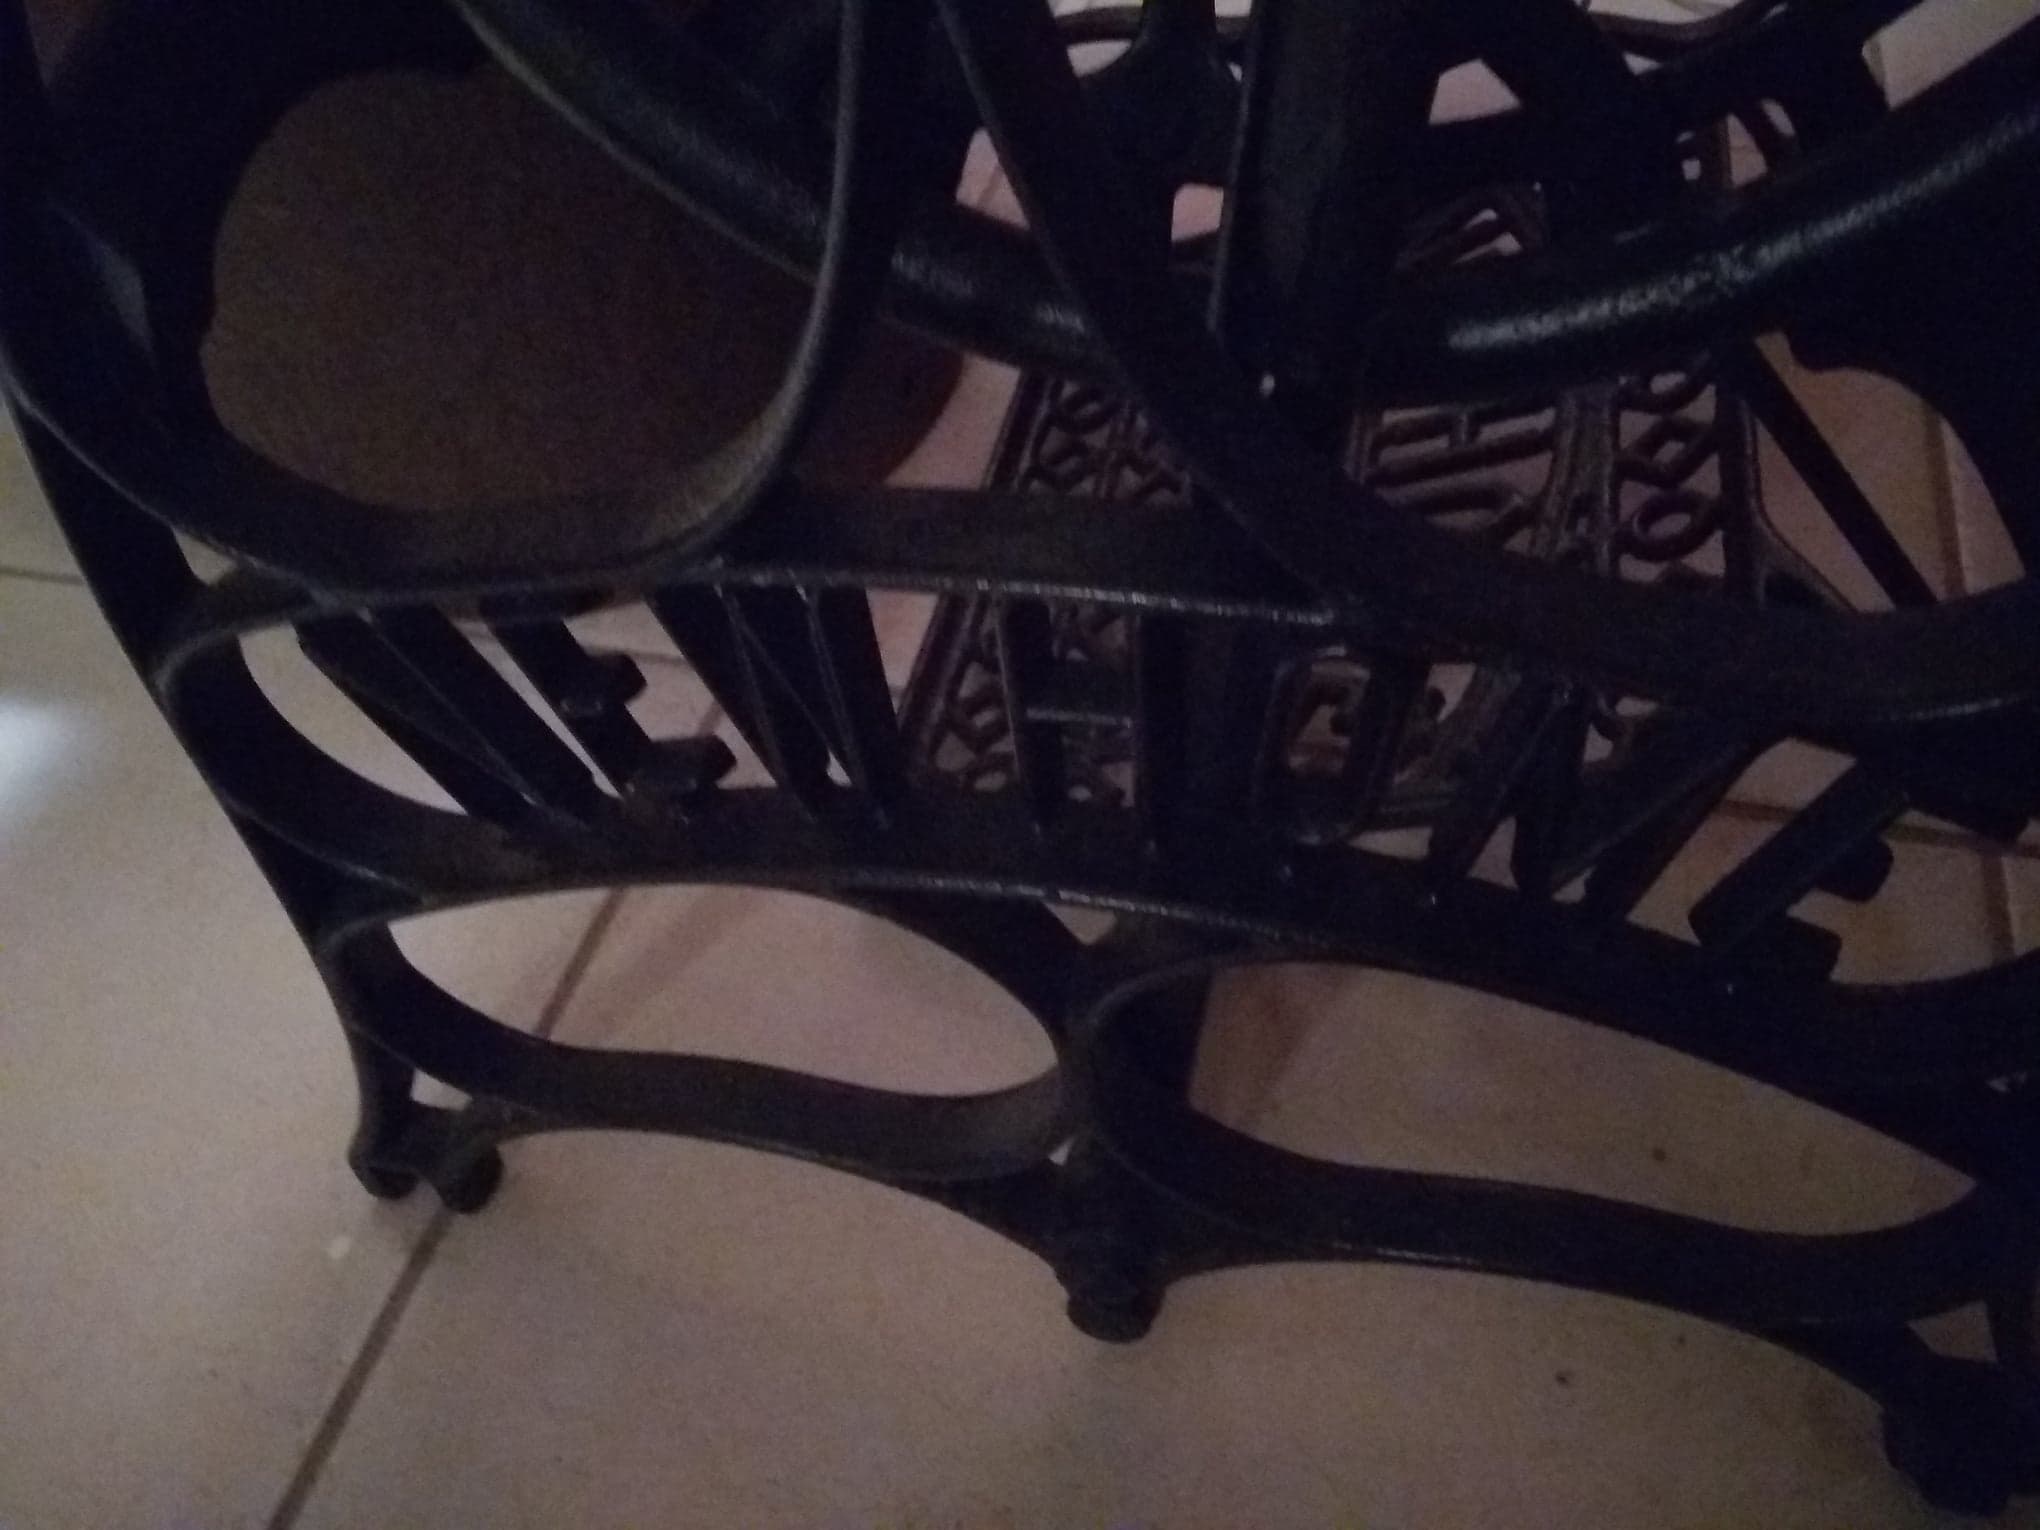
I’ve had this terrific cast-iron treadle base to an antique sewing machine for ages!!

I have a New Home brand base.
Mine looks very similar if not exactly like photos I see online.
Without much investigating, it looks like it might be from the 1880s to the early 1900s.
I can’t remember how it came into my possession – I’ve loved antiques for as long as I can remember, and, back in the 1980s, I gathered a few, which are still with me.
Recently, I scrubbed it down with a wire brush and steel wool, and sprayed it with black Rustoleum. It wasn’t really that bad, but, I wanted to do it right. (Be sure to wipe off the dust before painting.)
I had already cut two pines boards to size, which I wanted to use as the top of the end table.
They were already painted white from before. Actually, I think I cut up a shelf I had made that I dismantled. 🙂
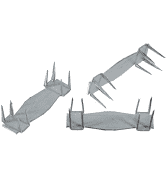
First, I used these wood-joiner nails, from Home Depot, to attached the two boards together side by side. I put them on the under side, of course.
Then, I ran a bead of E6000 glue along in between, set something heavy on it, and let it dry overnight.
(Actually, I set my milk can, that you see here, on top of it. 🙂 )
I worked on the top edges with a wood rasp, distressing it, to give it character.

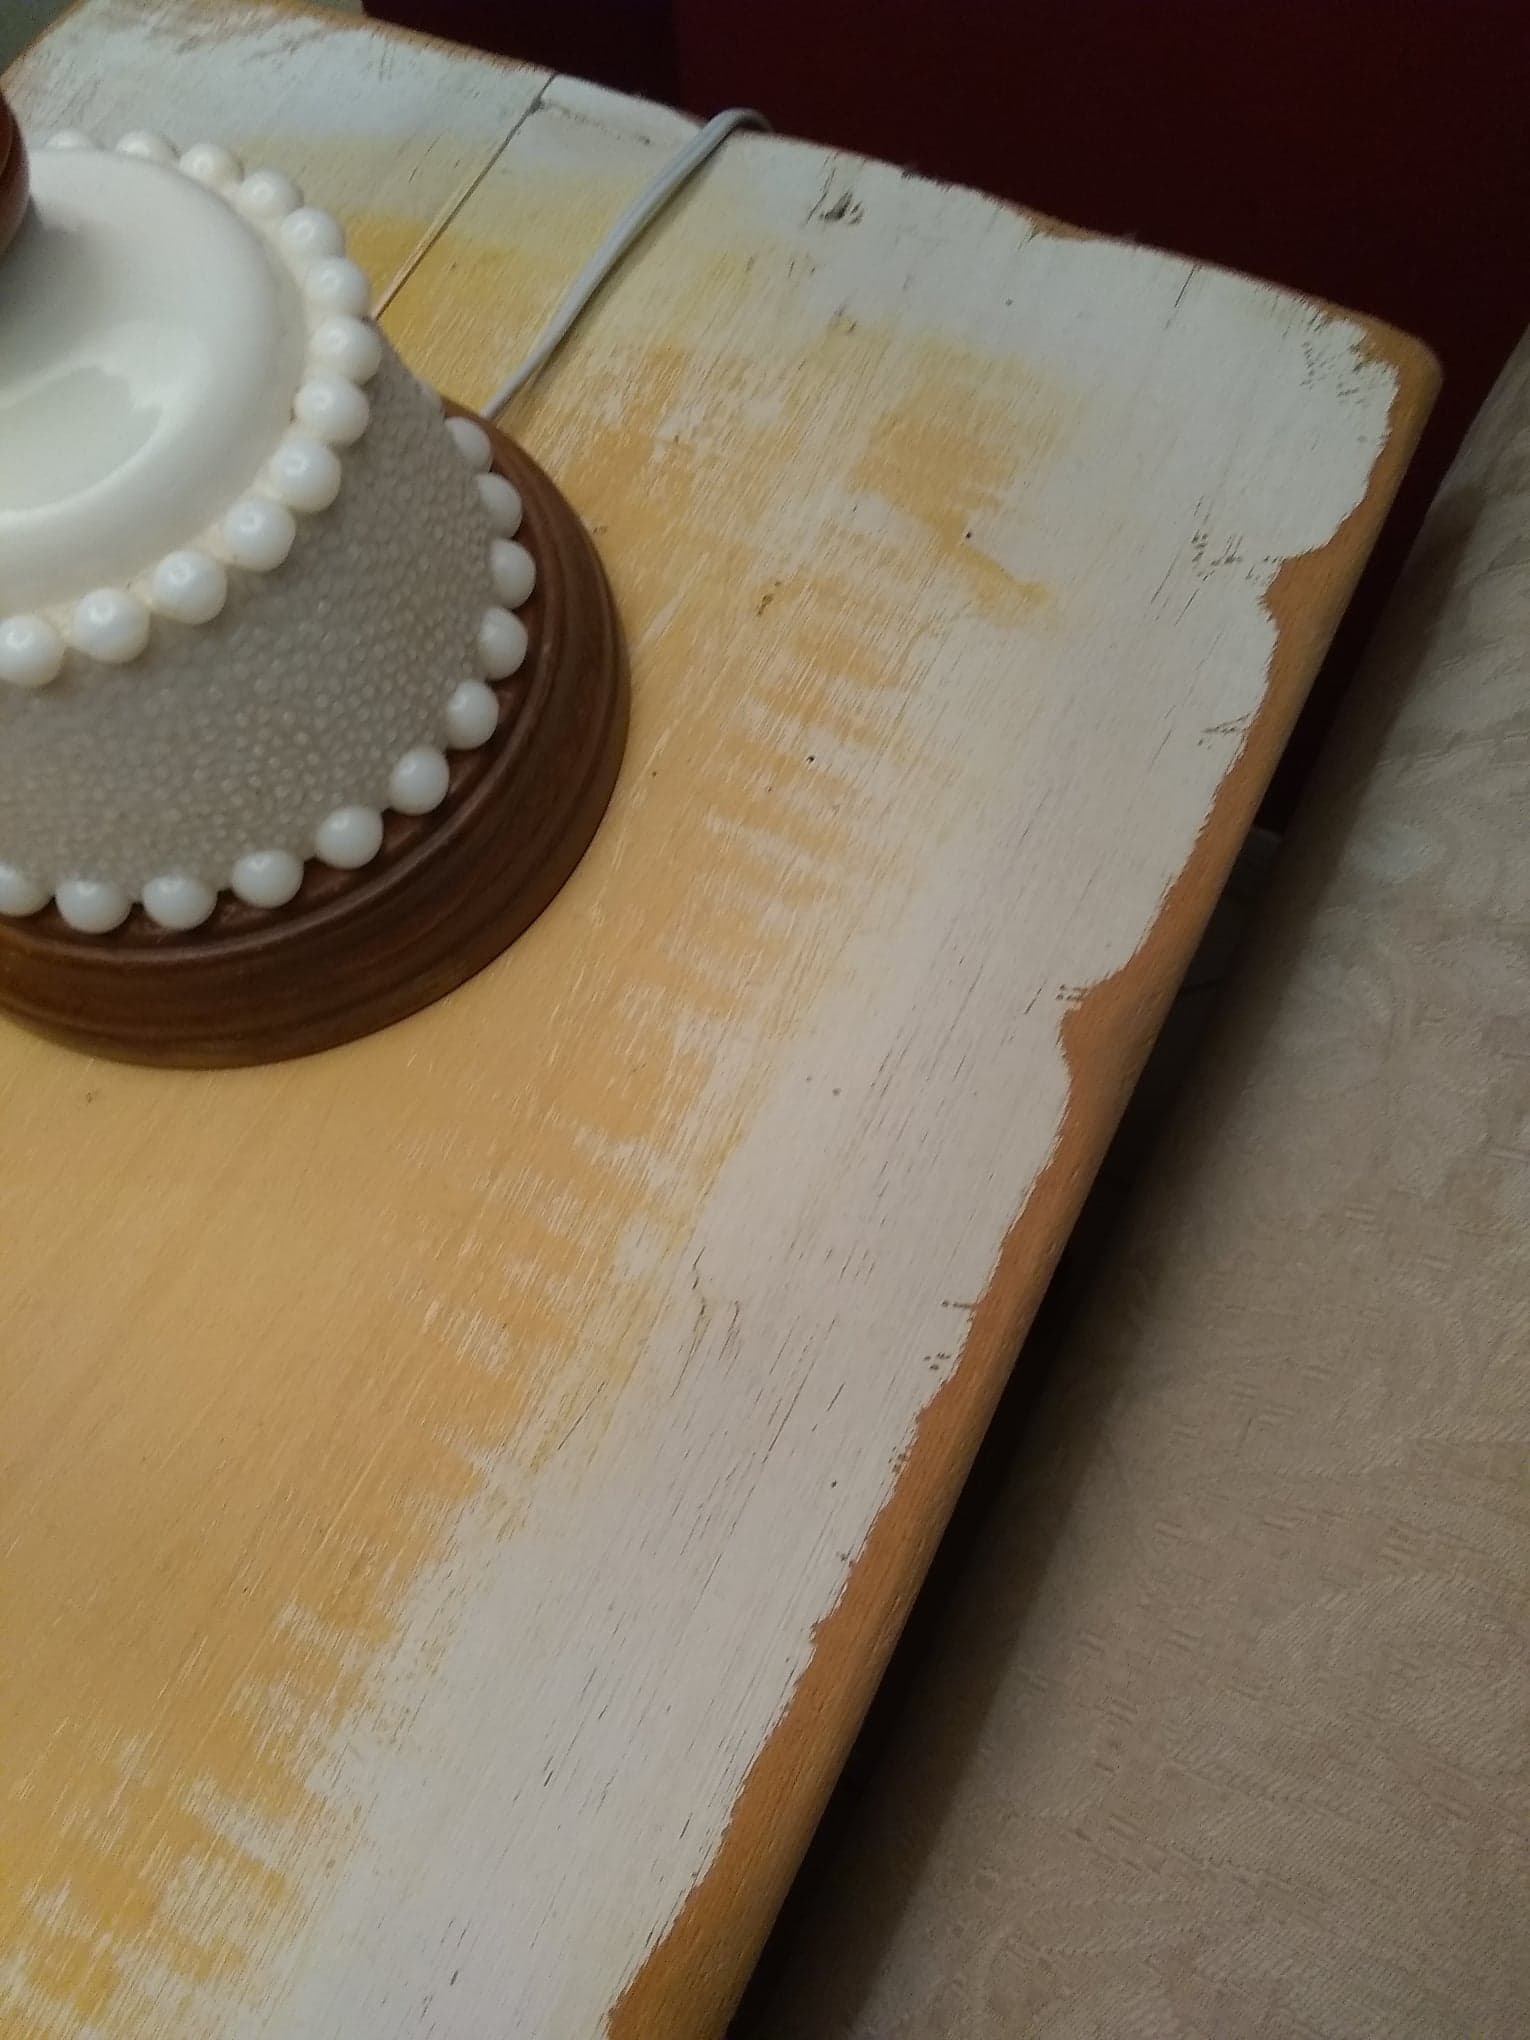
It needed a little color…
I had some golden yellow paint from when I painted my living room. Aha!
I dry-brushed some down the center.

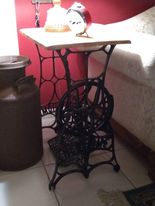
When the top was solidly one piece, distressed, and painted, I turned it top side down on my rug, turned the iron base upside down, and carefully placed it on the board, centering it.
The iron base has four screw holes – handy! I just screwed the screws through the holes into the wood!
I love it!!
Voila!!
Rustic end table!! 😀
This post could be considered the fourth in the “Red Wall” series. This was the first: Tips on Hanging a Picture Grouping. It all started after I painted my wall red.
Also, #2: The Warmth of Wood… Trash to Treasure.
And #3: Lighting… the Mood Maker.
Click an image below.